List of HMDs supported by STYLY
If you want to experience VR scenes with binocular stereoscopic vision, use a HMD (head mounted display).
If you have one of the following HMDs, download the STYLY app for Steam.
Valve IndexVIVE
– VIVE Cosmos
– VIVE Pro
– VIVE Cosmos Elite
– Oculus Rift / Rift S
– Meta Quest (when using Link cable)
– Windows Mixed Reality
If you have one of the following HMDs, download the Meta Quest version of the STYLY app.
Meta Quest 1/2/3
How to install/start STYLY app
How to install STYLY for Steam
To use the STYLY application for Steam, you will need the following three applications, so please install them in order.
Steam
・SteamVR
・Steam version of STYLY
Install Steam
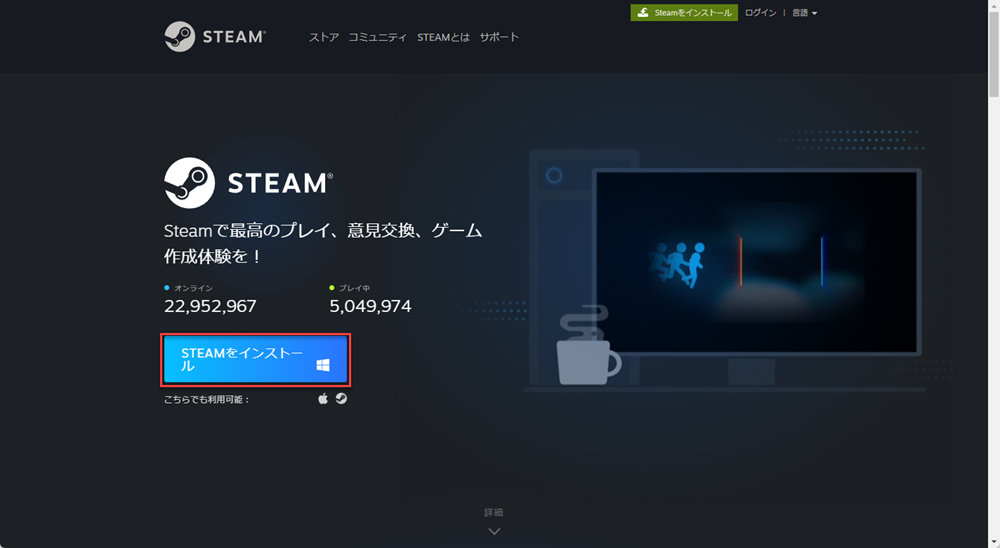
Go to the STEAM website https://store.steampowered.com/?l=japanese and click Install Steam.
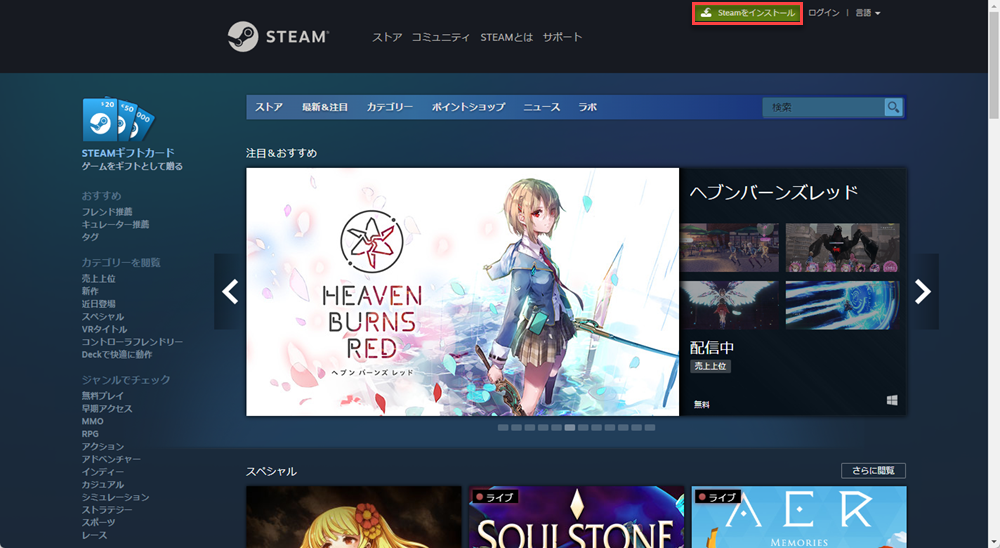
Click Install Steam and download the SteamSetup file.
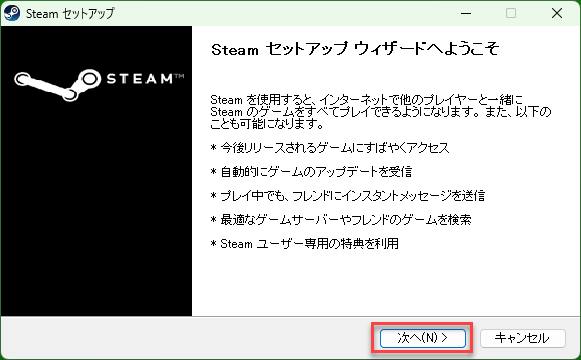
After the download is complete, run the installer and click “Next” when the pop-up window appears.
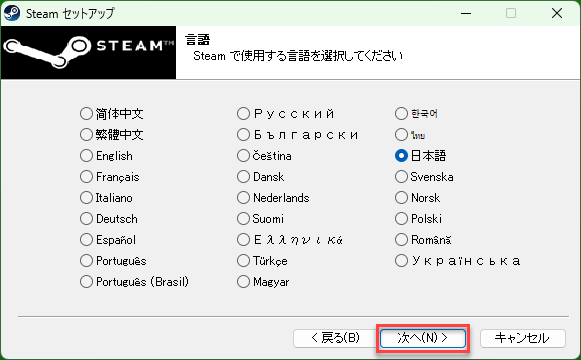
When you are prompted to set the language, select “Japanese” and click “Next.
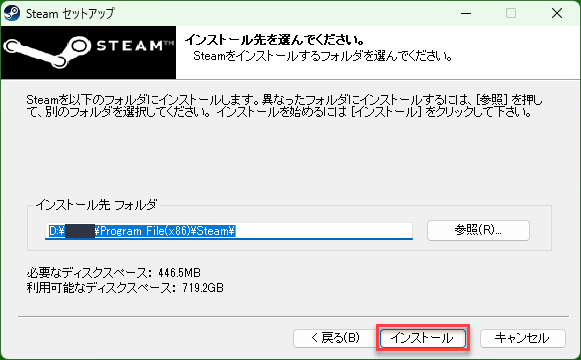
Specify the destination folder and click the “Install” button.
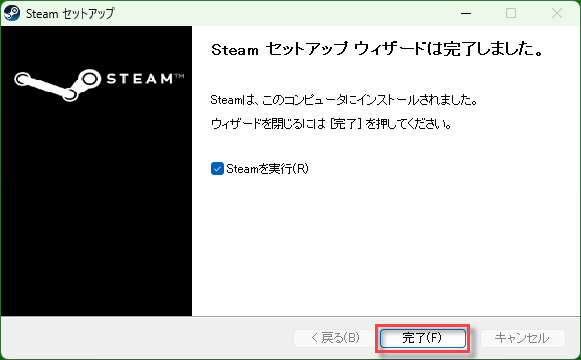
Click “Finish” to launch Steam.
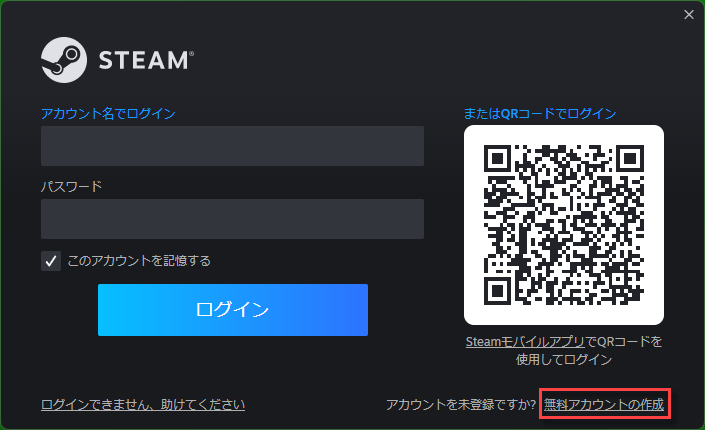
After launching Steam, you will be taken to the login screen.
If this is your first time using Steam, you will need to create an account, so click on “Create Free Account.
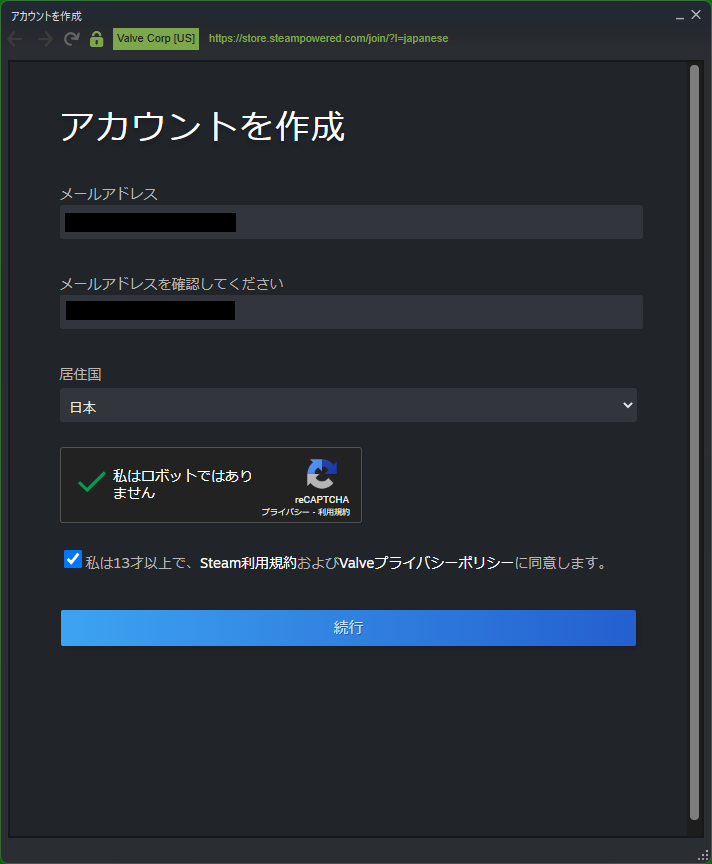
Enter your email address, check the Terms of Use and Privacy Policy, and click the Continue button.
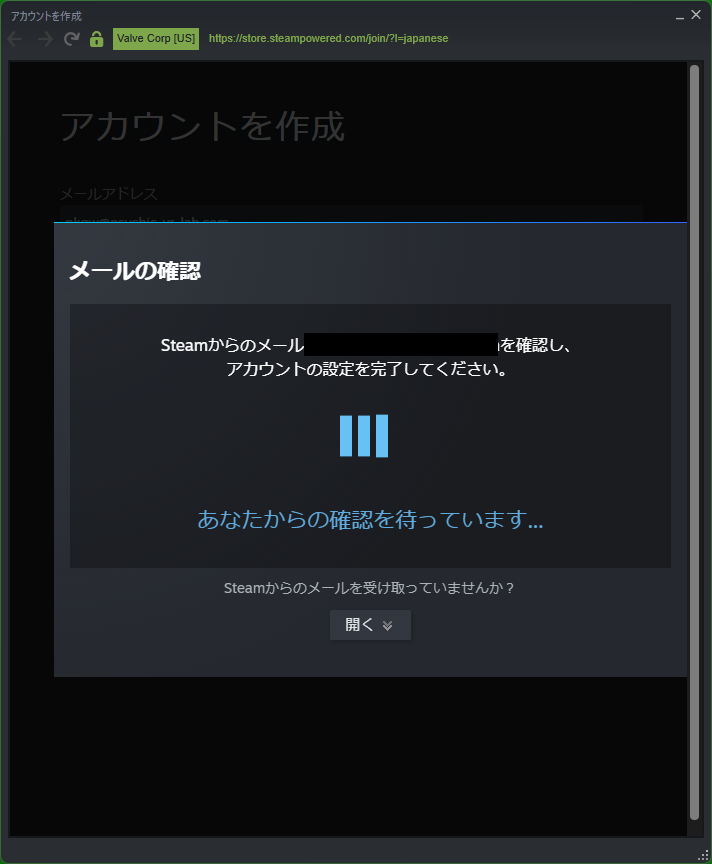
You will receive an email from Steam to the email address you entered.
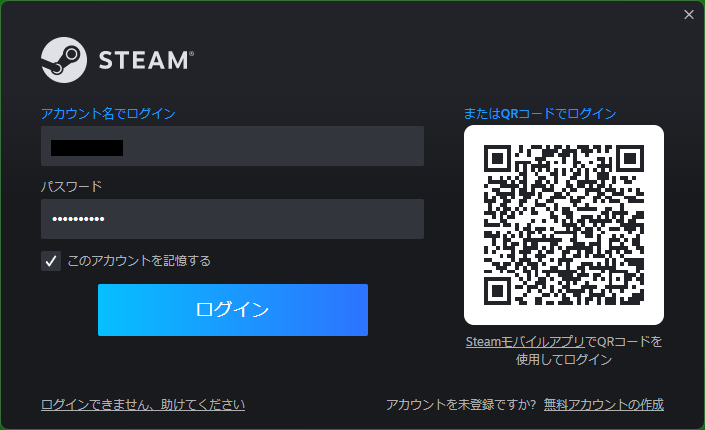
Once you have registered your account, enter your account name and password on the login screen and click the Login button.
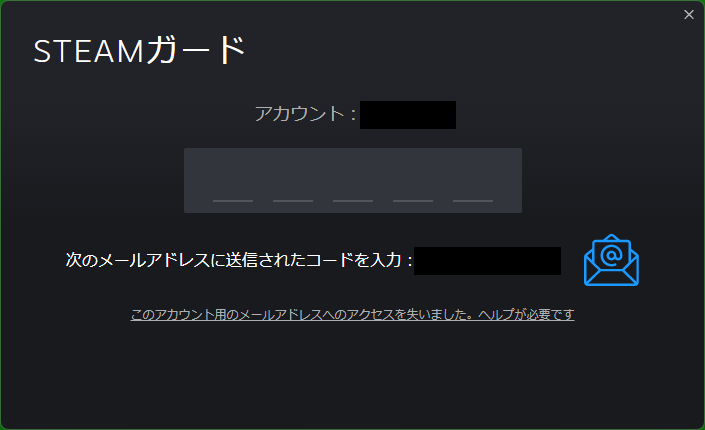
After clicking the login button, the STEAM Guard screen will appear.
A code will be sent to your email address.
Install SteamVR
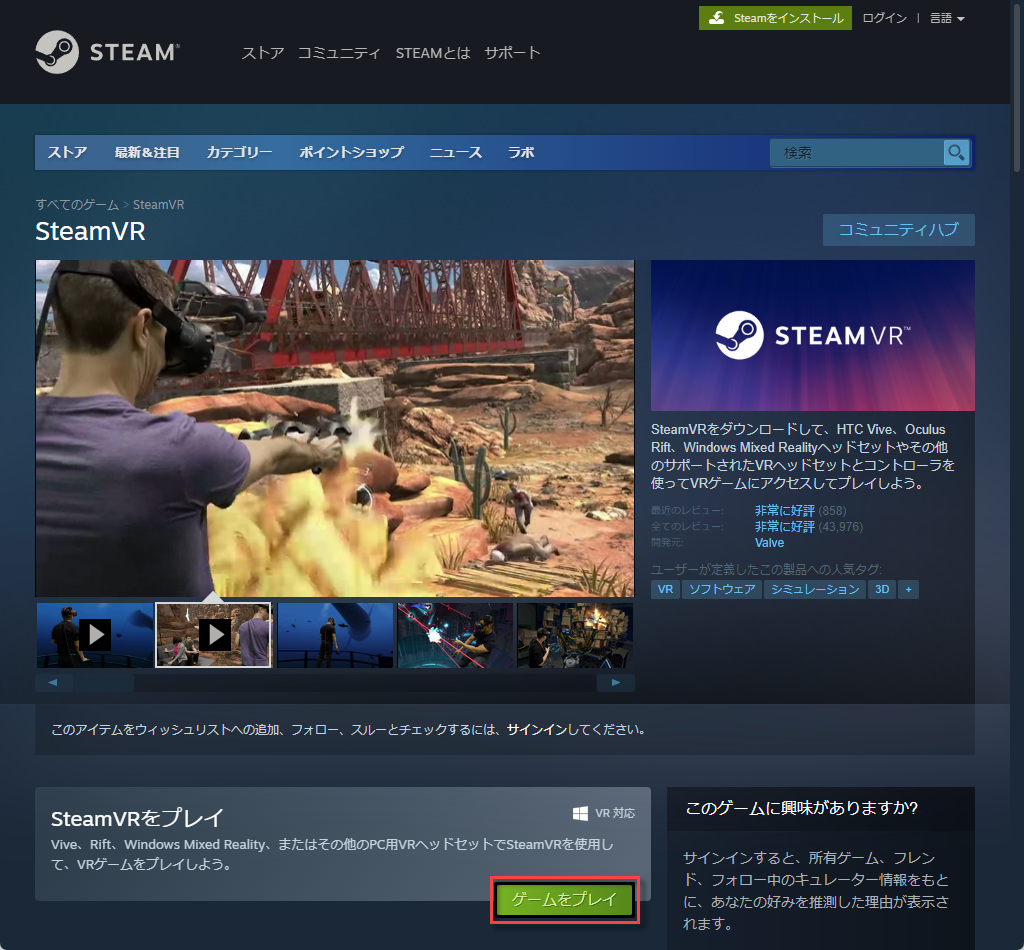
Go to the SteamVR page.
https://store.steampowered.com/app/250820/SteamVR/?l=japanese
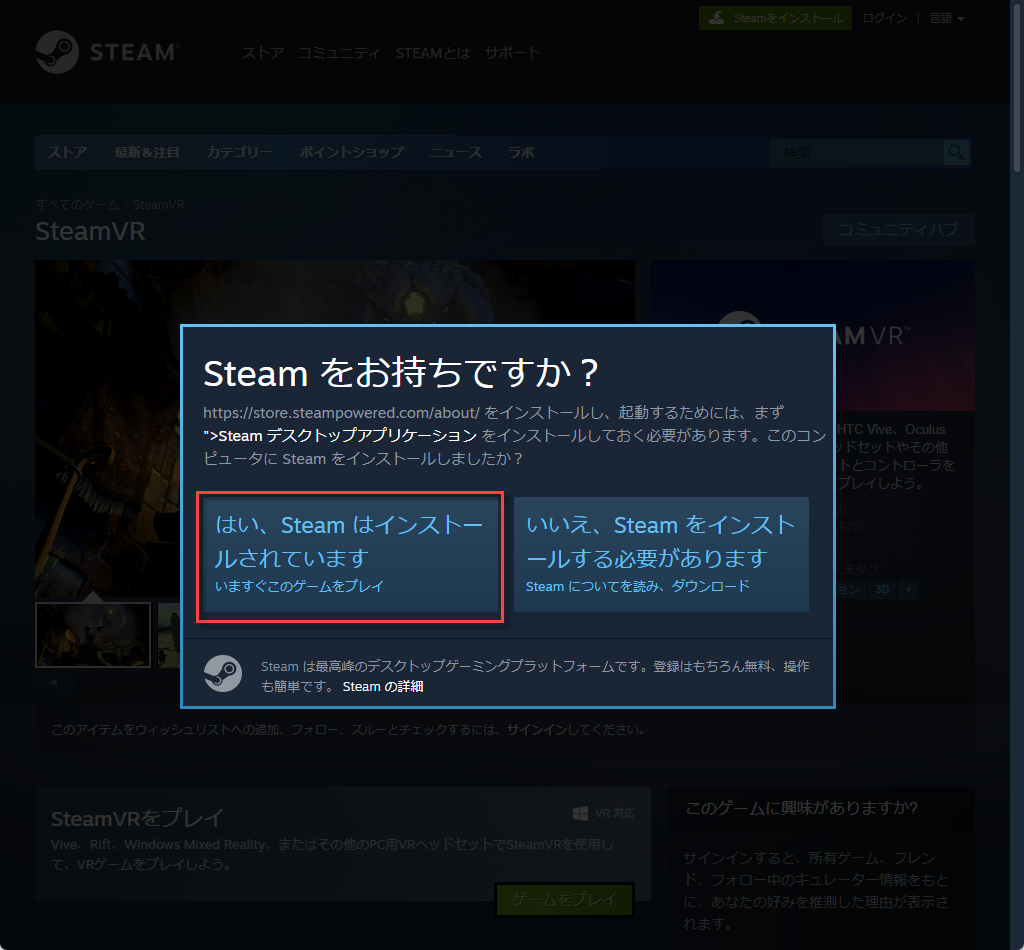
Click on the Play Game button.
You will be asked “Do you have Steam?” Click on “Yes, I have Steam installed”.
Install the STYLY application for Steam
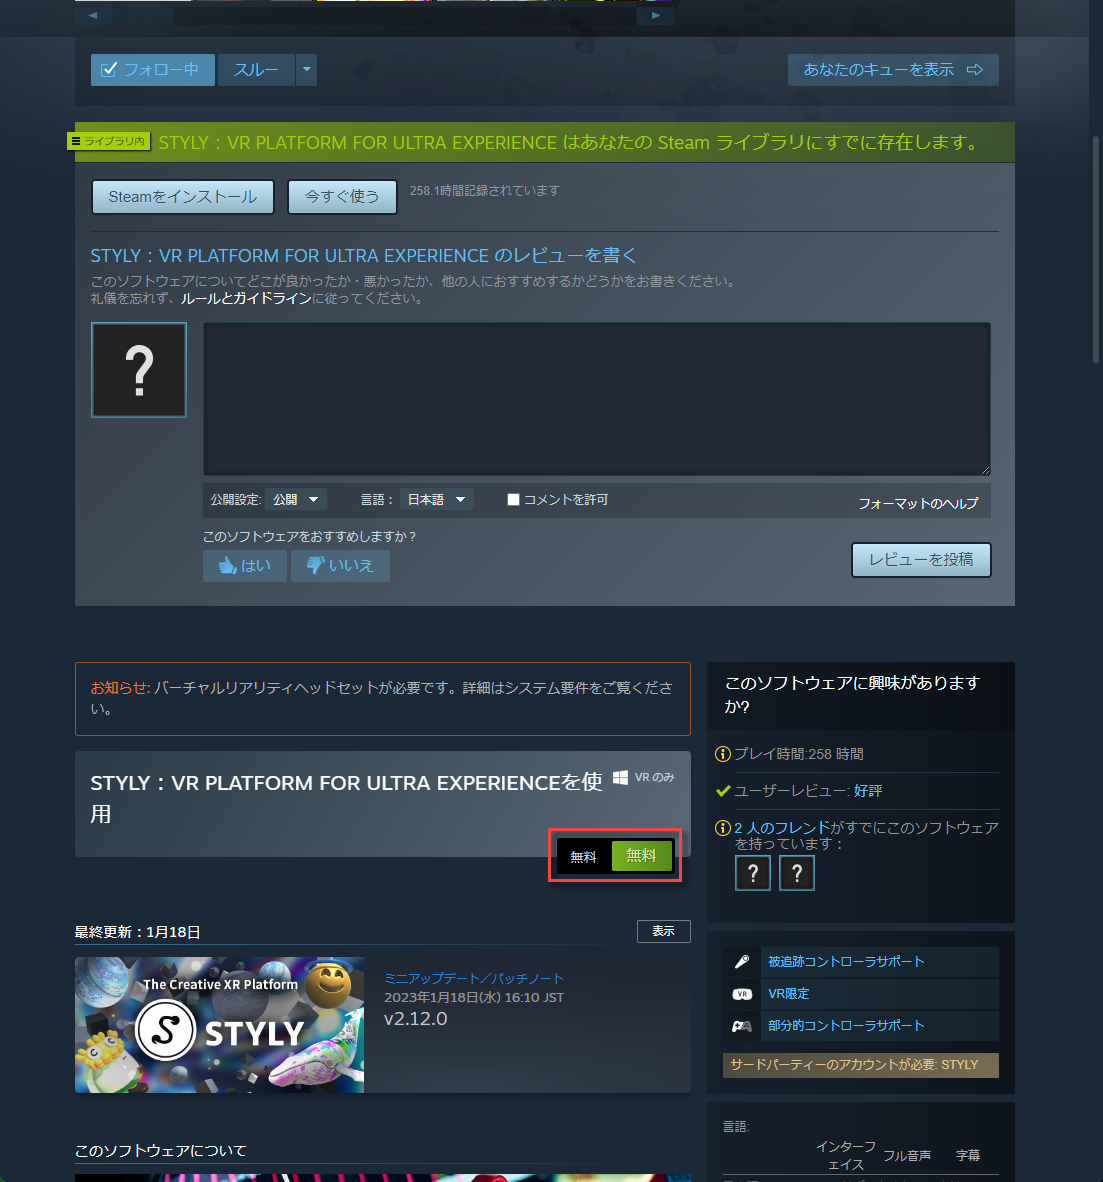
Go to the download page for the Steam version of the STYLY VR APP.
Scroll down and click on the “Free” button.
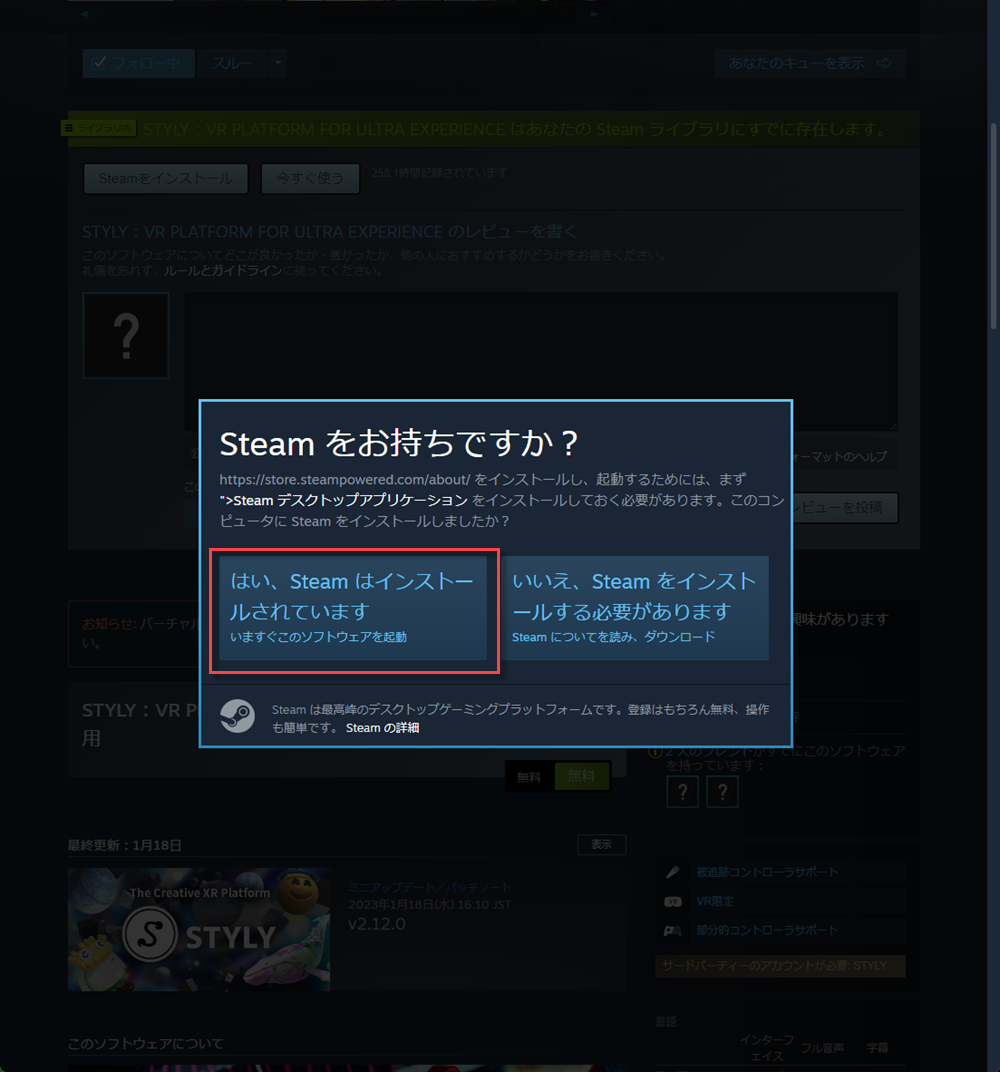
You will be asked “Do you have Steam?” Click on “Yes, I have Steam installed”.
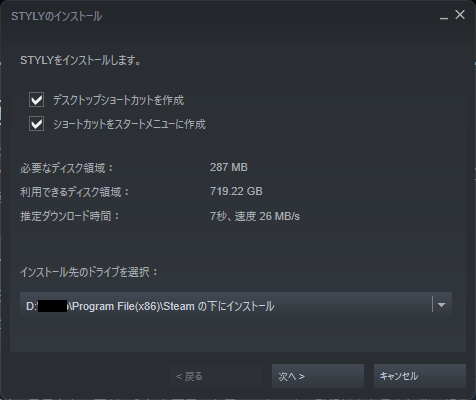
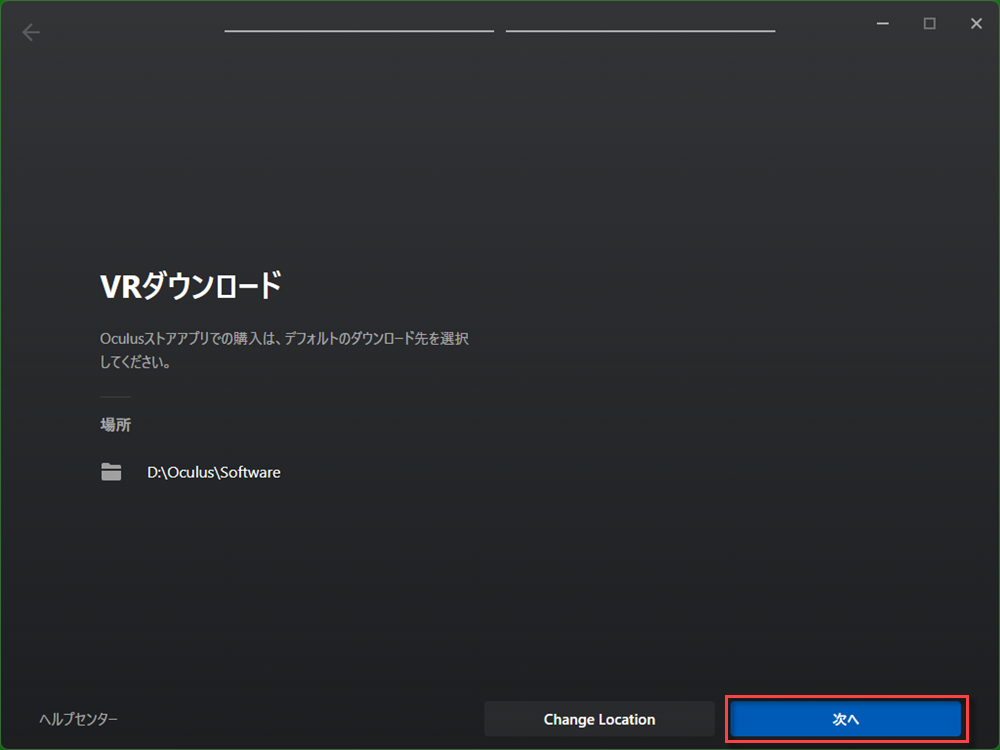
After selecting the destination drive, click the Next button.
Once the STYLY app is installed, you are done.
Install the Oculus application.
If you are using the Meta Link cable, go to the https://www.meta.com/jp/ja/quest/setup/ page to download the software.
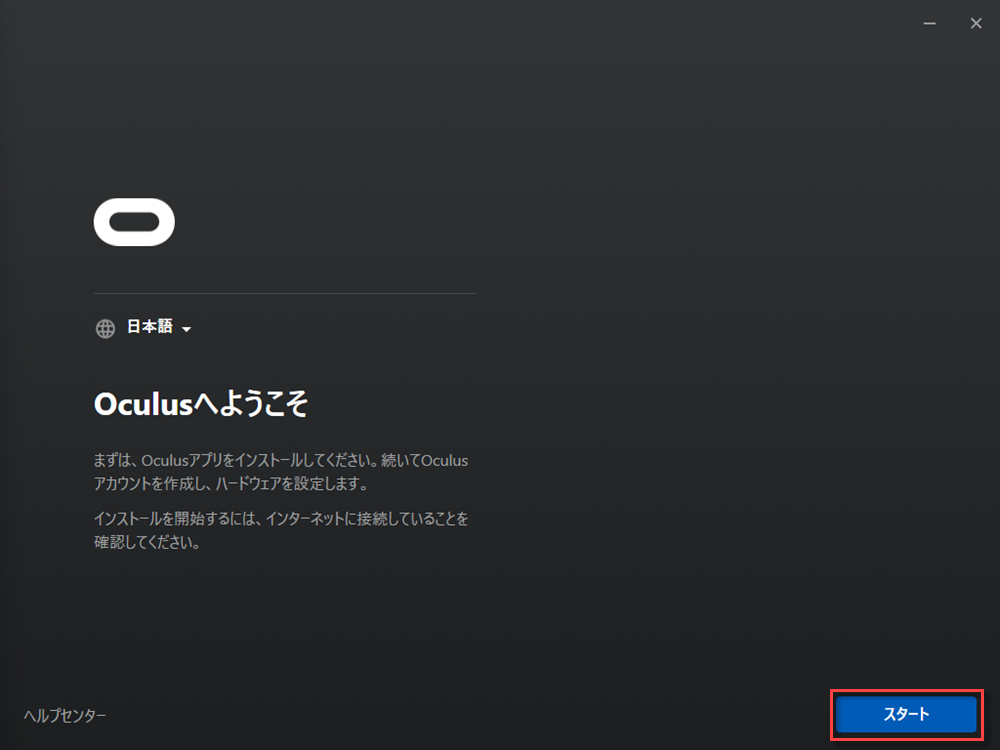
Run OculusSetup.exe.
An installation screen will appear, click Start.
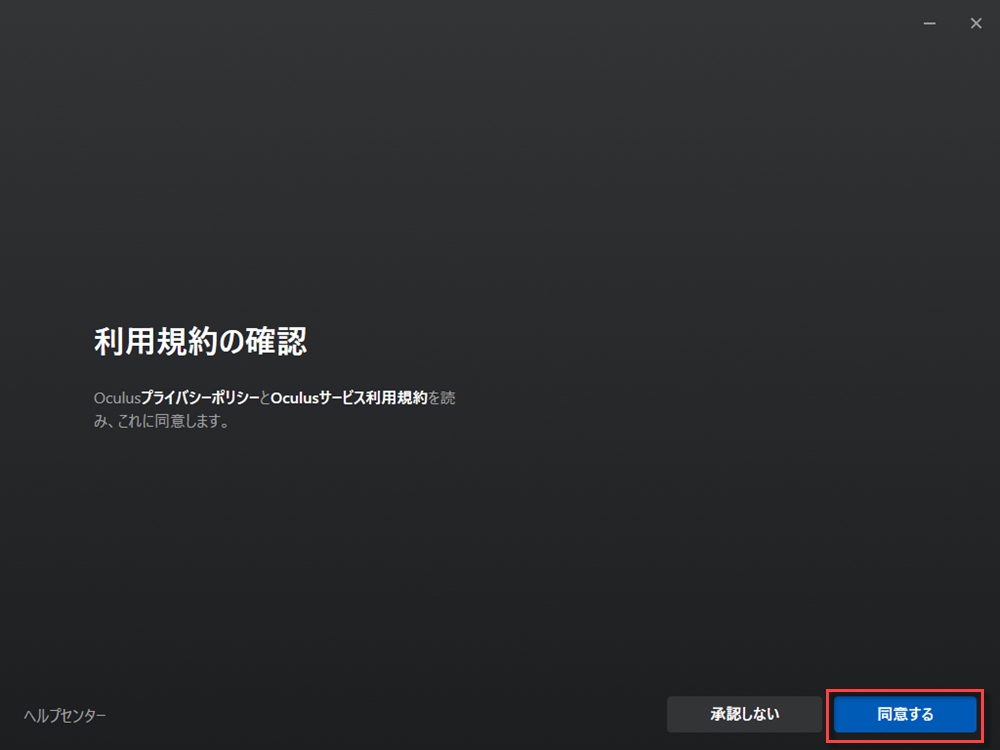
Click the I agree button.
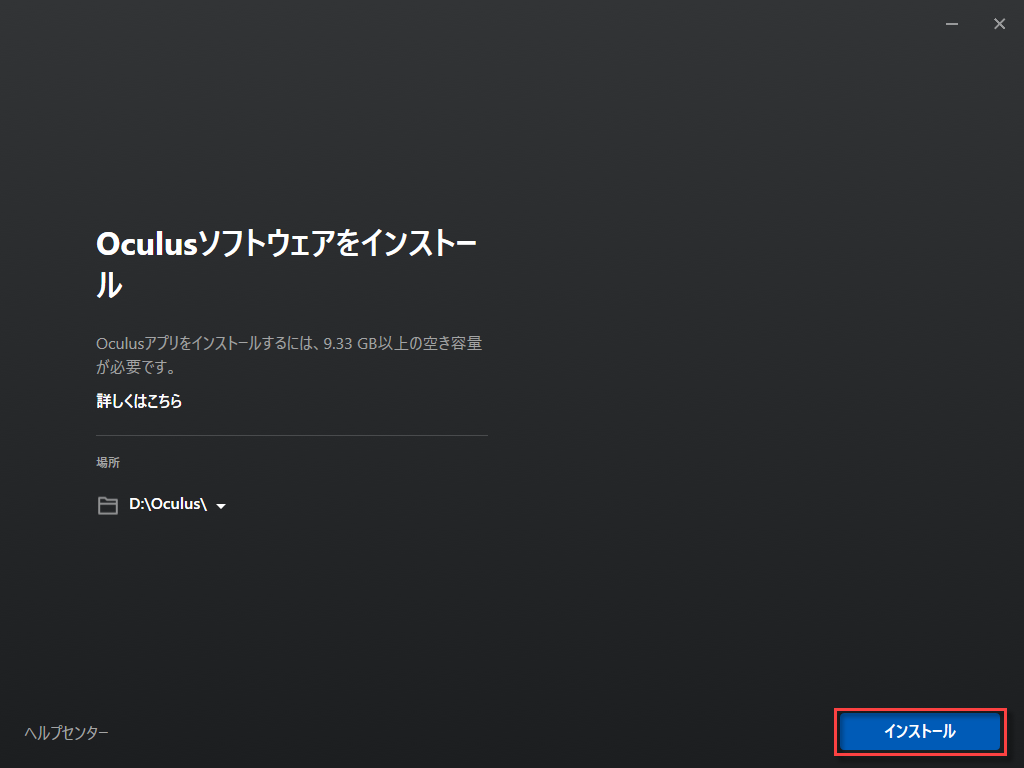
Click the Install button.
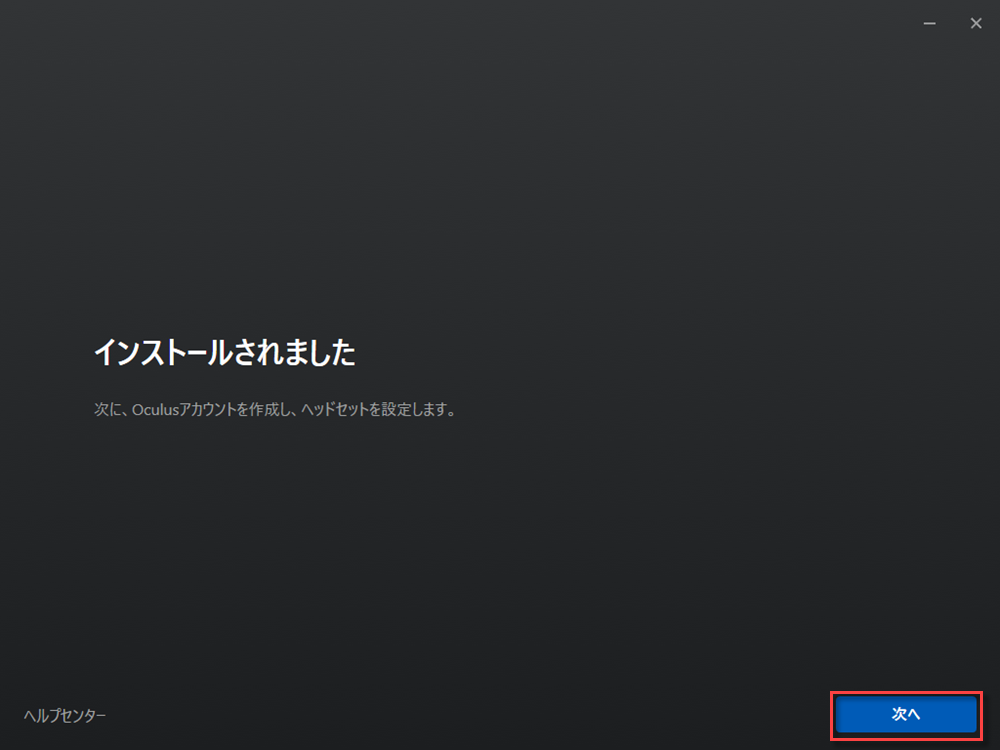
Click the Next button.
Log in with your account.

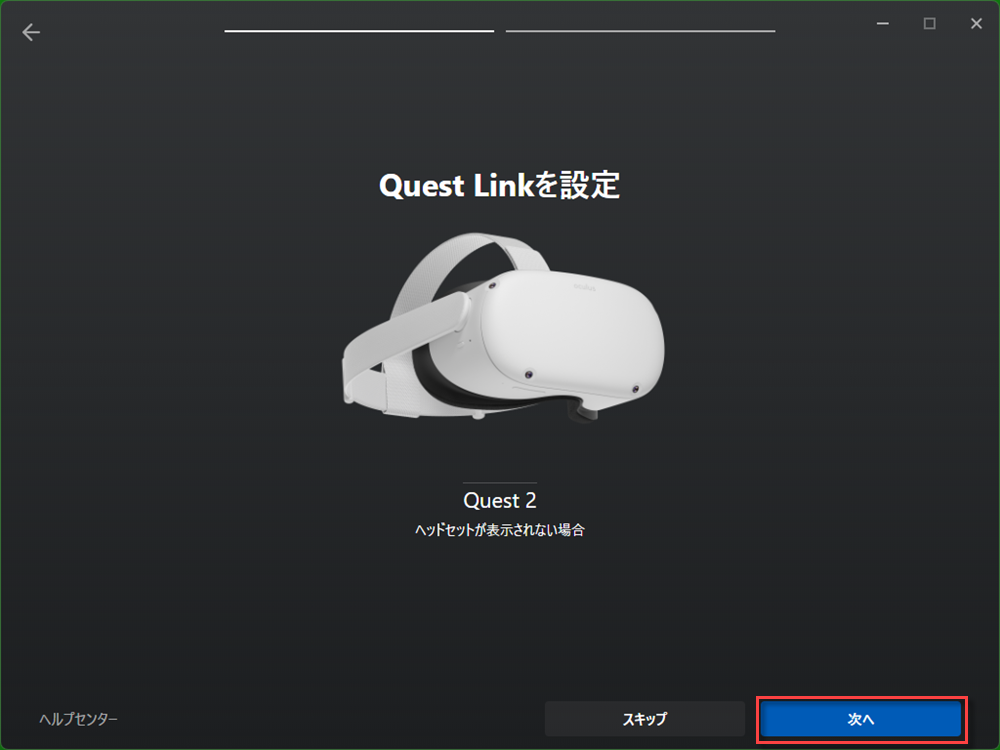
Click Next.
Click Next.
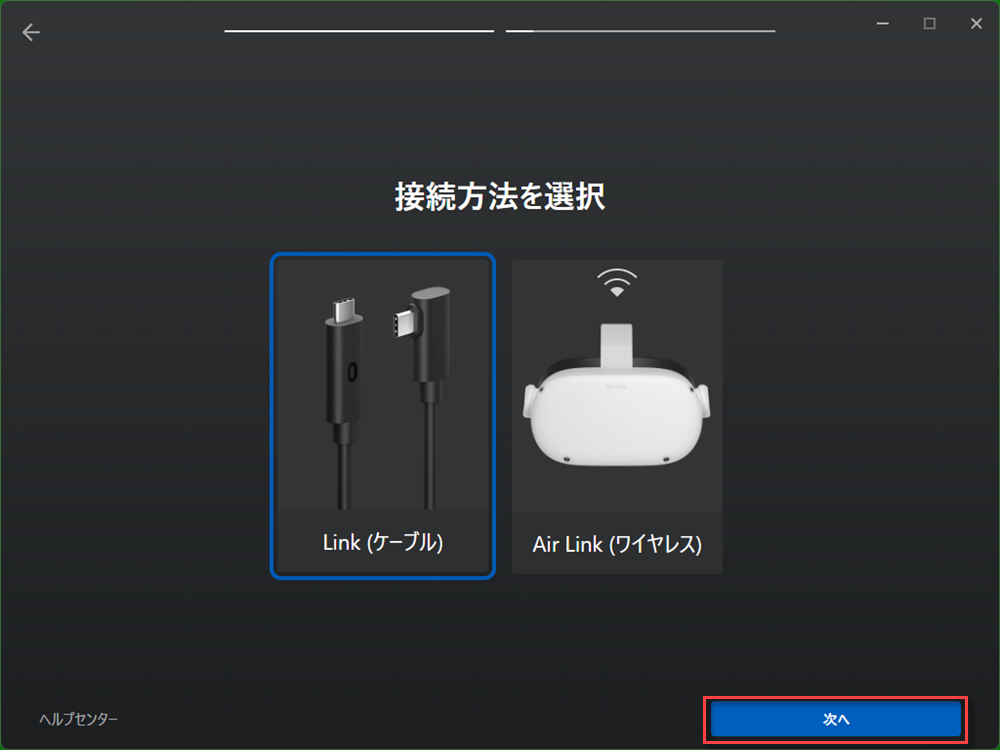
Select Link (cable) and click Next.
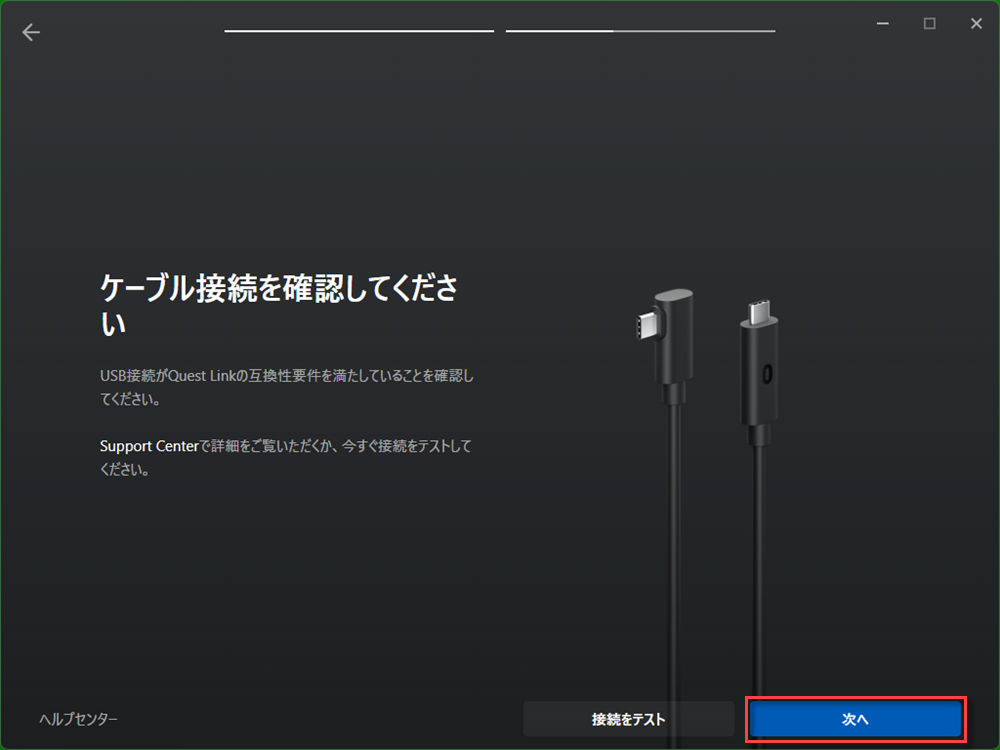
Connect the headset
Connect the Meta Quest to your PC with the USB-C cable with the power turned on.
When the connection is complete, the green mark will appear.
Click Next.

Click Next.
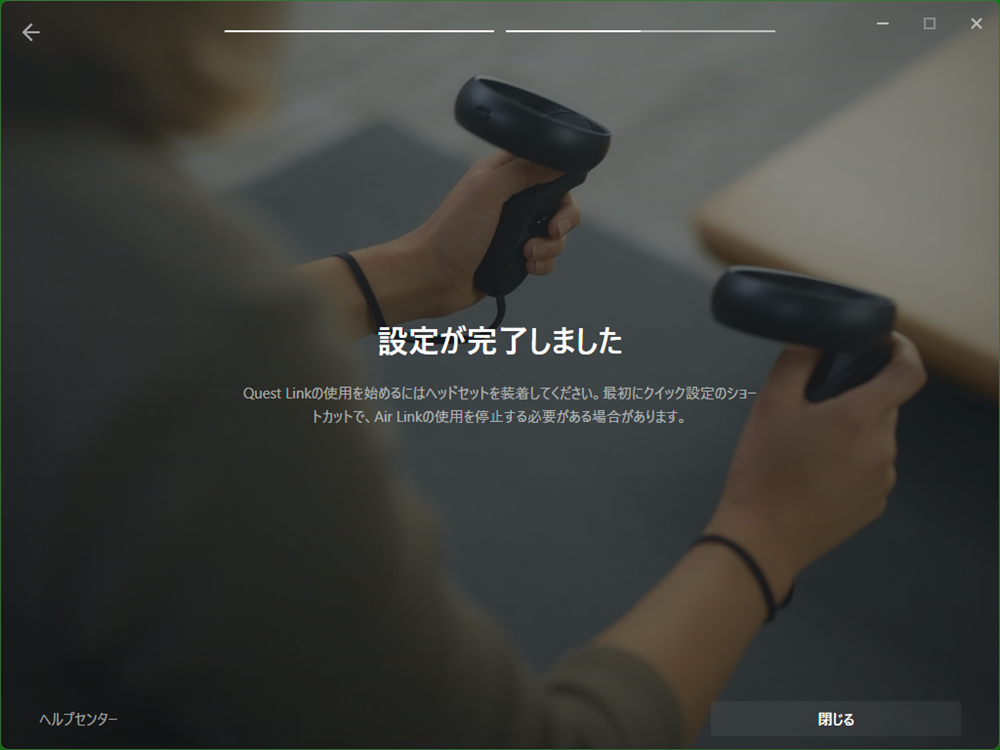
The setup is completed.
How to start STYLY for Steam
Make sure the following applications or software are installed on your PC.
Steam
– SteamVR
– STYLY for Steam
– Software for HMD
Connect Meta Quest and PC via Meta Link.
Don’t forget to charge Meta Quest in advance.
Start STYLY from PC.
When STYLY starts, SteamVR will start together.
How to install STYLY application for Meta Quest
Launch Meta Quest / Quest2 and click on Store.
Enter STYLY in the search form and search.
STYLY will appear in the search results.
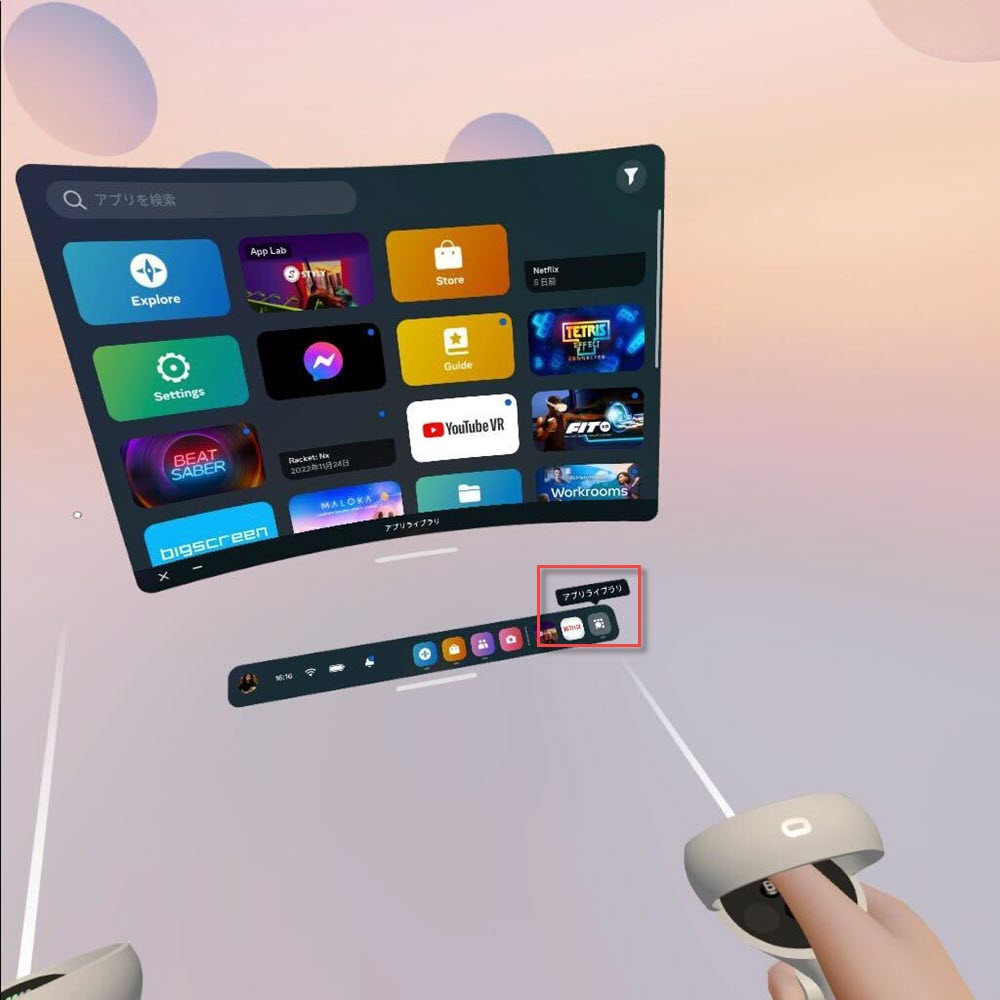
How to launch STYLY app for Meta Quest
Select “App Library” on the right side of the menu, and you will see the list of installed apps.
Select STYLY from the list.
How to play VR scenes
How to play VR scenes from within the app (common to both Steam and Quest versions of STYLY)
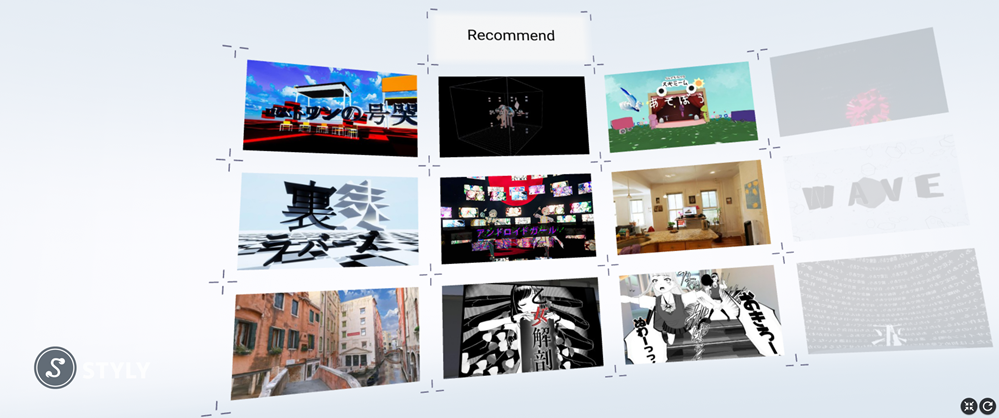
A list of Recommended (STYLY official recommendation) scenes will be displayed in front of the home scene.
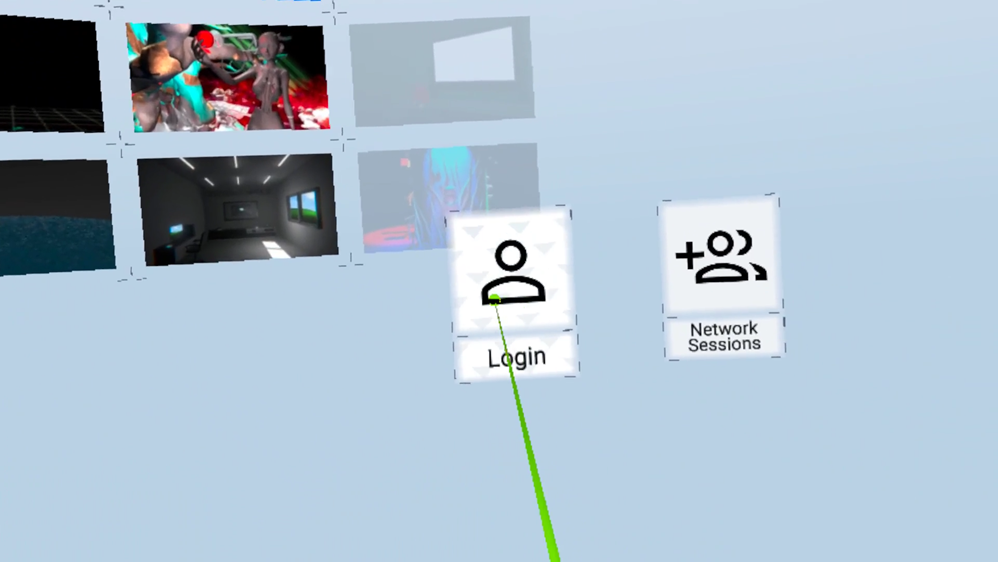
There is a Login panel on the right side of the screen, so point the ray to the Login panel and pull the trigger.
Login panel will be displayed, please log in your STYLY account.
After logging in, My List and My Scene will be displayed.
My List is where you add My Lists in Gallery, and the mobile app stores the list of scenes you have liked.
My Scene stores the scenes you have created in your account.
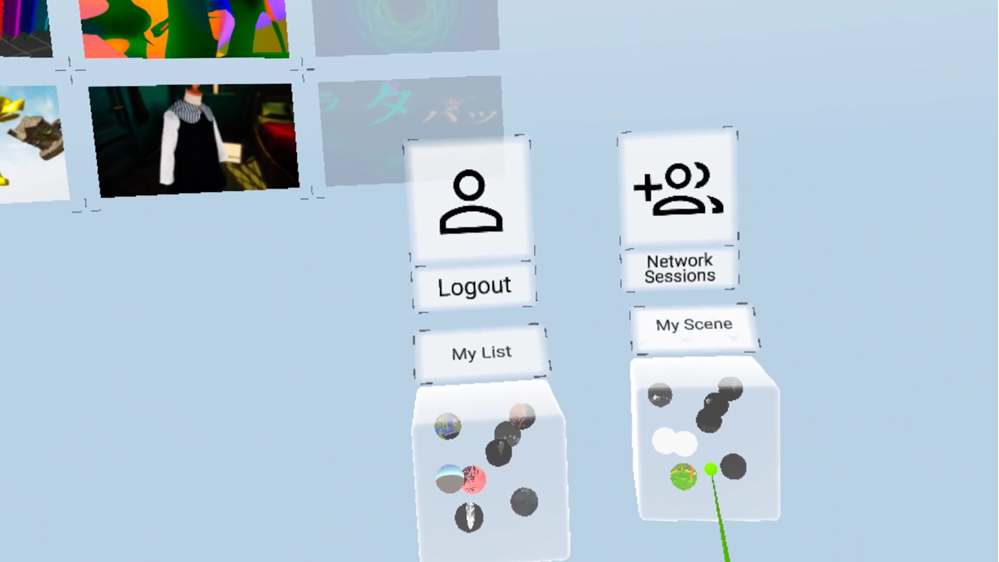
From the scene list with thumbnails in the front, skip the ray to the scene you like and pull the trigger.
The scene will approach the front and you can see detailed information.
Please align the ray with the playback mark and pull the trigger to play the scene.
To bring up the home menu, press the B button.
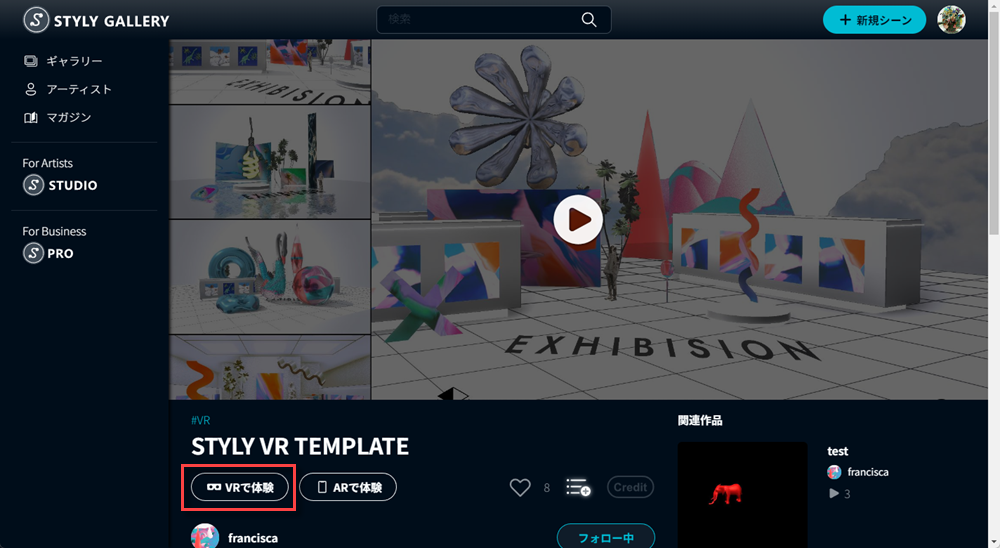
How to launch STYLY from STYLY Gallery (STYLY for Steam only)
Only if you have the Steam version of STYLY installed, you can launch the VR scene directly from the Experience in VR button on the STYLY Gallery scene page.
Please make sure that STYLY for Steam is ready to launch.
For details, see How to start STYLY for Steam.
Click on the “Experience in VR” button.
Click the Play button.

Click on “Open STYLY_Lanucher”.
STYLY will be launched and the VR scene experience will begin.

How to operate STYLY application
How to teleport/viewpoint movement
Teleport Movement
Point the controller in the direction you want to move and move the stick forward, a yellow-green parabola and a rounded border will appear.
If a gray parabola appears, you cannot move to that point.

Moving the viewpoint
Tilt the stick left or right to rotate the viewpoint.
For VIVE and WindowsMR, push in the left and right parts of the trackpad (touchpad).
Interaction Operation
Various actions can be performed on objects with built-in interaction gimmicks.
Clicking on an object
Clicking on an object with the pointer pointing to it and pulling the trigger button will trigger a click action.
Grabbing an object with the pointer
You can drag an object by flying the pointer over the object and holding the trigger button.
Release the trigger button and the object will leave the pointer.
While dragging an object, you can move the object away from or closer to the controller by moving the stick up or down.
Equip an object
You can equip an object to a controller by placing a point on the object and pulling the trigger button.
With the object equipped, you can use the controller to act on another object or pull the trigger to shoot a sphere.
To unequip an object, press the B button.