As we finished the 3D models and the textures, we start to make the 3D space at last.
As the size of the project grows, the number of 3D models, textures, materials and other assets explodes. Therefore, make folders to handle them easily.
As the operations in Unity are similar to those in Maya, you would get used to them soon if you have an experience with a DCC tool.
Import an asset in Unity
Import the fbx file exported from Maya and the textures exported from Substance.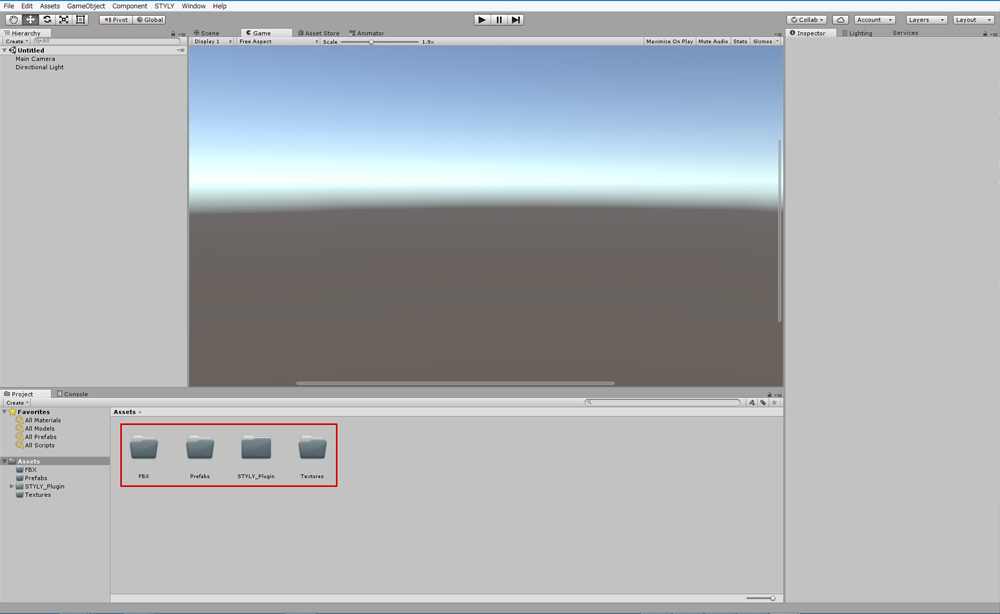
After you launch a project, import ‘STYLY Plugin’ at first. (Refer to this for details: https://styly.cc/tips/unity-asset-uploader/)
Prepare a folder to manage assets easily.
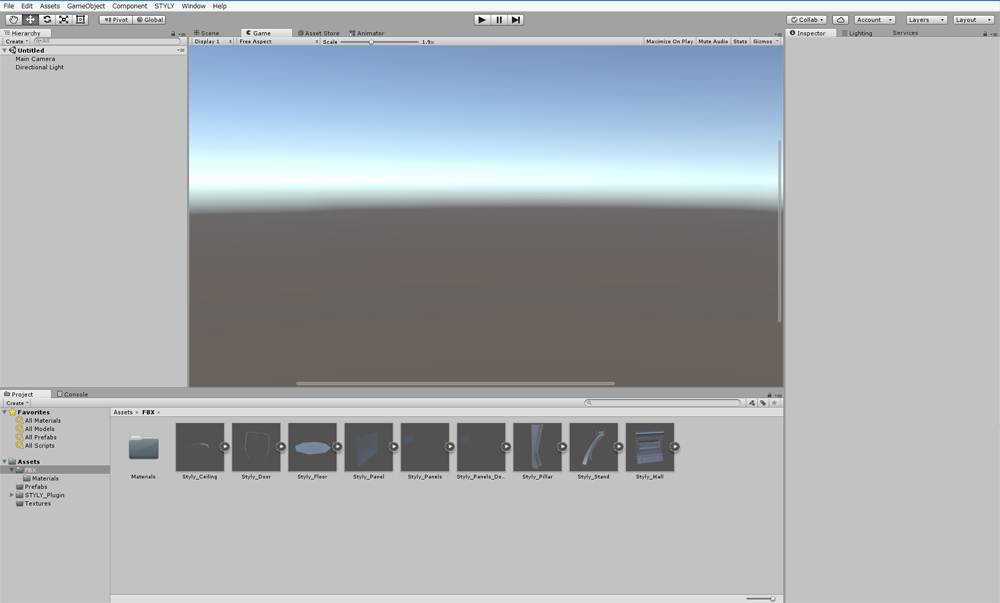
Drag all fbx to the ‘FBX’ folder.
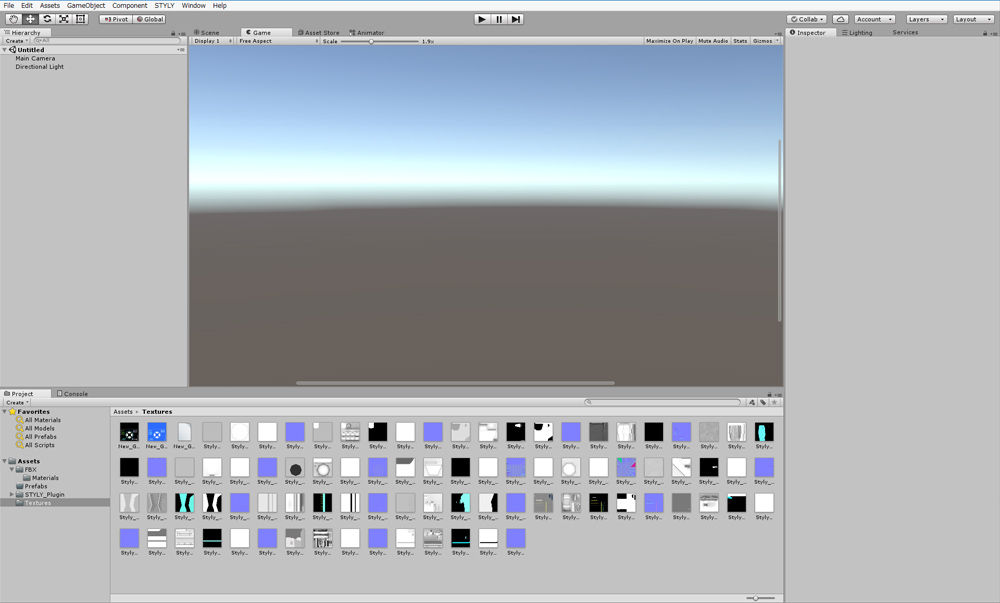
Import the textures in the same way.
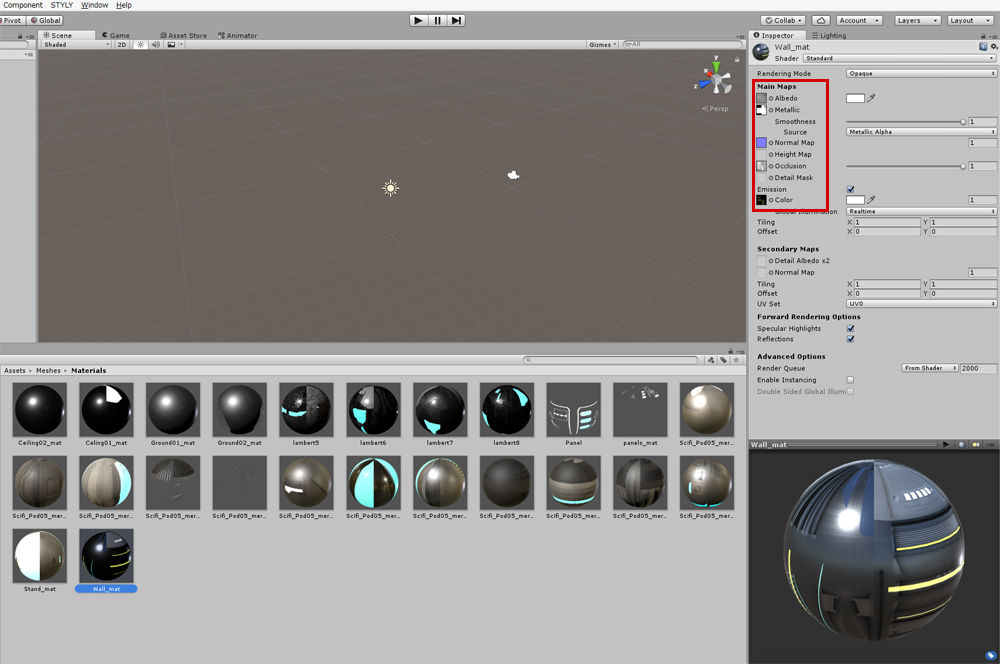
Assign the textures to the materials that came with the fbx.
Use the texture for ‘Unity Standard Shader’.
- Albedo: It’s a texture to contain colour information and can add transparency to alpha channel.
- Metallic Smoothness: Red channel controls how ‘metallic’ it looks and alpha channel controls ‘Smoothness’ information.
- Normal Map: It contains normal-vector information. Use it with ‘Texture Type’ set to ‘Normal map’.
- Occlusion: Apply ‘Ambient Occlusion map’.
- Emission: It controls light emitted from the object.
Make a Scene in Unity
We set up the Scene by placing objects.
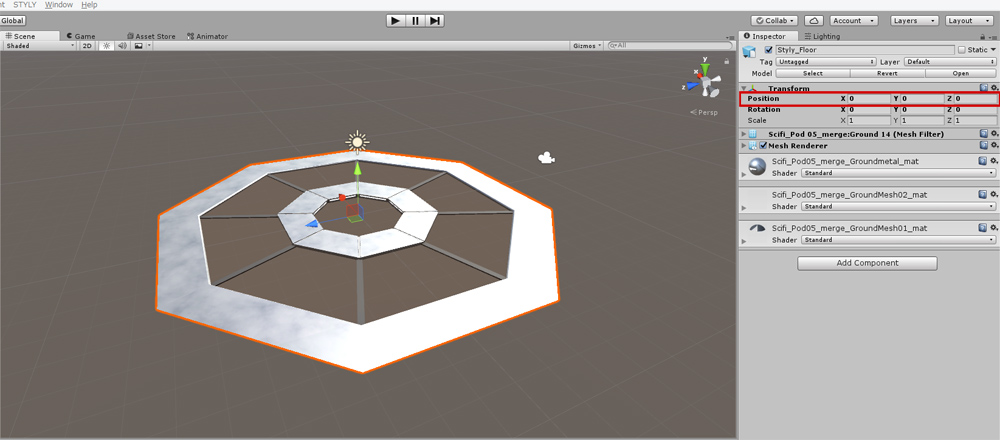
Firstly, place the floor with ‘Position’ set to (0, 0, 0).
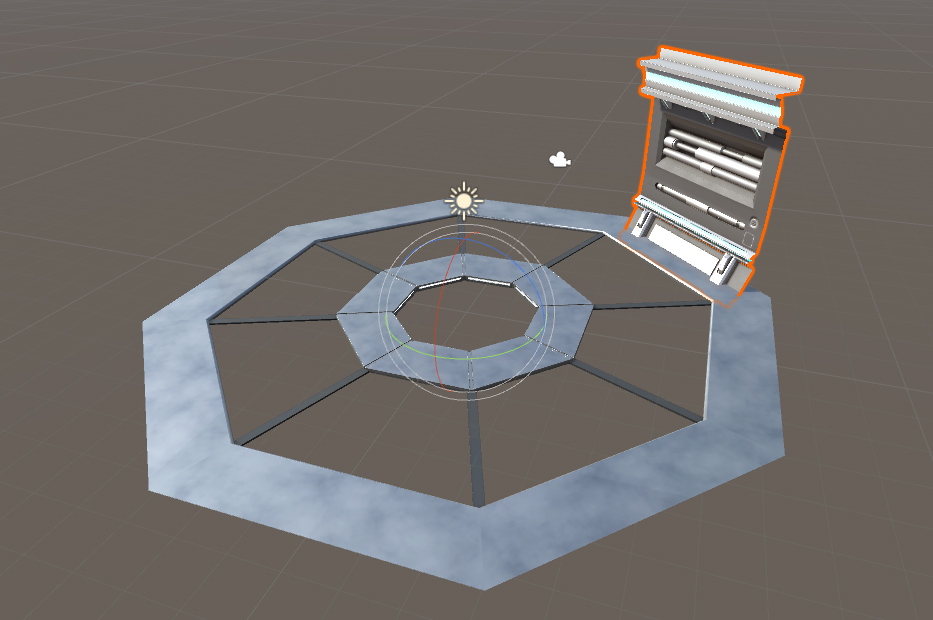
Place the wall with ‘Position’ set to (0,0,0) as well.
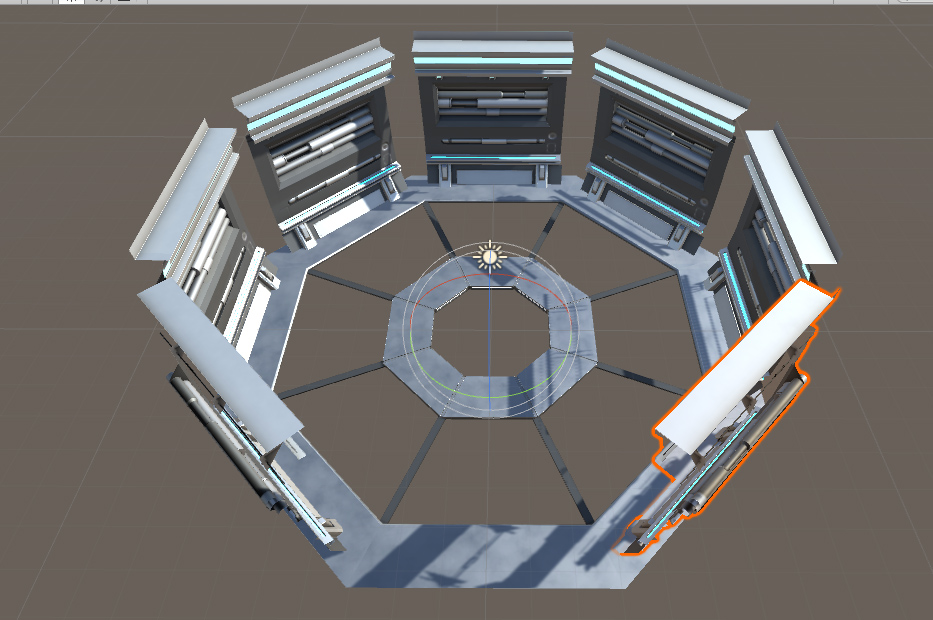
You can find the pivot for the wall at the middle of the floor. Copy and multiply it at every 45-degree step of ‘Rotation Y’.
Place the other parts in the Scene.
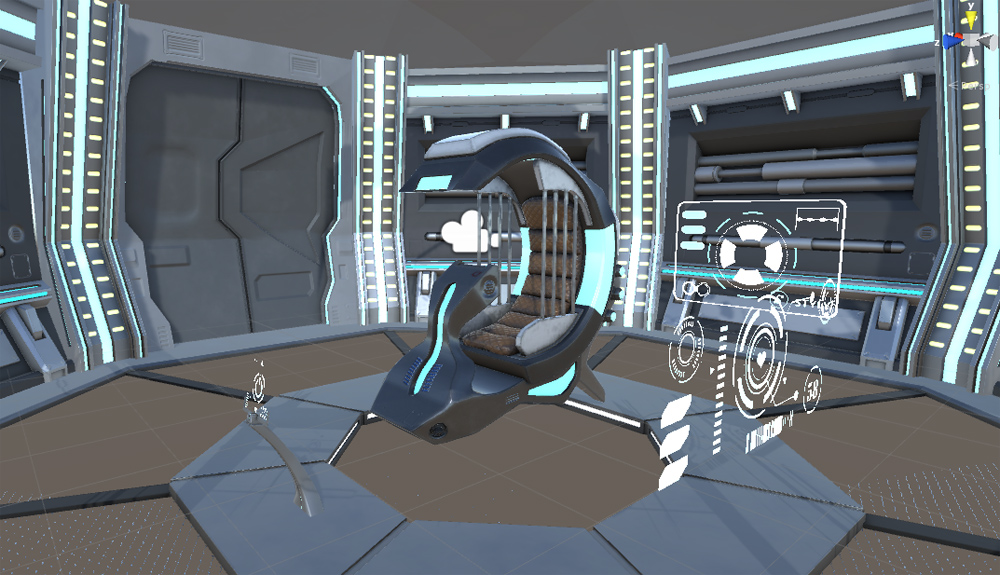
The Scene ended up with like this!
Upload to STYLY from Unity
Let’s upload the assets to STYLY.
Convert it into a Prefab to upload to STYLY.
As it’s painful to arrange the walls and the pillars again, we put them together as one Prefab.
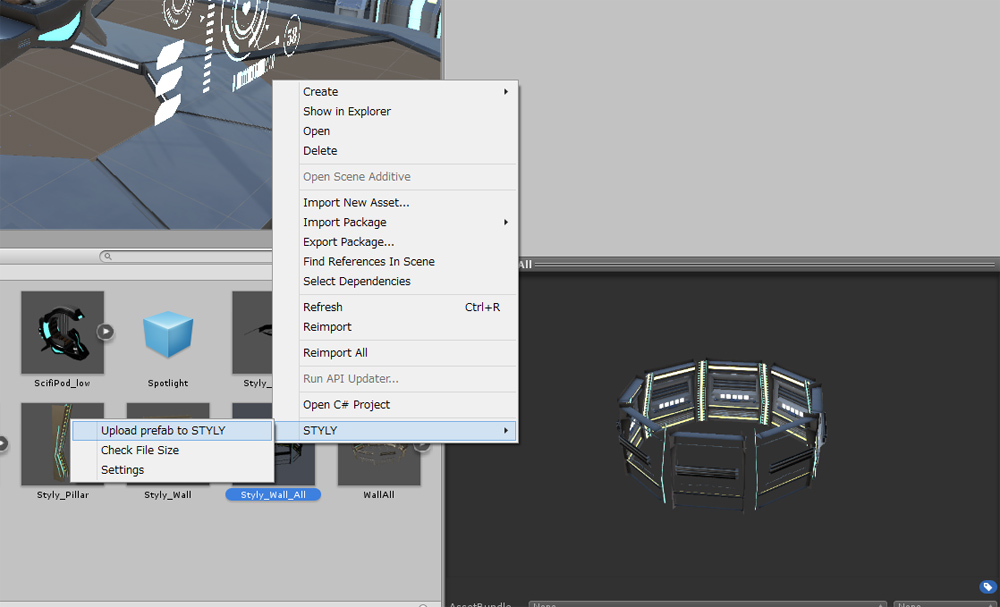
Upload all parts in the same way.
Make a VR space by placing assets in STYLY
Launch STYLY Editor and create a new Scene (Refer to this to learn how to use STYLY Editor).
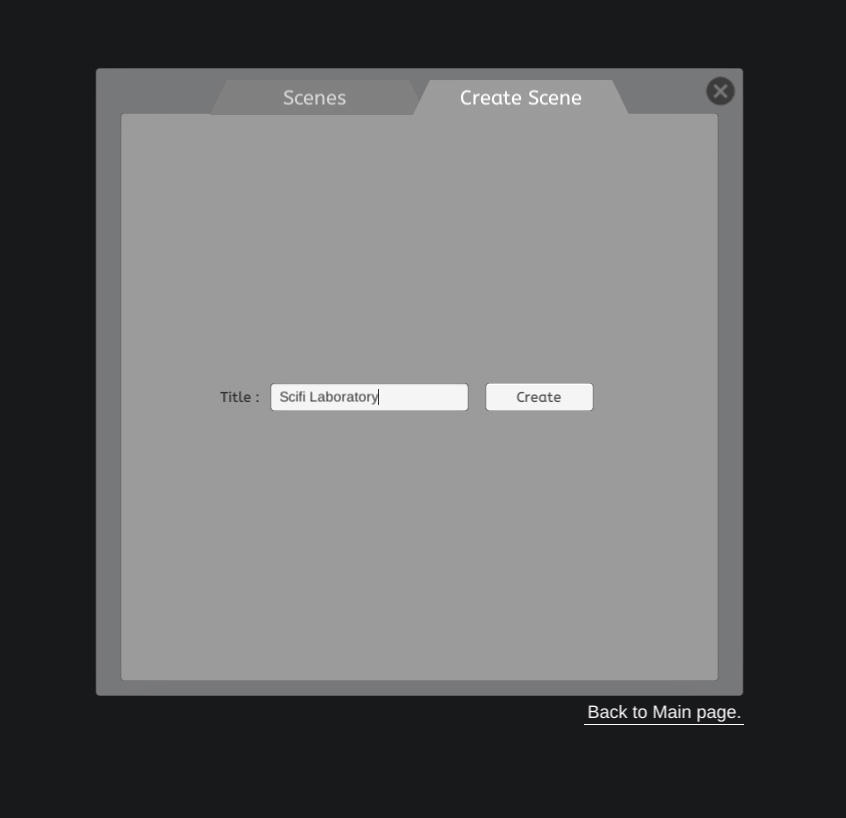
I named the title of the Scene ‘Scifi Laboratory’.
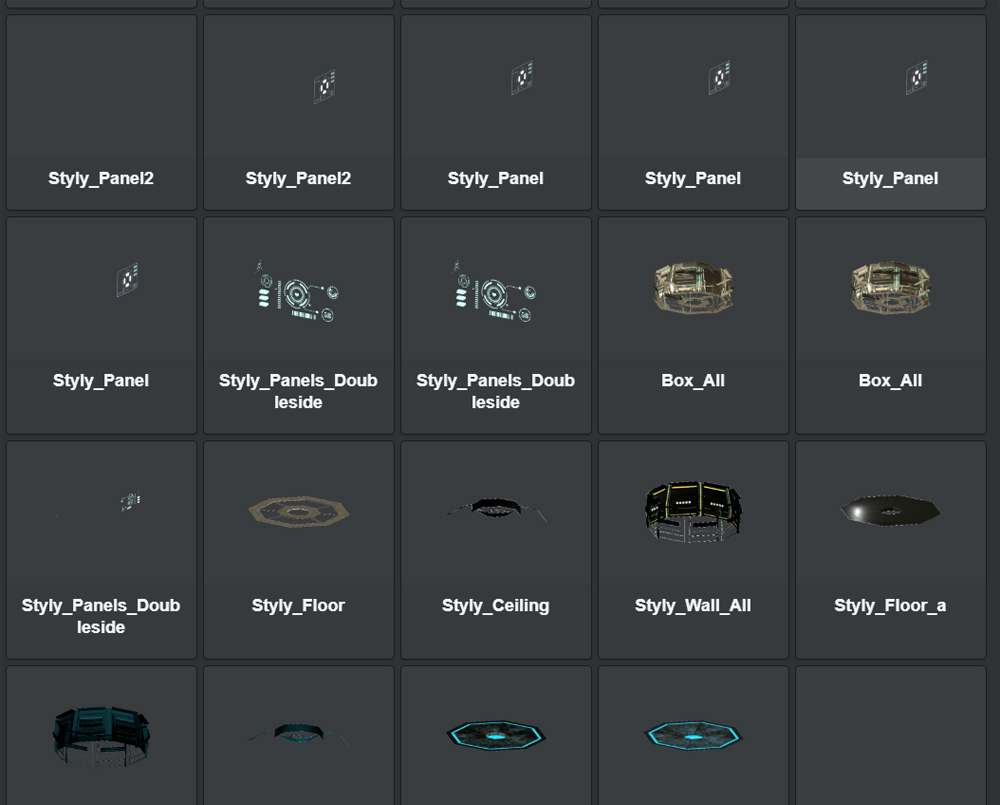
The 3D models uploaded from Unity are listed in ‘My Models’.
We select the models required for the Scene.
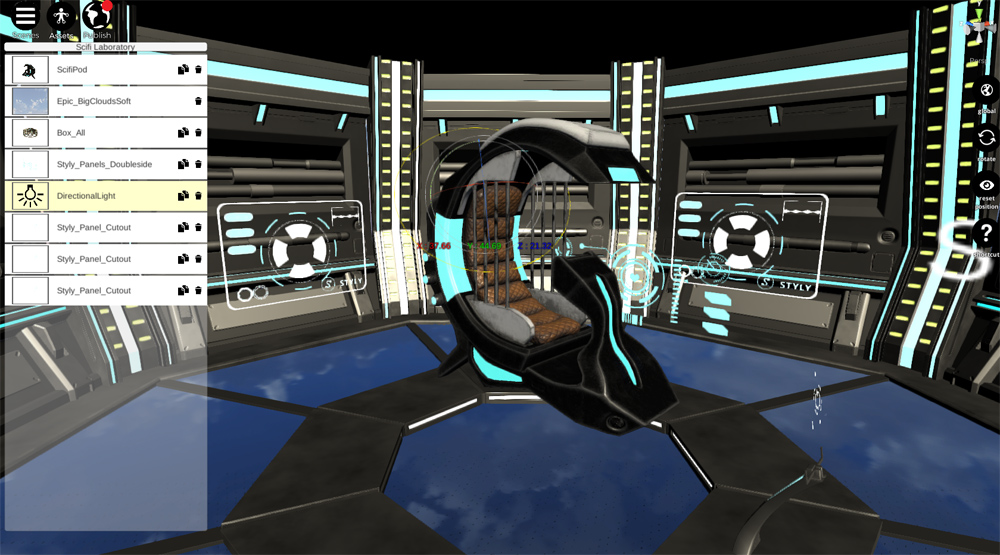
It’s very easy to place the assets. Nice!!
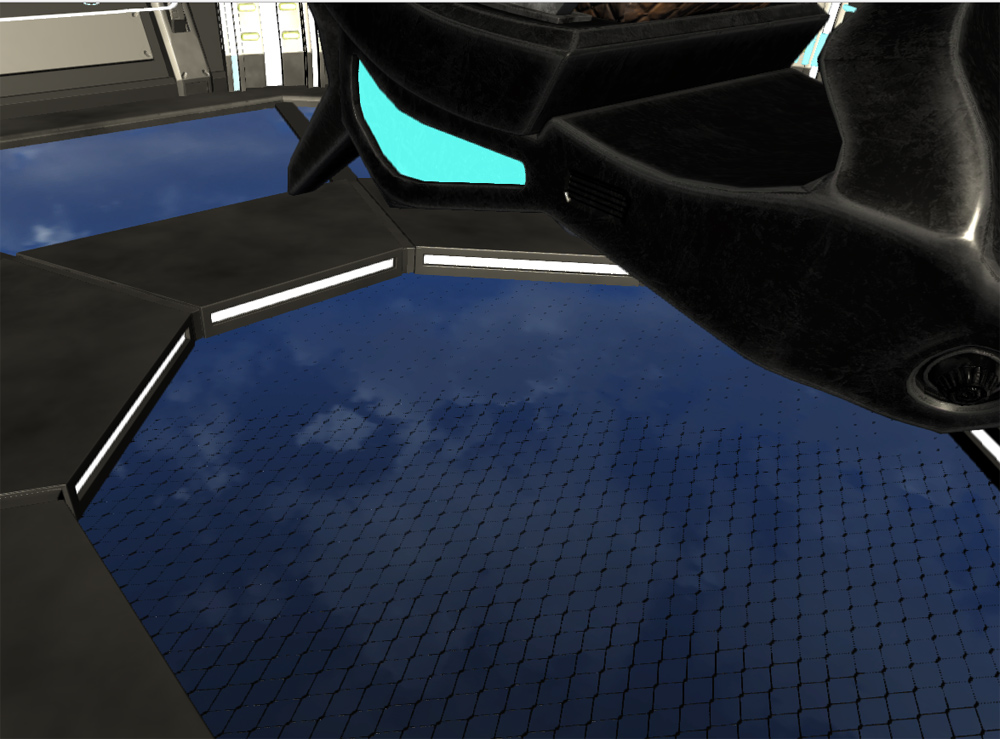
I used the asset, ‘EpicSky’, available in STYLY.
VR experience by HTC VIVE
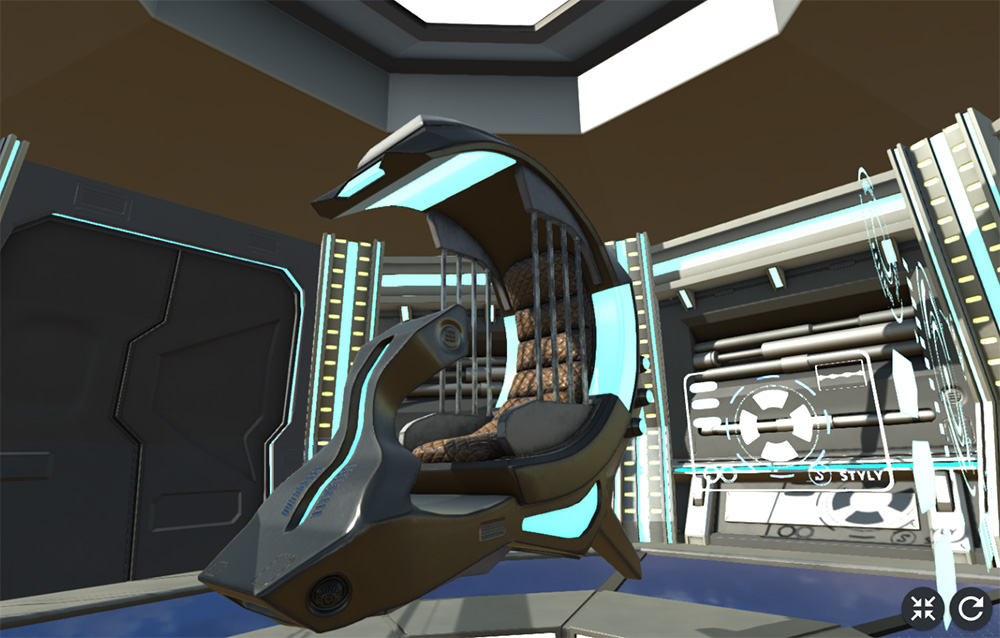
The rendered surfaces look more beautiful than how they looked in the editor.
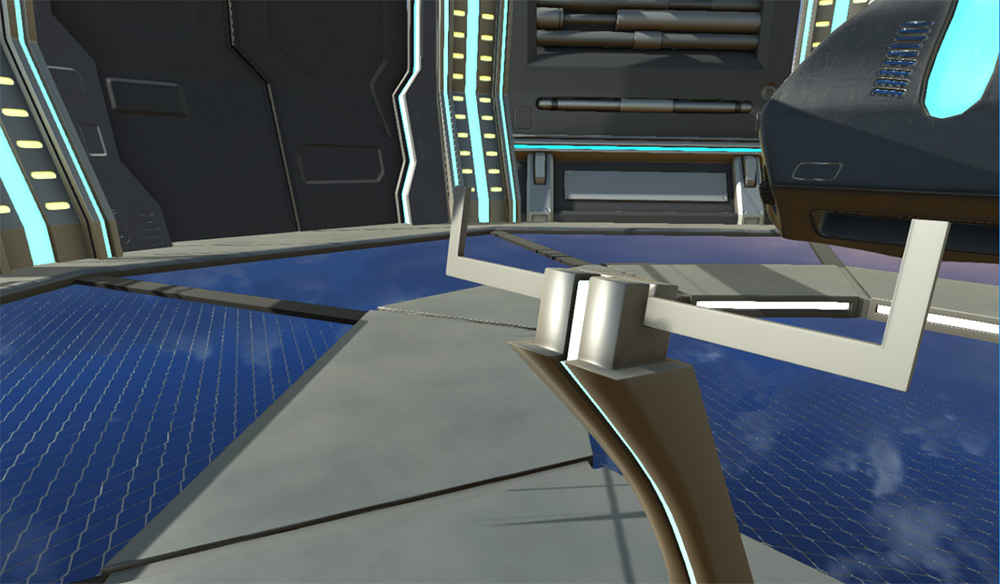
The majority of the floor area is see-through to make viewers feel like floating in the air.
The original plot didn’t have an idea of ‘floating in the air’ but I am inspired by Mr. Ryohei Watanabe, Psychic VR Lab, when he viewed this VR space that was still in production.
Since then, I adopted this ‘floating in the air’ idea and increased the area of the mesh floor more.
Thanks to it, I made this VR space even better. Thanks!
Although I introduced the workflow to publish a VR space in STYLY, I actually didn’t tell much about STYLY. It’s a solid proof of how STYLY is easy to use.
Your past CG works forgotten in your PC could shine again by placing them in a VR space.
It’s a very powerful tool for an artist without programming skill to complete it without other’s help.
[関連記事]
・A VR space with the theme of a secret laboratory for mechanical engineers, ‘Scifi Laboratory’ design process #1 Modelling
・A VR space with the theme of a secret laboratory for mechanical engineers, ‘Scifi Laboratory’ design process #2 Texturing