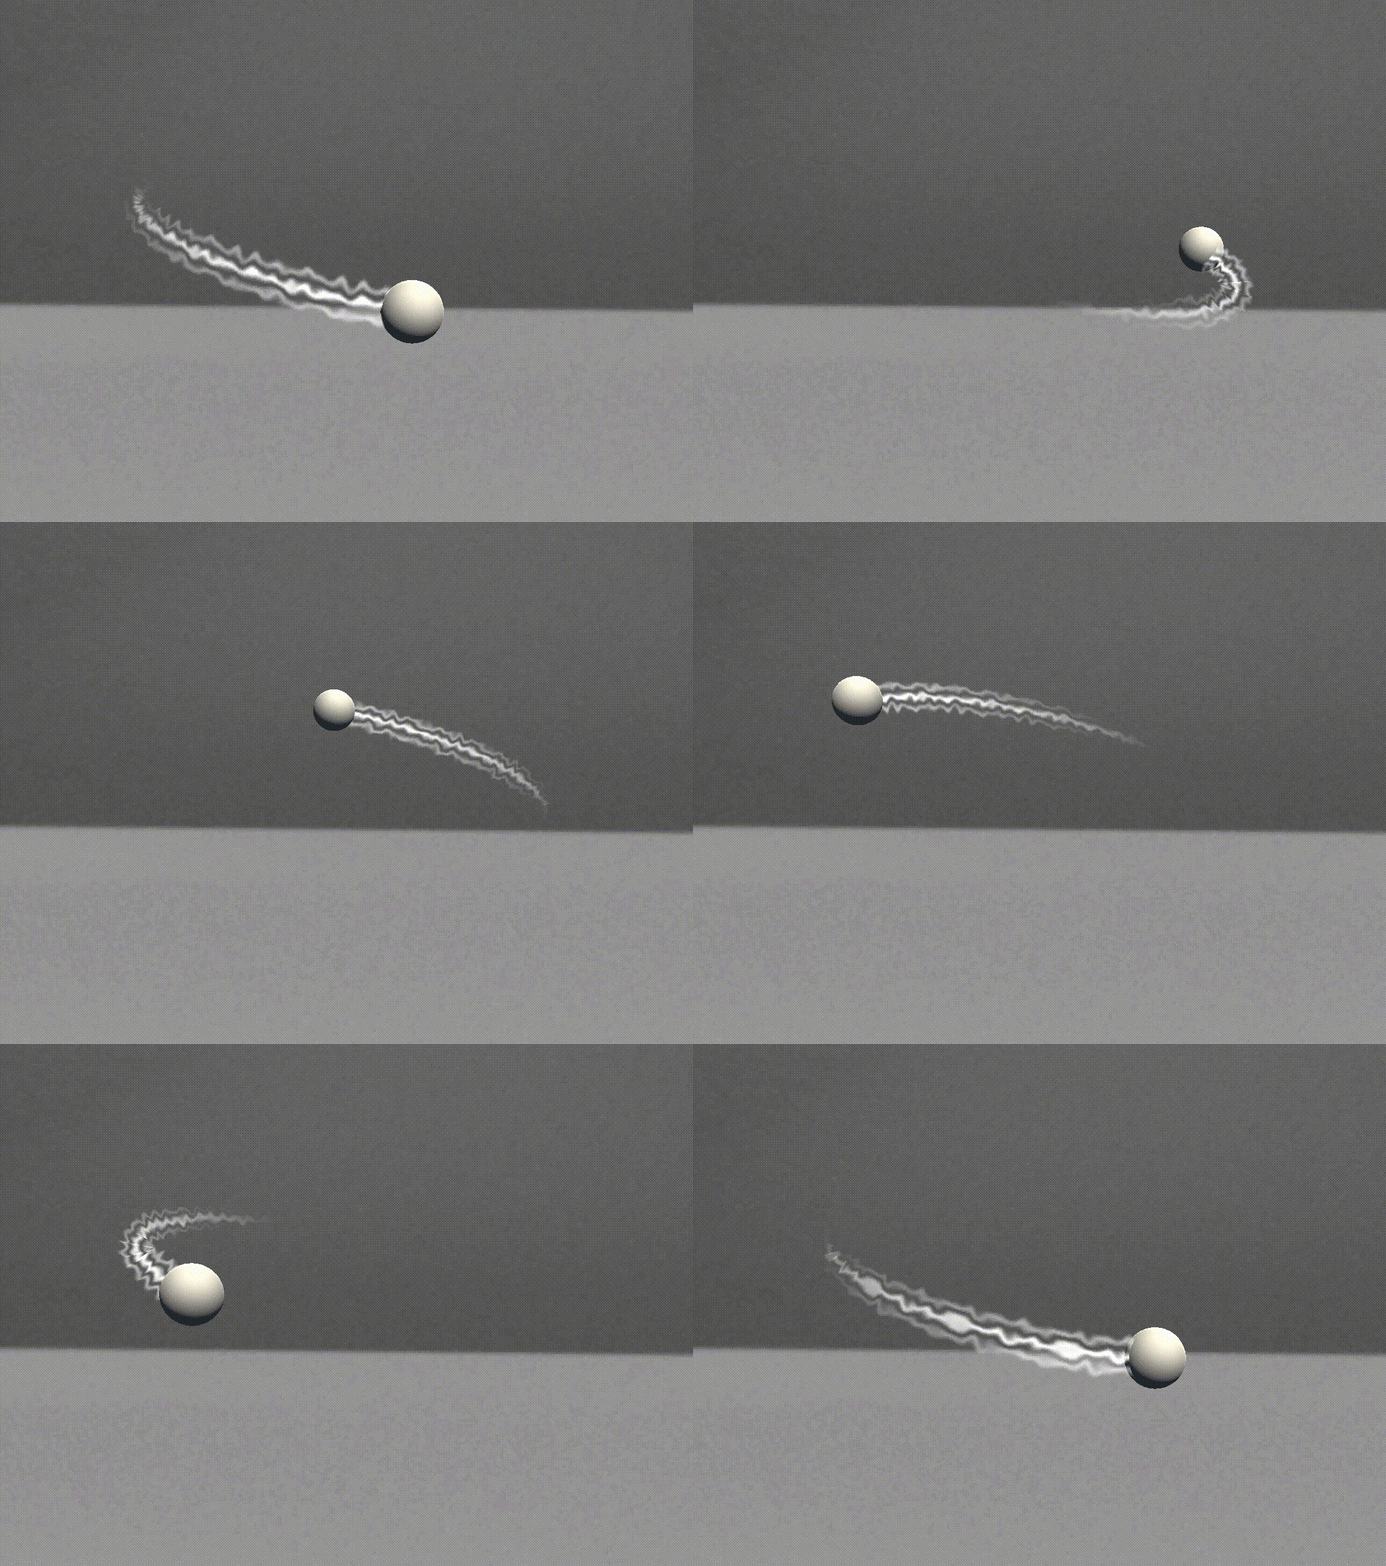
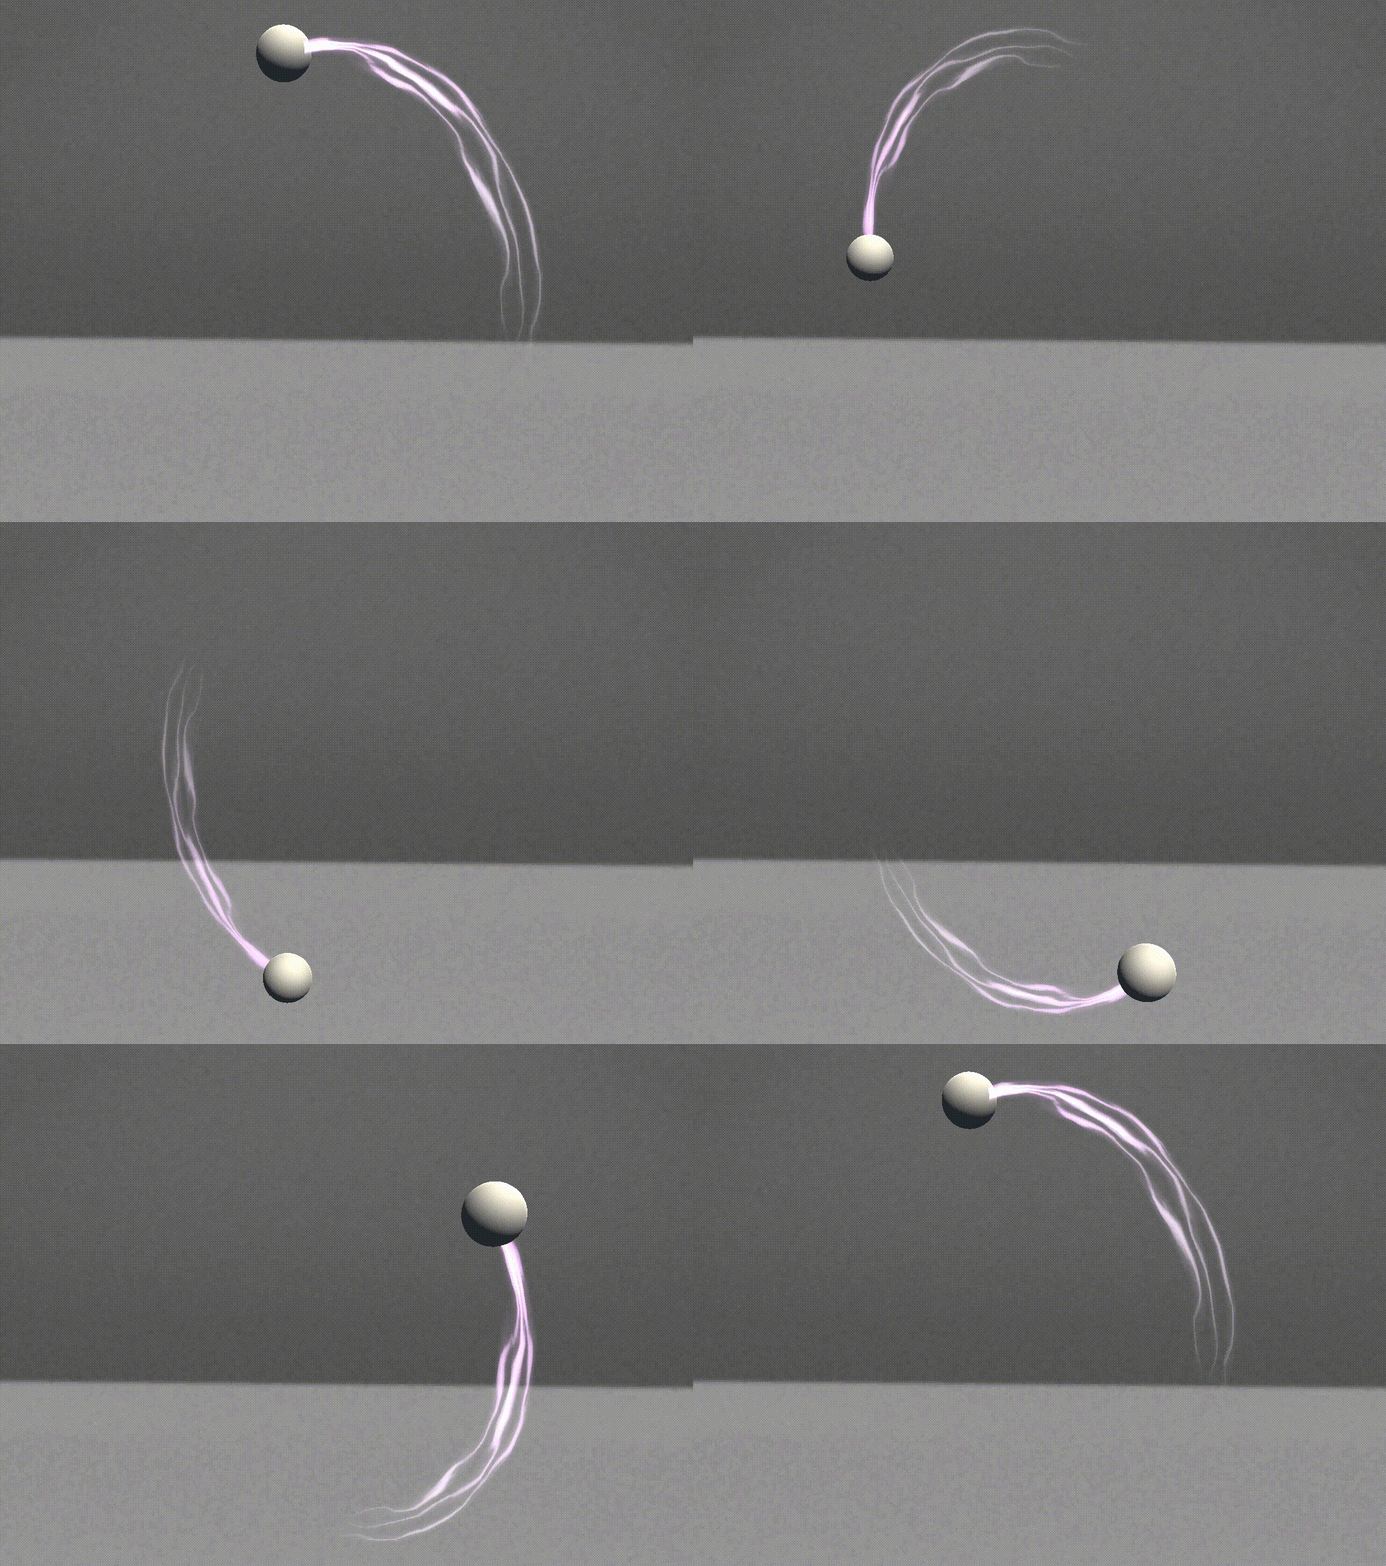
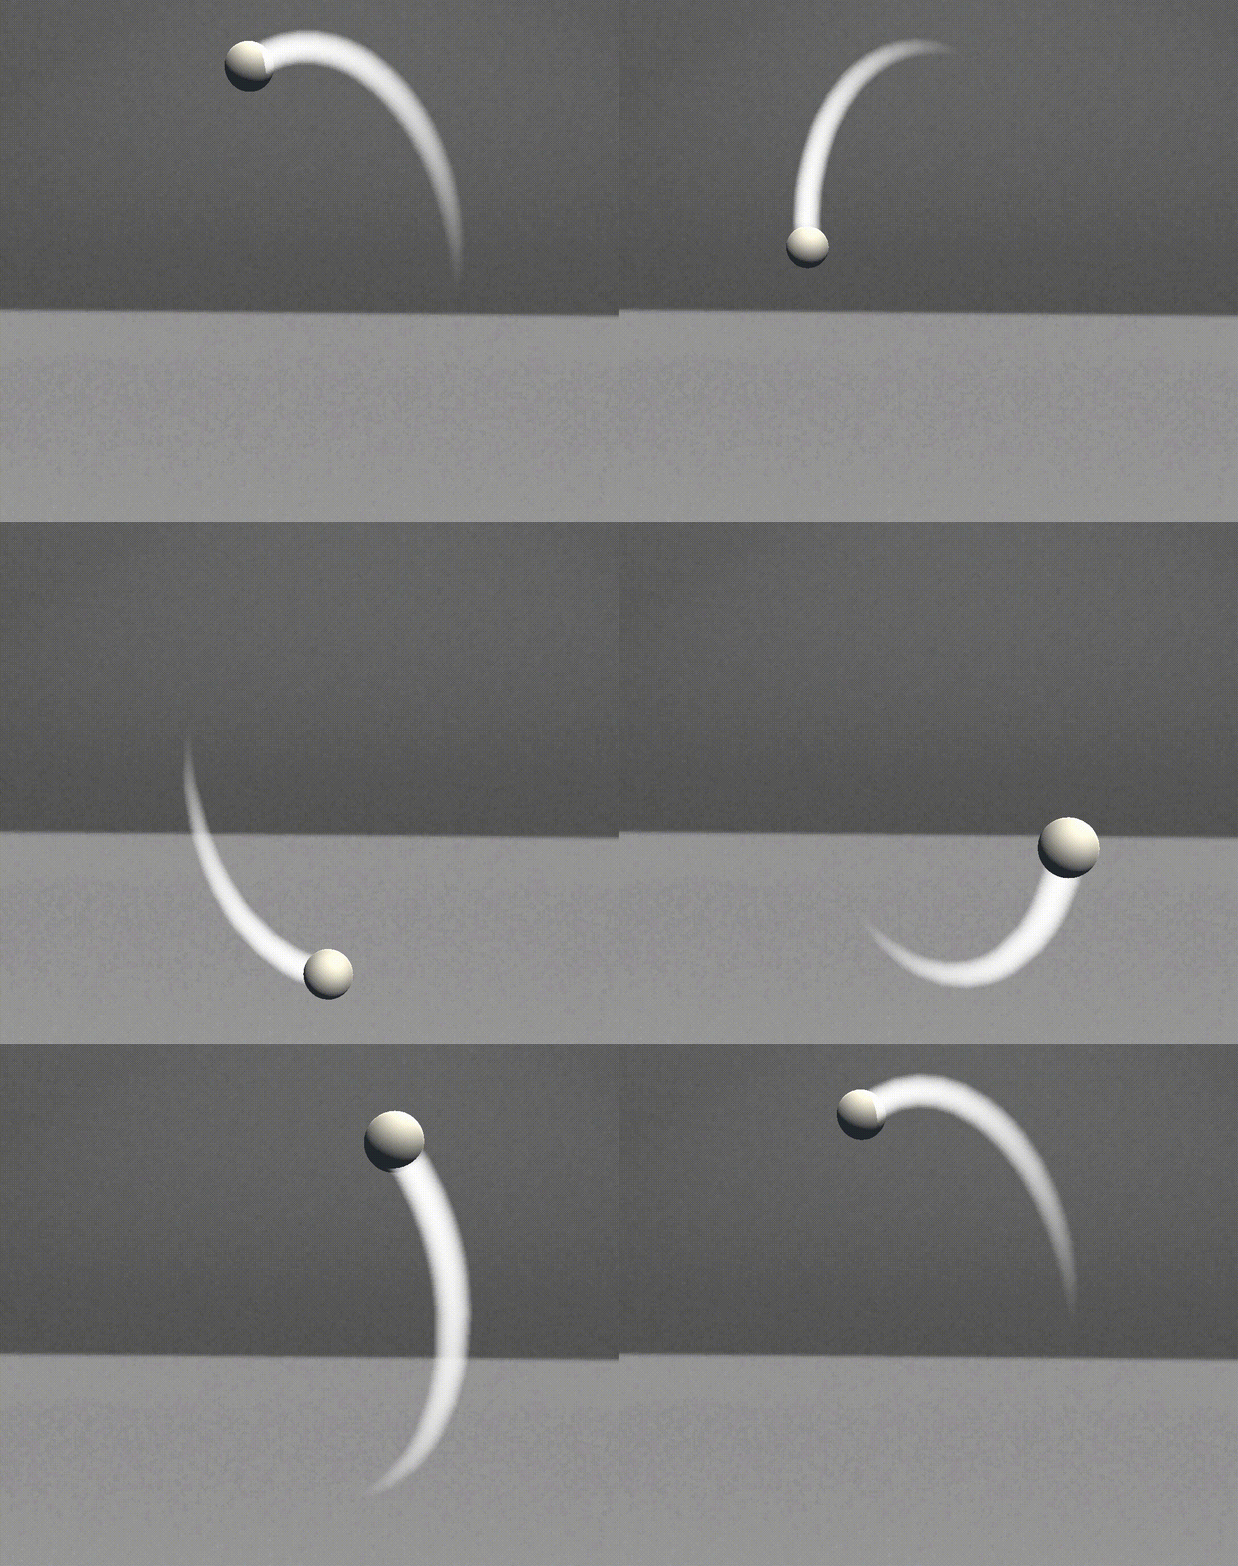
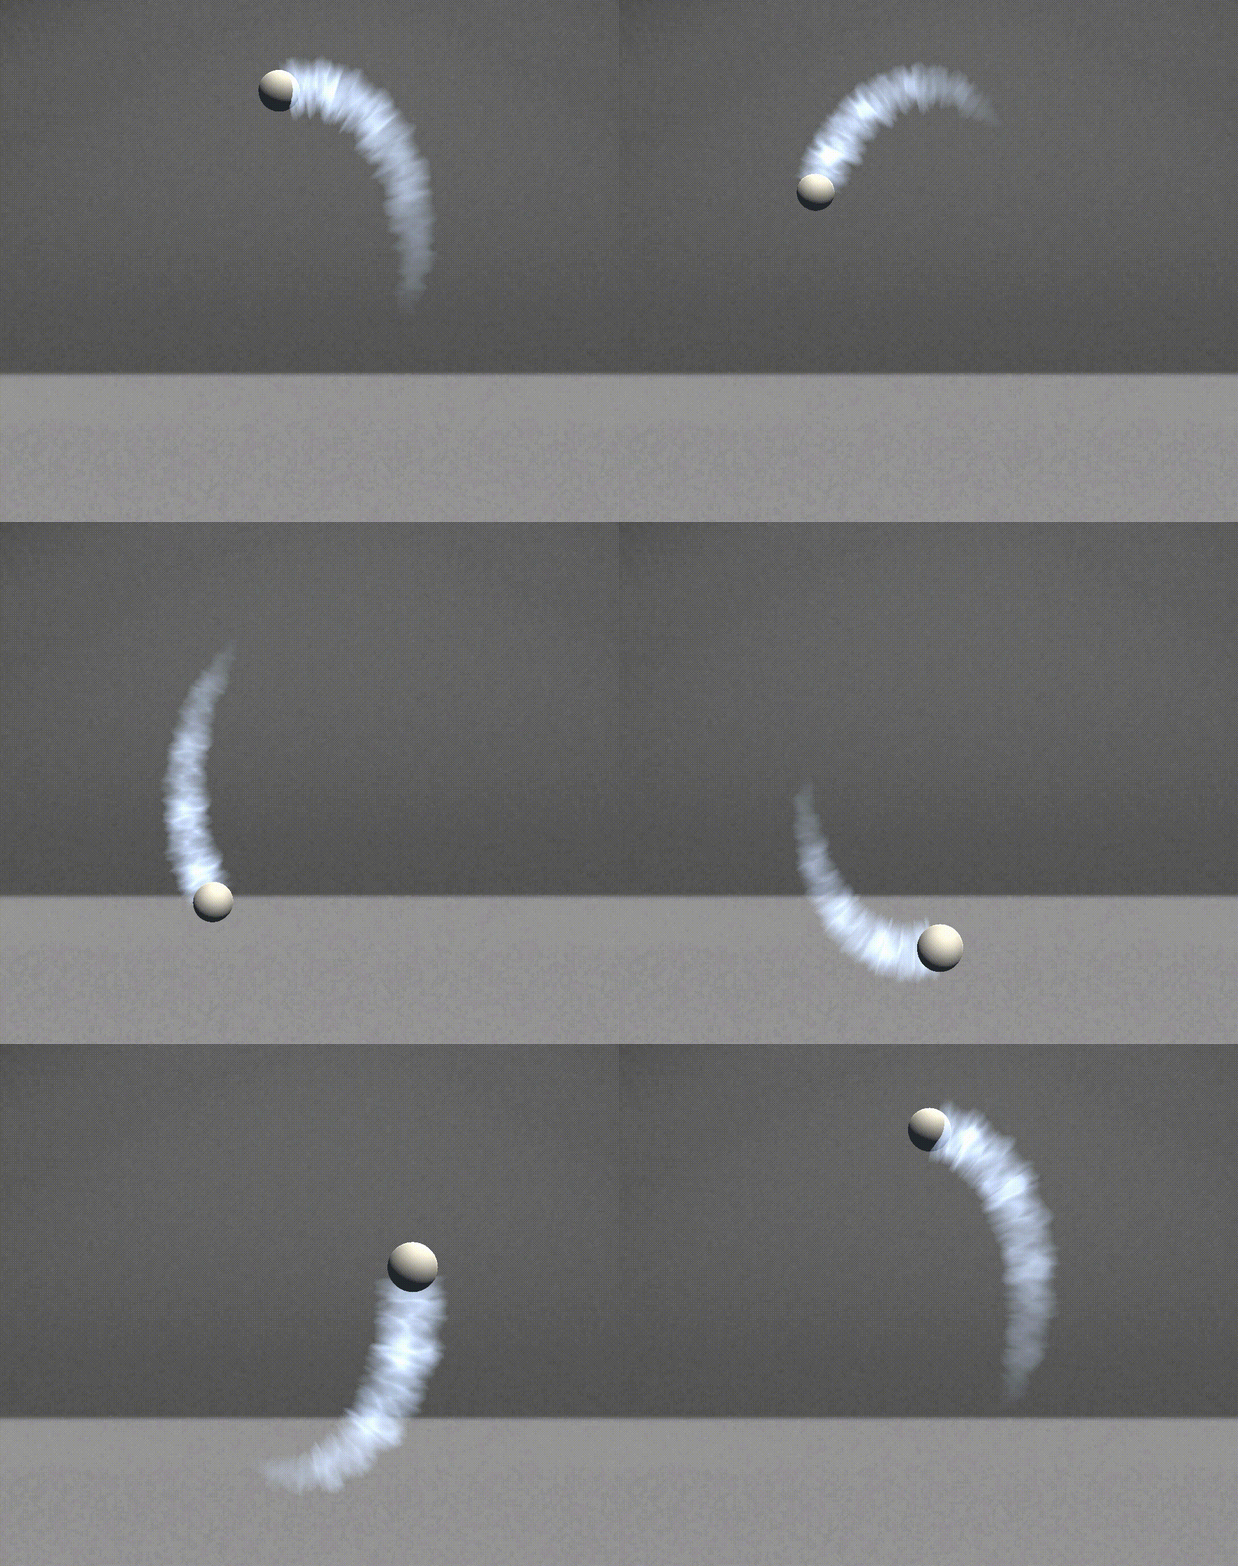
The trail modifier adds shooting star-like trails to your object. It can be combined with animation modifiers to create striking effects.
Sample Scene
Below is a sample scene using the trail modifier:
How to Use the Trail Modifier
Create a Scene
First, open STYLY Studio and create a new scene using either the VR or AR Scene Template.
Next, place a model in the STYLY scene.
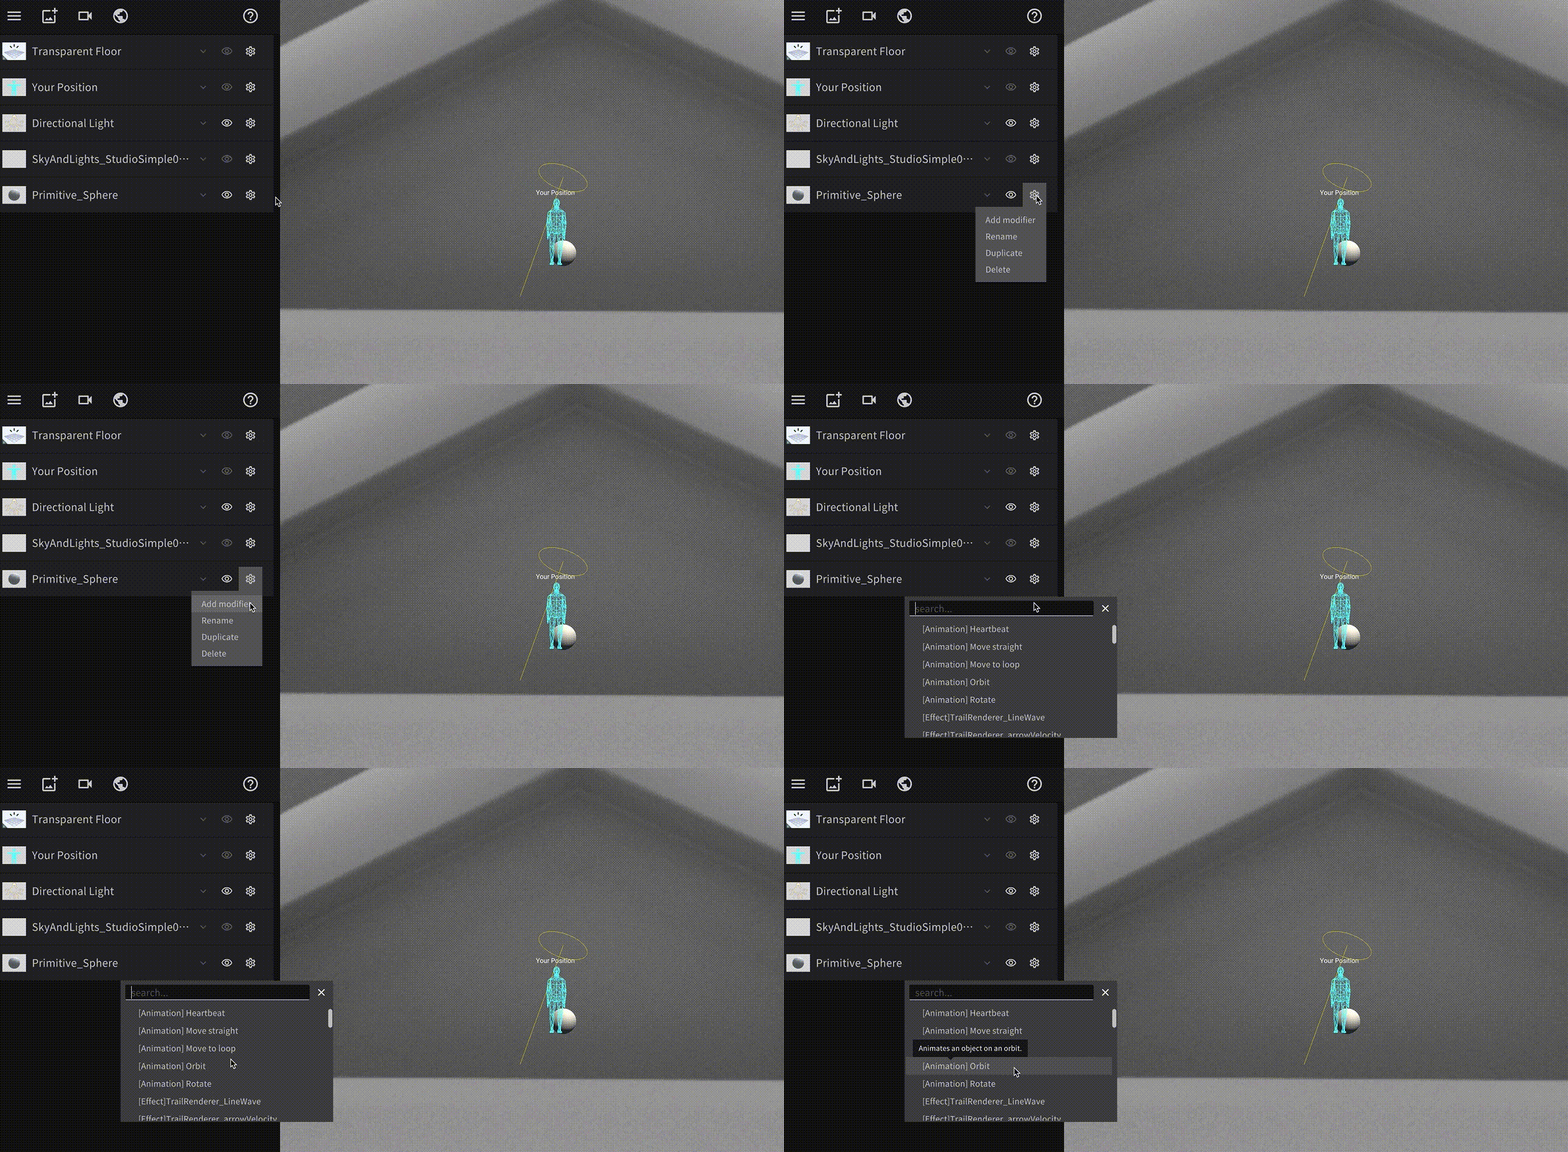
If your model has no movement, add animation to your model by clicking the gear icon >add modifier > applying any [animation] modifier.
Modify the values of the animation and scale/move your object to adjust the animation to your preference.
To learn more about animation modifiers, refer to the article below:
Now that we have our object animated, let us add a trail modifier.
From the gear icon, click Add modifier again, and this time, search for [Effect]TrailRenderer_ in the search bar. Select any modifier from the list of trail modifiers.
Adjust the modifier values and click “apply” to save the changes.
| Time | Sets the lifetime of the trail in seconds |
| Width | Sets the width of the trail |
| Color | Sets the color of the trail |
List of Available Trail Modifiers
Below is a list of the trail modifiers available to use in your STYLY scene:
TrailRenderer_LineWave
TrailRenderer_arrowVelocity
TrailRenderer_electro
TrailRenderer_Simple
TrailRenderer_slashVelocity
TrailRenderer_squareTiles
TrailRenderer_triDots
TrailRenderer_triLines
TrailRenderer_waterSmoke
For questions about STYLY, bug reports, and improvement requests, please contact the STYLY FORUM:
https://en.forum.styly.cc/support/discussions
Certified (QA) by Shota Shawn Yoshizawa
Edited by SASAnishiki
Translated by cpnnn



![Screenshot 125 - STYLY [Effect]TrailRenderer_](https://styly.cc/wp-content/uploads/2022/11/Screenshot-125-1024x565.png)
![Screenshot 126 - STYLY [Effect]TrailRenderer_](https://styly.cc/wp-content/uploads/2022/11/Screenshot-126.png)
