Introduction
This time, I will introduce essential and useful shortcuts/tips for modelling.
Some have been shown in the previous articles, but I will also introduce some new tips. So please make good use of them.
Essential shortcuts and techniques with them
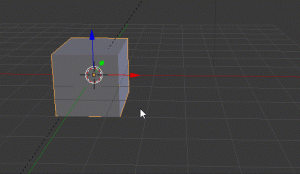
Extrude
It’s been used many times before so I have nothing to say more, but, just in case… In the Edit mode, with vertex, edge or face selected, press the ‘E‘ key to extrude. We use it as a prime function for modelling.
Extrude
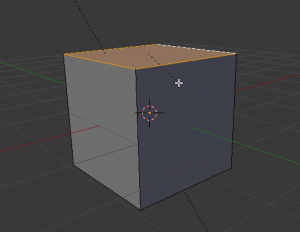
Inset Faces
Probably, this shortcut has also been introduced before. With a face selected, press the ‘I‘ key to create an inset of the face. By the way, you could do the same by adding a face with the ‘E’ key and scaling it down. Actually, the latter is the way how have I done for a long time…
Inset a face
‘I’ stands for ‘Inset’. I might have described it as ‘Insert’ by mistake. I just learned it should be ‘Inset’ when writing this article…
There is a useful technique when using ‘Inset’. When you select multiple faces, it normally insets all the faces together. However, by checking ‘Individual’ in the left menu (you can display it with the ‘T’ key), the ‘Inset’ function is applied to each face individually. Once ‘Individual’ is checked, it’s applied to all following operations. So, if anything goes wrong, undo with ‘Ctrl+Z’ and use the ‘Inset’ again.
Create insets for each face individually
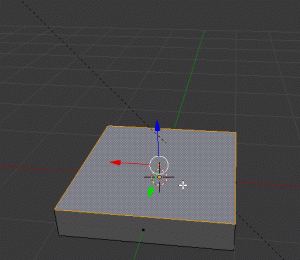
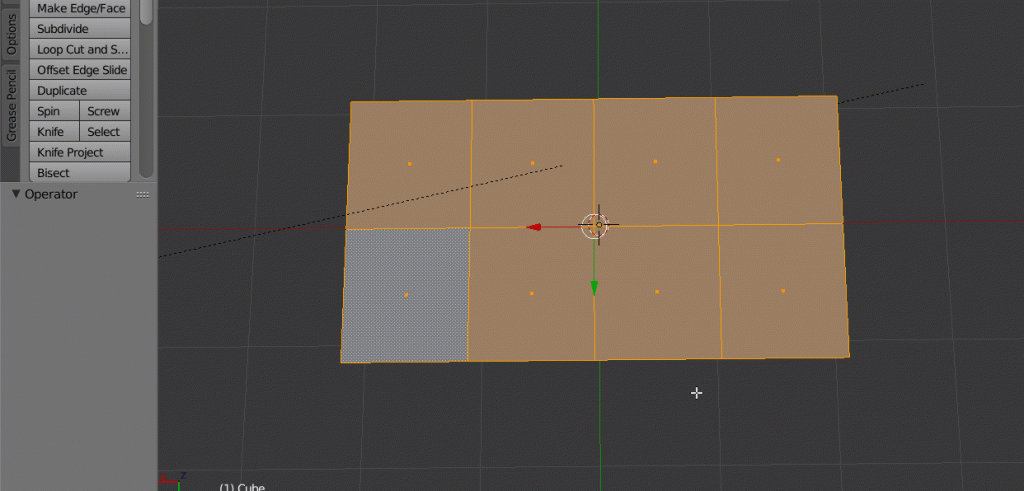
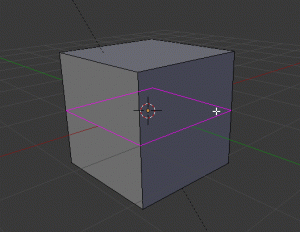
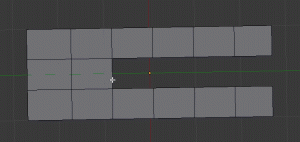
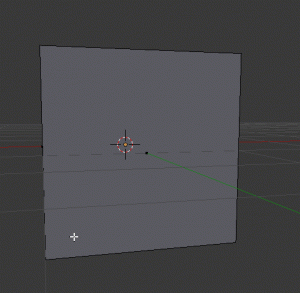
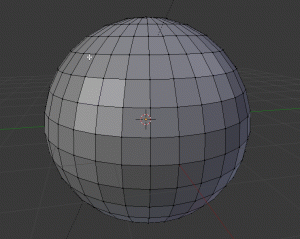
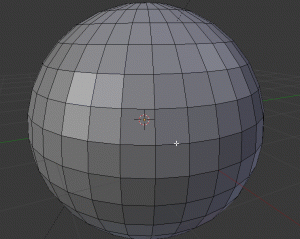
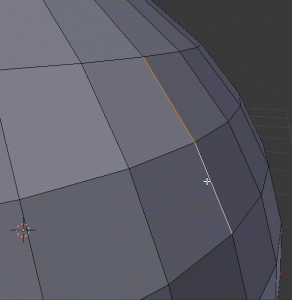
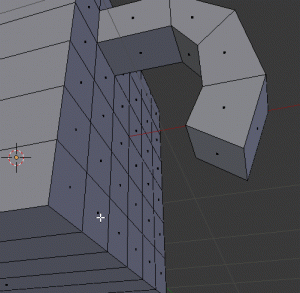
Loop Cut
In the Edit mode, you can place an edge loop on the object with ‘Ctrl+R‘. ‘Ctrl+R+[number key]‘ can change the number of cuts to create.
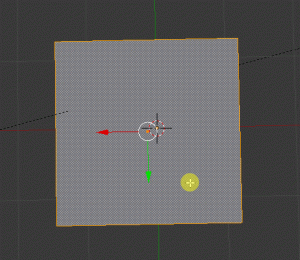
Multiple loop-cuts
After pressing ‘Ctrl+R’, you can cut at the middle of the object by double-clicking the left button. Alternatively, you can click once, move the mouse and click the left button again to cut at the position you want to cut.
You can ‘loop-cut’ at any position
‘Loop Cut’ not only increase faces and edges for editing but also highlight a boundary on a smooth surface.
For example, as seen below, the Subdivision Surface Modifier could smooth out the entire shape of a hat. In this case, ‘Loop-cut’ can highlight the boundary between the brim and the crown.
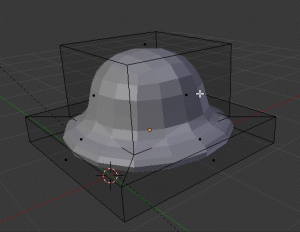
A tip for ‘Loop Cut’
Bevel
‘Bevel’ is also a frequently-used function. When you want to bevel the entire object, you can use the Bevel Modifier. But, when you want to bevel an edge, press ‘Ctrl+B‘ with the edge selected and move the mouse to adjust the depth of the bevel.
In addition, you can increase the number of edge loops along the bevel’s face to create smoother shape by using the mouse wheel before confirming the bevel.
Bevel
And, you can also use ‘Bevel’ to highlight the smoothed corner in the same way as you did with ‘Loop Cut’ earlier. It means both functions can highlight a shape feature by inserting edges.
Bevel can ‘sharpen’ a smoothed corner
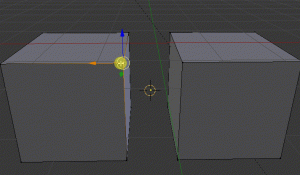
Duplicate
In the Object mode, you can duplicate an object by pressing ‘Shift+D‘ with the object selected. By pressing X, Y or Z after ‘Shift+D’, you can move the duplicated object in the selected direction.
Duplicate Object
In addition, you can duplicate a vertex, edge or face in the Edit mode.
Join
When you want to join separate objects, you can do it by pressing ‘Ctrl+J‘ with those objects selected.
If the origin of the joined object moved to a wrong place, select ‘Origin to Geometry’ on the Tools tab in the left menu (you can display it with the ‘T’ key) to move the origin to a correct position.
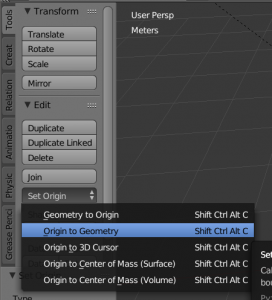
‘Origin to Geometry’
Merge
This merges the selected vertices into one. Select the vertices to merge and press ‘Alt+M’ to merge. In the menu brought up by pressing ‘Alt+M’, ‘At First’ merges the selected points at the vertex selected first, ‘At Last’ merges them at the vertex selected at last and ‘At Center’ merges them at the middle of the selected vertices.
Merge
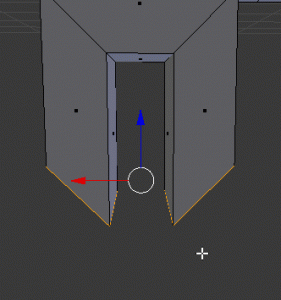
Create a face
Select vertices or edges and press the ‘F‘ key to create the face by filling the region surrounded with the selected vertices or edges. ‘F’ stands for ‘Face’.
Create a face
In addition, there is another useful technique. If the region, where you want to create a face, forms a ‘loop’ as shown below, you can fill it in stages by pressing the ‘F’ key repeatedly.
Fill with faces continuously
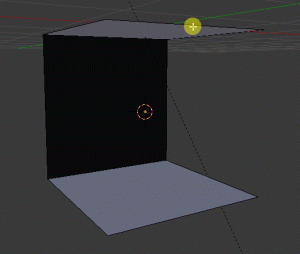
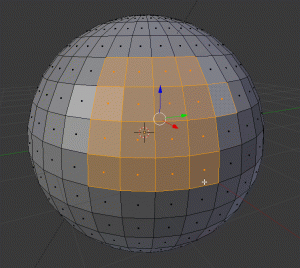
Furthermore, when you want to fill the curved surface, it’s very useful to fill it with faces by selecting the surrounding edges, pressing ‘Ctrl+F’ and selecting ‘Grid Fill’.
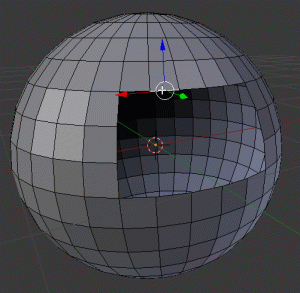
Grid Fill
By the way, you can also create an edge by selecting two vertices and pressing the ‘F’ key.
You can also create an edge
Knife
Use this function when you draw a cut line on a polygon. In the Edit mode, you can enable ‘Knife’ by pressing the ‘K‘ key. Then, draw the cut line with the left clicks and confirm it by pressing the Enter key.
Knife
Useful shortcuts
Border Select
Press the ‘B‘ button and draw a rectangle area by holding down the left mouse button. It is useful to select a large area.
Select a larger area – Border Select
Edge Loop and Face Loop
By selecting a vertex/edge/face with the Alt key held down, you can select an edge loop/face loop.
Select Edge Loop / Face Loop
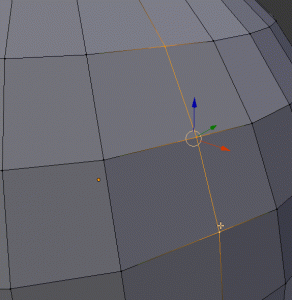
Slide
When you want to move a vertex or edge along the mesh surface, you can do it by pressing the G key twice. It’s handy.
Slide an edge along the mesh surface
Flip Normals
When joining objects with ‘Ctrl+J’, the joined object often has some faces with their normals flipped, for no apparent reason. I don’t know why it happens exactly. I usually find it when importing meshes into Unity. If you found flipped meshes, select the flipped faces and press ‘Ctrl+N‘ to flip them back to the correct direction.
Flip the normals
By the way, you can hide/unhide normals with ‘Normals‘ under the ‘Mesh Display’ section in the menu that you can toggle with the N’ key.
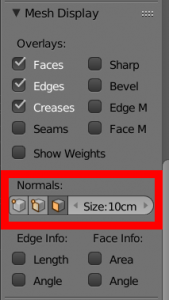
Display Normals
Invert selection
You can invert a selection with ‘Ctrl+I‘.
Invert a selection
Translate along the normal
While the S key scales the selection in the standard way, the Alt+S key scales it along its normal.
Scale up along the normal
Select all the meshes linked to the selected mesh
By selecting a mesh and pressing ‘Ctrl+L‘, you can select all the meshes linked to it. It’s very useful to select meshes that are difficult to select, for example, the inside of the object.
Select all the meshes linked to the selected mesh
Useful tips
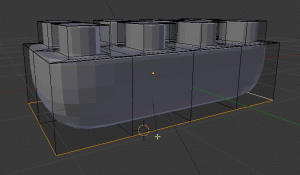
Bridge Edge Loops
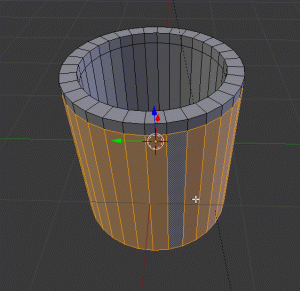
‘Bridge Edge Loop’ bridges two separate ‘Edge Loops’ by generating faces in between.
Select the faces to bridge, press ‘Ctrl+E’ to display the menu and select ‘Bridge Edge Loops’.
Bridge Edge Loops
It works only for faces in a single object, So, if each face belongs to a different object, join the objects before applying ‘Bridge Edge Loops’.
Straighten angled edge
When extruding an angled edge, the extruded face keeps that angled edge. If it’s been extruded along the Y-Axis, you can straighten the edge by pressing ‘S > Y > 0‘. Similarly, if it’s been extruded along the X-Axis, press ‘S > X > 0‘. I guess it works by scaling the edge by the factor of zero. Although it doesn’t work for some cases, it’s a still useful technique.
Straighten the edge
Remove Doubles
You can delete (or merge?) the duplicated vertices by selecting all the mesh with ‘Ctrl+A’, pressing ‘Ctrl+V’ and selecting ‘Remove Doubles’ (I used to merge them one by one until I learnt this function…).
Remove Doubles
Smooth Vertex
You can smooth vertices by displaying the menu with ‘Ctrl+V’ and select ‘Smooth Vertex‘.
They become smoother progressively by applying this function repeatedly.
Smooth Vertex
That’s it for now! Although I have not been on Blender for a long time, there are a lot of shortcuts I should have learnt earlier.
As it’s difficult to memorize all the shortcuts at once, just remember what kinds of functions are available at first. When you actually use them, you can read this article again to remember the details of the shortcuts. Keep doing it and you will learn them naturally!
Blender has a lot of shortcuts, so it’s hard to learn them. But, once you get used to them, you will find them useful. Let’s keep learning together!