Unity has a function called Animator Controller, which is used to implement animation effects for characters and 3D models.
Animator Controller controls multiple animation clips. By using this function, you can switch animation clips and combine different animations.
AnimatorController Settings
In this article, I will introduce how to use Animator Controller to create a rotating cube animation.
Be aware that you need basic knowledge about the animation function beforehand, so if you haven’t read the ‘[Introduction to Unity] Learn Animation System’ article yet, please read this first.
![[Introduction to Unity] Learn Animation System](https://styly.cc/wp-content/uploads/2019/06/回転-160x160.gif)
Open the Animator Controller
Before starting, please create a Cube in a Scene.
You can keep the settings as a default.
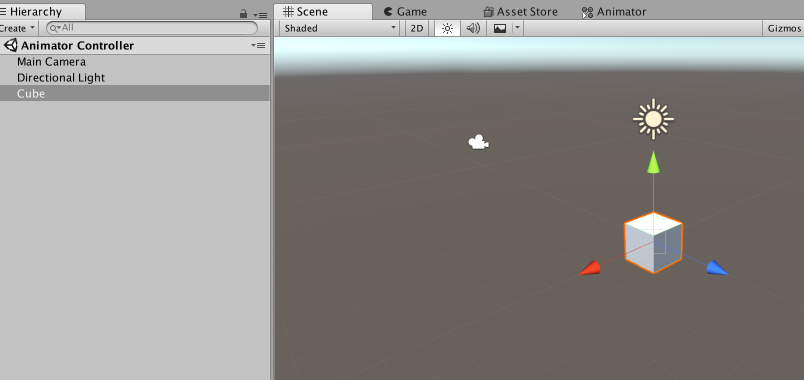
Create a Cube
First, go to the Project view and select「Create」→「Animator Controller」.
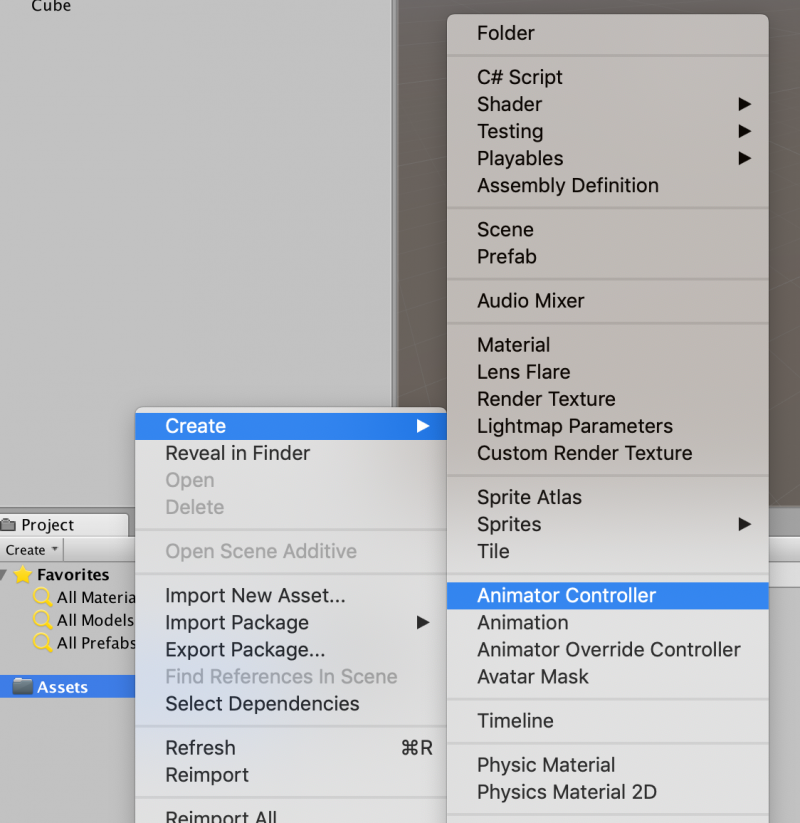
Creating an animation controller in the Project view
A new file is created in the Assets folder. This is the Animator Controller file.
For this tutorial, I want to create an animation where the object simply rotates, so please change the Animator Controller’s name to ‘Rotate’.
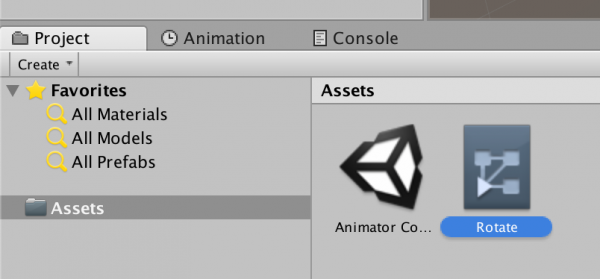
The created AnimatorController
Double click on the Animator Controller file. The Animator settings window will appear in the Scene.
Animator settings
Creating an Animation
Let’s create a Rotate animation.
In the Project view, right click and select「Create」→「Animation」.
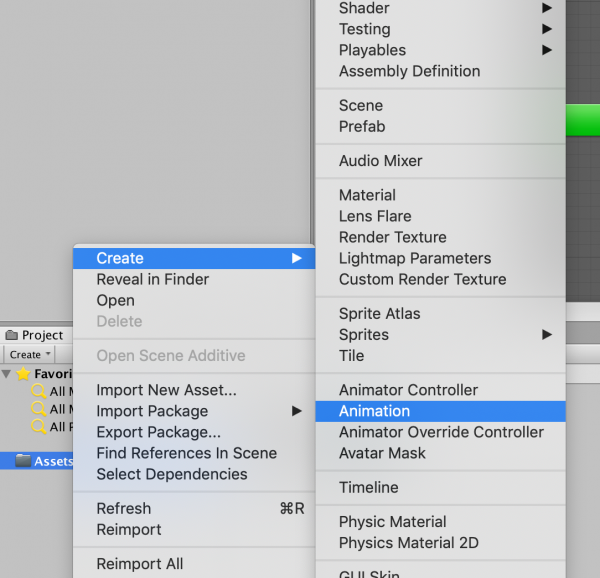
Create an Animation clip
An animation clip will be created in the Assets folder, so change the file name to ‘Cube Rotate’. Drag and drop the file into the Cube’s Inspector window.
This procedure is needed because the file does not work on it’s own, it needs to be attached to the object it affects (in this case, The Cube).
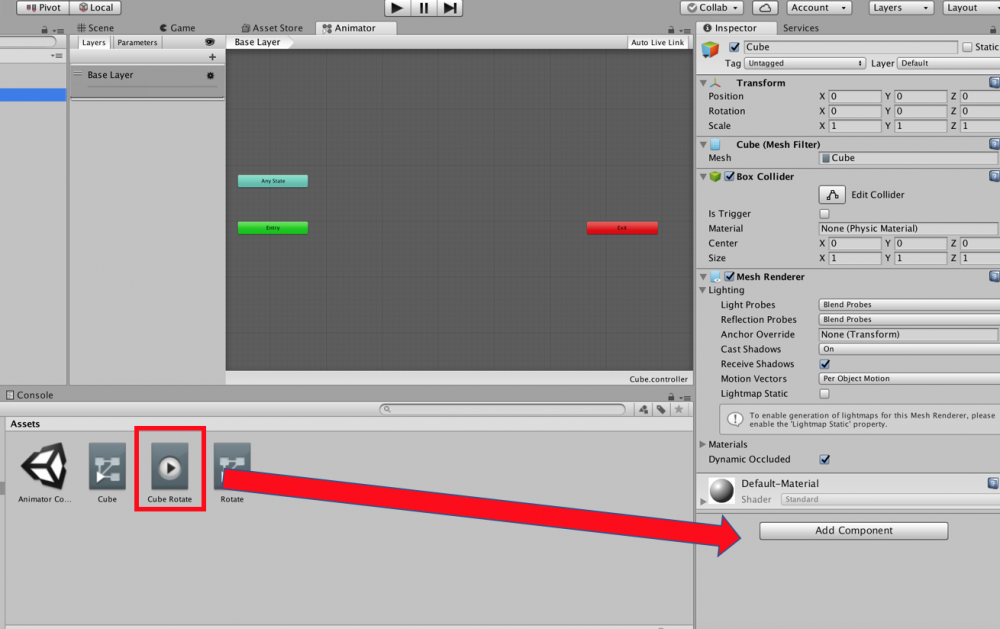
Adding an animation by drag and drop
An animation has been added to the Cube’s Inspector window.
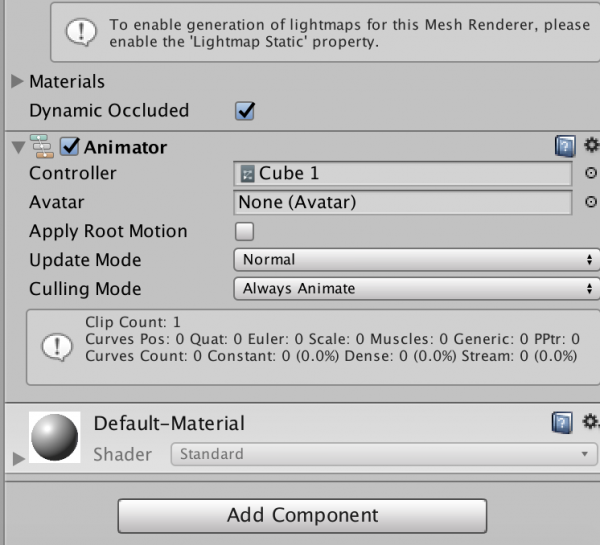
Animation added to the Inspector
Although the animation is set to the Cube object, the animation is still empty.
We need to add a rotation movement to the animation.
Click the Window menu, select Animation and open the Animation view.
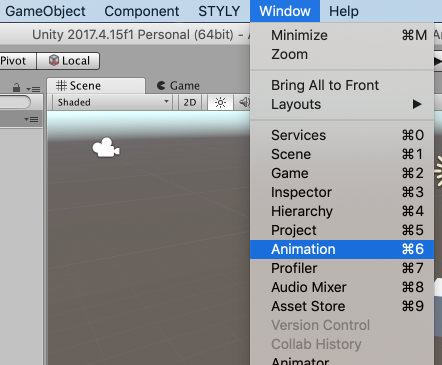
Animation view
In the Animation view, select「Add Property」→「Transform」→「Rotation」, and click the + button.
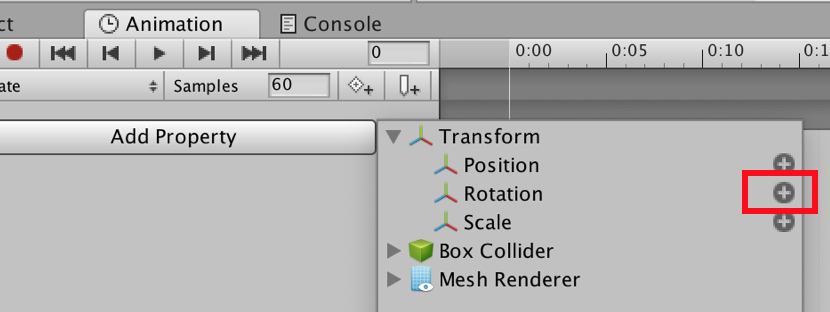
Add properties to Rotate
As in the image below, a timeline will be displayed. You change the keyframe value of Rotation.y to 1:00 to 360.

Settings to rotate once every second around the Y-axis
These settings make the Cube rotate once (for 360 degrees) around the Y-axis in one second.
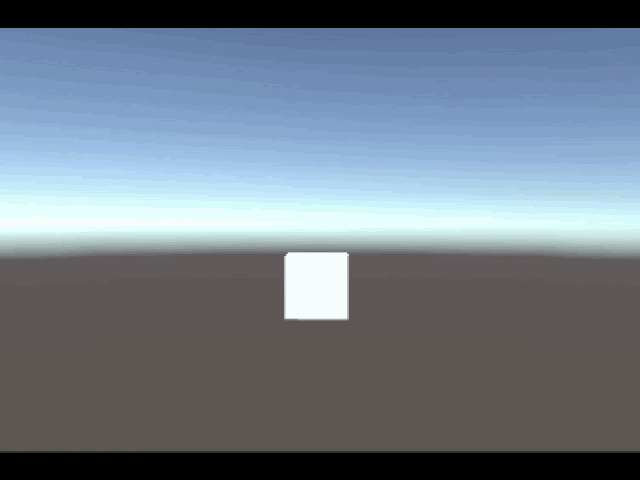
Running the Scene looks like the animation below.

The Cube rotates only once
As designed, the Cube rotates once around the Y-axis. But the animation stops after one rotation.(The above is a GIF image, so it will rotate continuously)
Create a State
Next, I will explain how to use the Animator Controller.
Right click in the Animator window, and select「Create State」→「Empty」.
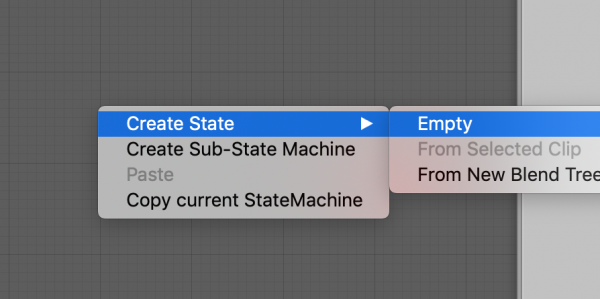
Select Empty
A rectangle called ‘New State’ has been created.
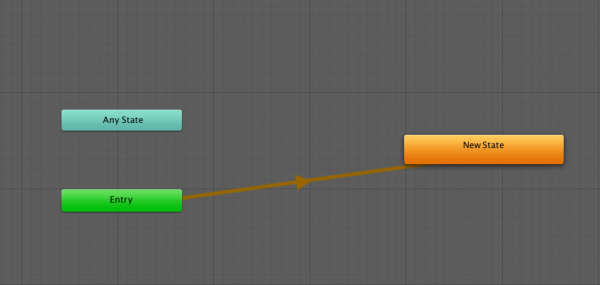
New State is created
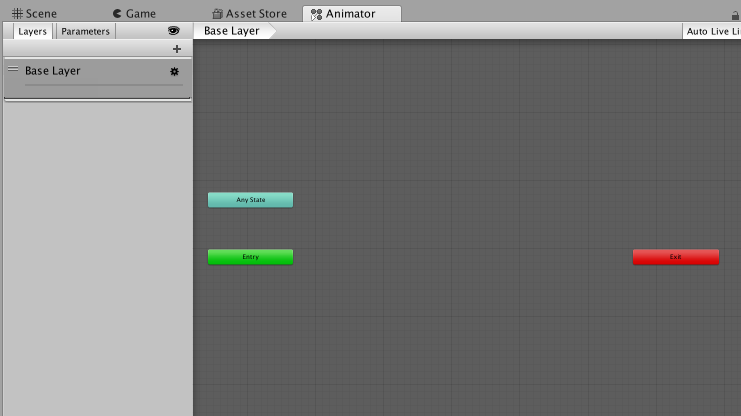
The rectangles in the Animator window are called ‘States’, which includes ‘New State’.
A State is a function that can store and set parameters for animation clips. By adjusting the settings of each State you can change the animation’s characteristic.
Currently, an arrow has been drawn from the ‘Entry’ State and heads toward the ‘New State’. This arrow is called a Transition.
A transition is used to define the execution order of animations. In the above image, the ‘Entry’ animation runs first and then the ‘New State’ animation runs second.
Role of Each State
I will explain the basic roles of each default State.
Entry
The Entry State is the first State that is called and transitions start from here.
You need to set a transition from Entry to the animation if you want to run it first.
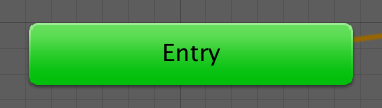
Entry
Any State
The Any State functions to transition from State to State.
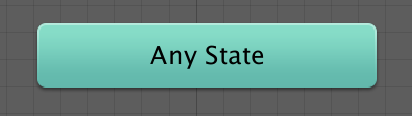
Any State
So, if you set a transition as in the image below, then you can set any transitions you want to.
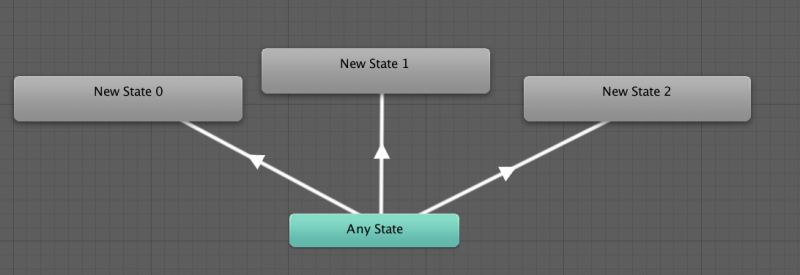
Any transitions can be set
Exit
If you transition to the Exit State, the transition resets to the Entry State.
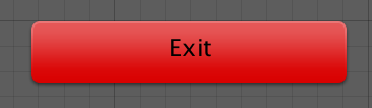
Exit
So, if you set the last transition to the Exit State, then you can loop your animations.
How to Use Animator Controller
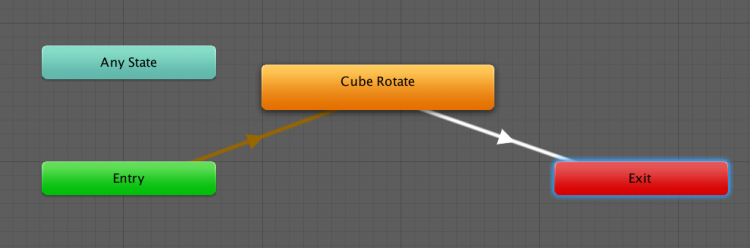
Once we have learned about each State, let’s select the ‘New State’ we created in the previous step and change the name to ‘Cube Rotate’.

Changing the State name
Looping the Animation
Next, let’s set a loop for the animation by editing the State settings.
Right click the ‘Cube Rotate’ State, and then click ‘Make Transition’.
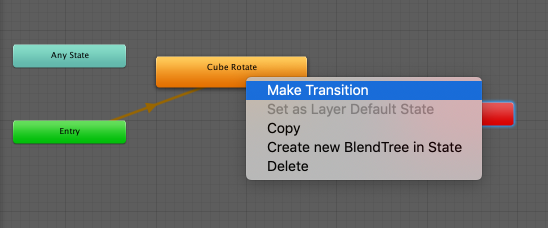
Select Make Transition
A white arrow will emerge. Attach this arrow to the ‘Exit’ State.
Transition to the Exit State
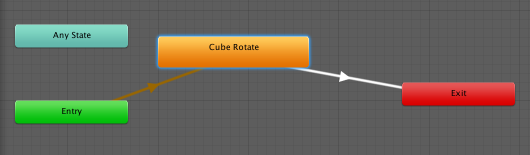
The transition will return (reset) to the Entry State after the Exit State. The animation will loop with this setting.
Run the Scene and check the animation.
Looping Rotate animation
You can see the animation is looping now.
Conclusion
In this tutorial, I introduced how to set an animation in Unity.
If an animation looks complicated, then it is because there are many objects included with many associated movements and transitions.
I hope you make good use of the Animator Controller in Unity.