Unity’s default function “particles” is a tool for creating effects such as smoke and lights based on light particles, petals scattering and balloons flying using textures, etc. It is used not only for creating VR and AR scenes but also for all kinds of games.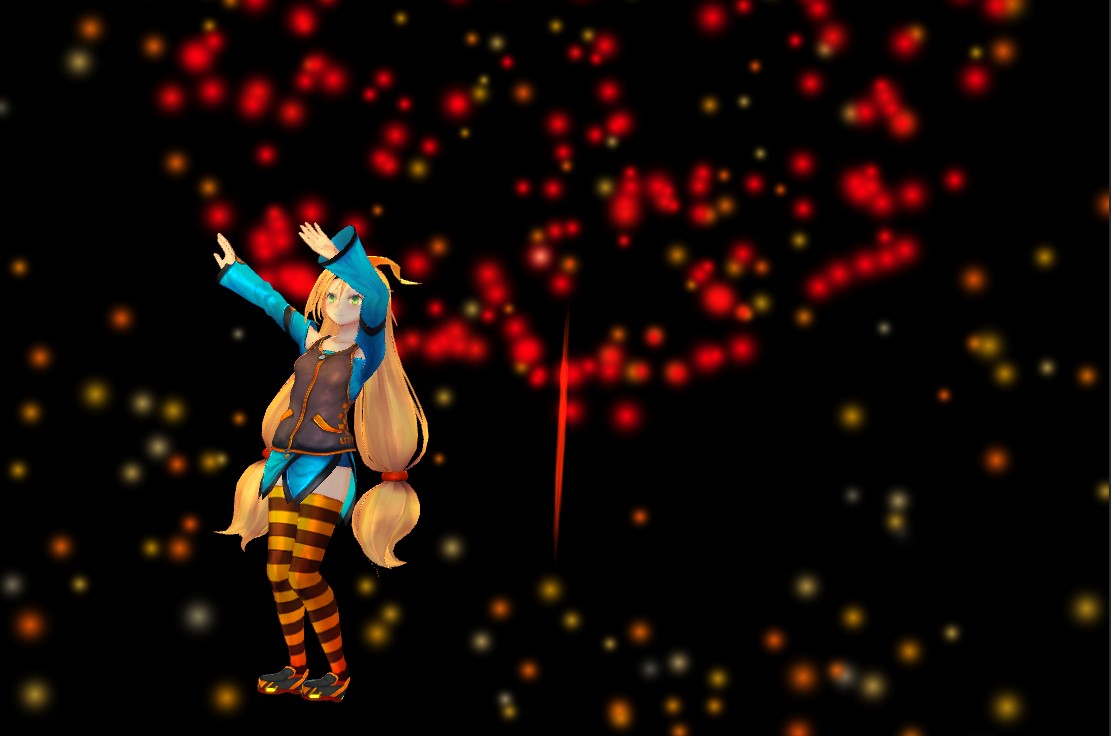 Particles are also used in live performance scenes because they can create a variety of effects.
Decide which particles you want to use
STYLY MAGAZINE has introduced several ways to create and edit particles, but in this article, we will introduce how to use the fireworks particles introduced in the following article as a live effect.
You can also obtain particles (paid or free) from the UnityAssetStore or Booth.
Decide how to use particles.
In this article, we will create a production in which fireworks are shot off to the following music.
Song link: https: //pixabay.com/ja/music/background-music-tropical-house-funny-dance-short-music-for-vlog-30s-166616/
In this article, we will adjust the parameters so that the fireworks will go off early in accordance with the song, referring to the above article.
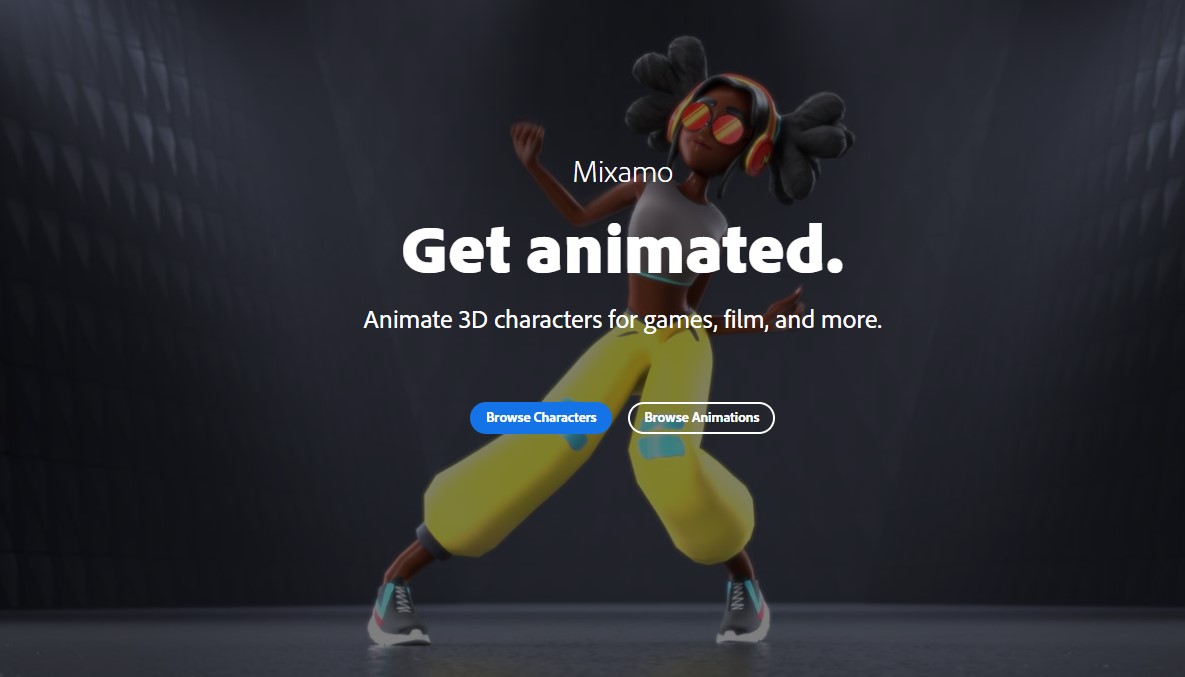
Prepare dance animation for the model
This time, download the dance animation from Mixamo and apply it to the model, which can be anything you have, but this time we are using Unity-chan, which is available for free in the Unity Asset Store.
If you have an animation or other animation you would like to use, you may skip this section and use that one.
Sign in with your Adobe account and select “Brows Animations”.
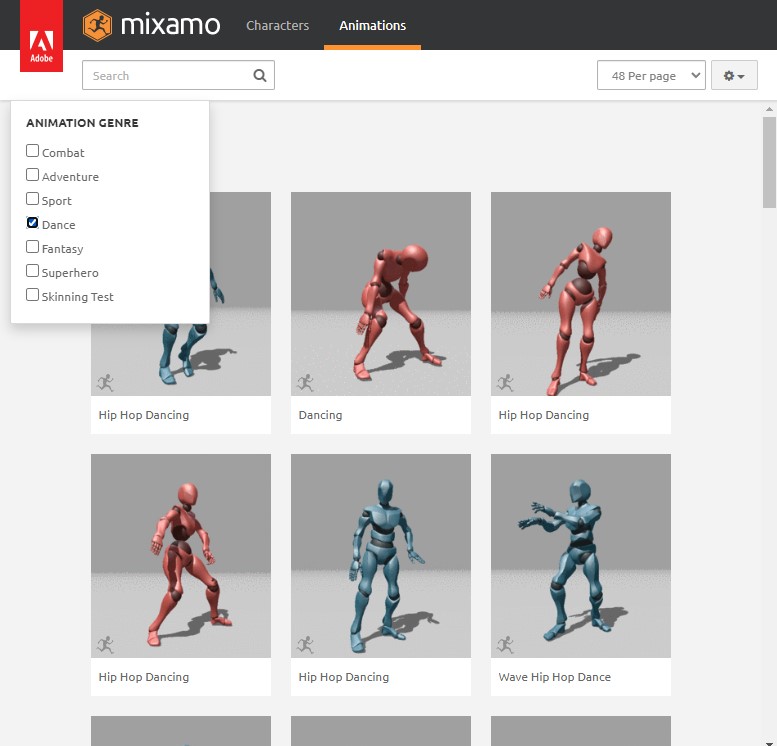
Click on the Sarch window, and you will see genres such as Combat, Adventure, etc. This time, check “Dance.
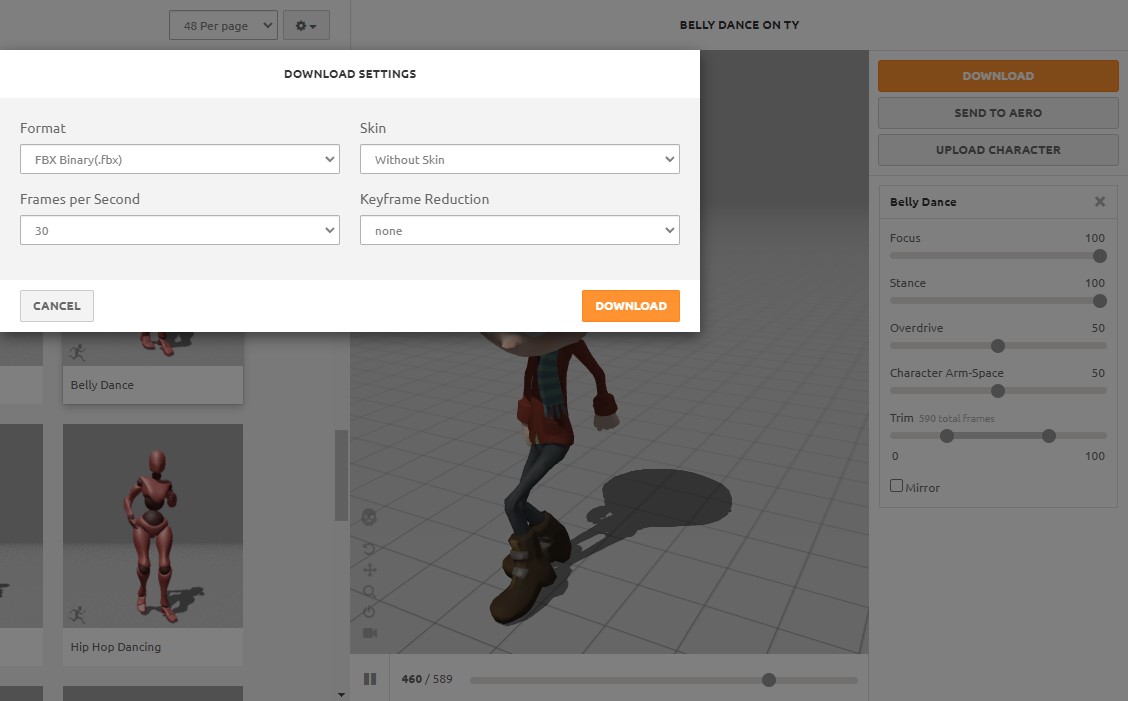
Since we want to use only the animation this time, select “Without skin” for the Skin item when downloading.
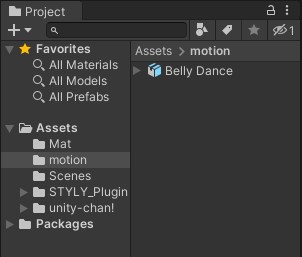
Create a folder named “motion” in Project > Assets and store the downloaded FBX file there for later use.
Editing a live performance with timeline
Timeline is a useful feature for staging to music, as it allows the scene to change over time.
In this case, we will use the following article as a guide.
![Understanding the Basics of Timelines [Unity]](https://styly.cc/wp-content/uploads/2020/07/EYECATCH-160x160.png)
![How to Create a VR/ARMV (Music Video) in STYLY [Reference Article Summary]](https://styly.cc/wp-content/uploads/2020/11/IMG_513597E646E8-1-1-160x160.jpeg)
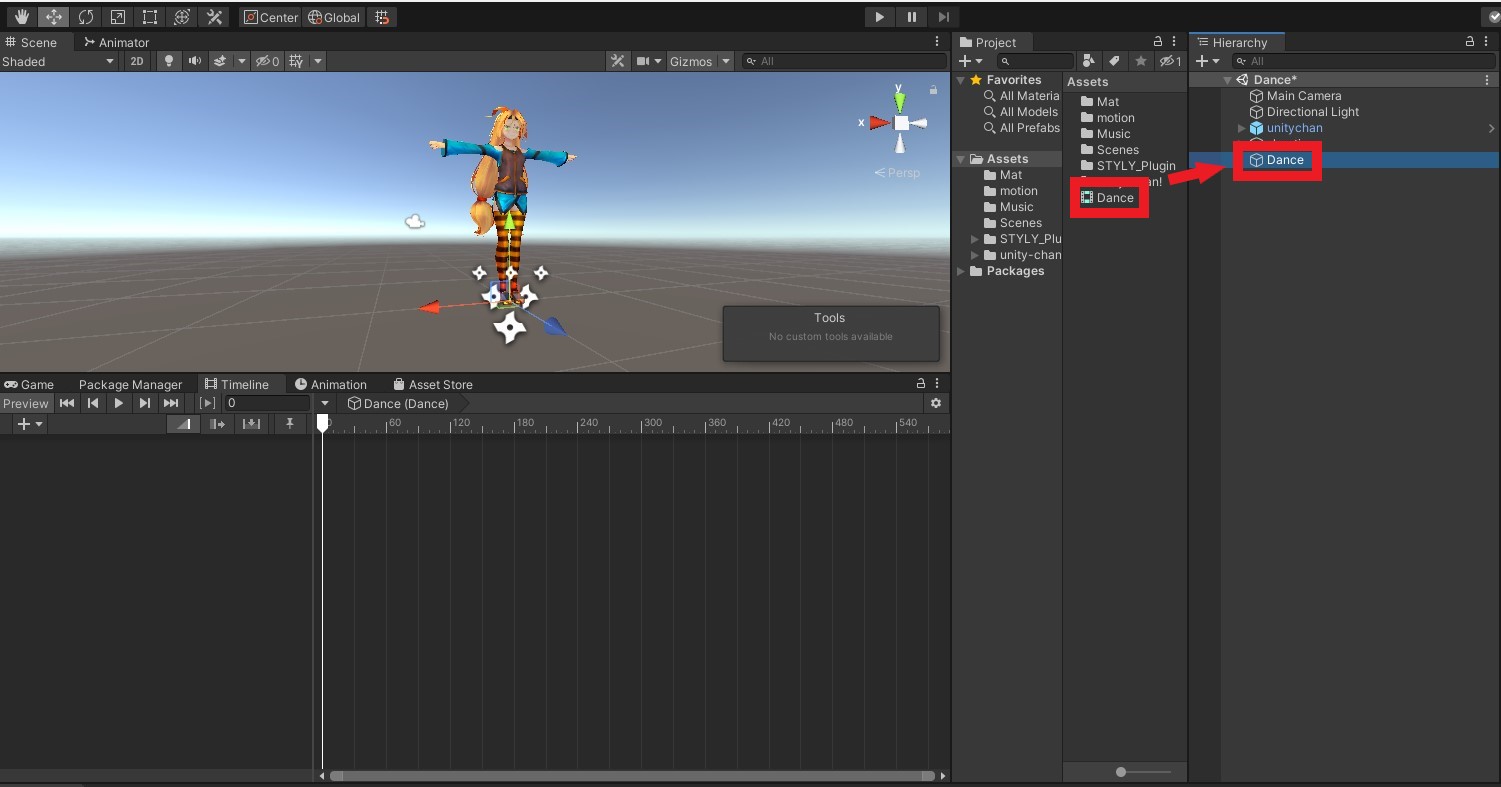
Following the reference article, first add the timeline asset to Project, name it Dance, drag it into the Hierarchy, and create a timeline instance.
Now that we have the music, the model, and the particles we want to use in the performance, click on the timeline instance in the Hierarchy to open the window.
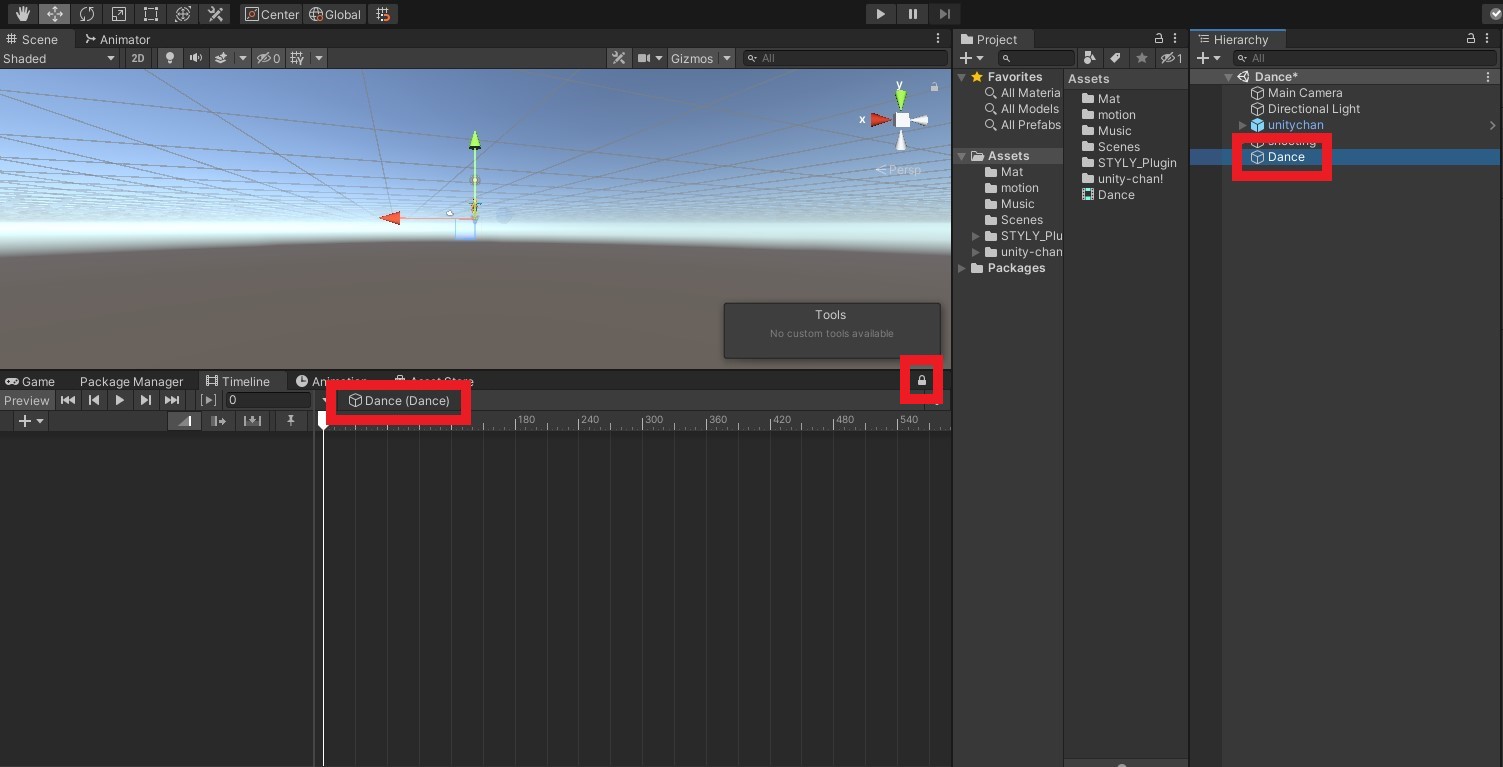
Confirm that the timeline instance is the one shown in the window and lock the editing window by clicking on the padlock symbol in the upper right corner.
By locking it, the window will continue to display the edit screen for this timeline instance even if you click on camera, model, etc.
(If you do not lock it, it will disappear each time you leave the edit screen)
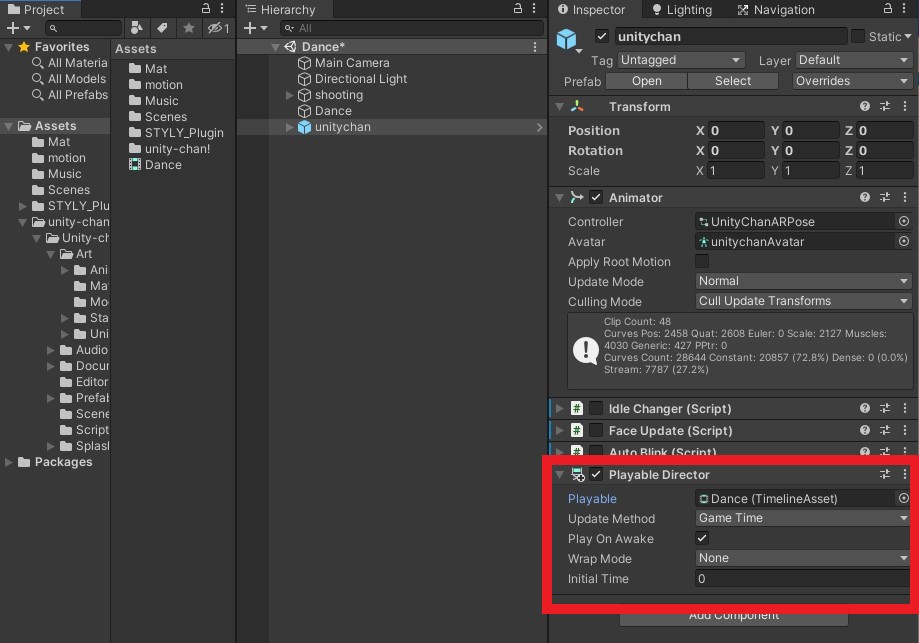
Add the Playable Director component to the model and attach the timeline asset Dance to Playable.
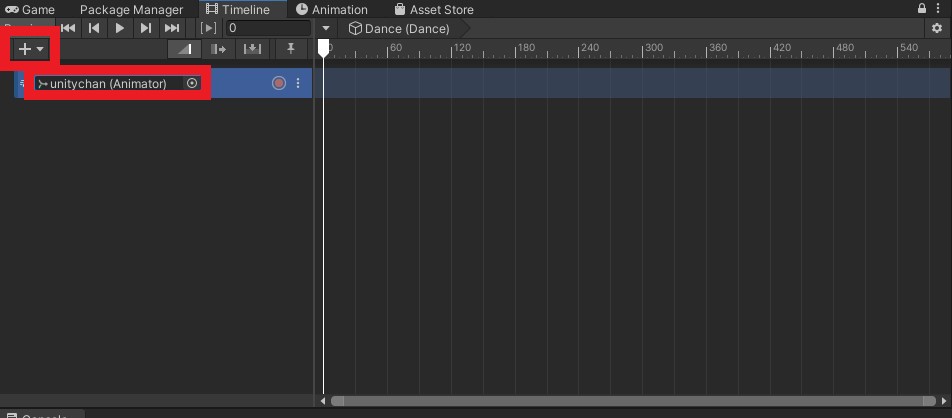
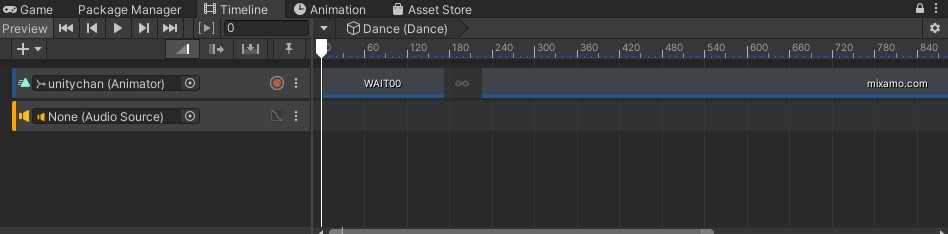
Click the “+” on the Timeline window or right click and select “Ablation Track” and attach Unity Chan to Animator.
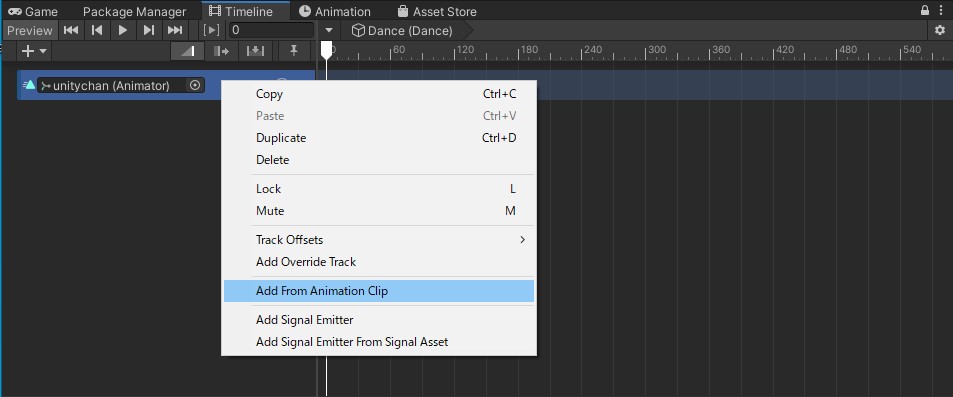
Click the “︙” mark on the track or right-click and select “Add From Animation Clip” and select the animation you wish to move.
In this case, since the song develops in the middle of the song, we want the animation to “stop in place at first, start dancing to the music, and then stop again.
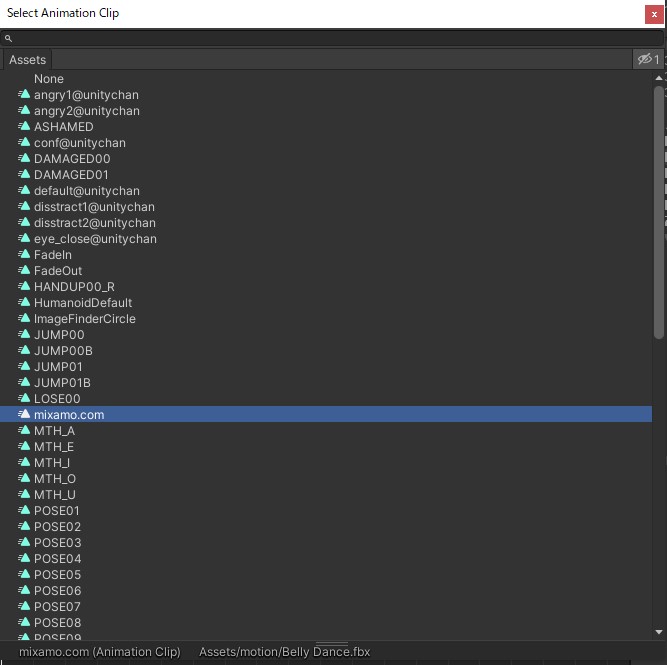
First, select “WAIT00,” the animation built into Unity-chan, then select “mixiamo.com,” the name of the animation downloaded and stored from Mixamo, and select “WAIT00” again for a simple animation transition.
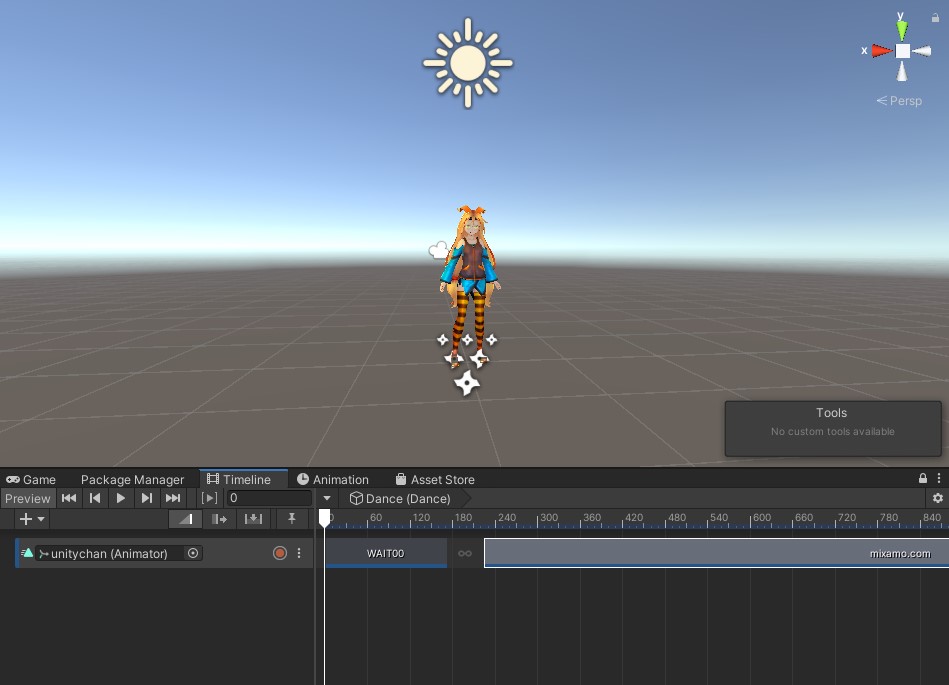
We will edit it later to match the song, so for now it is fine as it is.
To add a sound source to the timeline, add an “Audio Track” to the timeline and attach the sound source to the track.
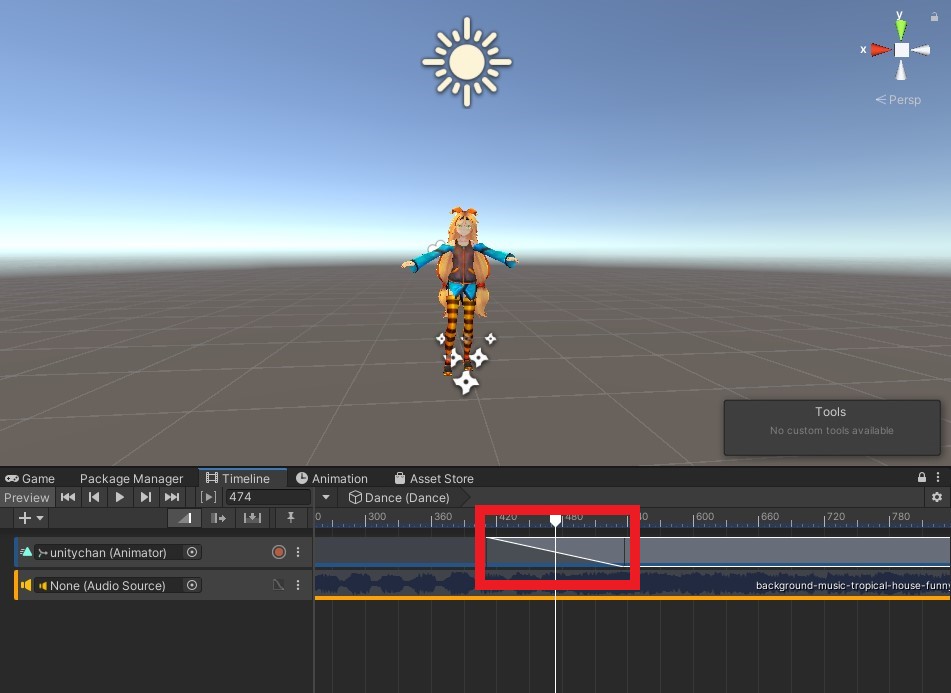
Listen to the sound source and adjust the timing.
If you overlap two separate animations, you can blend them together so that they will naturally transition.
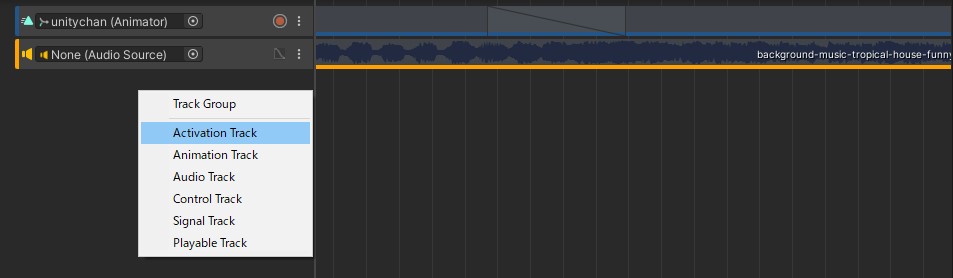
To add particles, add an “Activation Track” to the timeline and attach the particles in the same way as the sound source, which simply controls whether they are active or inactive, and only appear when the track is visible.
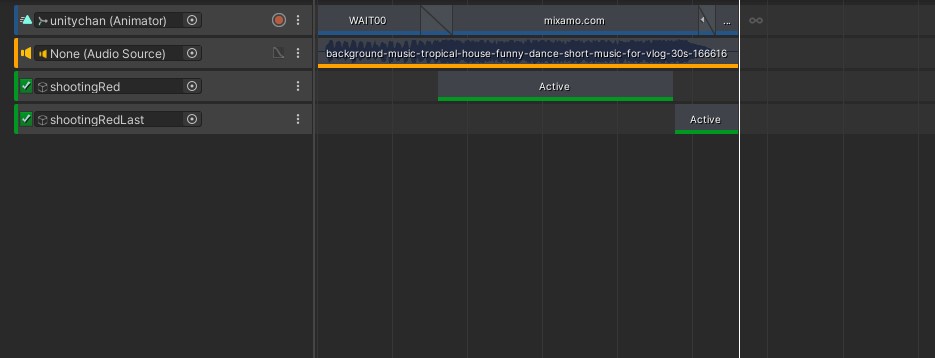
In this case, we want the fireworks to be lit only when Unity-chan is dancing, and to be lit once at the end of the song, so we prepared two Activation Tracks.
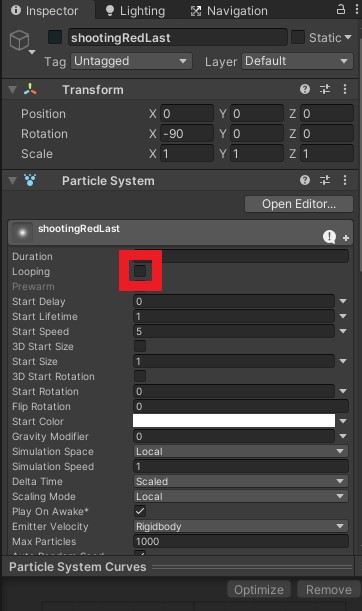
The particles in each track are the same, but the top track is set to loop so that particles are continuously generated, while the bottom track has particles that have been removed from the loop setting.
This completes the adjustment of the scene using the timeline.
This time we will upload the scene as an AR scene, so we will upload the entire scene with the Skybox turned off.
Select the uploaded scene in STYLY Studio and if there are no problems, publish the scene and you are done!
The following is the uploaded scene.
This is just a small part of what we have created this time, you can express XR Live by combining various particles and animations.