In this article, I am going to introduce how to create a three-dimensional sound waveform from a sound waveform video, without using scripts. We will use 3 softwares, but it’s not so difficult so I hope you find this article helpful!
Overall flow
Create a sound waveform video → Create a Cube in Blender and divide the polygons → Create a shader → Implement in Unity
Note 1: I used AviUtl for editing videos in this tutorial
Note 2: I used the Japanese version of Blender in this tutorial

three-dimensional sound waveforms
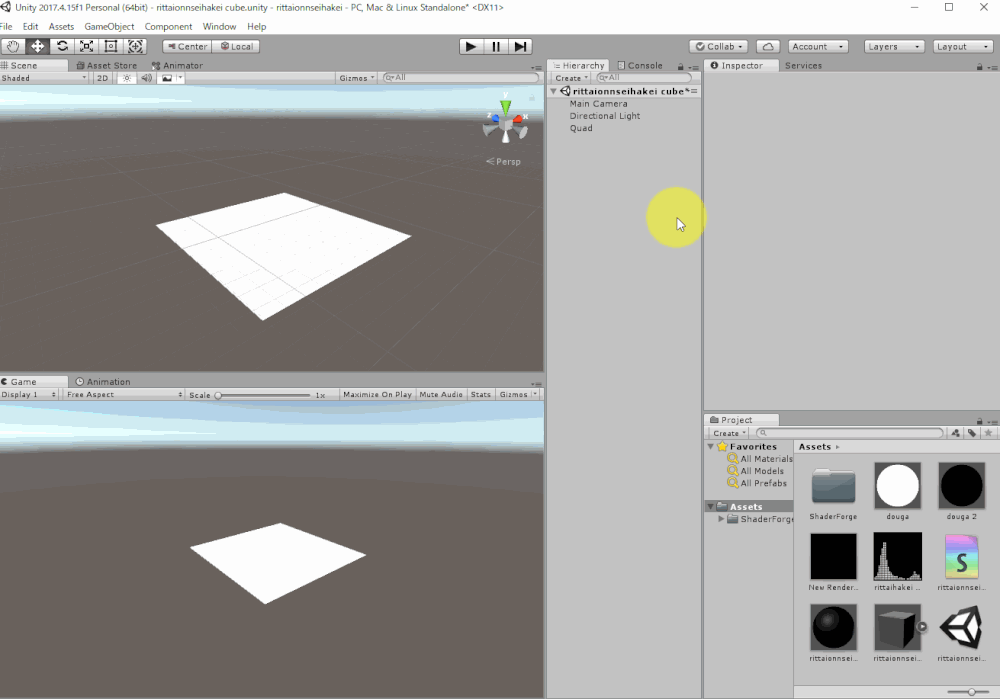
Sample
The Unity project that I introduce in this article can be downloaded from here.
The “rittaionseihaikei” folder in “STYLY_Examples” is the one we are going to use.
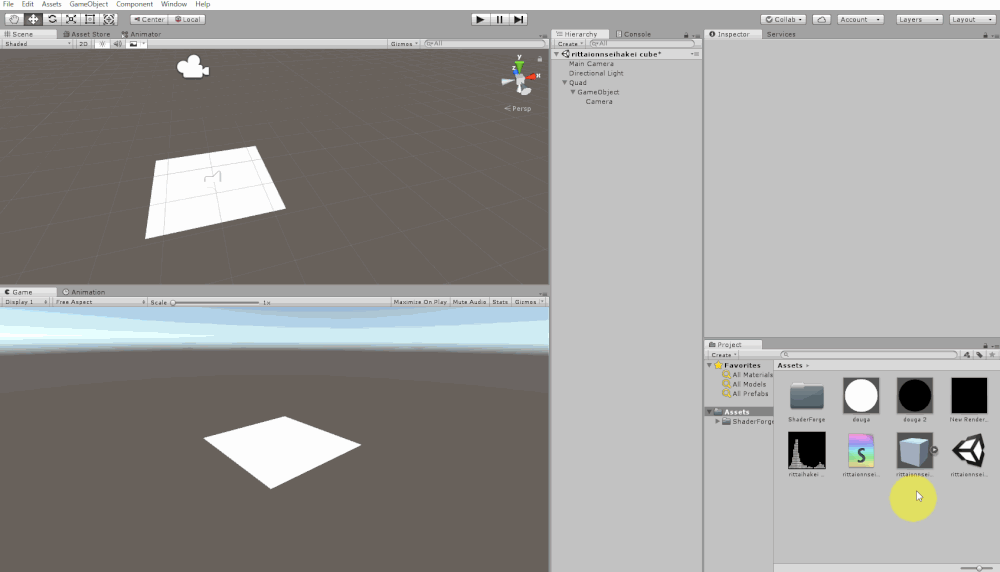
STYLY_Unity_Examples
Create a sound waveform video with AviUtl
( You can use any video edit software if you can create a sound waveform video) Please confirm that X264 is installed here.
Insert the audio file and the sound waveform
Create a project, select the resolution size ( I used 240×240 so that the file size remains small ). Then, drag and drop the audio file into the scene. Next, right click in the Adv.Edit window and insert the sound waveform from insert media object.
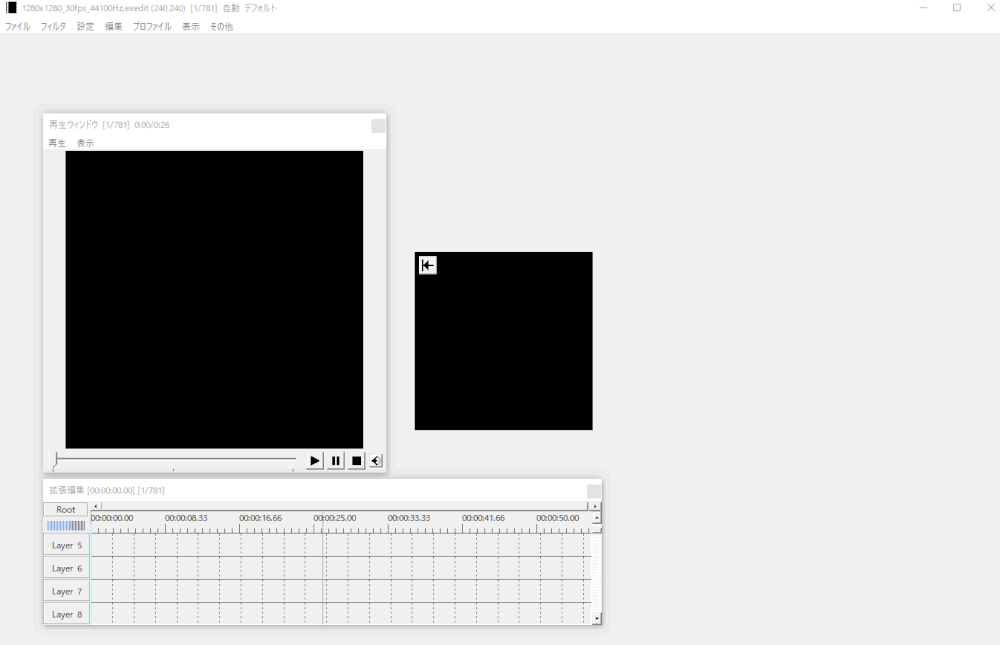
Creating a sound waveform video in AviUtl
Edit the expansion rate and wavelength height so that the soundwave fits the screen size.
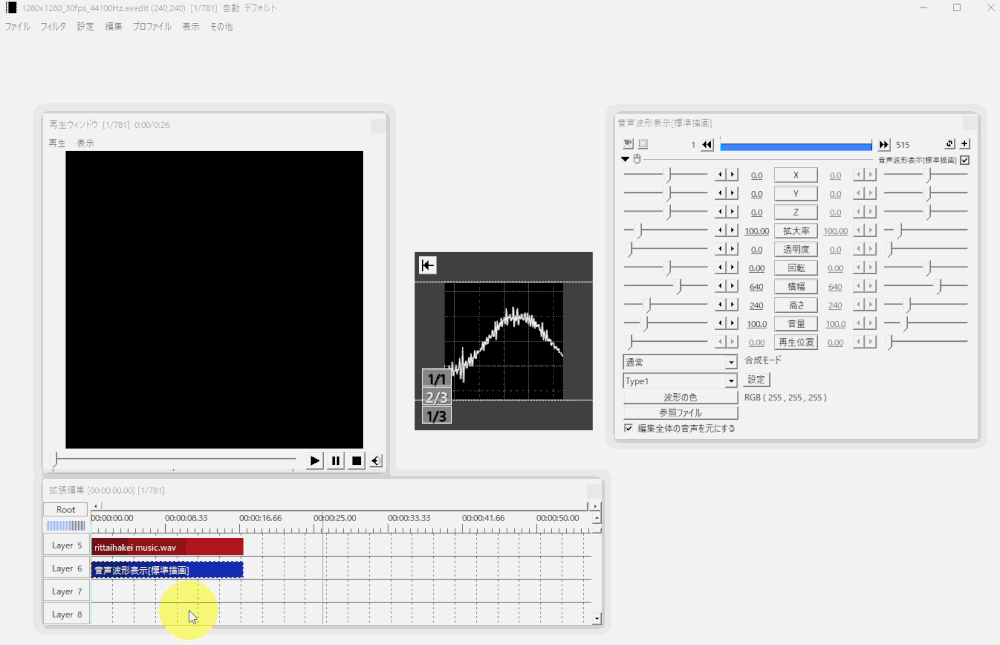
Adjusting the sound waveform size
Export the video
Export the video using x.264.
Creating a object to use for the three-dimensional soundform with Blender
In order to express the soundform in 3D, we need to divide the Cube’s polygons
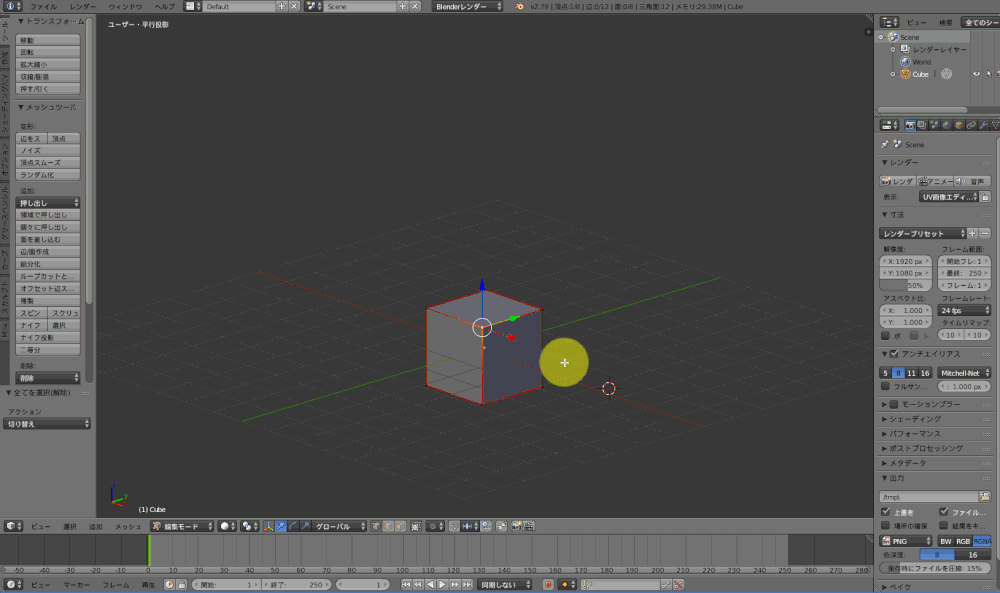
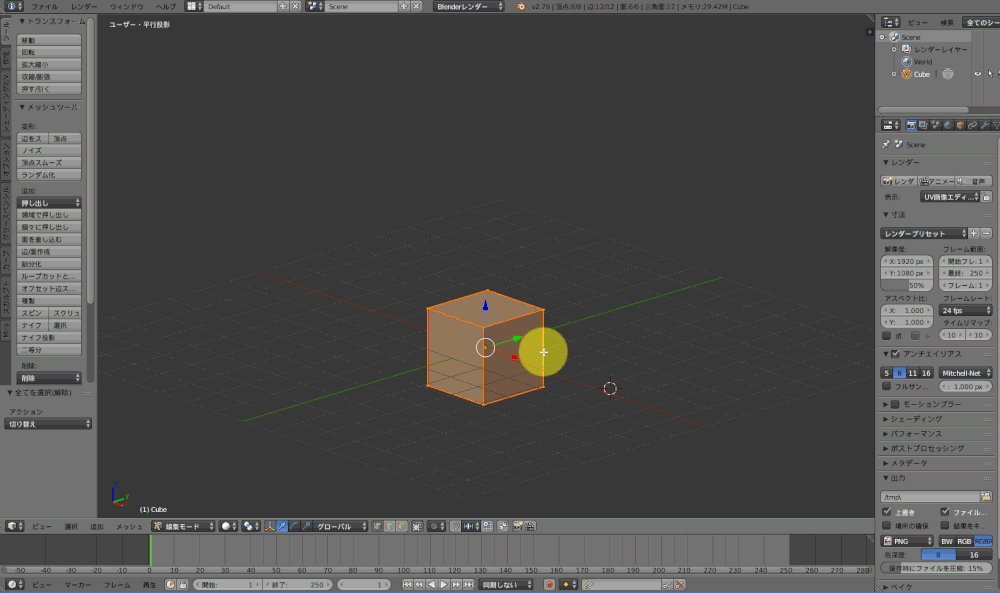
First, press Shift + A, select Mesh, and create a Cube.
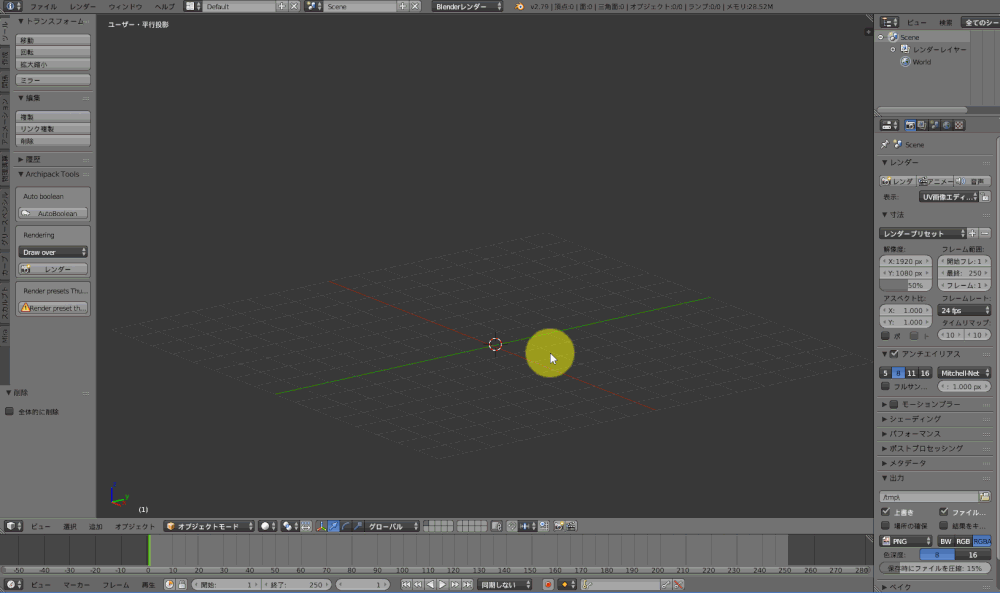
Creating a Cube in Blender
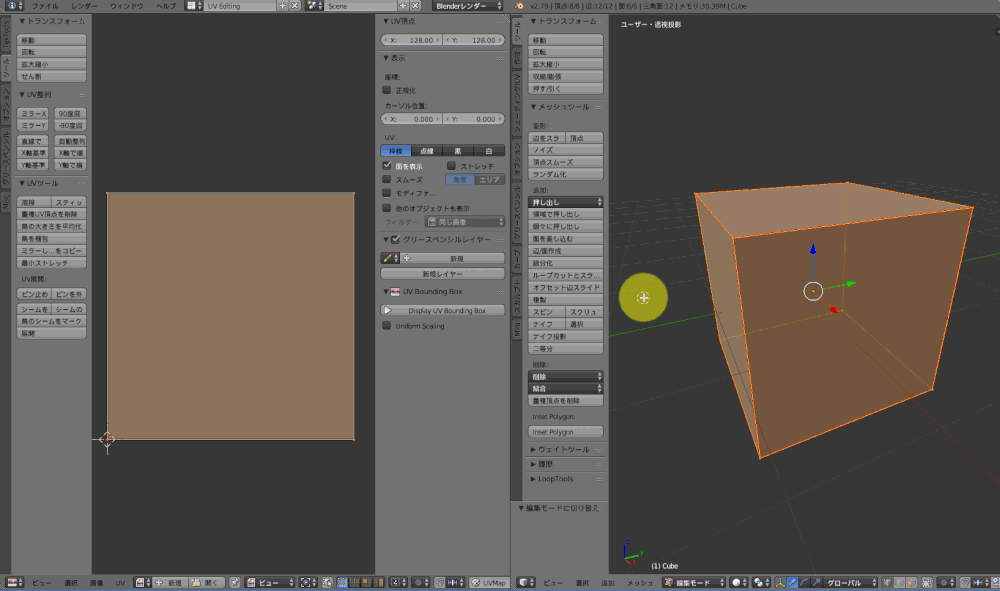
UV deployment
Change to Edit mode from Object mode, press A to select all, and press Ctrl + E to mark seam.
Mark seam
Open the UV Editing window, press u to UV edit.
Then, press I to select a face, select tool→UV tool→pack island and spread the face.
UV editing and packing island
Subdivision surface modifier
Return to the default screen, select the subdivision surface modifier in modifiers. Apply simple, pull up the view to 6, apply the modifier and divide the polygon. ( In order to see the waveform shape, I divided over 20000 cuts )
Divide polygons using the subdivision surface modifier
Once you confirmed that the polygons are subdivided, export the object as a FBX format.
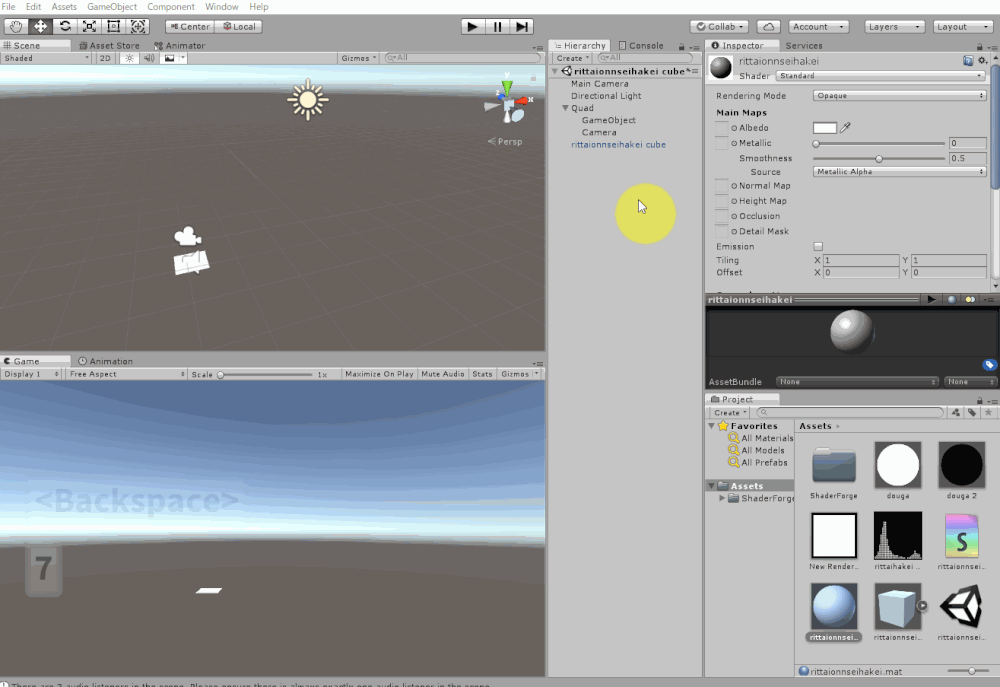
Create a shader in Unity
Import shader forge ( Which you can download from here → https://github.com/FreyaHolmer/ShaderForge ), and create a shader that changes the vertex position according to the texture color, as in the image below.
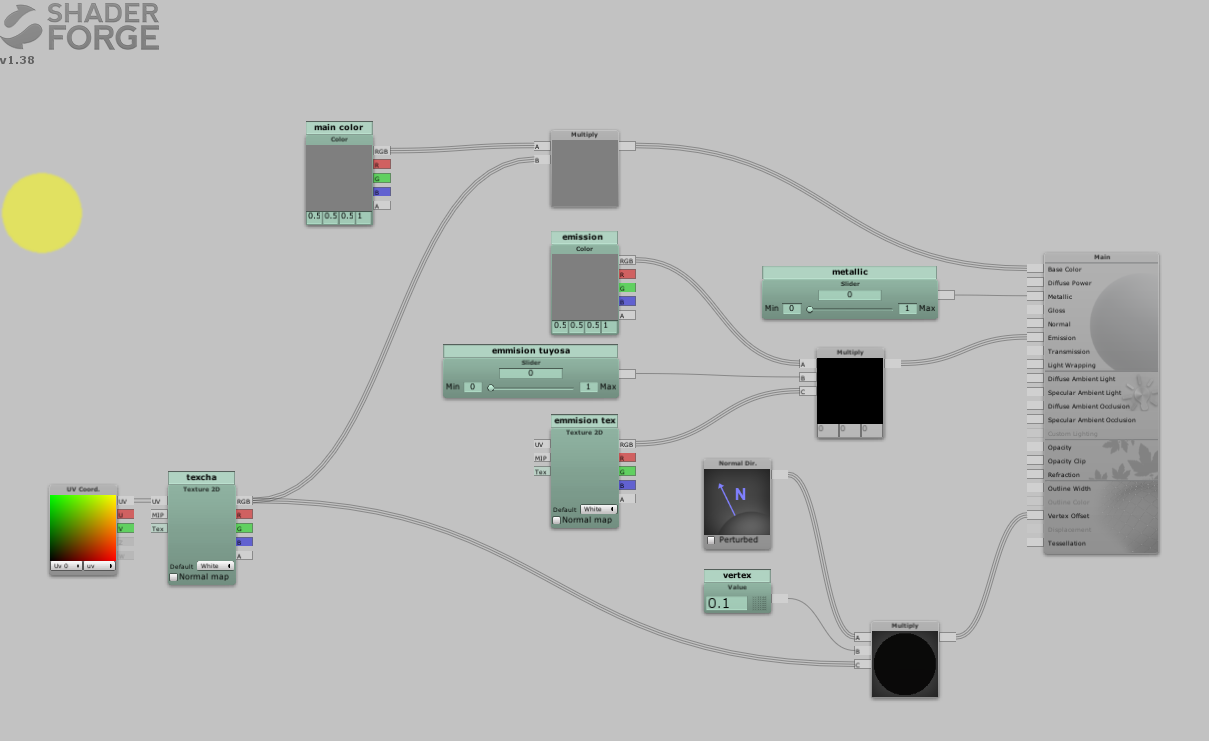
Shader for 3D soundform
It is included in the sample project, so you can just download it from there.
Create a 3D Sound waveform
Now, we are going to create a three-dimensional sound waveform in the Unity scene.
Preparation
Import the soundwave video and the Cube object from previous steps, and create a material with a Unlit/Texture shader applied.
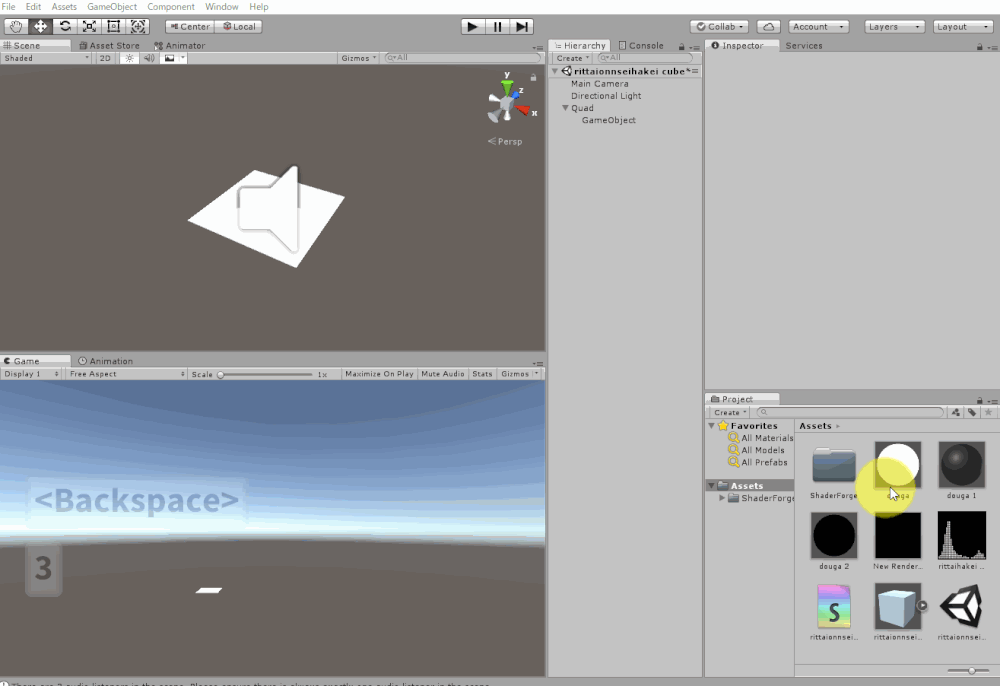
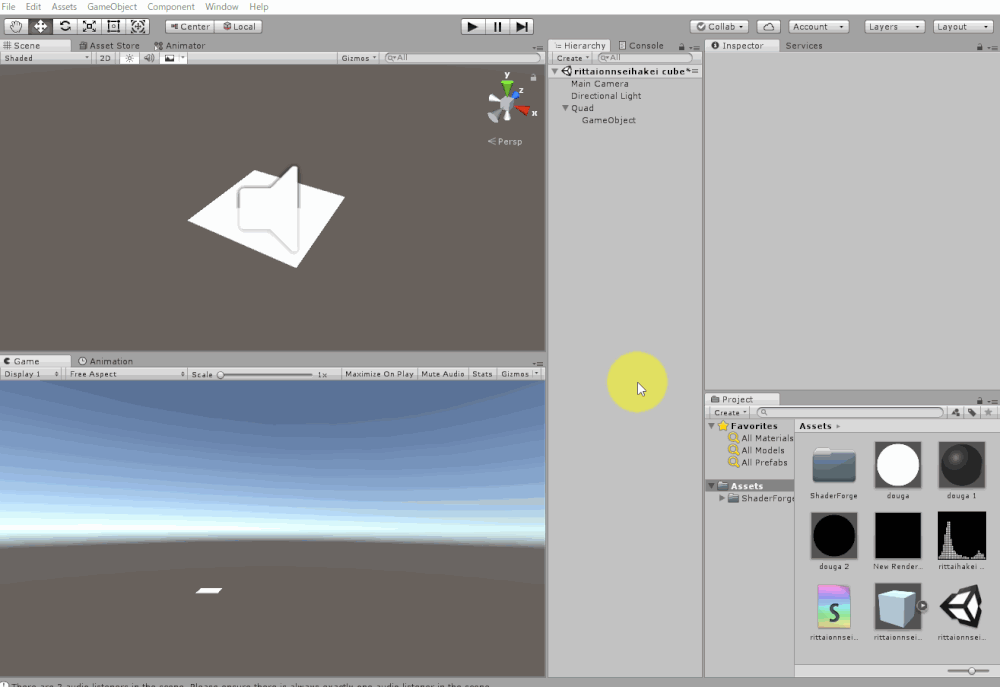
Next, insert a Quad into the scene to use to display the audio soundwave.
Attach a Video player to the Quad
Create a GameObject, click Add component and select Audio Source. Set the GameObject as a child of the Quad, and add a GameObject to the Quad’s Video Player Audio Source. ( So the sound from the video can be heard )
Make the sound of the video hearable
Apply a material with Unlit/Texture applied to the Quad, so that the soundform video will not be affected by lighting.
Apply the Unlit shader
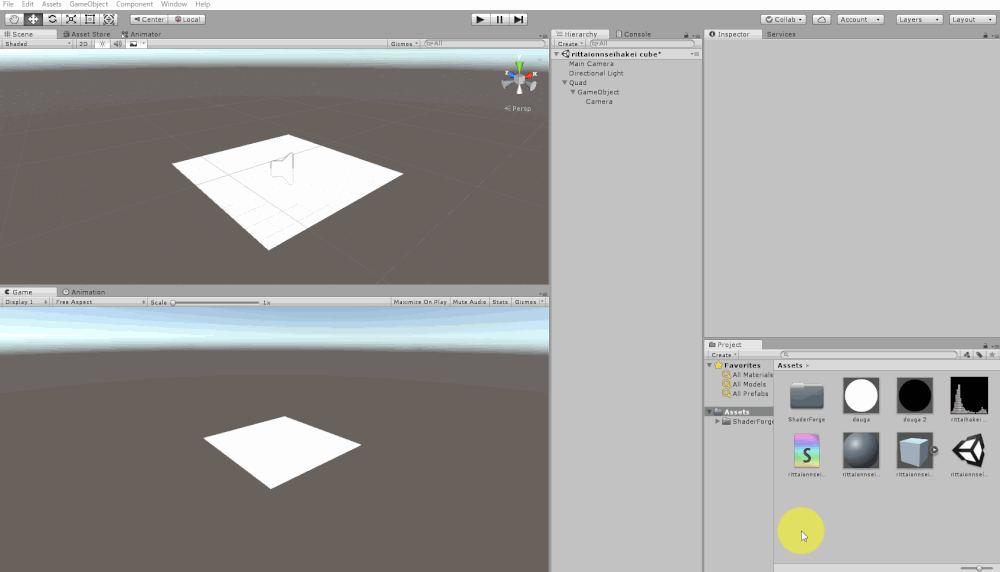
Add a camera, and move it so that the Quad is shown on it. Then, change Clear Flags to Solid color, and change the Background color to black. ( This is so that it will not be affected by the sky box colors )
camera settings
Create a Render Texture for the 3D sound waveform
Create a Render Texture within the project, and attach it to the Camera’s Target Texture. Set the Render Texture size as 720×720 ( Any size is ok if it is not too small ).
Applying the Render Texture to the Camera
Creating a 3D sound wavefrom
Create a material for 3D sound waveform, and apply the shader you created using shader forge to it.
Then, add the Render Texture to the Material inspector.
Applying Render Texutre to the material
The 3D sound waveform is complete! Good job!
It might have been difficult a bit, but by understanding the process, you can utilize your knowledge and create any form of 3D sound waveforms!