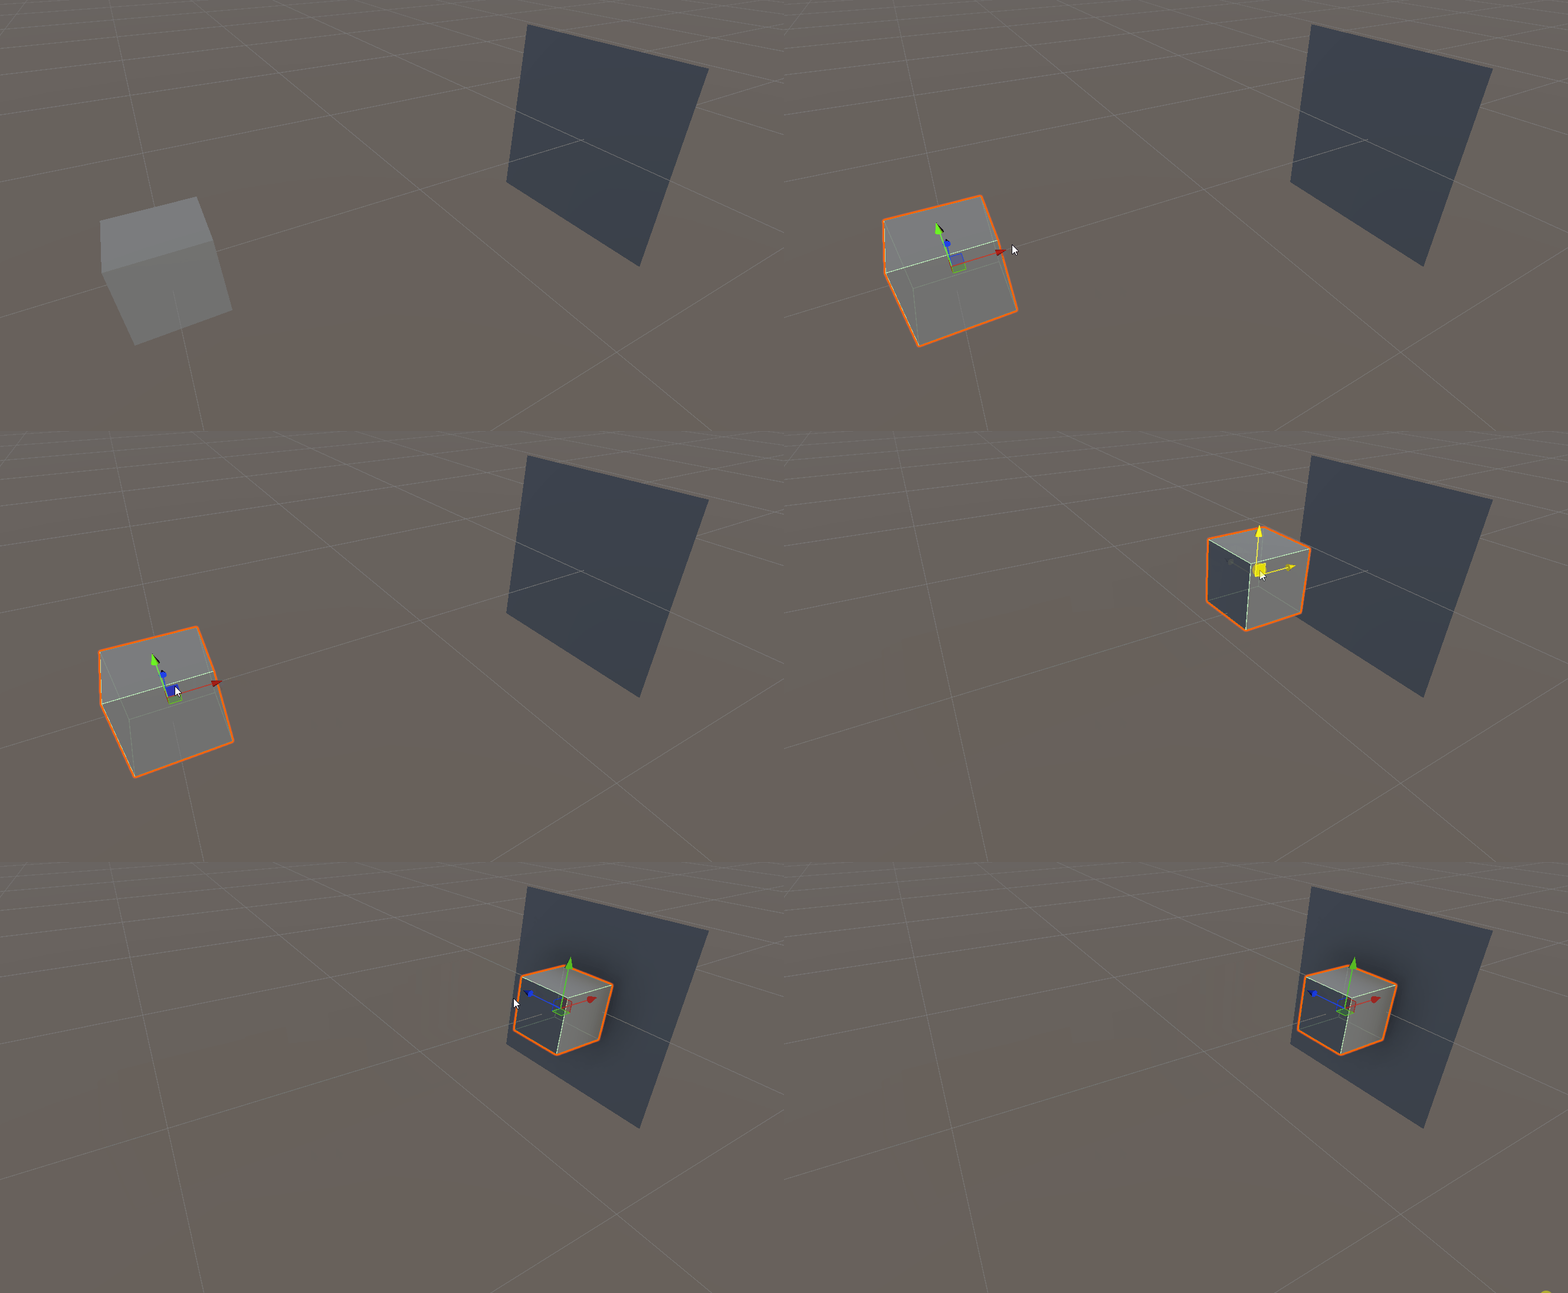
This time, we introduce how to snap and place an object that you are holding.
Snapping refers to automatically locking the position and rotation of an object when it enters a predefined range.
Setting Up the Board for Placement
Generate a Plane and a Cube. Rename the Plane to “BasePanel” and the Cube to “BasePoint.”

The Plane acts as a visible base, while the Cube serves as the trigger and position setting for snapping the object.
Set the Transform of the BasePanel and BasePoint as follows:


Add the “XR Socket Interactor” component to BasePoint from Add Component.

Enable the “Hover Socket Snapping” option in BasePoint’s “XR Socket Interactor” settings. This allows the object to automatically snap into position when it enters the snap range while being held.

Check the “Is Trigger” option in BasePoint’s Collider settings.

Uncheck the “Mesh Renderer” option.

Setting Up the Object to Be Placed
Generate a Cube and rename it to “SnapBlock.” Set its Transform as follows:

Add the “XR Grab Interactable” component from Add Component.

To prevent the SnapBlock from floating or rotating, disable “Use Gravity” and enable “Is Kinematic” in its Rigidbody settings.

Execution
This time, we introduced how to snap objects.
