In this article, I will show how to upload ‘Flame Particles’ to STYLY by Particle System (Shuriken) in Unity.
Introduction of Shuriken
I introduce the Particle System(Shuriken) in Unity. It allows you to add an attractive particle effect to the object created. In this article, I create a particle system to model flame from scratch.
In the Shuriken particle system, there are a lot of parameters and settings that allow you to adjust particles as you like. However, as the target of this article, I focus on the important parameters to make simple but attractive particles without following every single parameter.
In this tutorial, I set a relevant value to each parameter to make flame behave as expected, but I also recommend to tweak the parameters to learn how the effect changes by them.
Follow the link below to see the image of the flame used in this tutorial.
http://jvunity.weebly.com/uploads/4/7/6/0/47606749/985133_orig.jpg
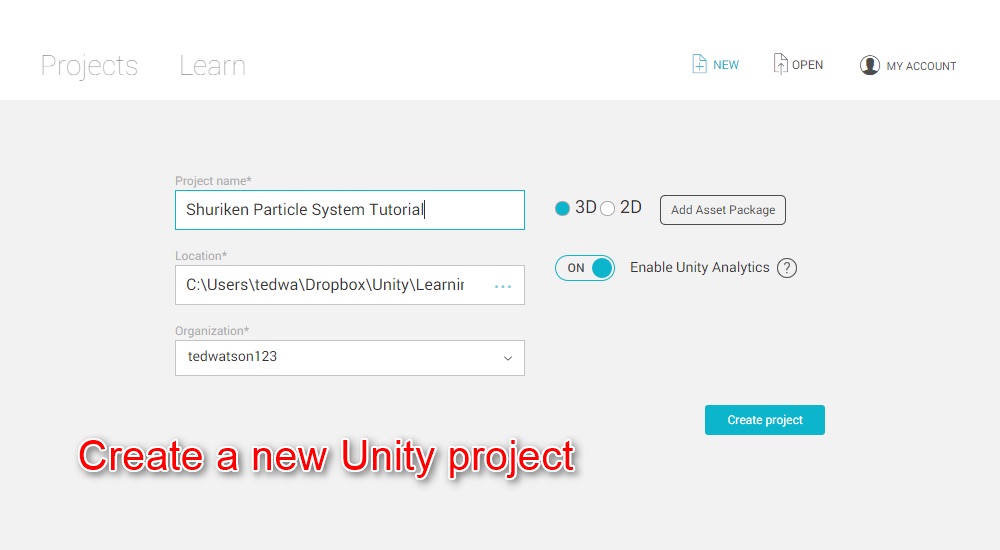
Firstly, create a new Unity project and name it ‘Shuriken Particle System Tutorial’.
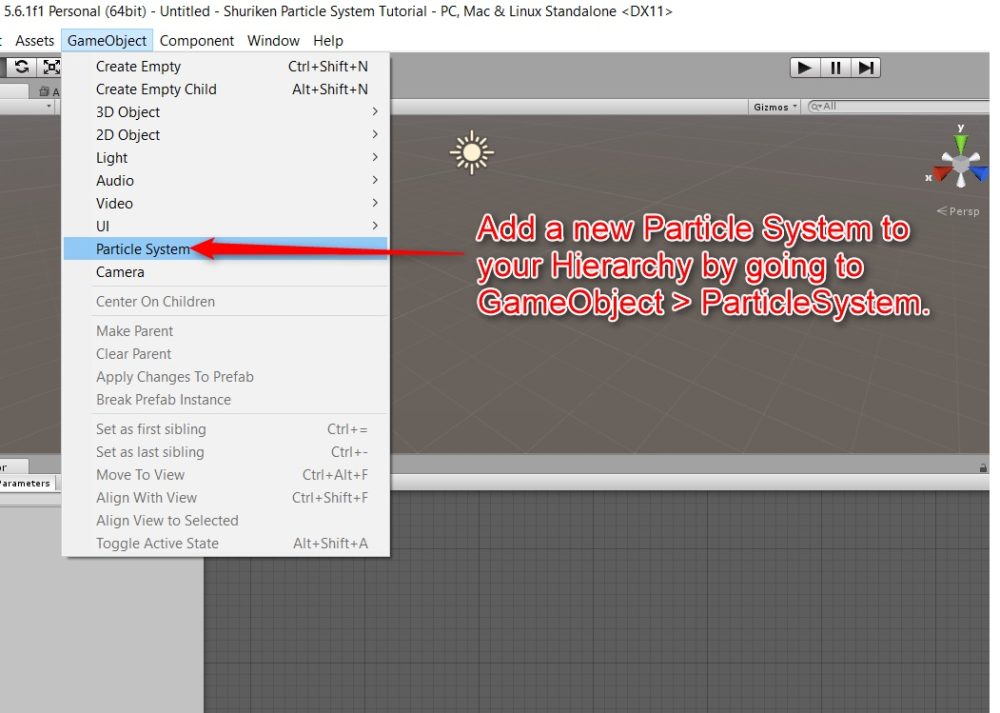
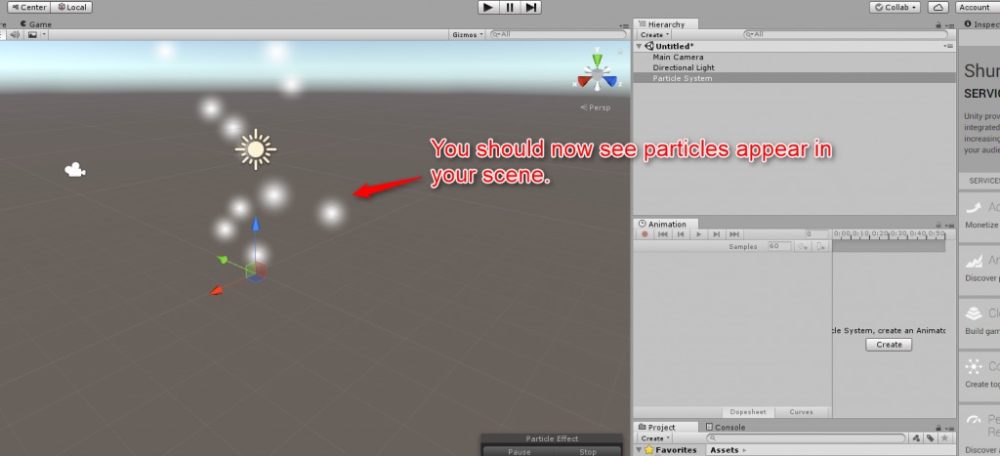
Open the project and select ‘Game Object’ > ‘Particle System’ to add a Particle System to the Hierarchy window.
Then, you should now see particles appear in your scene as shown below.
If you don’t see particles, select ‘Normal’ from the small menu on the right side of the Inspector tab. 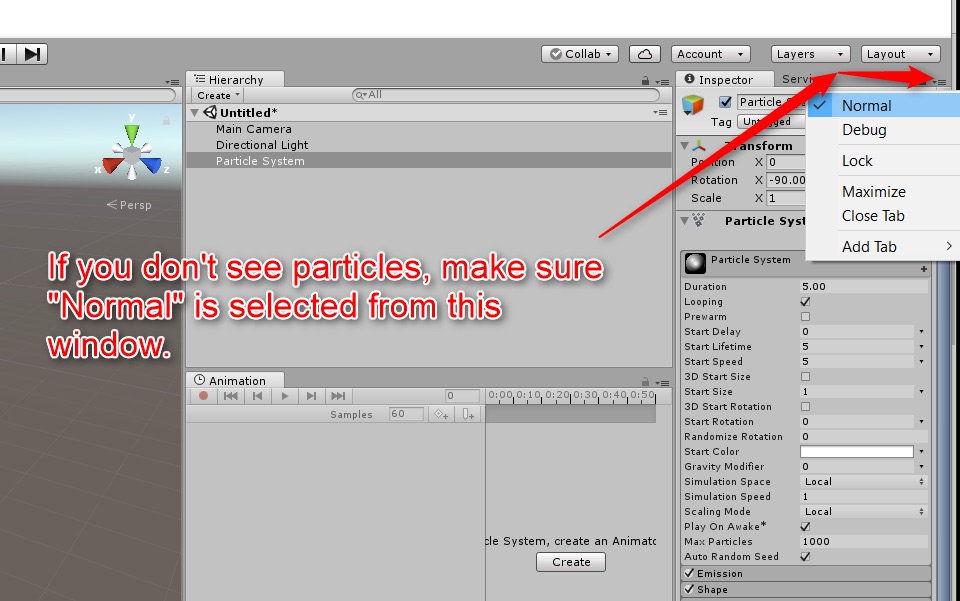
You should also see the drop-down menu for the Particle System where you can change almost all the parameters of the particle such as shape, colour, speed.
Make flame
‘Looping’ makes the system loop after the Duration you set. With the ‘Looping’ box checked, you can keep the flame burning.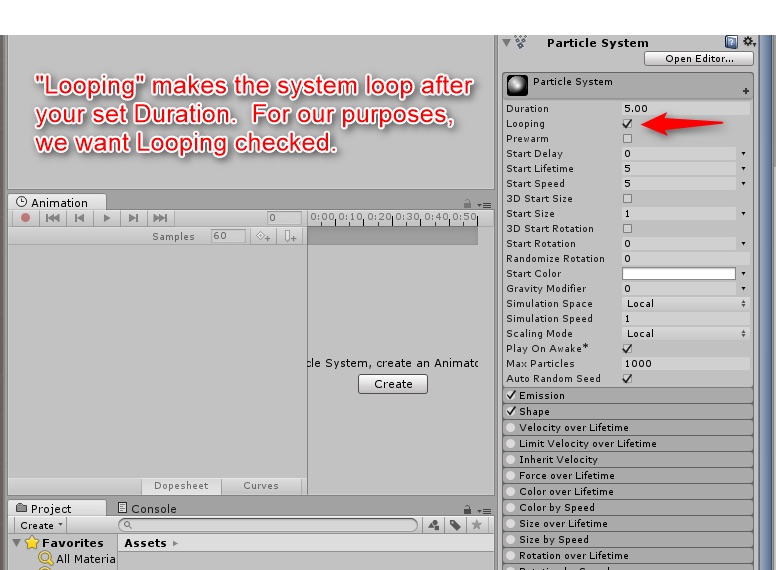
‘Start Speed’ sets the speed of the particle. Set it to 1 to slow down the particles.

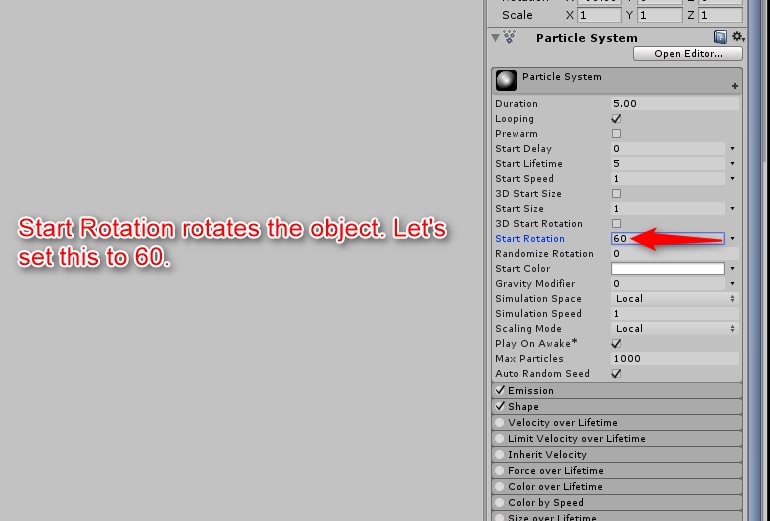
‘Start Rotation’ rotates the object. Set it to 60.
‘Start Color’ sets the colour of the particles. To add realistic taste to the flame, let’s set it to deep orange as shown below.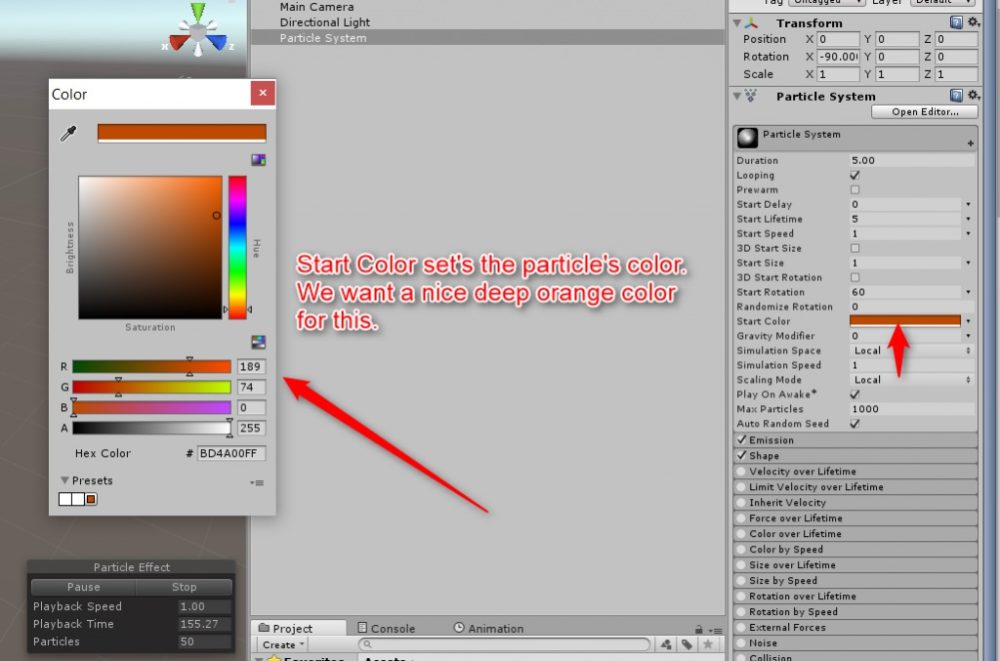
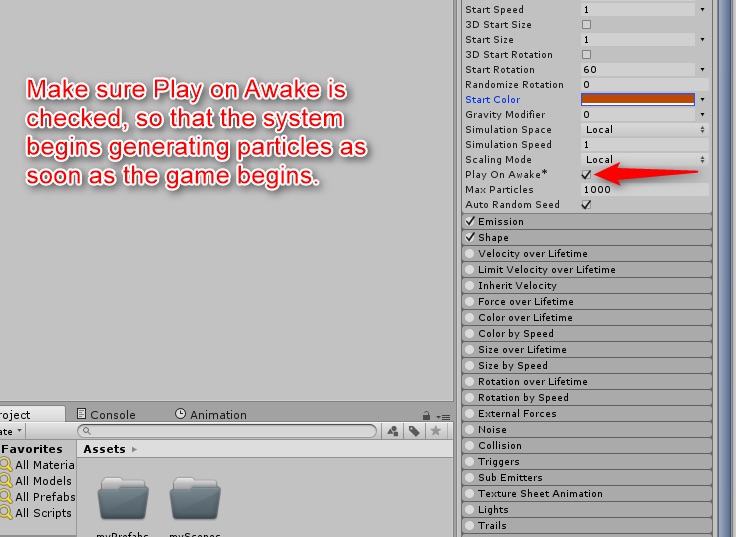
Make sure ‘Play on Awake’ is checked to make the system start as soon as the object is created at the beginning of the game.
Next, click the ‘Shape’ module bar in the Inspector window to expand it. It allows you to change the shape of the Particle Emitter system.
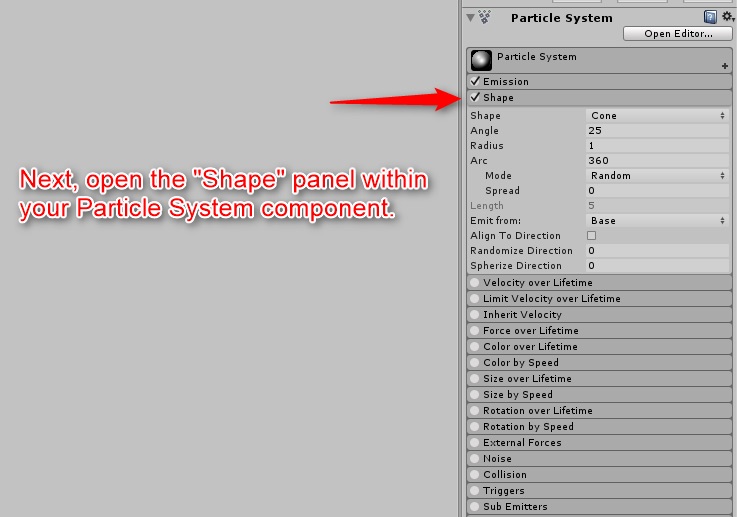
Selecting a different shape will change how the particles are generated in the space. For instances, the particles are generated in every direction by setting ‘Shape’ to Sphere. Let’s experiment with this ‘Shape’ parameter. Then, please set it to ‘Cone’ for the tutorial following.

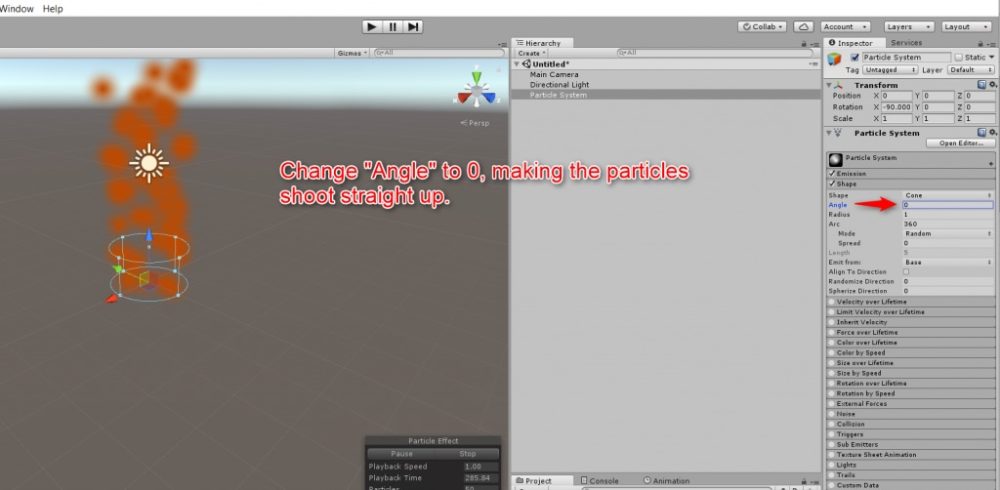
Set ‘Angle’ to zero, making the particles shoot straight up.
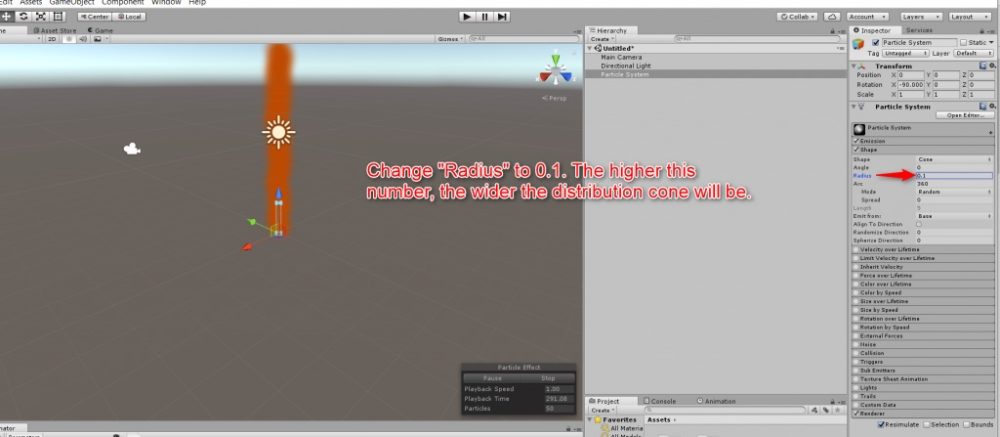
Next, change ‘Radius’ to 0.1 to reduce the distribution cone of the particle. The smaller number you set, the narrower the distribution cone will be.
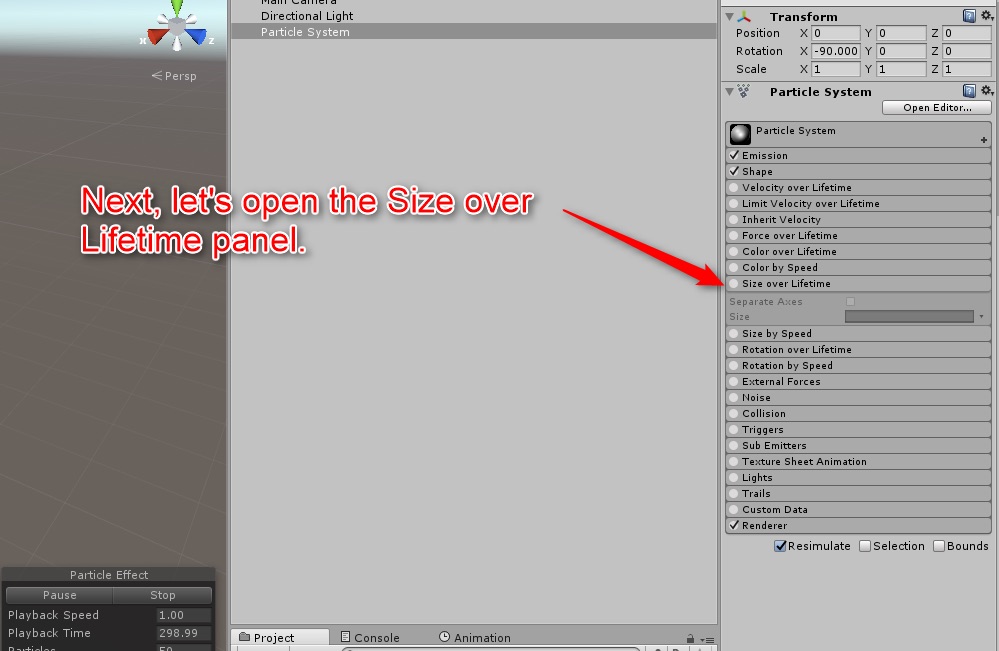
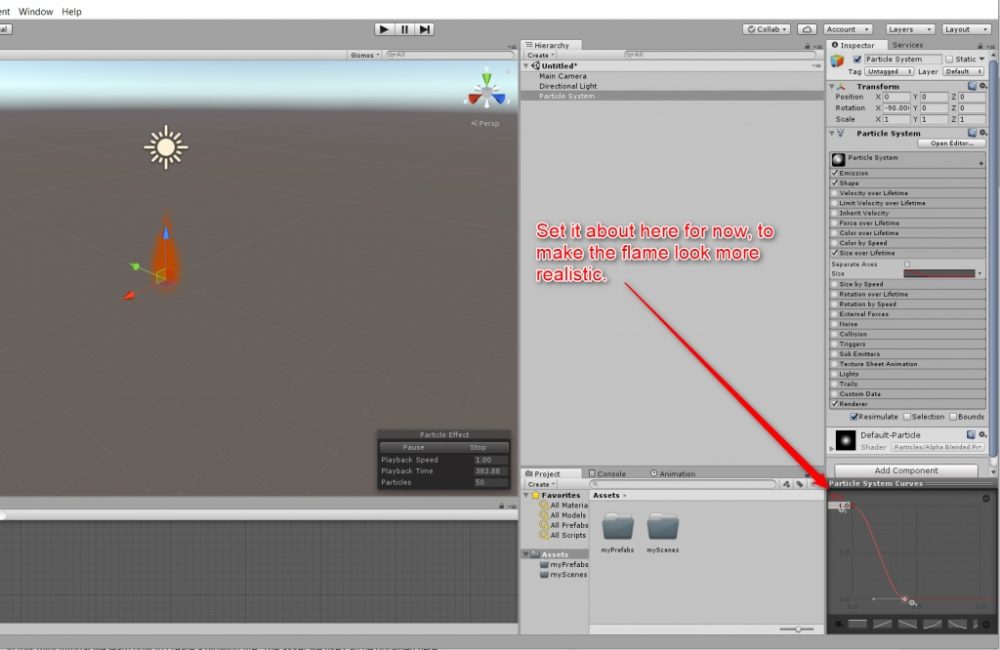
Then open the ‘Size over Lifetime’ panel.
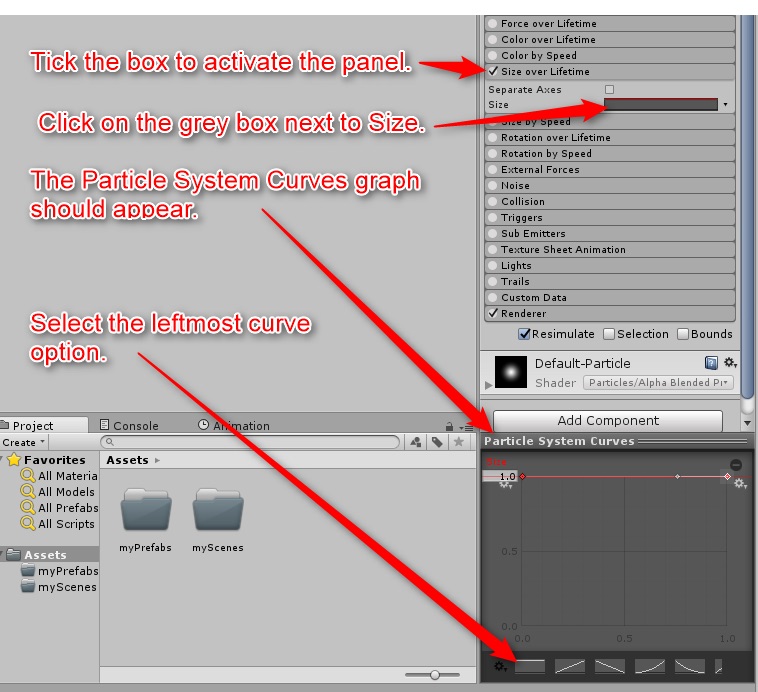
Check the small white box to activate the panel and then click the grey box on the right side of ‘Size’, so that the ‘Particle System Curve’ graph will appear. Select the leftmost curve.
This graph defines the size of a particle over its lifetime. To edit the graph, click and drag the red marker as shown below.
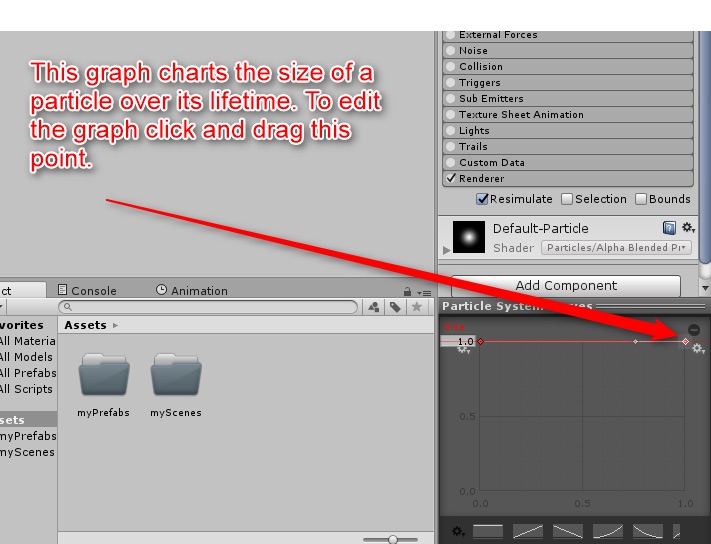
To make the flame more realistic, drag the maker to around the shown point below.
Next, open and activate the ‘Rotation over Lifetime’ panel.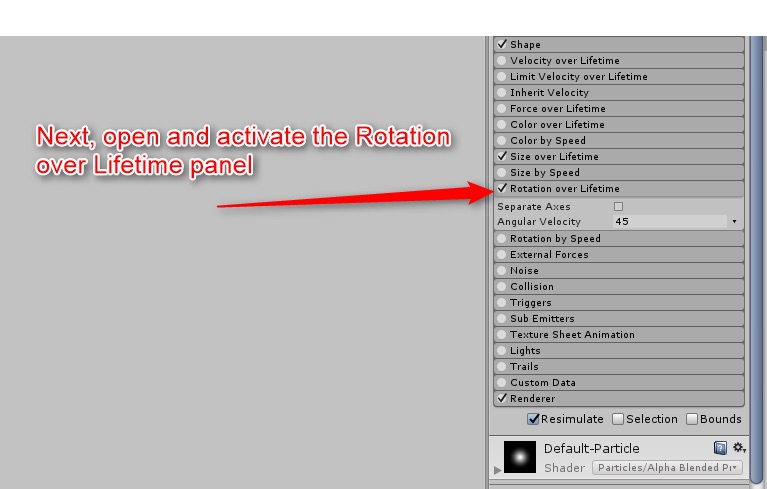
The higher you set ‘Angular Velocity’, the more the particles will swirl around as they rise. Set it to 60.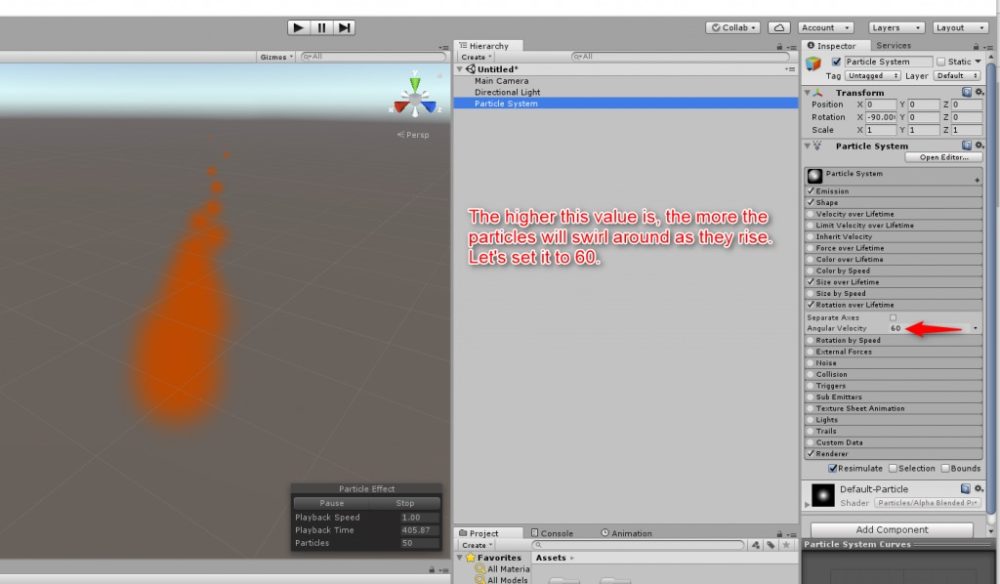
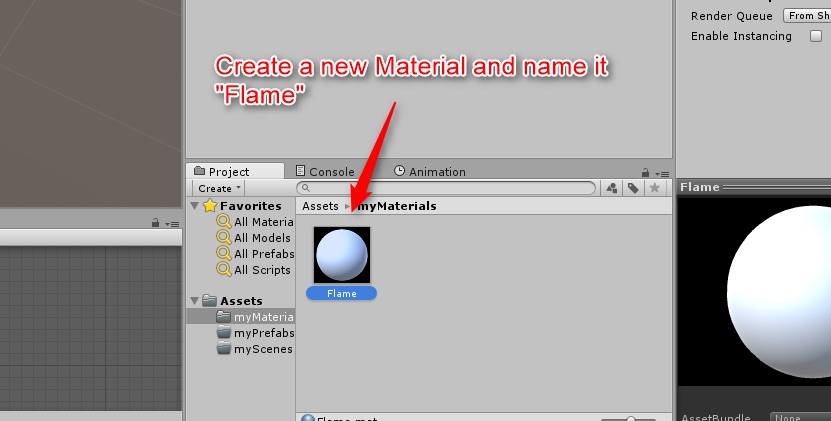
Then, create a new Material and name it ‘Flame’.
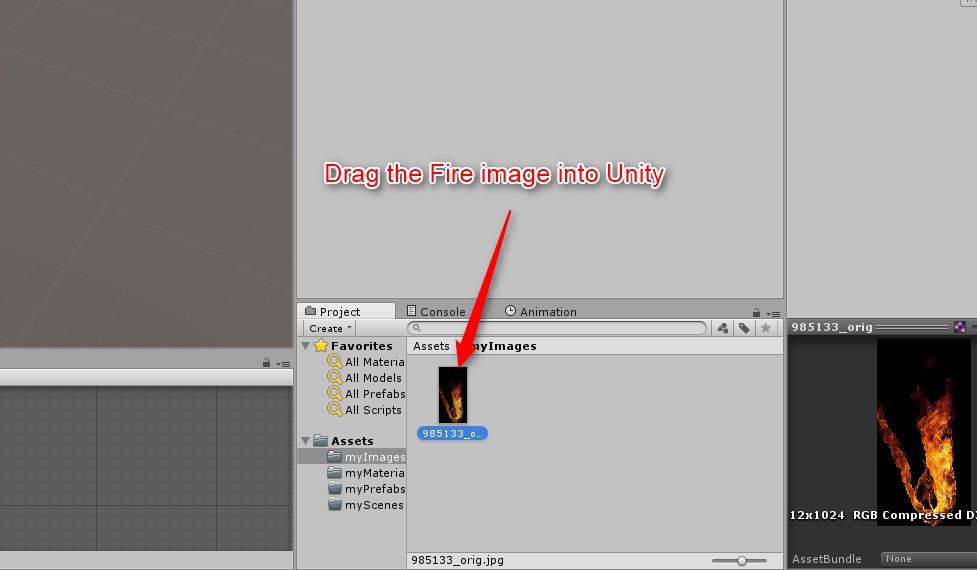
Drag the flame image into Unity from the link shown earlier in this tutorial.
Select your Flame Material and switch the Inspector to Debug mode.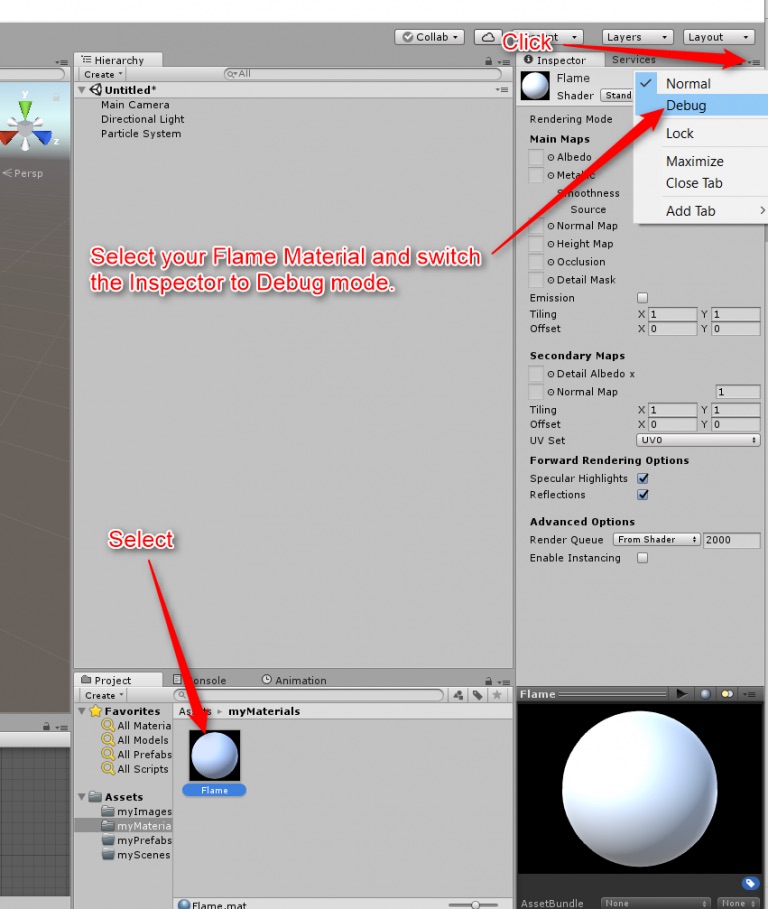
Next, go to Save Properties > Text Env > _Main Tex > Second and drag the flame image into the Texture field.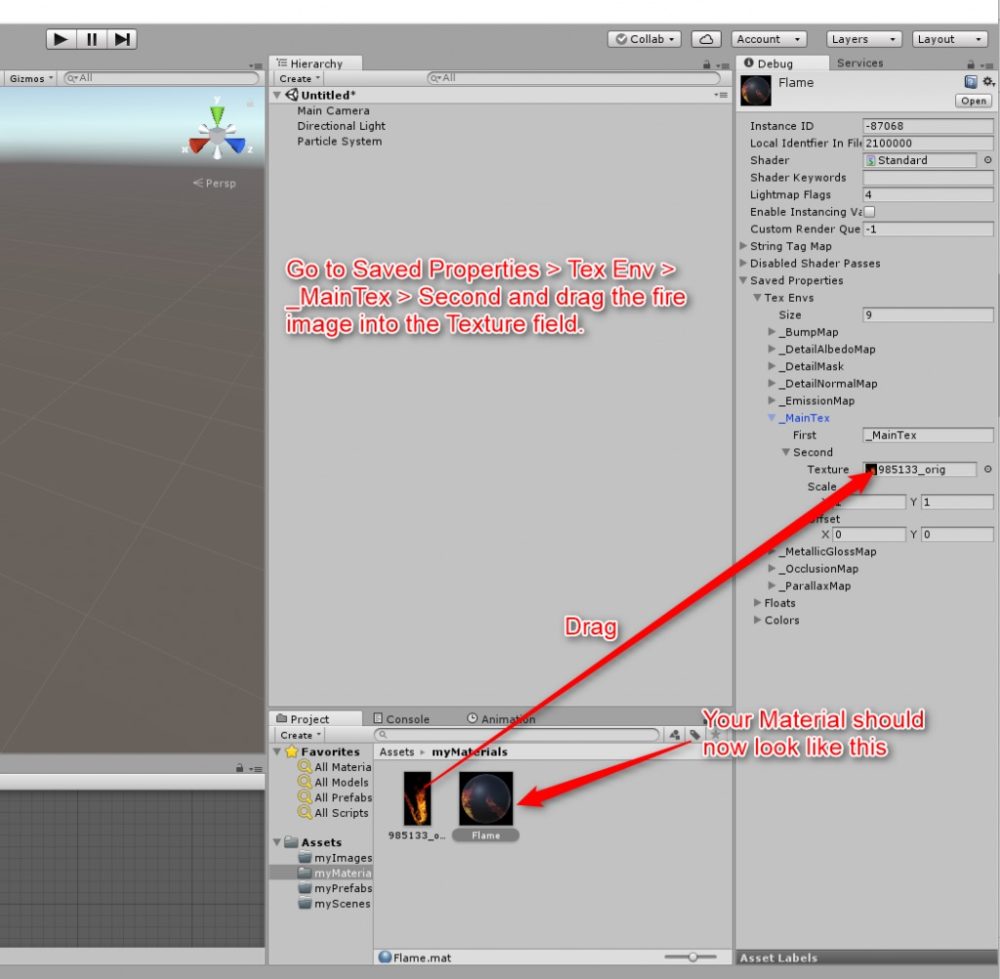
Drag the Flame Material onto your Particle System to make it a child element. You might think it weird but we will correct it soon. No worries.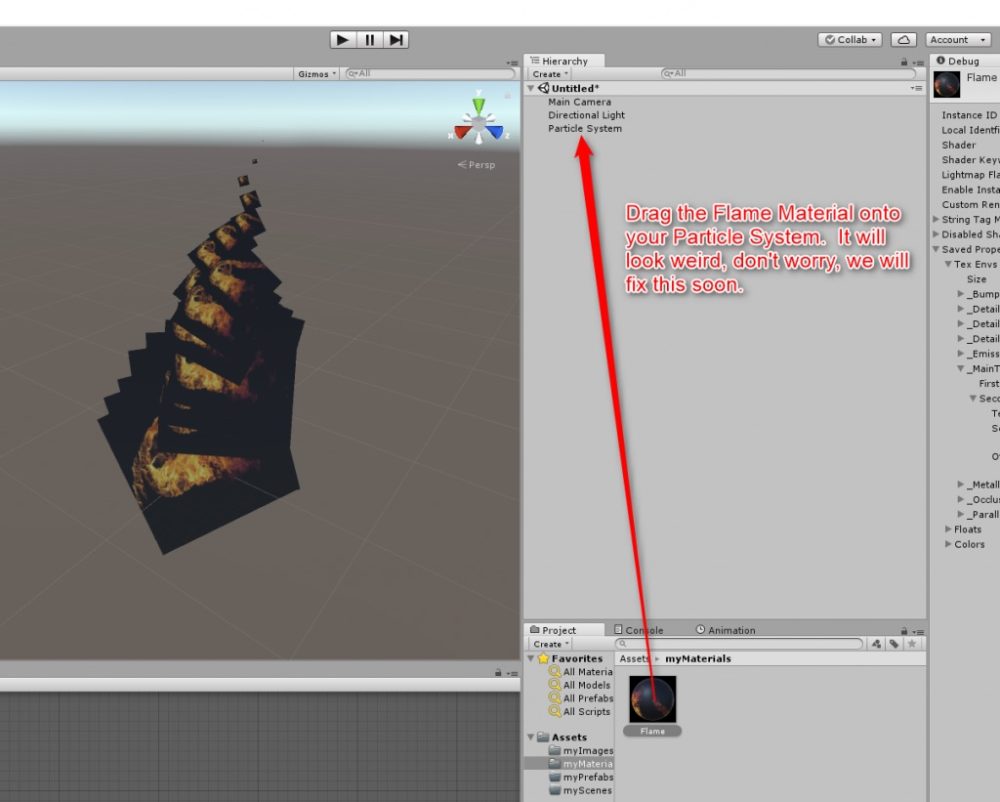
Set the Inspector of your Flame image to Normal mode.
Click the Shader drop-down menu with Particle System selected.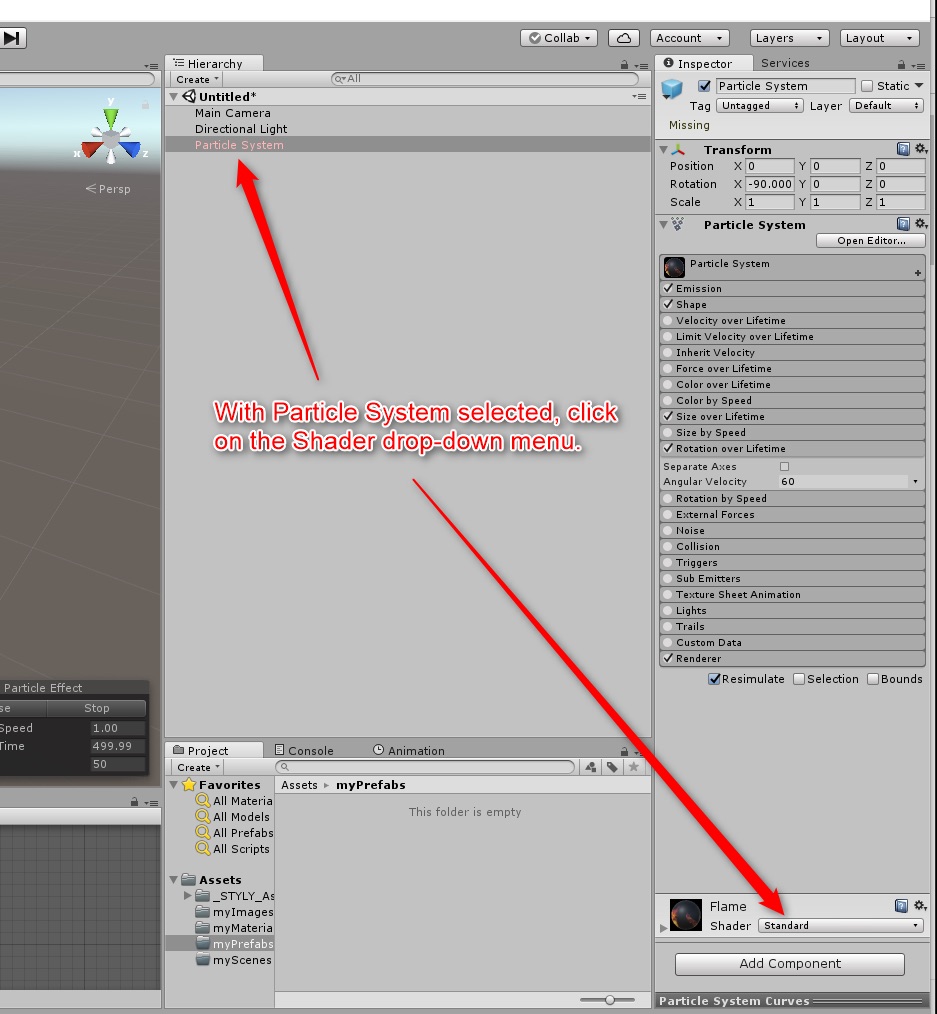
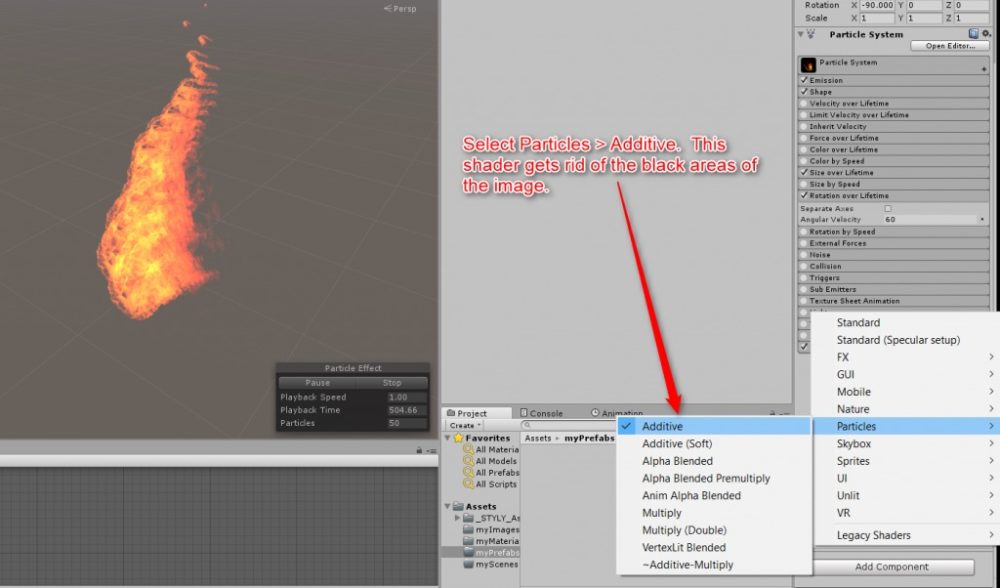
Select Particles > Additive. This shader removes the black areas of the image.
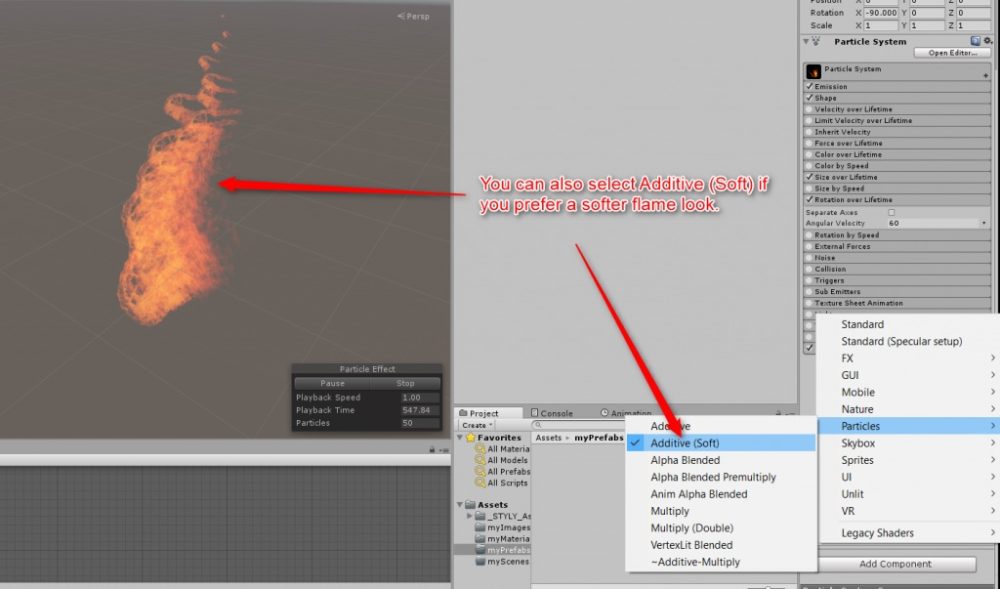
If you prefer a softer flame look, you can click ‘Additive (Soft)’ in the Particle menu.
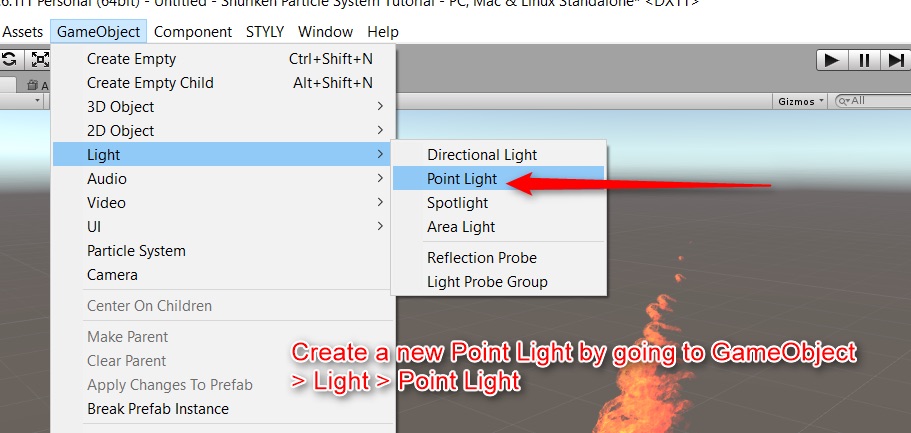
Then, create a new Point Light. From the top menu, click GameObject > Light > Point Light. It emits the light to the objects around the flame. Now the flame looks more realistic.
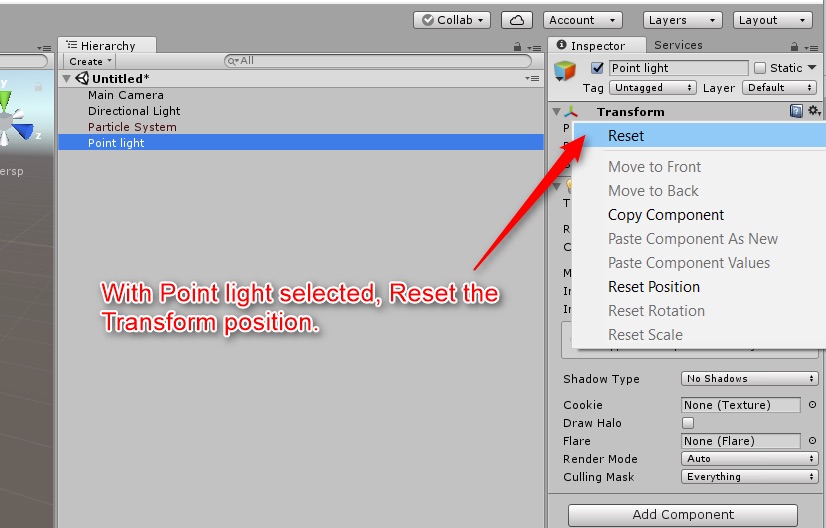
With Point light selected, reset the Transform position.
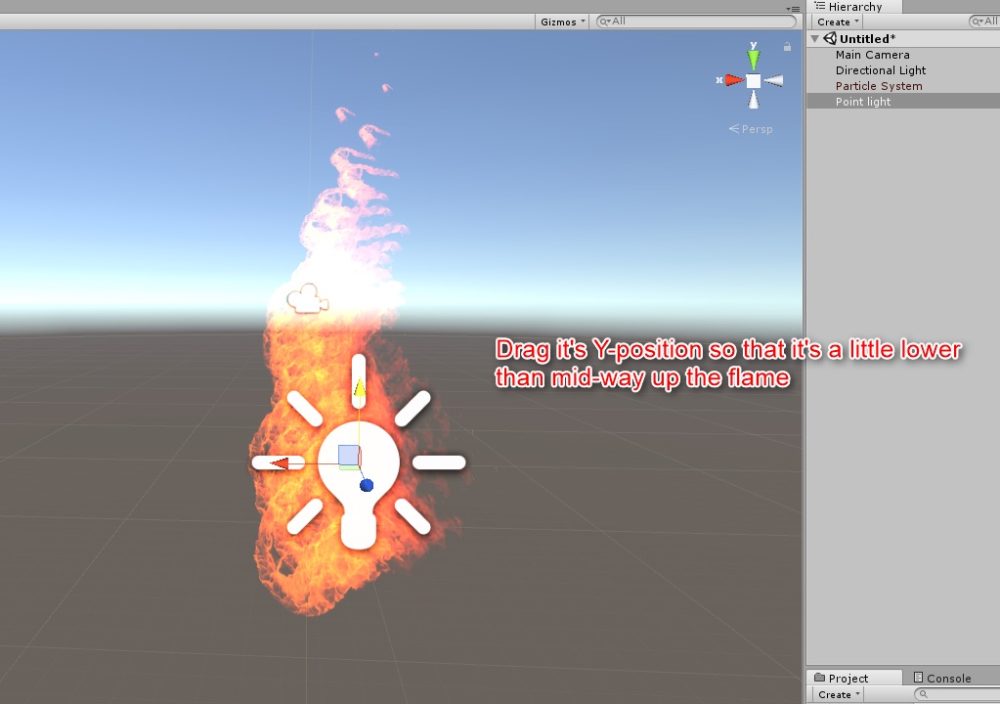
Drag Y-position of the object so that it’s a bit lower than the centre of the flame.
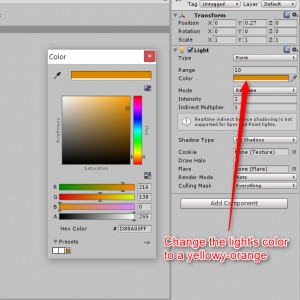
Change the colour of the light to a yellowish orange.
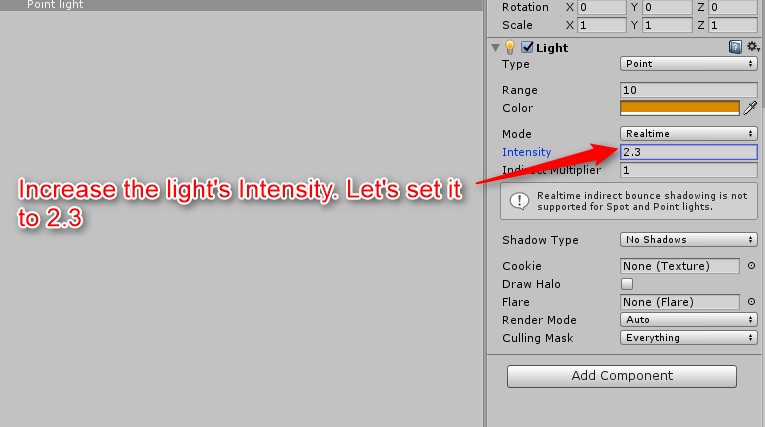
Set the Intensity of the light to 2.3. It’s completed now!
Upload Flame to STYLY
Create a new empty Game Object and name it ‘Flame’. Drag the Particle system and the Point light into it to make them its children.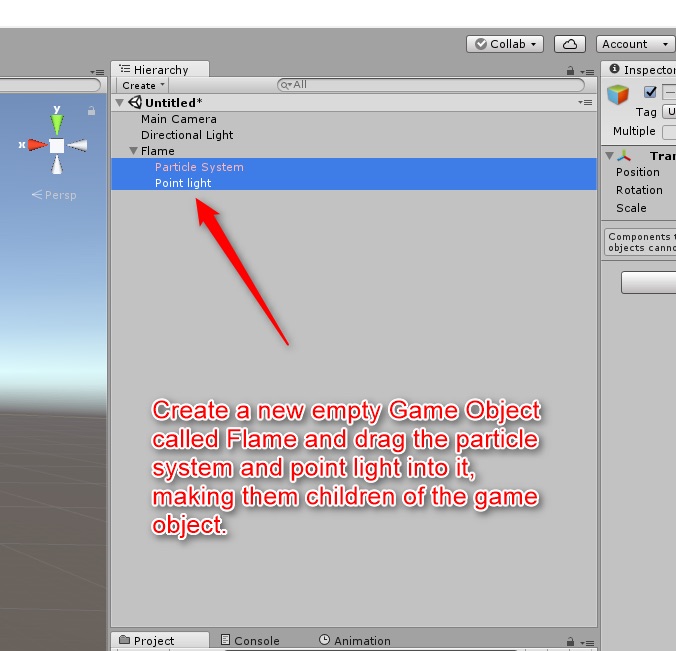
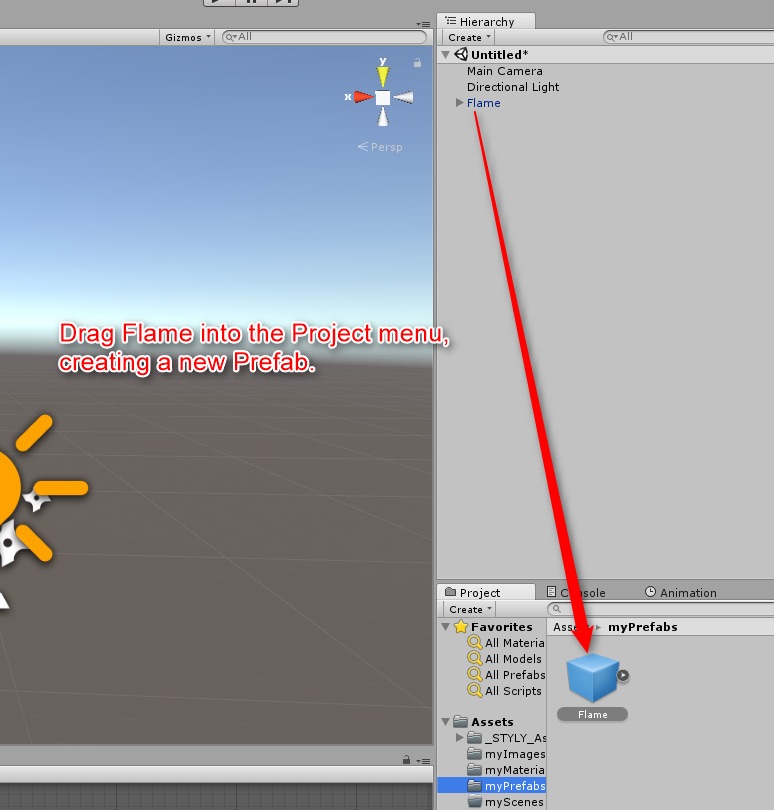
Drag ‘Flame’ into the Project menu to create a new Prefab.
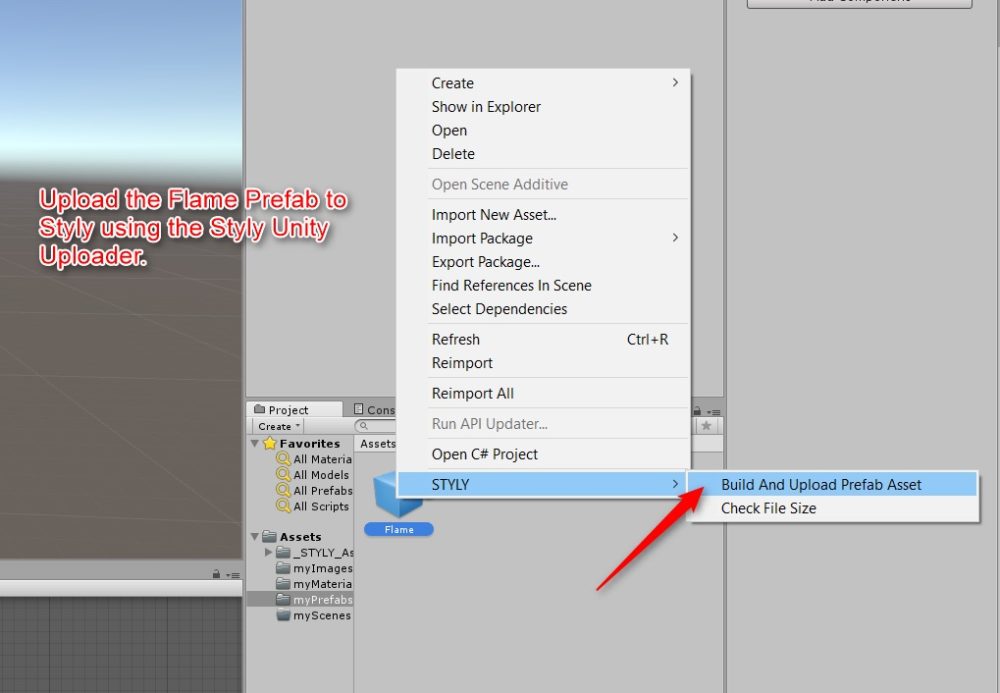
Upload the Flame Prefab to STYLY by ‘STYLY Unity Uploader’ (Refer to this about STYLY Unity Uploader).
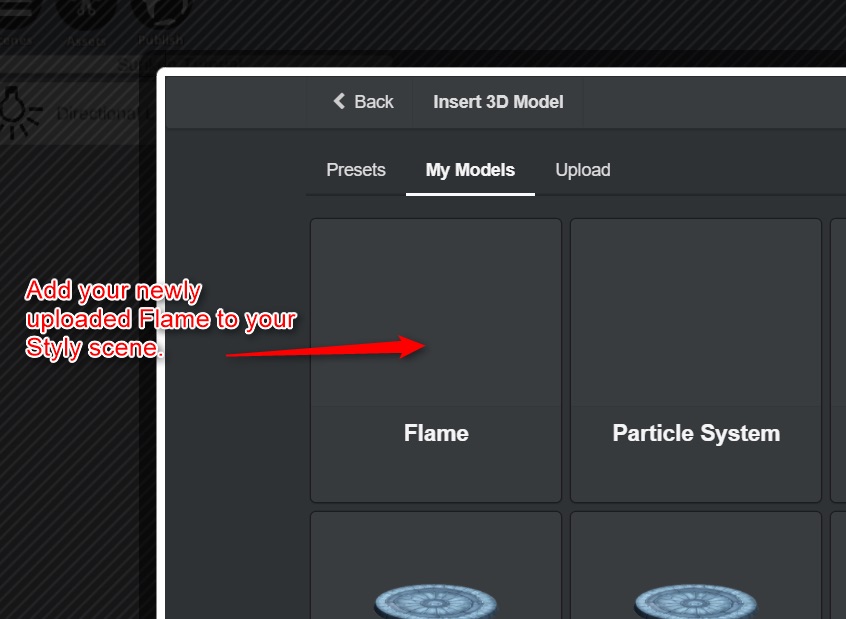
Open the start screen of STYLY Editor to create a new Scene (Refer to this about this step). Add the Flame uploaded to the Scene in STYLY).
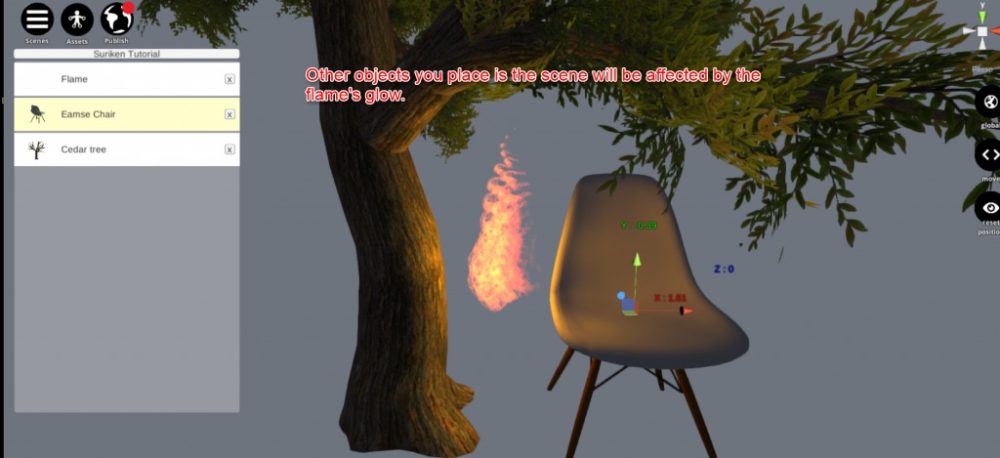
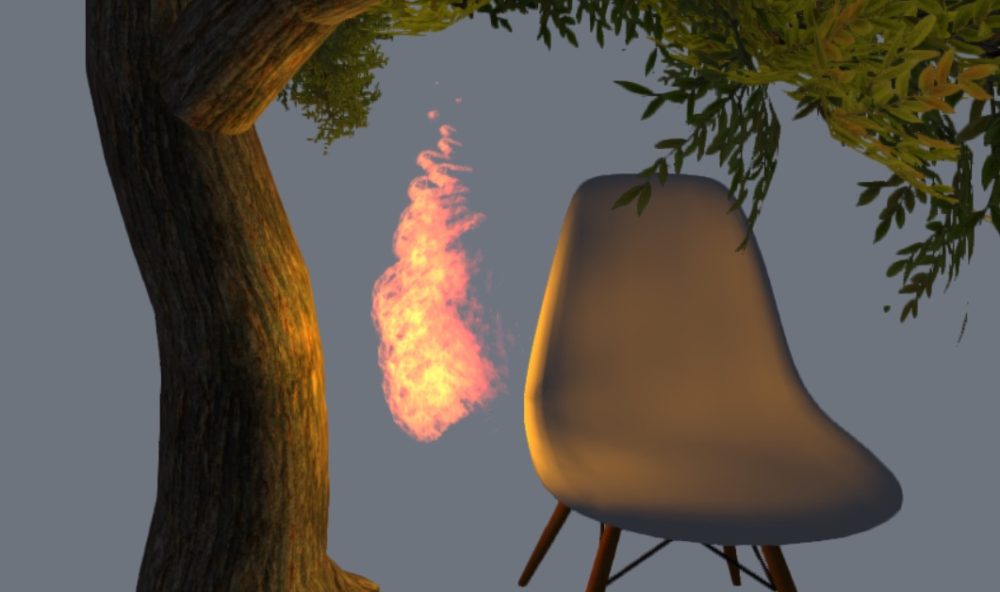
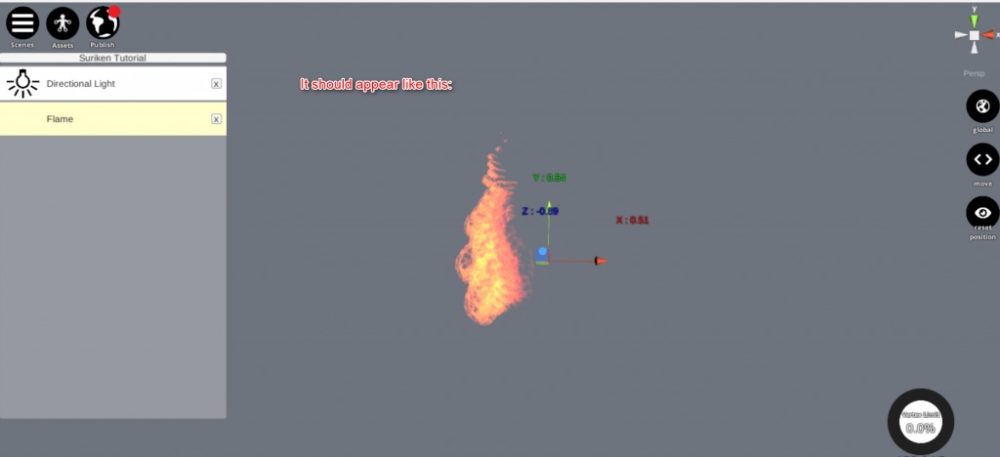
It makes the flame appear in the Scene as shown below.
The light of the flame acts on other objects you placed in the Scene. For example, the chair and the tree are brightened by the flame as seen in the images below.