この記事ではShader Forgeを使って2種類のテクスチャを頂点カラーでブレンドする方法を紹介します。
シームレステクスチャ1枚だとタイリングが目立ってしまうので2つのテクスチャをブレンドしていきます。
UnityにはTerrainがあるのでそちらを使用する場合が多いと思いますが、モデリングしたオブジェクトに
頂点カラーの情報を与えてテクスチャを使い分ける方法もあります。
またUnity2018からShader Graphというツールが搭載されたようですので今後はそちらがメインで使われるのでは
ないかと思われます。
Shader Forgeでシェーダーを作る
まずブレンドしたい2種類のテクスチャを用意します。
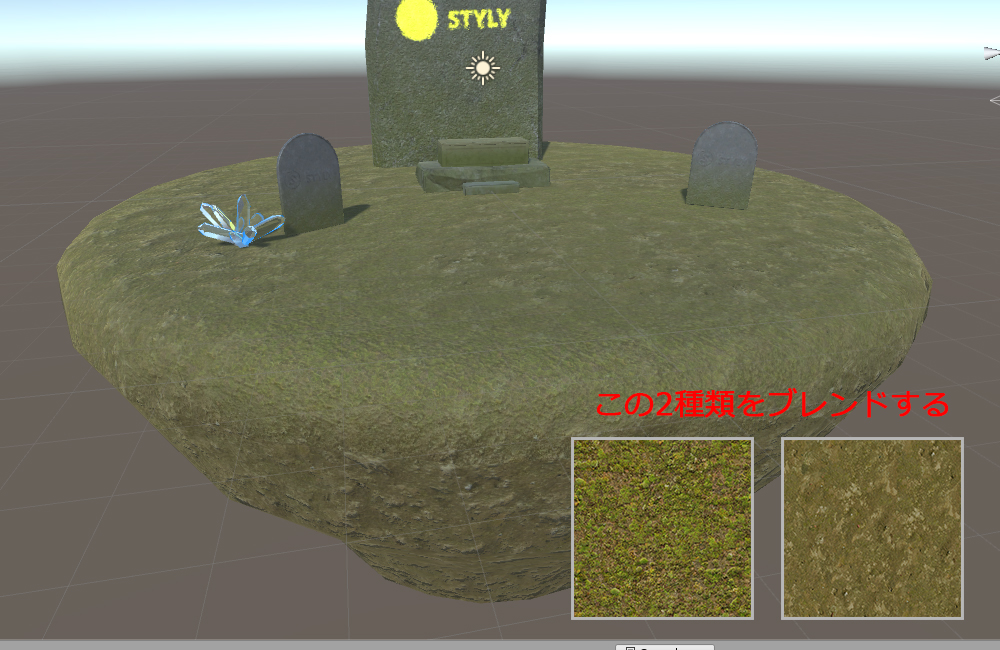
今回はBaseColorとNormalをそれぞれ用意しています。
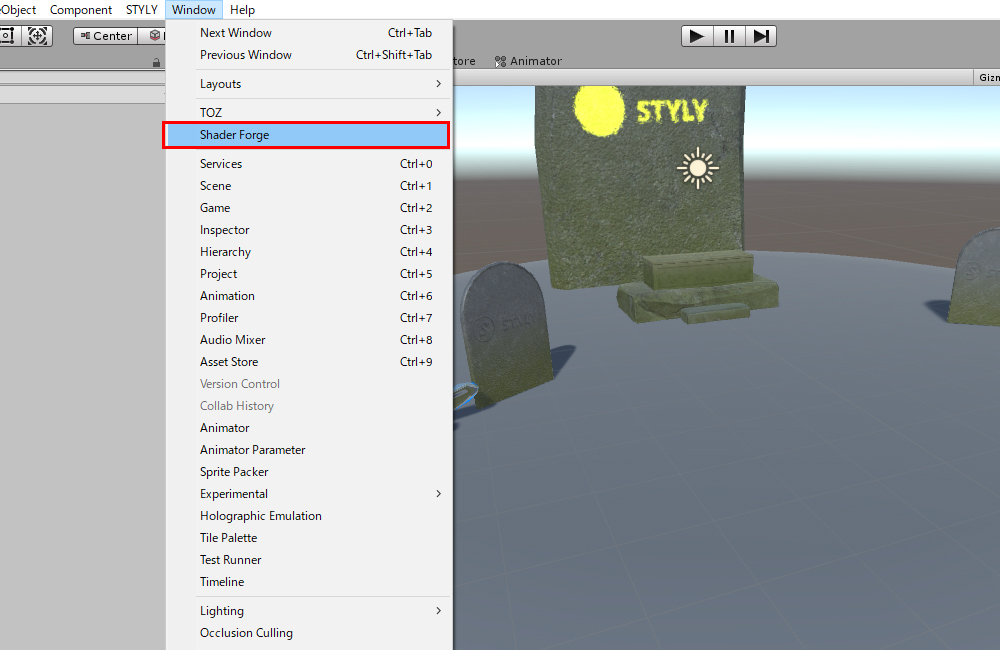
WindowからShader Forgeを選びます。
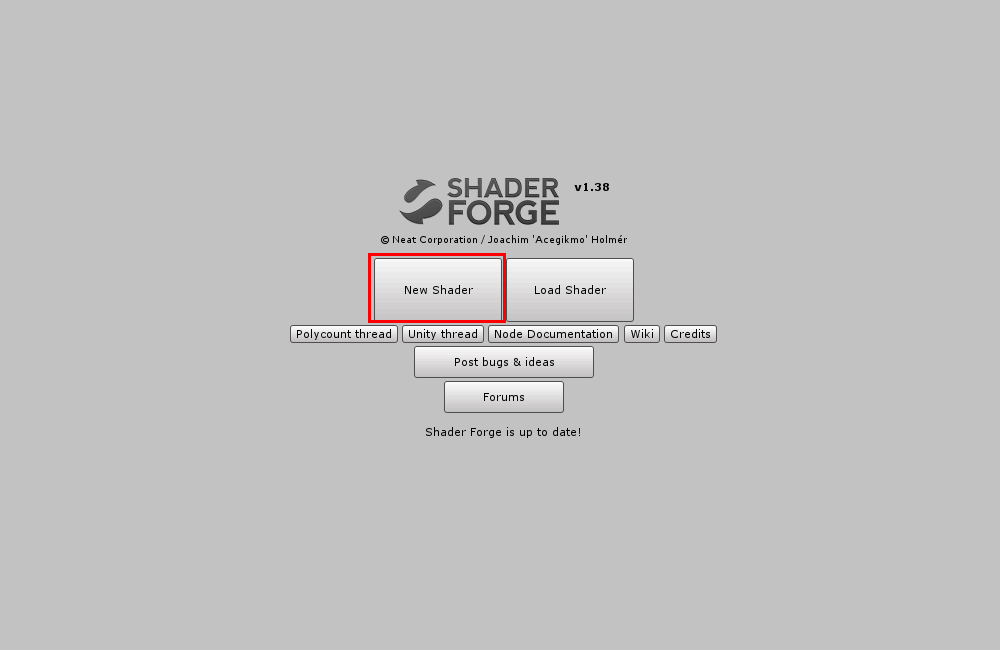
New Shaderを選びます。
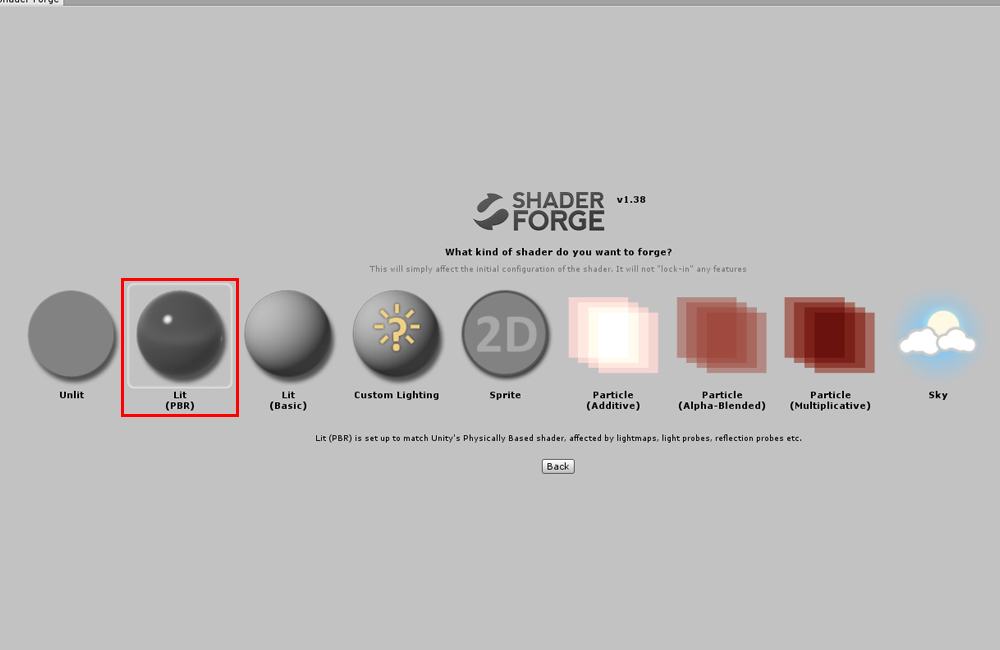
Lit(PBR)を選びます。
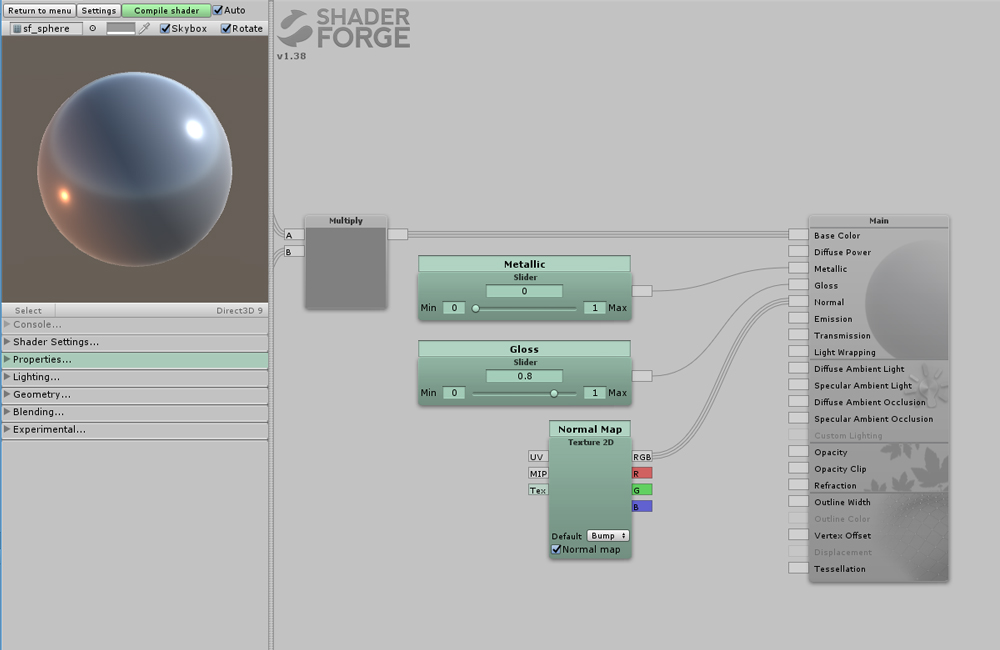
こんな画面が出てきます。
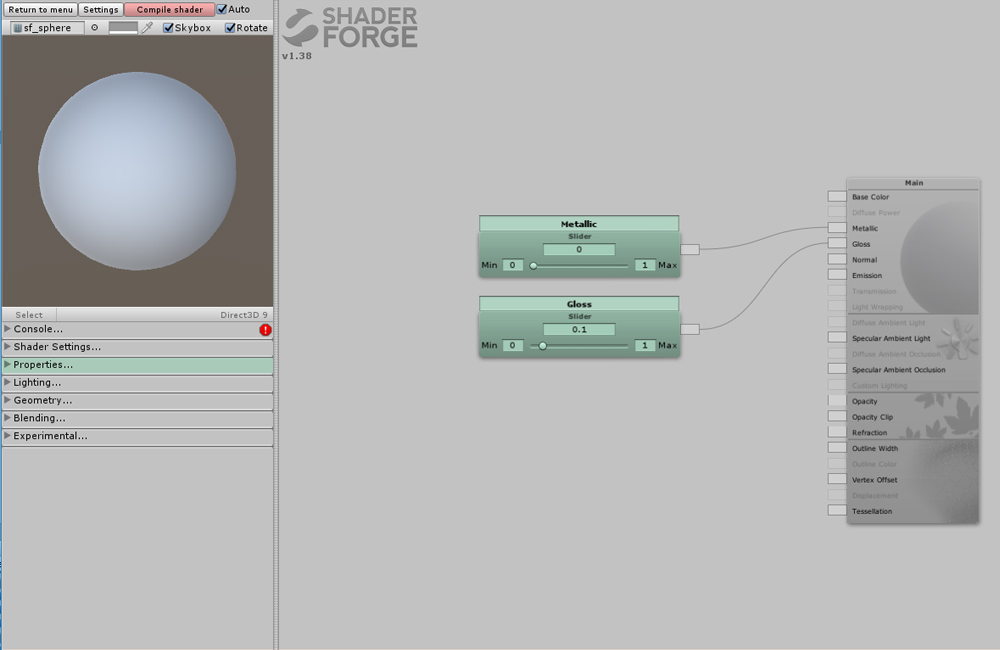
とりあえずMetallicとGloss以外は削除します。
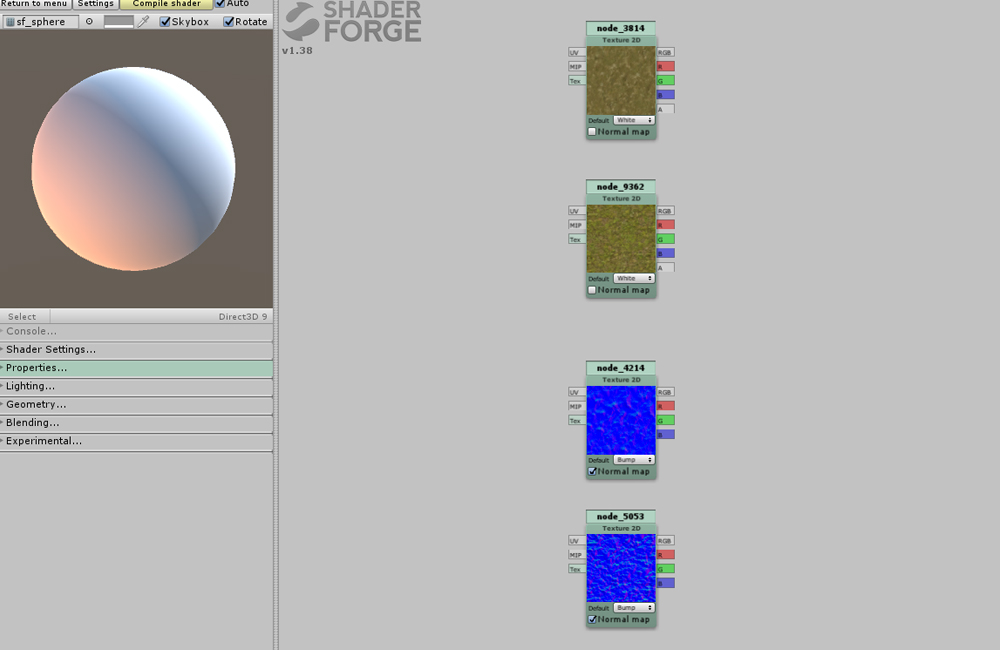
今回使用する2種類のテクスチャのBaseColorとNormalをドラッグして配置します。
まずはBaseColorをブレンドします。
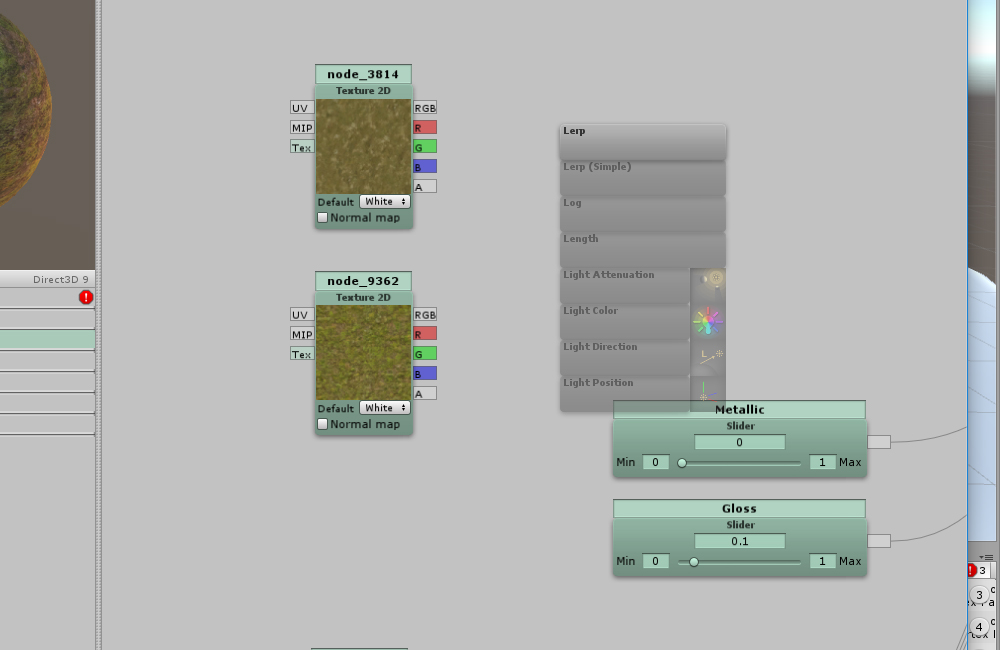
Lを押すといくつか候補が出てくるのでLerpを選択します。
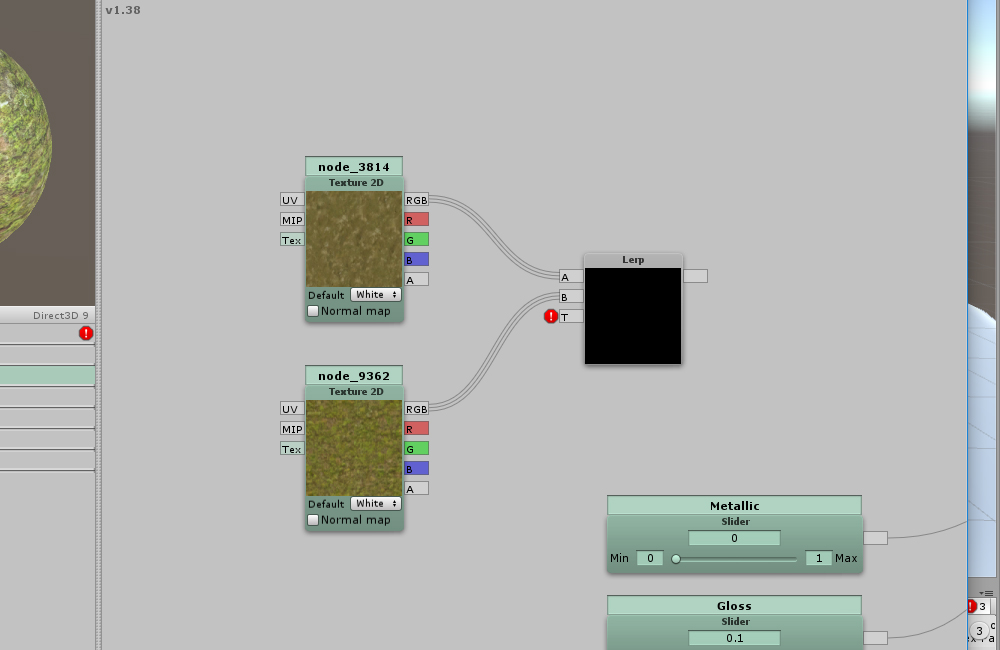
Lerpにそれぞれのテクスチャをつないでいきます。
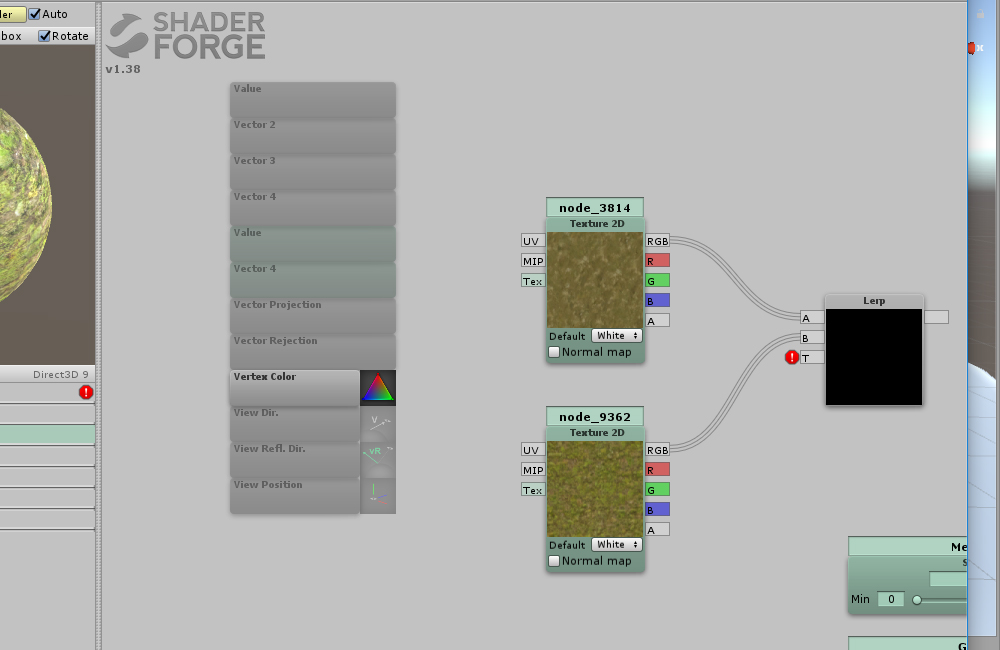
Vを押すと候補が出てくるのでVertexColorを選びます。
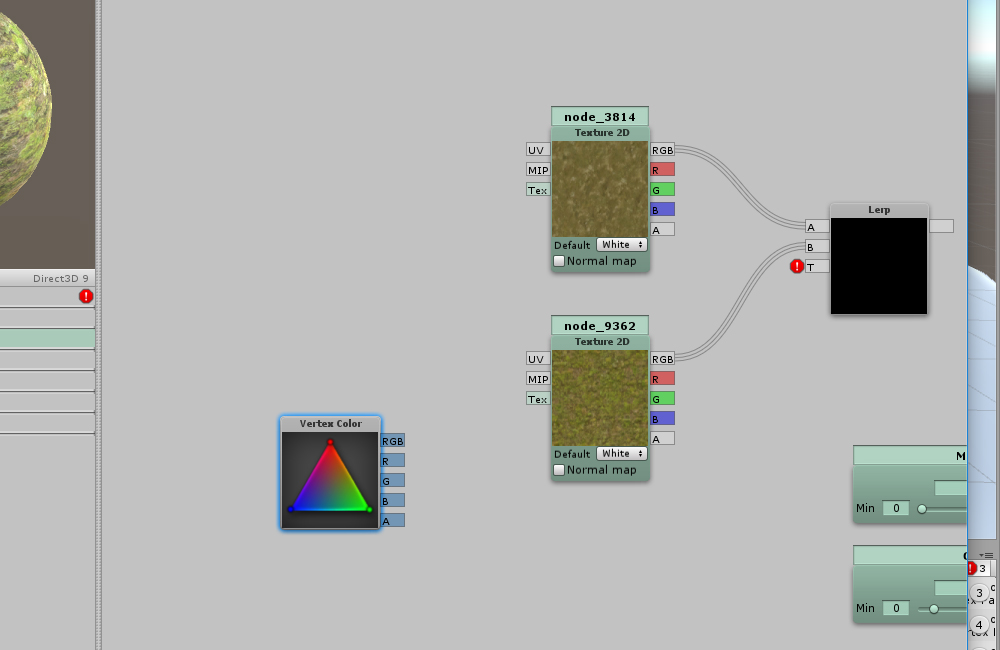
VertexColorのRチャンネルをLerpのTにつなぎます。
Normalにも同じことをやっていきます。
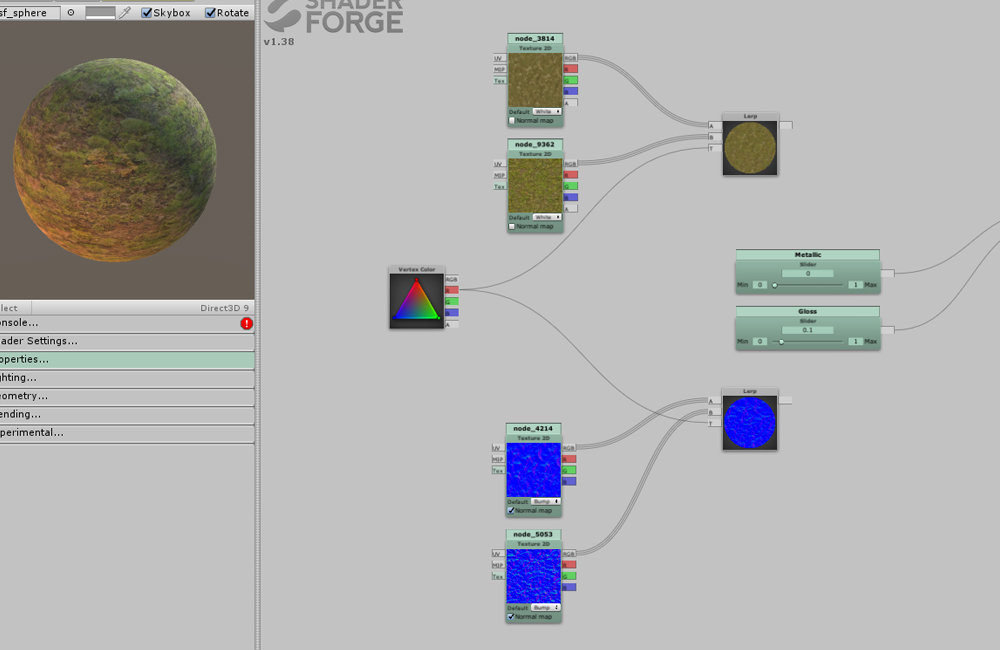
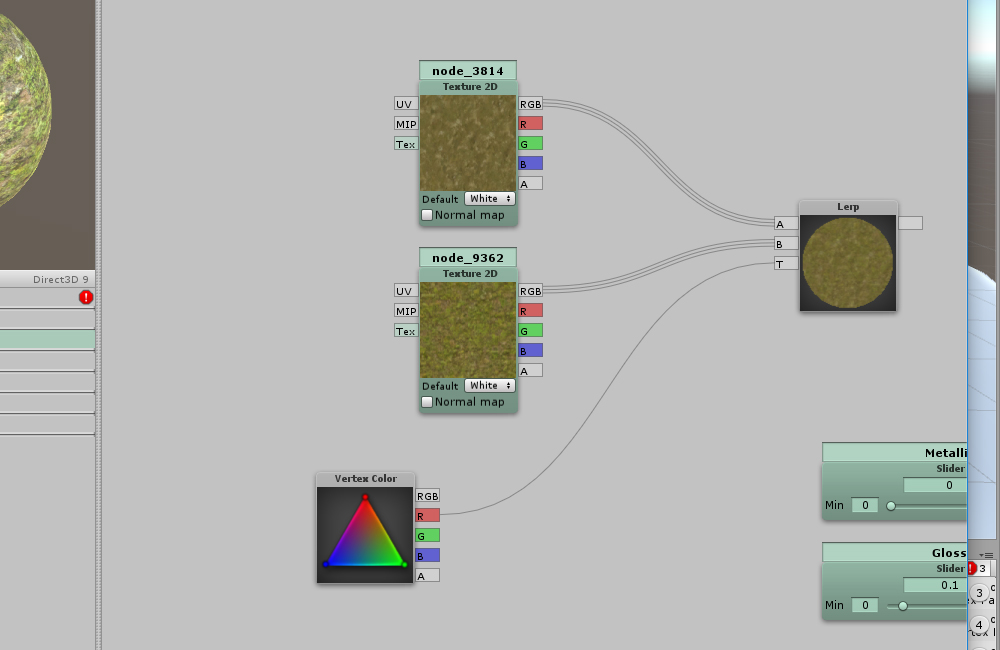
このような状態です。

BaseColorをつないだLerpはBaseColorへ、NormalをつないだLerpはNormalへそれぞれつないでいきます。
これでVertexColorのRチャンネルでマスクを制御できるようになりました。
頂点カラーを割り当てる
まずは新規にマテリアルを作って先ほどのシェーダーを割り当てます。
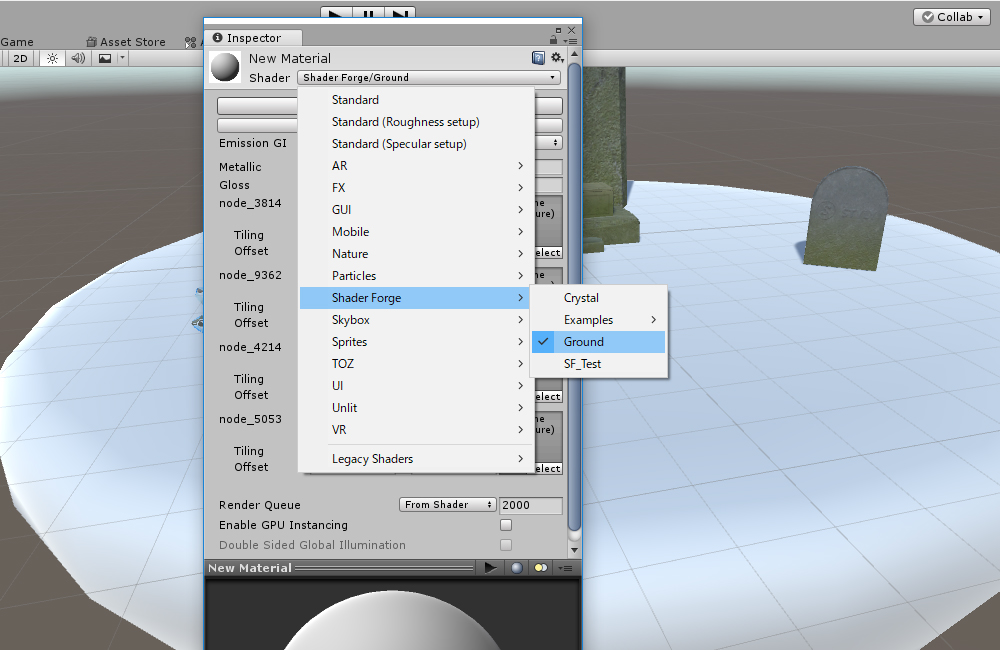
ShaderのところからShader Forgeを選んで先ほど作ったシェーダーを選択します。
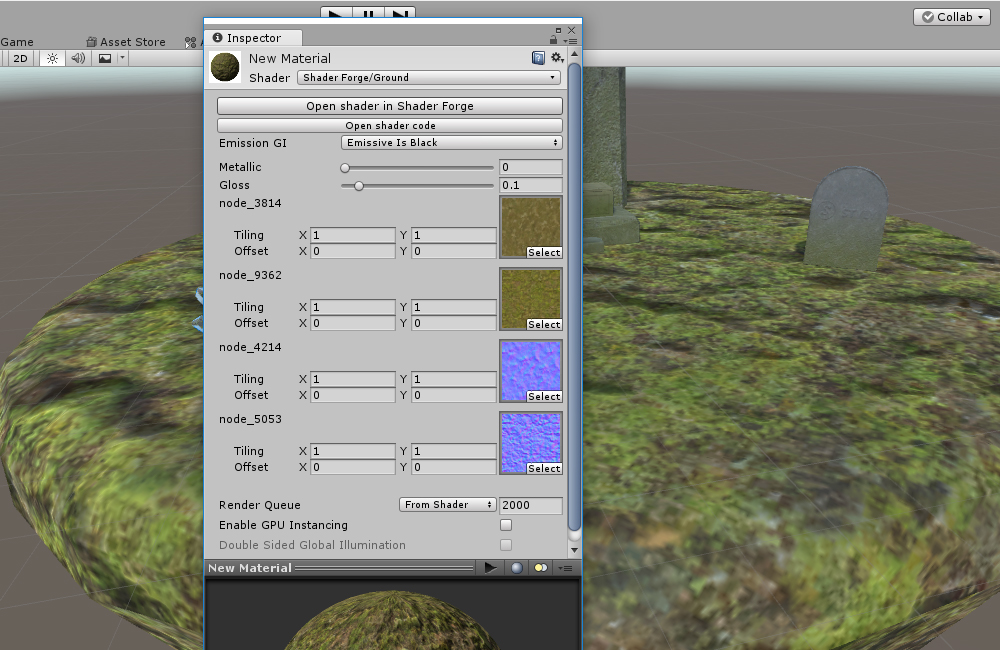
2種類のテクスチャがちゃんと入っていることが確認できます。
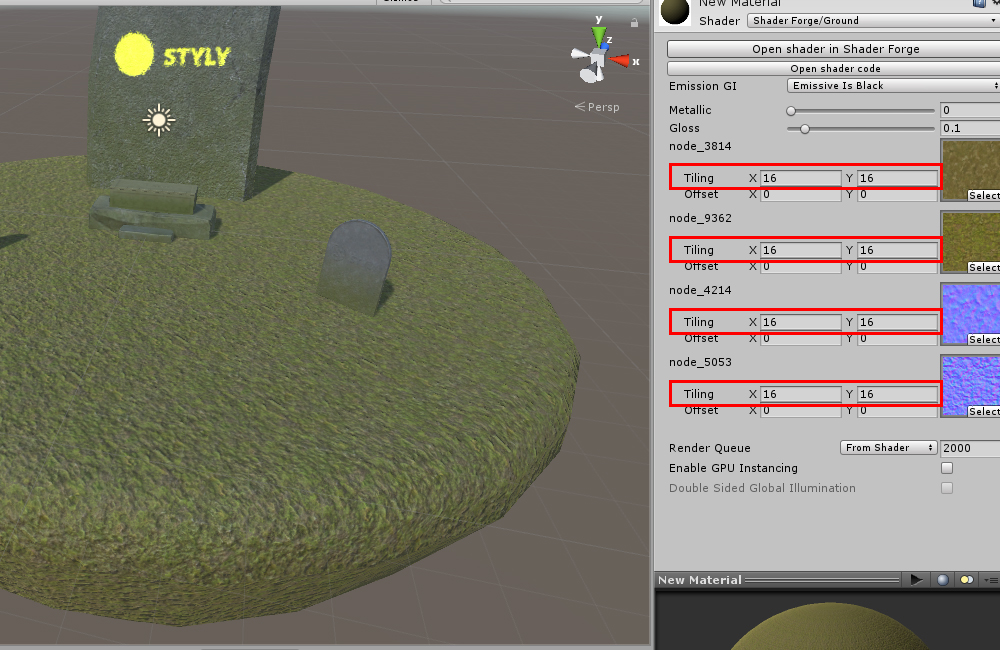
このままだとスケールが合っていないのでとりあえず適当にタイリングしてスケールを合わせておきます。
まだ頂点カラーの情報がないので1種類のテクスチャしか見えない状態です。
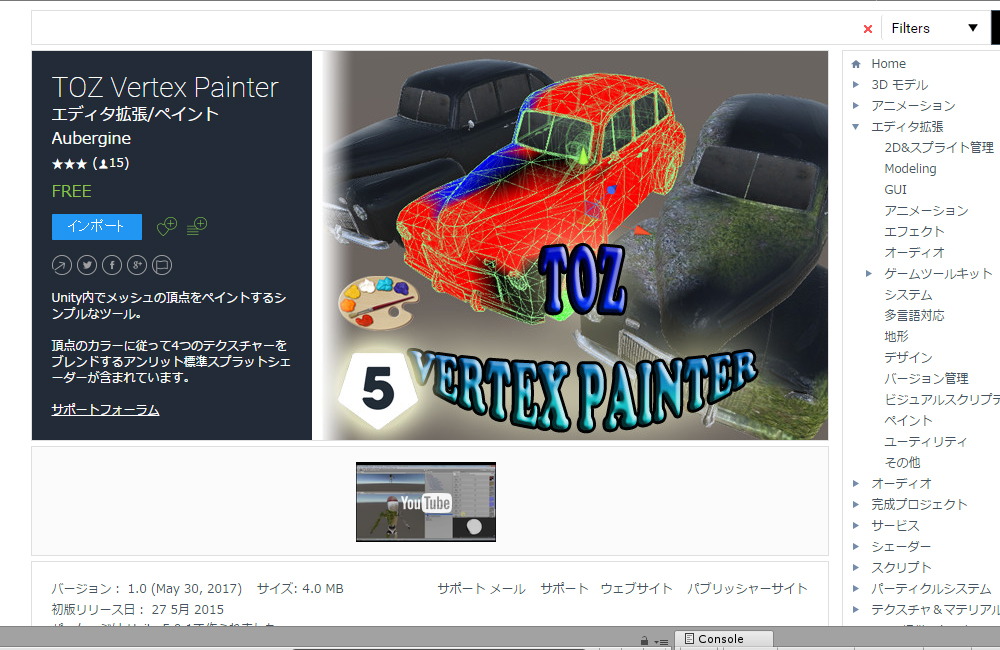
頂点カラーを与えるためにアセットストアからTOZ Vertex Painterを使います。
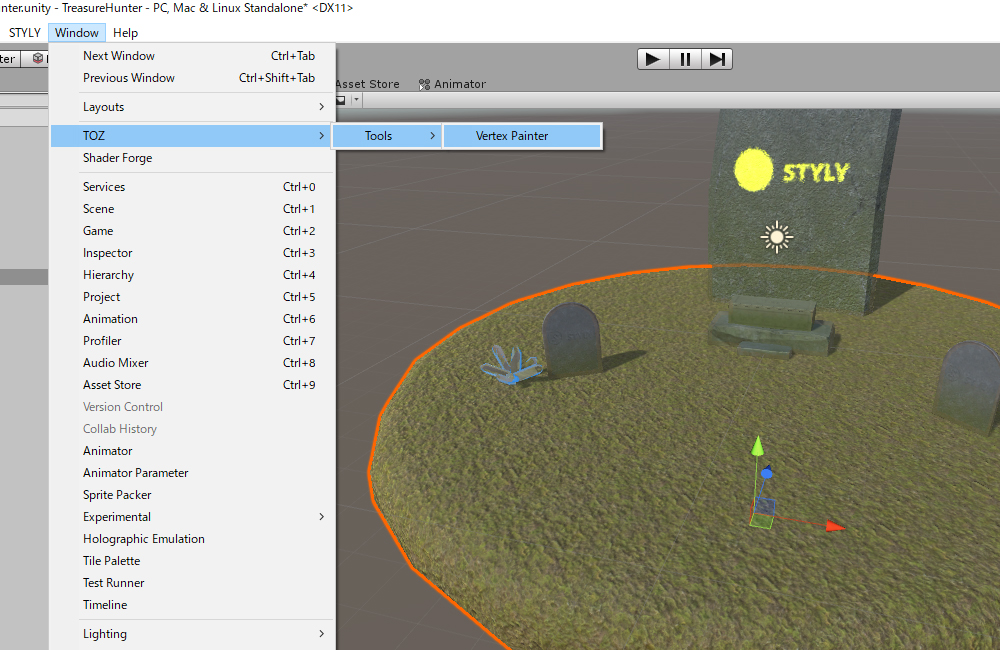
インポートしたらWindowからTOZのVertex Painterを起動します。
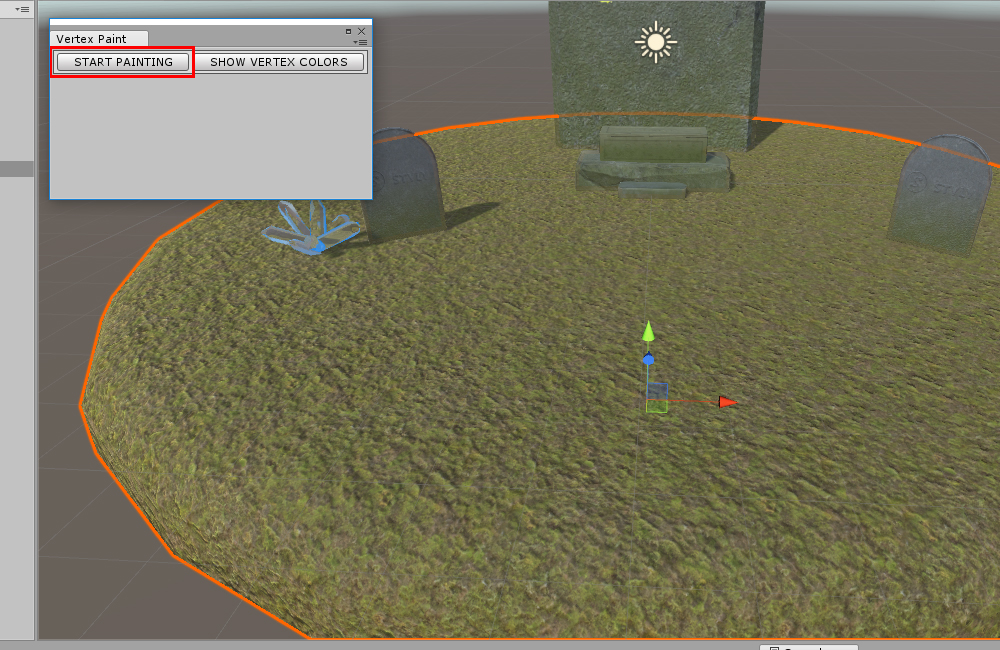
Start Paintingでペイントを開始します。
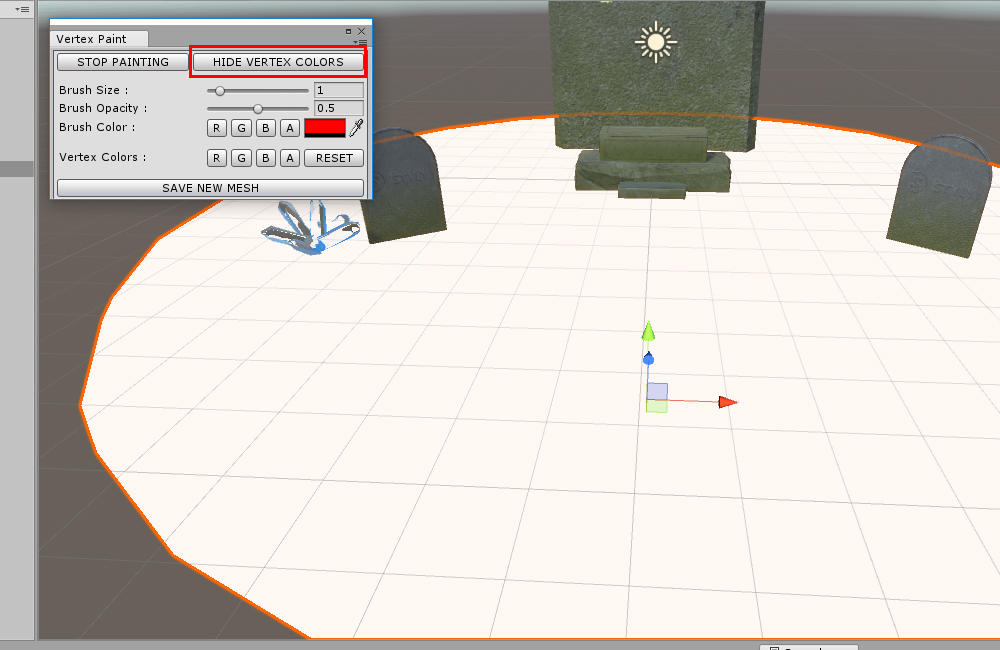
Hide Vertex colorsで頂点カラーを非表示にしておきます。
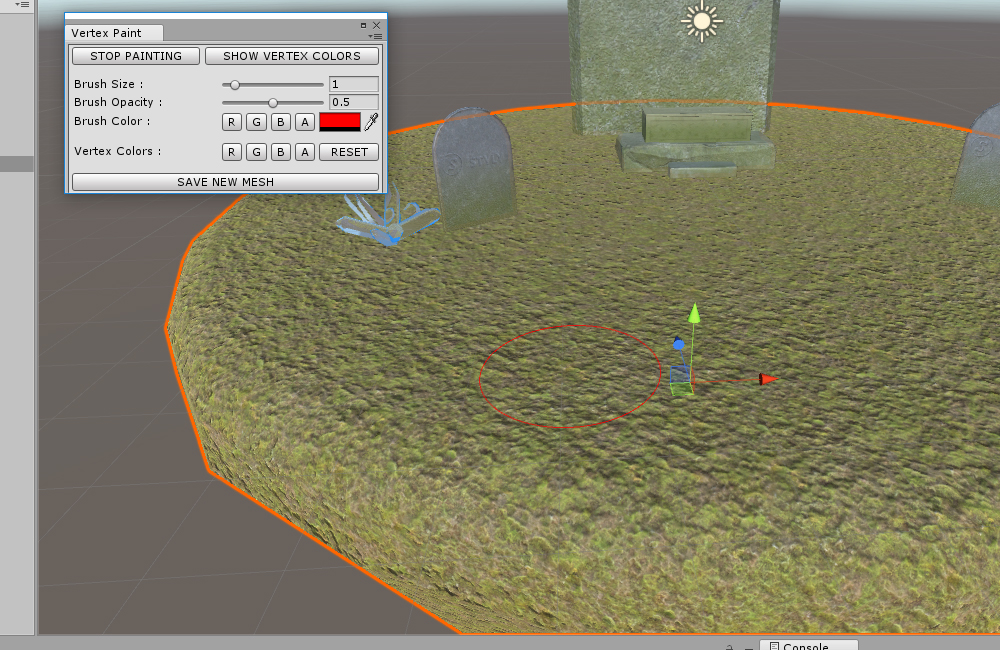
Brush ColorをRにしてオブジェクトを塗っていきます。
塗ったところと塗ってないところでテクスチャが変わっています。

頂点カラーを表示させて確認してみると赤く塗られているところが別のテクスチャになっています。
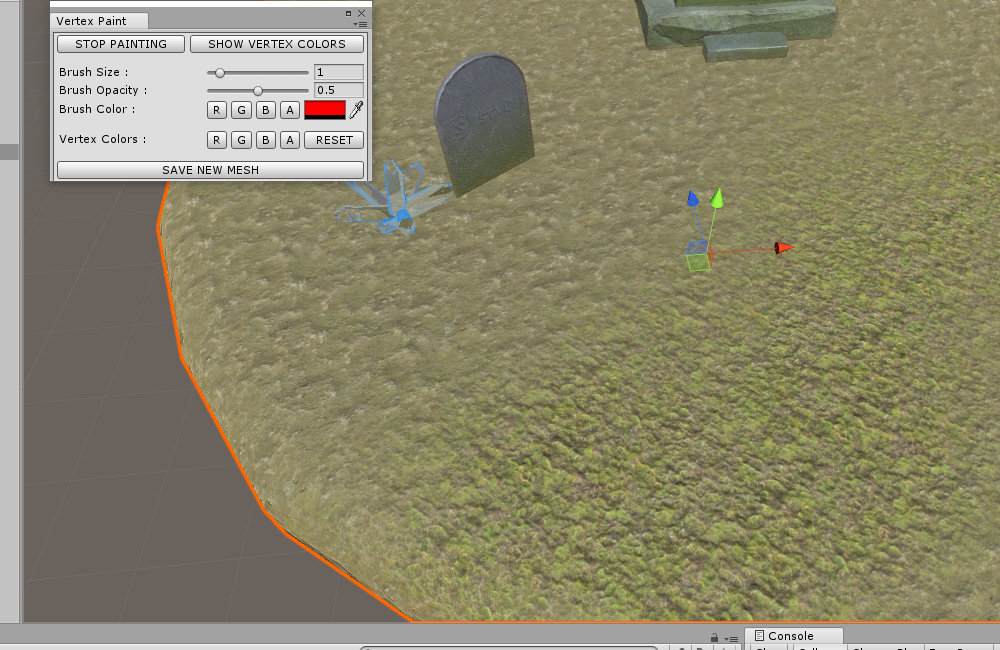
Brush SizeやOpacityを変えながらタイリングが目立たないようにペイントしていきます。
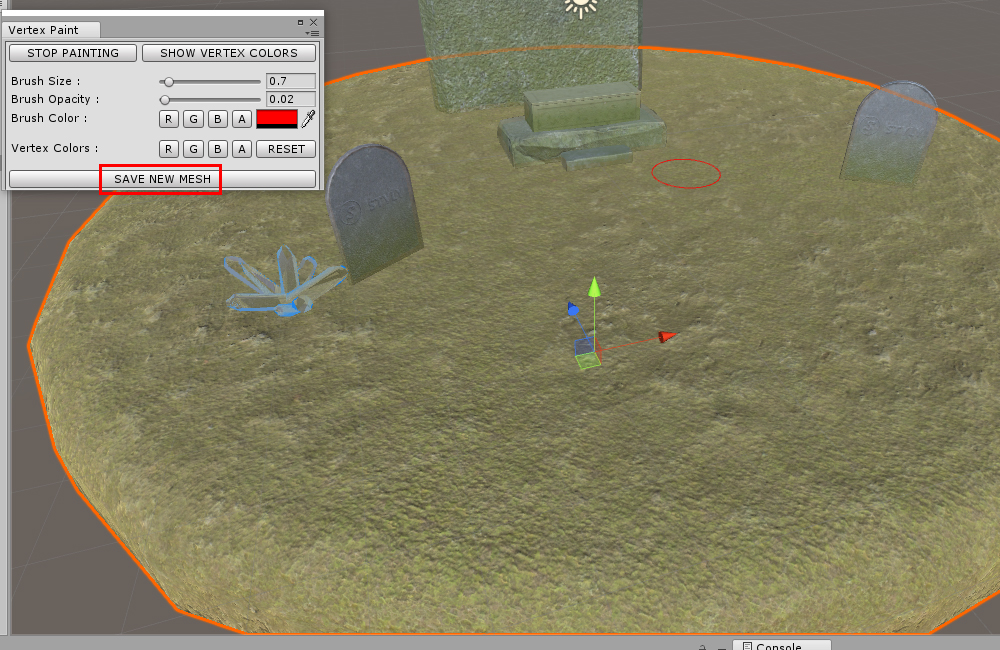
塗り終わったらSave New MeshでMeshを保存します。
頂点カラーの情報を持たせたメッシュが出来ました。
新しくできたメッシュと入れ替えます。
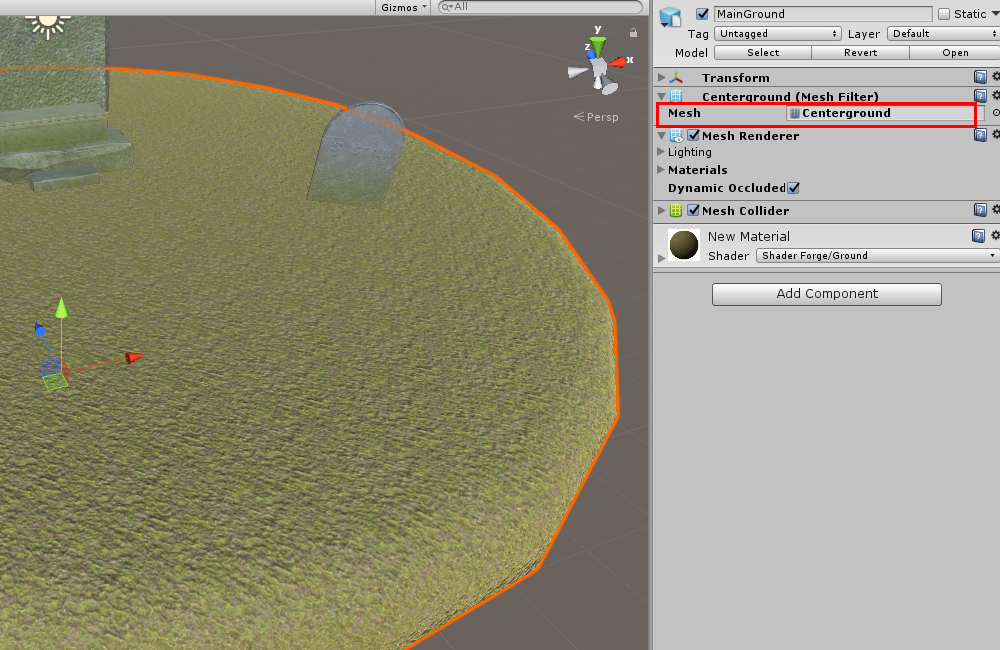
Meshのところを新しくできたメッシュに入れ替えればOKです。
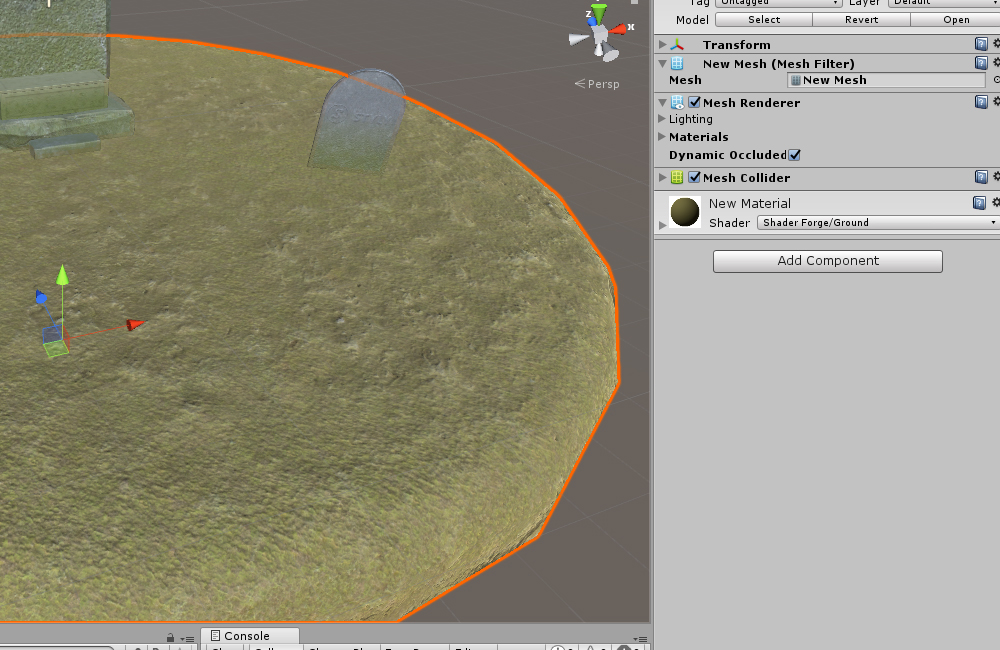
これでテクスチャが頂点カラーでブレンドされたオブジェクトができました。
この記事ではShader Forgeを使って複数のテクスチャを頂点カラーで制御する方法を紹介しました。
広い敷地になるとどうしてもタイリングが目立ってしまうのでいろいろなテクスチャをブレンドするとだいぶ
ごまかすことができます。
汚れや劣化を与えたい部分などにも利用できますね。
VR空間:TreasureHunter