I will introduce the basic functions and how to use ‘PlayMaker’, and explain how to create an easy game with Unity in this article series.
In this article, I will introduce the basics of PlayMaker and how to install it.
You cannot use scripts with STYLY, but you can use PlayMaker to create a similar function.
One strength of PlayMaker is that the user does not need programming experience with C# in order to create Unity VR content.
Also, by combining PlayMaker with STYLY, users can create whatever they want with VR.
After you read thus article, I hope you try and create your very own VR content.
PlayMaker Basics
PlayMaker Strengths
- State transition base flows
- No need for coding to create logics
- Visualized program states, which help debugging
- Easy combining with existing code and other assets
- Users can create original ‘actions’
- Only PlayMaker is needed
- You can combine PlayMaker with C# scripts, and choose which parts you want PlayMaker to be applied
What You Can Obtain with PlayMaker
- Mock production/Rapid prototyping
- UI/State transition management system
- Tween animation control
- AI thinking routine
- Unity Engine API knowledge
Cautions for Team Development
- No code means no merging (But you can use the Template Export function for some use)
- Strict capsuling is hard to achieve
- PlayMaker has lots of flexibility, and users can freely create any kind of logic, so it may be hard to create a sense of unity
Countermeasures
- Limiting use to specific scenes
- Using only with existing code and for specific scenes
- Use all codes as PlayMaker actions
- Limit use to managing state transition status
- Limit use to managing iTween
What Is a FSM
PlayMaker uses UMLs called FSM(Finite State Machine) to describe state transition status.
Main Components
- State:Status of Object
- Event:Trigger for a state transtion
- Action:Action that occurs at a specific status
- Variable:Object values used by FSMs are stored
Example:Player Character
- State:’Standing’, ‘Walking’, ‘Running’, ‘Jumping’, etc…
- Event:State transition from ‘Standing’ to ‘Walking’, ‘Walking’ to ‘Running’, etc…
- Action:What the character does when ‘Standing’, ‘Walking’, etc…
- Variable:The moving direction of the Player (Vector3), the speed (float), etc…
Installing PlayMaker
Launch Unity.
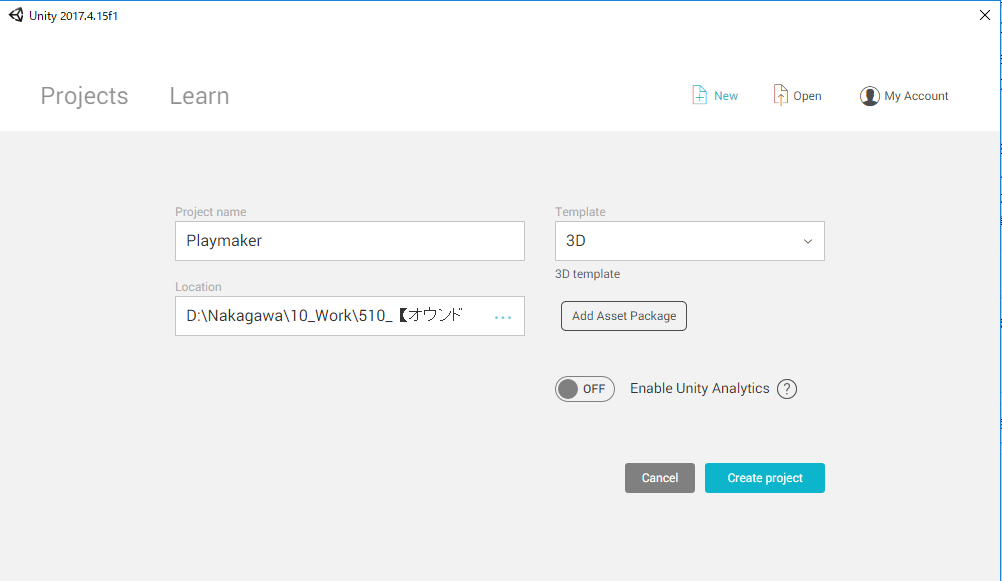
Unity Launch Screen
Click [Window] > [Asset Store]

Unity Screen windows → Asset Store
Search for ‘playmaker’.
Click PlayMaker from the results.
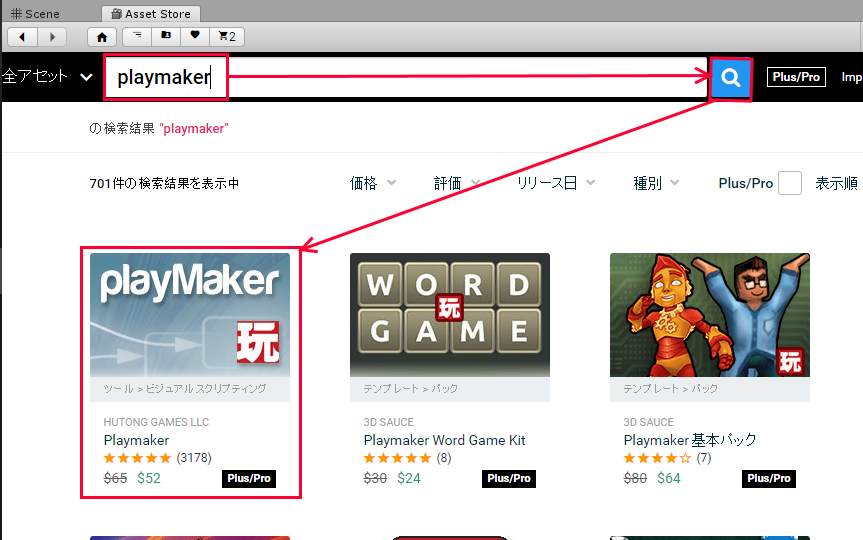
Asset Store [Playmaker] Search
PlayMaker costs $52 (May change over time). Click [Put in cart].
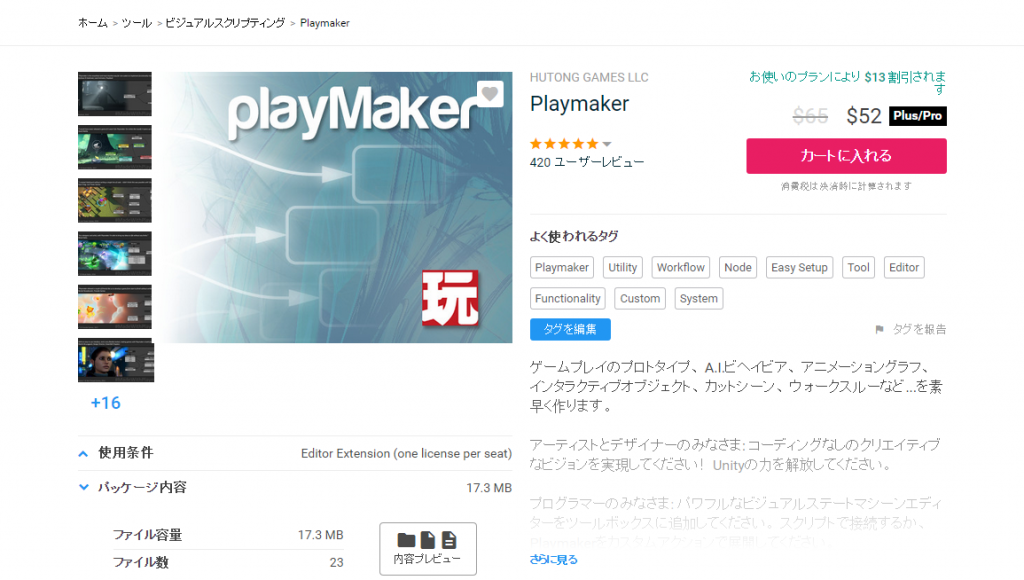
Playmaker Purchase Screen
Click [Proceed to checkout].
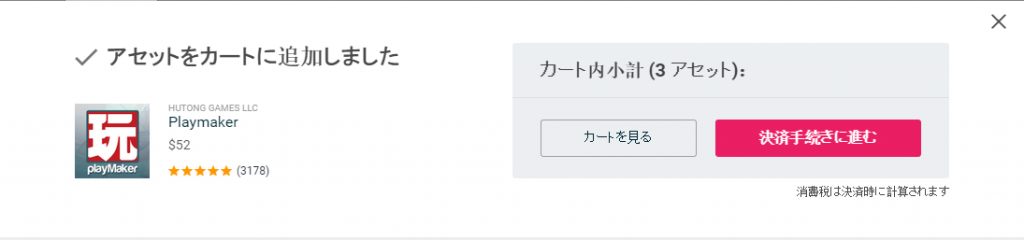
Asset added to cart
Type in your information, and click [Purchase].

Unity Checkout screen
After purchase, download Playmaker to Unity.
A Welcome To PlayMaker screen will popup, so click the [Install PlayMaker] button.
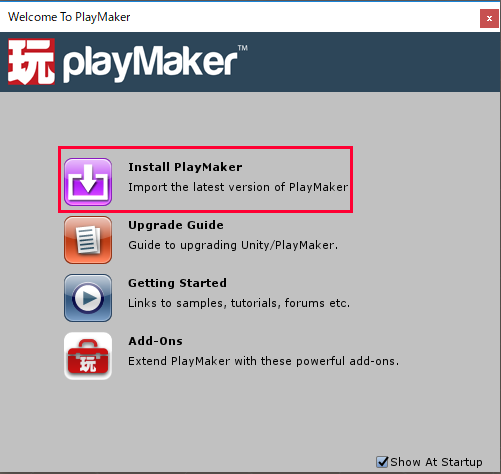
Install PlayMaker
Click the [Install PlayMaker 1.9.0] button.
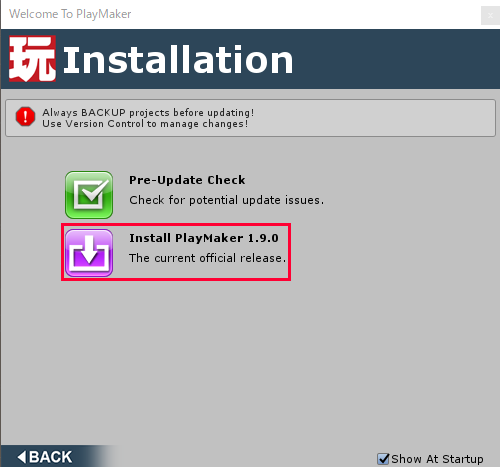
Install PlayMaker2
A popup message shown below will appear so click the [I Made a Backup. Go Ahead!] button.
The import process will proceed, and the Import Unity Package window will popup, so click the [import] button.
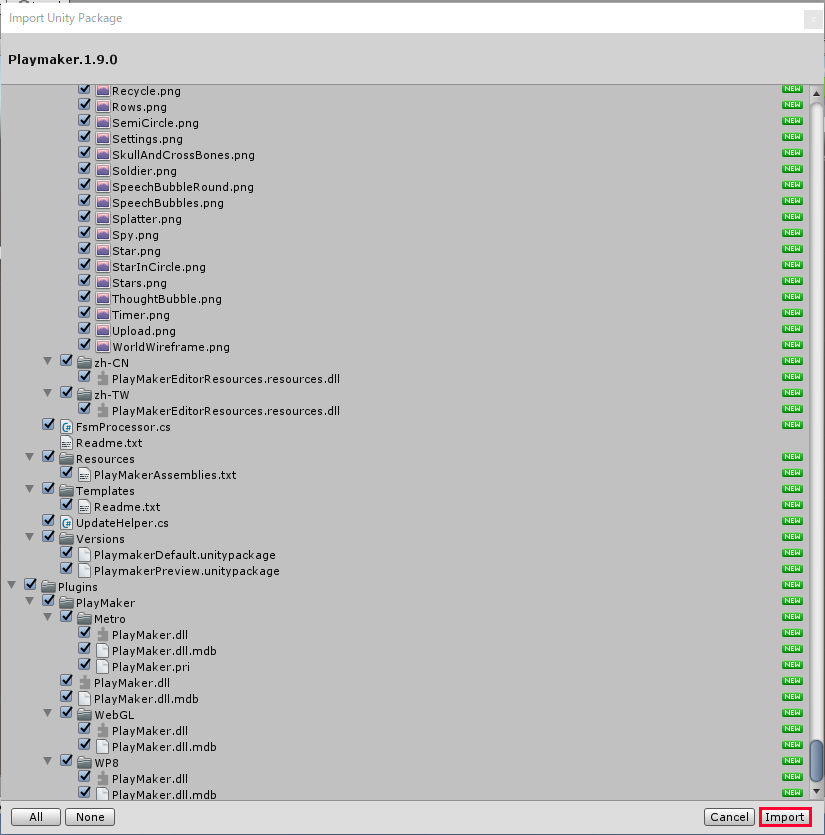
Import Unity Package
Once the [PlayMaker] menu is displayed, the import is complete. Close the Welcome To PlayMaker window with the [x] button.
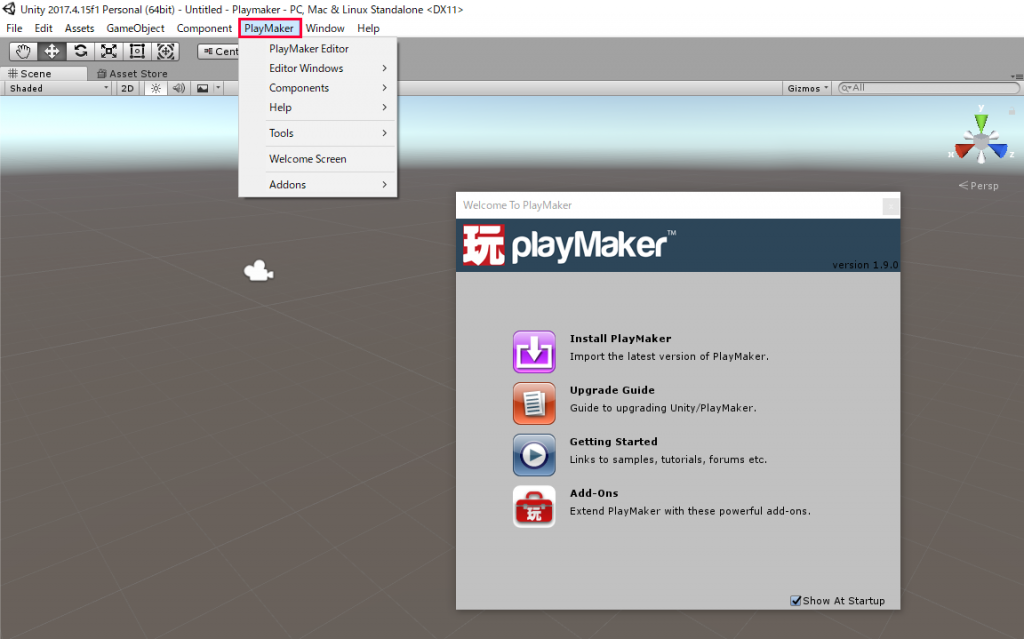
Import Complete
PlayMaker Basic Settings
Changing Displayed Language
Click [PlayMaker] > [PlayMaker Editor].

PlayMaker → PlayMaker Editor
Click the [Preferences] button on the bottom right. Choose General at the upper right, and change Language from [English] to [Language you prefer].
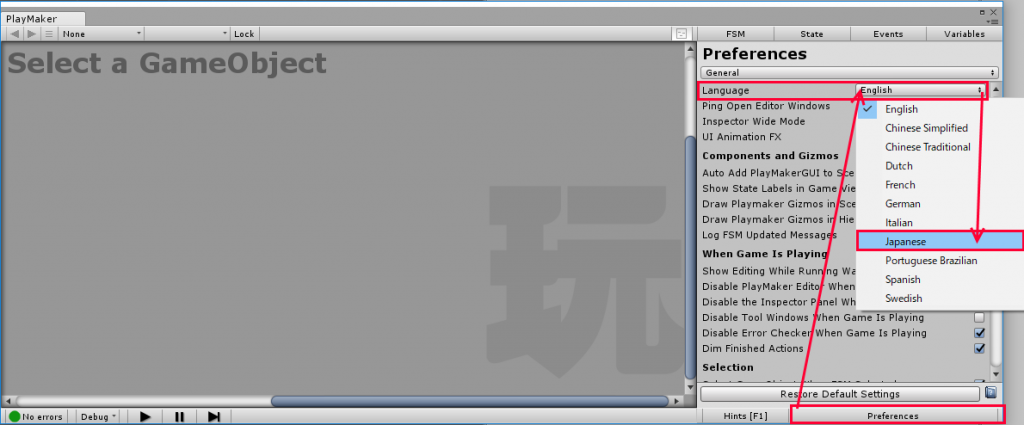
Changing Language
That’s all for the basics of PlayMaker, and how to install it.
In my next article, I will introduce the basic functions of PlayMaker.
This article was created using the slides by Unity Technologies Japan【Unity道場 2017】PlayMakerによる初めてのUnityプログラミング.