In this article, I will explain how to install the ‘Amplify Shader Editor’ asset, a node-based shader editor, and give a simple example of its application.
If you have a shader effect to try but cannot find how to start making it, this asset would help you.

http://amplify.pt/
What is ‘Amplify Shader Editor’?
Amplify Shader Editor is one of Unity’s editor extensions for shader editing.
Of course, you can use a shader language such as HLSL, to edit a shader in Unity. However, you could also use a node-based editor to create a shader in a visually intuitive way. ‘Amplify Shader Editor’ is a prime option for such editors.
Learn Shaders with the Node-Based Approach
In Amplify Shader Editor, you can write shaders by connecting nodes, which is more visually intuitive.
An advantage of node-based shader editor is that you can easily understand the basic structure of the shader because you can build it up without the hassle of coding. In particular, a great advantage of Amplify Shader Editor is that any modifications you made are immediately reflected on the scene, so you can repeat your experiments quickly.
You can try your original way to create a shader by referring to many sample scenes, learning how to create a shader and repeating your experiments.

An example created by ASE
Differences from Other Shaders
In addition to ‘Amplify Shader Editor’, there are other node-based shader editors such as Shader Graph, Shader Forge. In particular, Shader Forge introduced from Unity2018 is free and it is so versatile that you can create a variety of shader effects.
On the other hand, Amplify Shader Editor is expensive but, referring to many sample demos and ones shared in the community, it helps you to create elaborate expressions. In addition, it has many nodes and its user interface and functions offer good usability. So it’s getting popular. You can also use conventional Rendering Pipeline (Forward Rendering, Deferred Rendering and etc.) in Amplify Shader Editor.
And, as Shader Forge is only supported by Unity2018 or later, I recommend using Amplify Shader Editor when you need to use the version earlier than Unity2017 for VRChat etc.
Click here to check which Unity versions are compatible with STYLY.
https://document.styly.cc/doc/docs/en-US/creator/creator_plugin_intro/#about-the-corresponding-unity-version
How to Install Amplify Shader Editor
I briefly explain how to install ‘Amplify Shader Editor’.
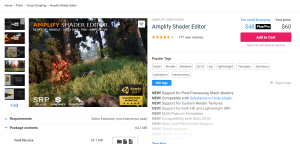
Purchase in Asset Store
You can buy it on Unity Asset Store (They sometimes sell it for half price in the sale).
https://assetstore.unity.com/packages/tools/visual-scripting/amplify-shader-editor-68570
ASE_UnityAssetStore1
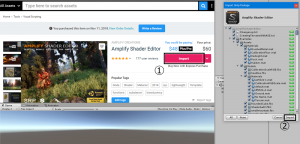
Import to Unity
After downloading, import it to Unity.
ASE_UnityAssetStore2
Basic Operations
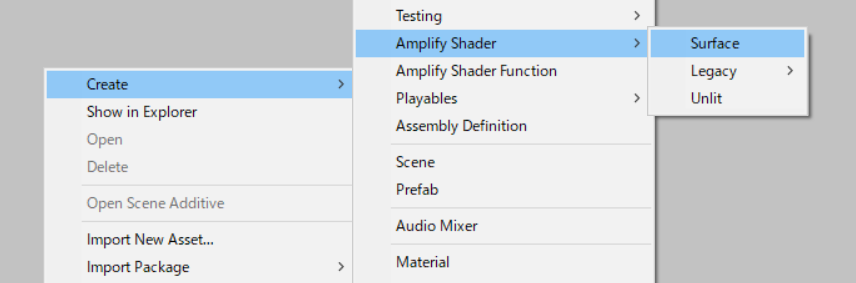
Create a New Shader and Material
First, create a new shader and material. When you use Amplify Shader Editor to edit, you can create a new shader by right-clicking on the Project window and selecting ‘Create > Amplify Shader > Surface’. The Amplify Shader Editor’s edit screen (Cambus) is also launched at the same time. You can relocate this edit screen to match the Unity’s layout used.
ASE_ShaderFile
I also created a new Material by right-clicking the created shader and selecting ‘Create > Material’. By applying the Material, you can immediately see the change of the shader you edited.
Add and Connect a Node
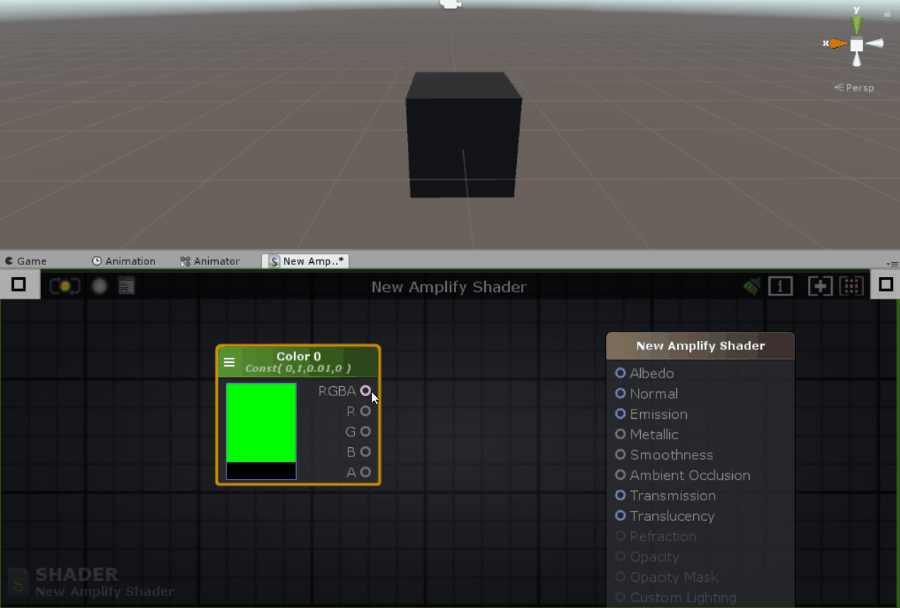
Now, we actually add a node and edit the shader. You can add a node by clicking ‘□’ in the top right corner of the screen or using the list you can open by right-clicking the screen. Drag the required node (In the example below, the Color node) onto the Edit screen to add.
You can also add it by using the shortcut. In the list, the node with ‘[number]’ on the right of its name (In the example below, ‘Color[5]’) can be added by clicking on the Edit screen with the shortcut key held down. I explain the detail later in ‘Basic nodes’.
ASE_how-to-add-nodes
You can connect nodes by connecting ‘Input’ and ‘Output’. This time I connected ‘Output (RGB)’ of the Color node to ‘Input (Albedo)’ of the master node. If you want to disconnect them, you can do it from the ‘Output’ side.
The master node is a node to accept the output of the shader you edited. Put ‘Green’ into the base color ‘Albedo’, save and apply the change to the material by pressing the yellow button in the top left corner. Then the color of the cube will change. In this way, you can easily check how the change affected the result.
ASE_connect-nodes
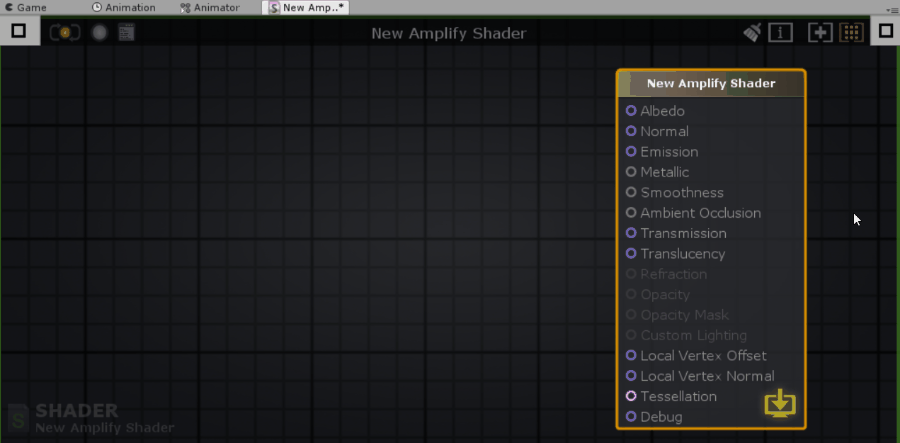
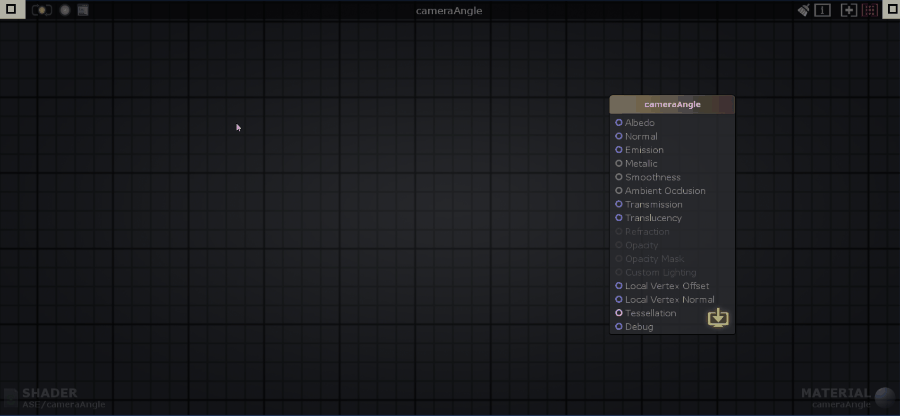
The Node Property of the Output Node
When you create a new shader and open the Edit screen, you will find one node placed by default. This is the output node to which all the nodes will be eventually connected.
Now, let’s check the node property of the output node. Left-click the node to open the node property on the left of the Edit screen (you can switch between ‘hide’ and ‘unhide’ by clicking ‘□’ in the top left corner). Each node has its own content of the node property. In particular, the node property of the output node allows you to edit the important parameters for the basic functions of the shader.
Basic Nodes
You can learn the basic information of nodes and how to use them in the official wiki for Amplify Shader Editor (Amplify Shader Editor/Nodes). I picked up some basic nodes from it.
Texture Sample【T】
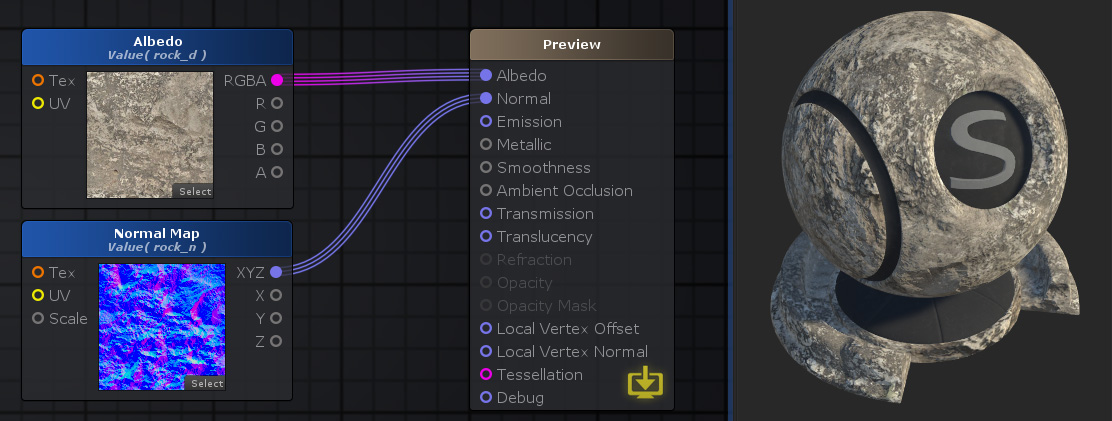
Amplify Shader Editor / Texture Sample
‘Texture Sample Node’ (Shortcut: ‘T’) is a node to import Texture to the shader. You can place a new ‘Texture Sample Node’ simply by dragging Texture onto the Edit screen. The UV port of the input can be connected with the output of ‘Texture Coordinate【U】‘ to make the UV shared by multiple Textures, for example.
Constants and Properties
The following nodes are used to input values.
Color [5]

Float [1]
Vector2 [2]
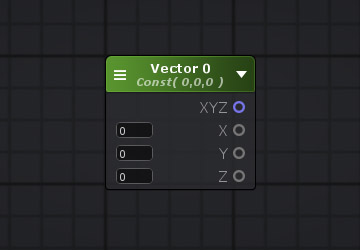
Vector3 [3]
Math Operators
Abs Node
The Abs node returns the absolute value of ‘Input(Float)’.
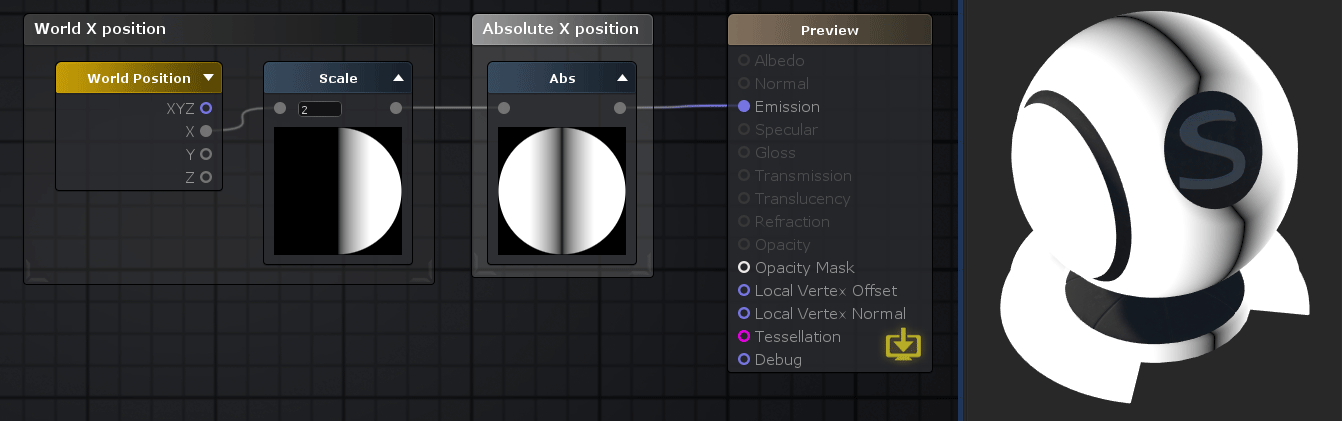
Amplify Shader Editor / Abs
Lerp Node
The Lerp node linearly interpolates between A and B based on the Alpha value. Alternatively, it can be written as ‘( ( 1 – I) * A + I * B )’. It basically allows you to blend A and B by using the Alpha value. As seen in the following screenshot, you can also use it to blend two Textures into a natural ‘ground’ surface.
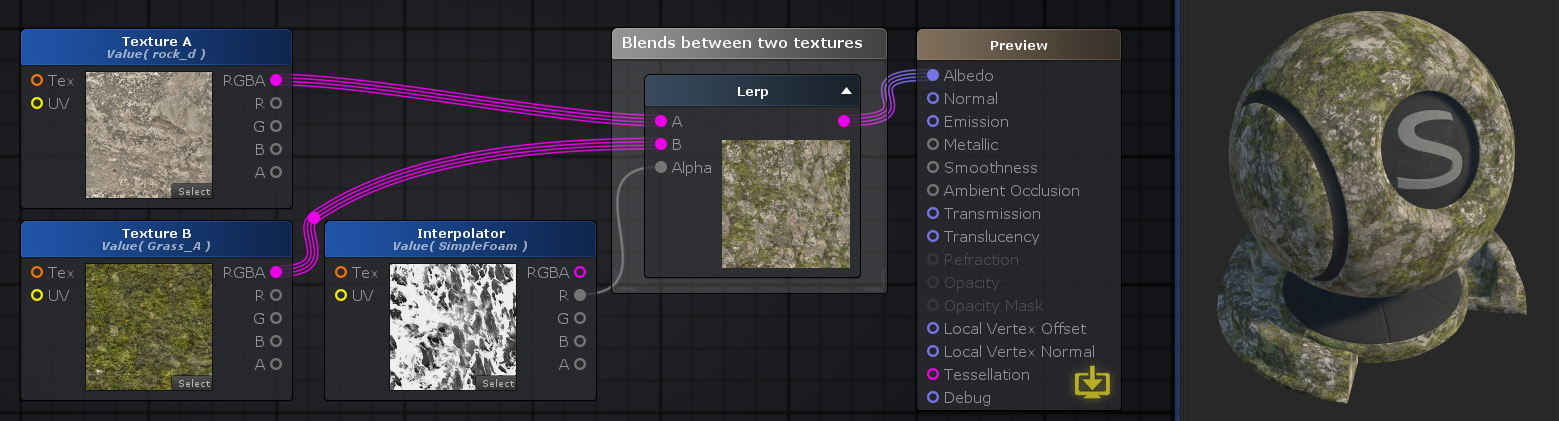
Amplify Shader Editor / Lerp
Step Node
The Step node returns 0 if B<A and 1 if B>=A.
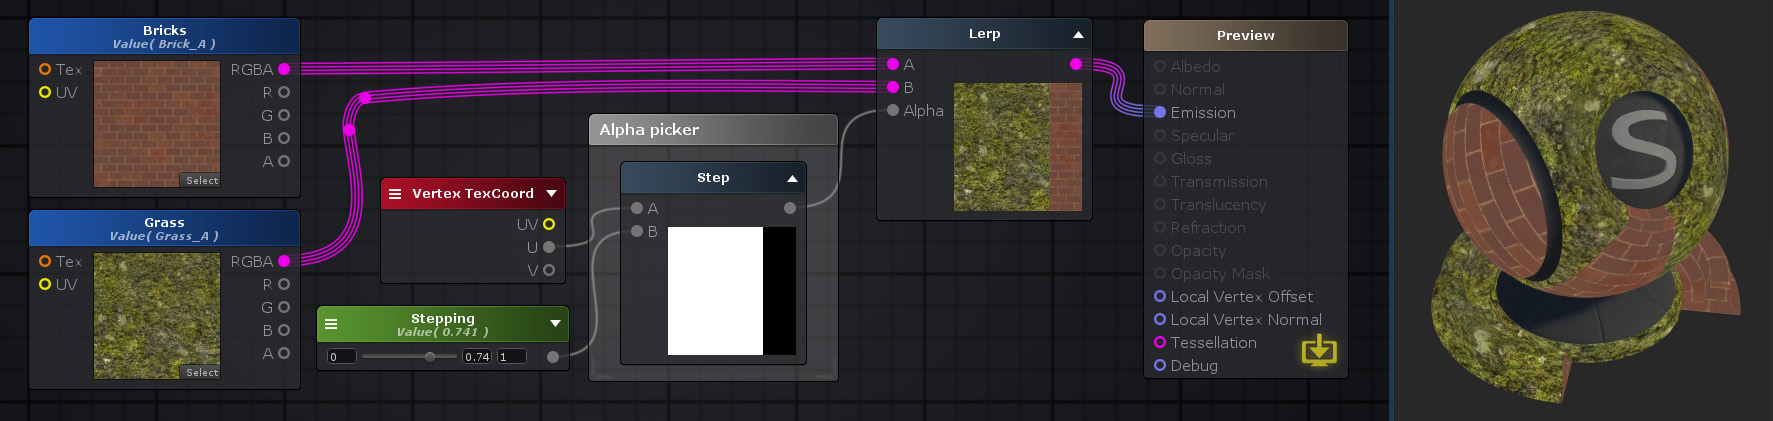
Amplify Shader Editor / Step
Simple Examples
You can easily try creating various expressions by making good use of various nodes.
The Color Is Sensitive to the Viewing Angle
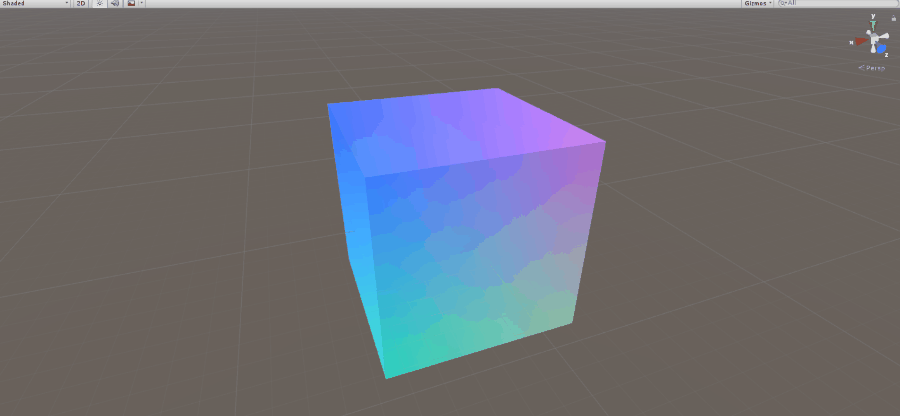
Example #1
This shader calculates the difference between the world coordinates of each pixel and the ones of the camera and outputs its unit vector as the color information to change the color every time you change the position of the camera.
Example #1 – The Edit screen
The procedure on the Edit screen is as follows. First, right-click the Edit screen to open the list and create ‘World Space Camera Pos Node’ and ‘World Position Node’ from it. Next, left-click the screen with the ‘S’ key held down to add ‘Subtract Node’. Connect its input with the coordinates (Vector3) of the ‘World Space Camera Pos Node’ and ‘World Position Node’ you created earlier. Finally, add the Normalize node by left-clicking with the ‘N’ key held down, connect it with the output of the Subtract Node and then connect the returned unit vector to the Emission of the Output node. Now the shader is completed.
Keep the Water Surface Level with the Ground

Example #2
Next, change the Blend mode of the Output node into ‘Transparent’ to render transparency. By using the Step node introduced earlier, make the part above the object’s pivot (the center, or the center of gravity) transparent. In this way, you can easily create the water surface constantly level with the ground regardless of the angle of the object.
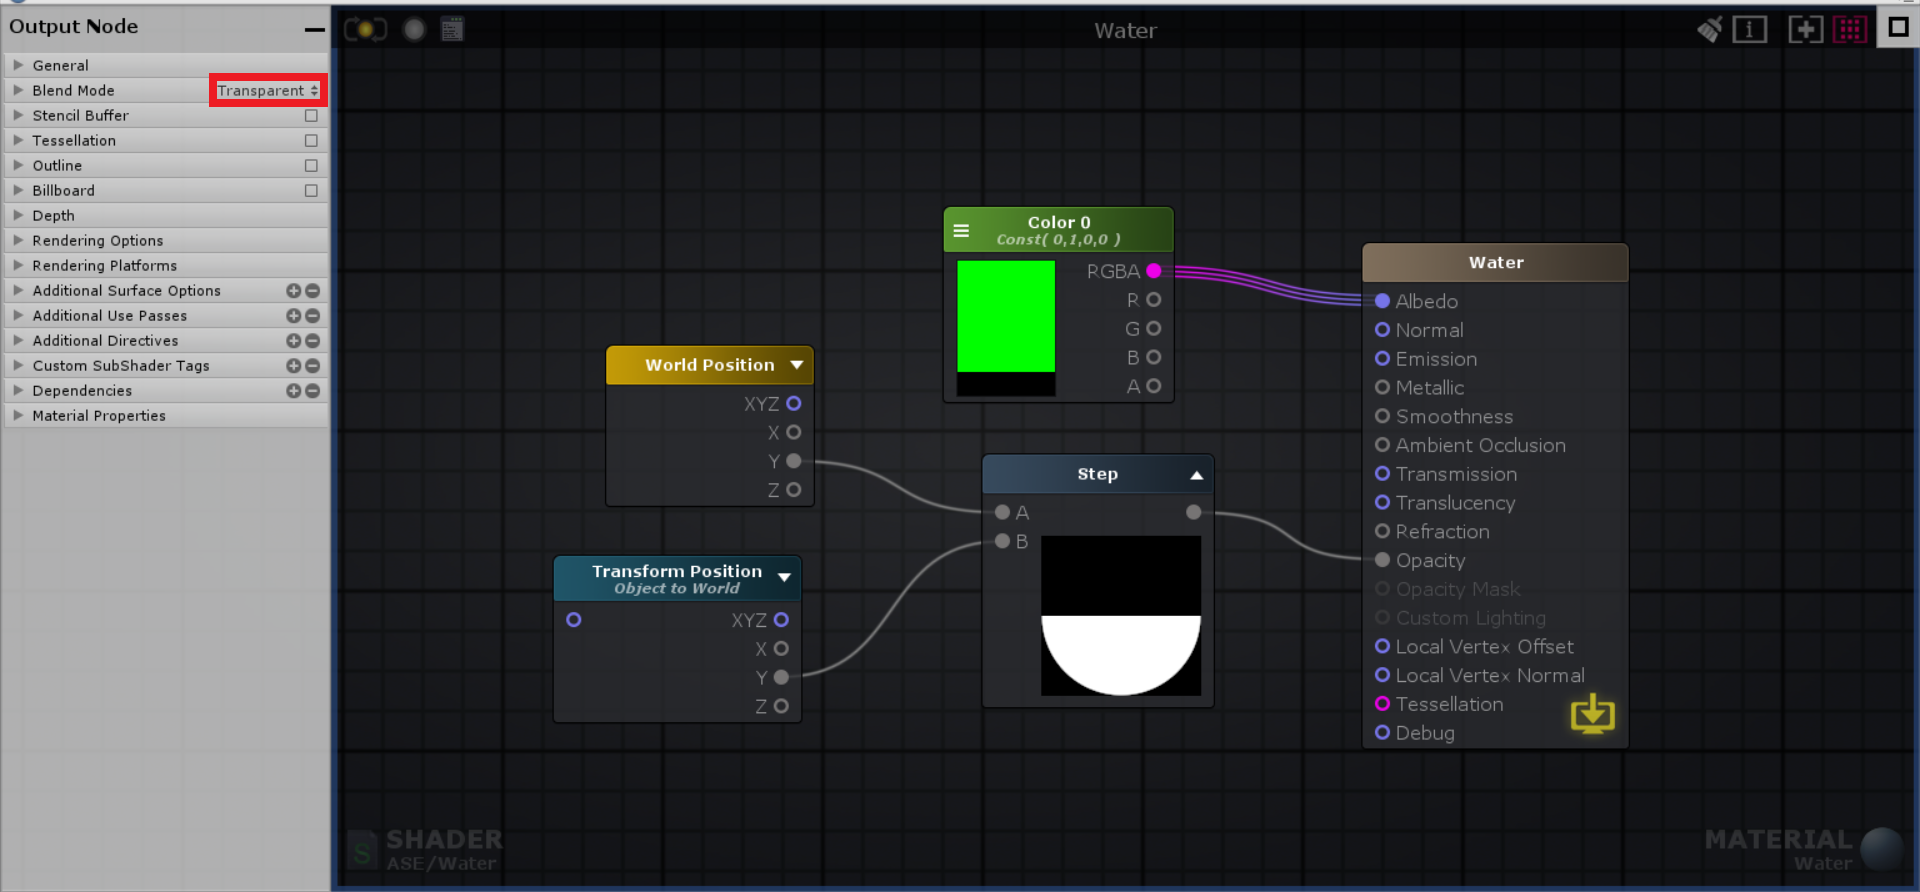
‘Opacity’ controls how transparent the object looks. In this example, it turns green if the Step node returns 1 (i.e. the coordinates of the vertex is below the pivot) and it turns transparent if the Step node returns 0 (i.e. the coordinates of the vertex is above the pivot). In addition, you can make the water surface more realistic by adjusting the y coordinate of ‘Transform Position’ or applying the sine function to it before sending it to the Step Node.
Sample Shaders
Amplify Shader Editor has a lot of official sample shaders. In addition to applying them to other projects, you can also learn the design concept to create a new shader by looking into them on Amplify Shader Editor.

ForceShield
AnimatedFire
SnowAccum
ReflectRefractSoapBubble
Import to STYLY
I imported the design examples and the sample shaders to STYLY.
※How to create STYLY account: https://styly.cc/manual/styly-account-create/
※How to publish the Scene: https://styly.cc/manual/scene-create-tutorial/
In this article, I have introduced ‘Amplify Shader Editor’, from its installation to a simple application of it.
I hope it will help you to edit shaders by yourself.