In this article, I’ll introduce a paid asset called “Grabbit”.
With this asset, you can place assets taking into account the collider in non-play mode, which is usually not possible in Unity.
Example of placement using Grabbit
By using colliders, you can place objects according to physics calculations.
This makes it possible to intuitively place objects in a natural way.
From installation to launching
You can download Grabbit from here.
When you import Grabbit into your scene, you will see a screen like this.

Grabbit start screen
Click “Set It Up!” to configure the initial settings.
This setting can also be opened after startup from Grabbit > Open SetUp Menu.
In the first step, you will be told that you are going to do the initial settings.
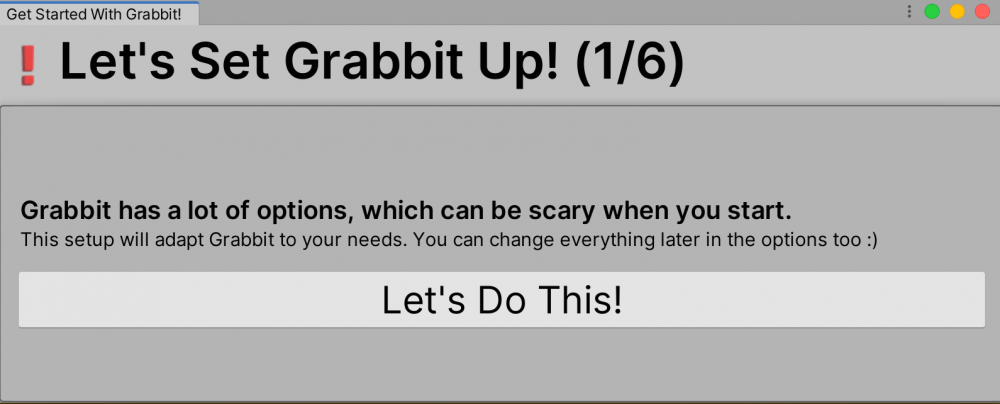
Initial settings (Start screen)
The next step is to choose whether to generate a concave collider or not.
The concave collider will allow you to more accurately place the object according to its shape.
It also requires a little more scanning time if you turn it on, but only the first time you move the object. Select left if you want to use this feature, or select right if you don’t.
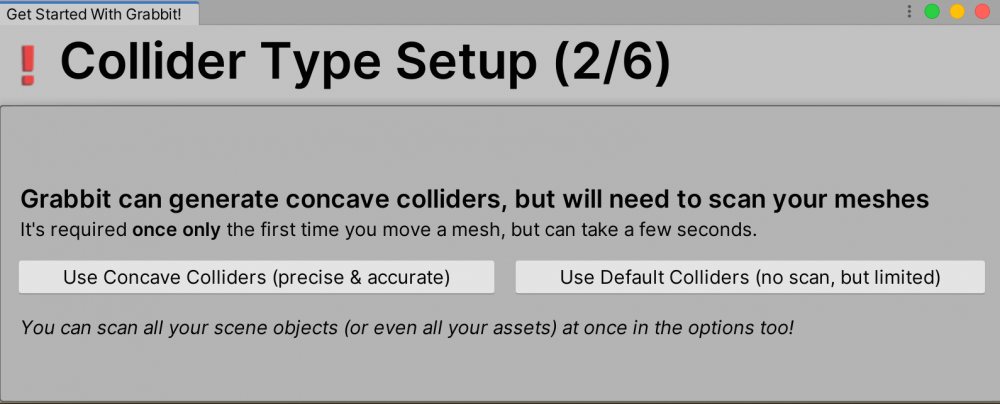
Initial Settings (Collider Generation)
The next step is to select whether or not to scan the entire scene when starting Grabbit.
You can change it to scan only a part of the scene, as scenes with many objects can overload your PC.
Select left to scan the entire scene, or select right to scan only a part of the scene.
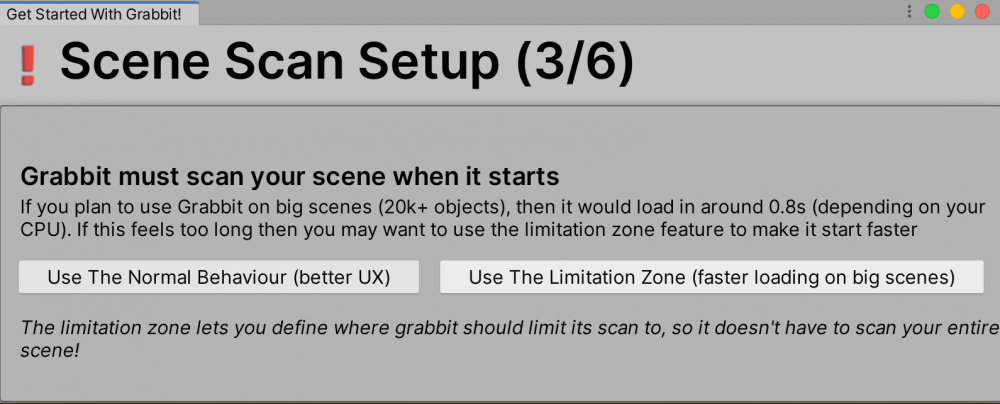
Initial Settings (Scene Scan)
The next step is to select the accuracy of the simulation for collision detection.
The left choice is for accuracy and the right choice is for PC performance, respectively.
Choose the left option first, and if the simulation is too slow, you can change the setting to the right.
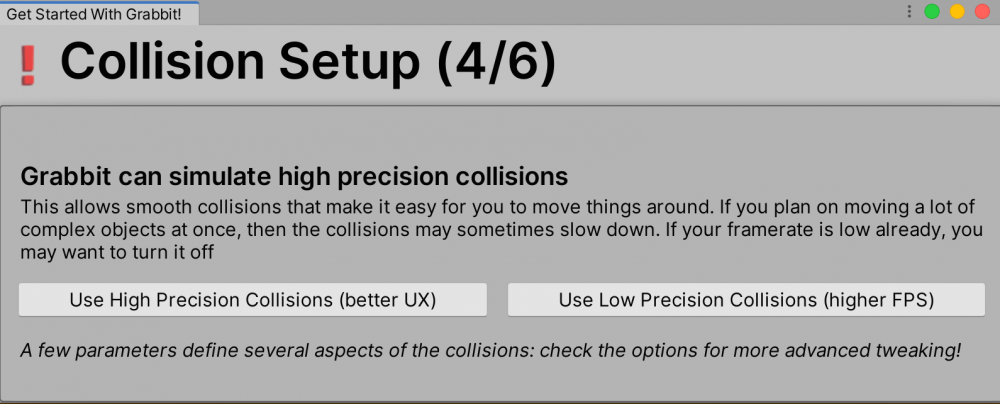
Initial Settings (Collision Detection)
The next step, I describe the other options available in the Preferences.
- Moving objects using layers and tags
- Prevent Terrain and other very large objects from moving on their own
- Changing the collider accuracy
and other settings. The details are explained in the Preferences section.
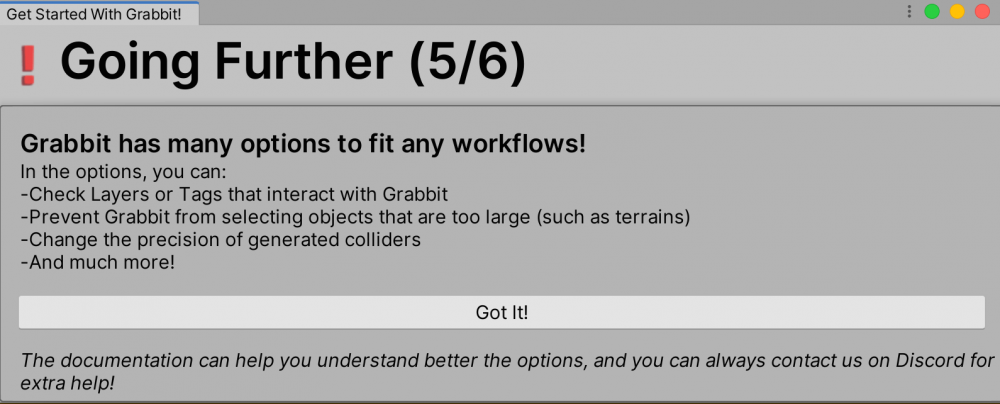
Default settings (optional)
In the last step, you can check the shortcut keys.

Default Settings (Shortcut Keys)
Each meaning of them is following.
- U:Placement mode
- I:Rotation mode
- O:Alignment mode
- P:Fall mode
- [:Point mode
However, with the default settings, the P key may conflict with other keys.
In that case, you can assign it to another key from the settings.
The following section, I describe the functions of each mode.
Explanation: Placement Mode
In Placement mode, you can add a collider to the normal Unity Move Tool for placement.
Movement of the Placement Tool
If there is another collider on the extension of the x, y, and z axis, they show the location as a circle.
However, the origin will be fixed to center and world mode when moving, and you cannot move the position of Pivot or Local.
There are several settings, which will be explained in the following sections.

Placement Tool
- Constraints
The coordinates or rotation corresponding to the selected axis will be fixed. - Control Rotation
If checked, a handle to change the rotation will be added, allowing you to rotate the object. The collider will be applied to this rotation as well. - Readjust Handle On Mouse Up
If checked, the handle will always be fixed to the center of the object.
If unchecked, the handle will remain at the destination when the object is blocked by the collider. - Distance For Instant Teleport
When the object is further away from the handle than the set distance, the object will warp to the handle position. - Display Collision Indicator
Sets whether to display colliders on the extension of each axis. - Preserve Selection’s Initial Transform
If checked, the selection remembers the positional relationship of multiple objects when they are selected.
(It will return to the original position when there is no more interference after the position is shifted due to interference with other objects.)
Explanation: Rotation Mode
In Rotation mode, you can adjust the angle of the object, taking into account the collider.
How the Rotate tool works
The settings are the same as those in Placement mode.
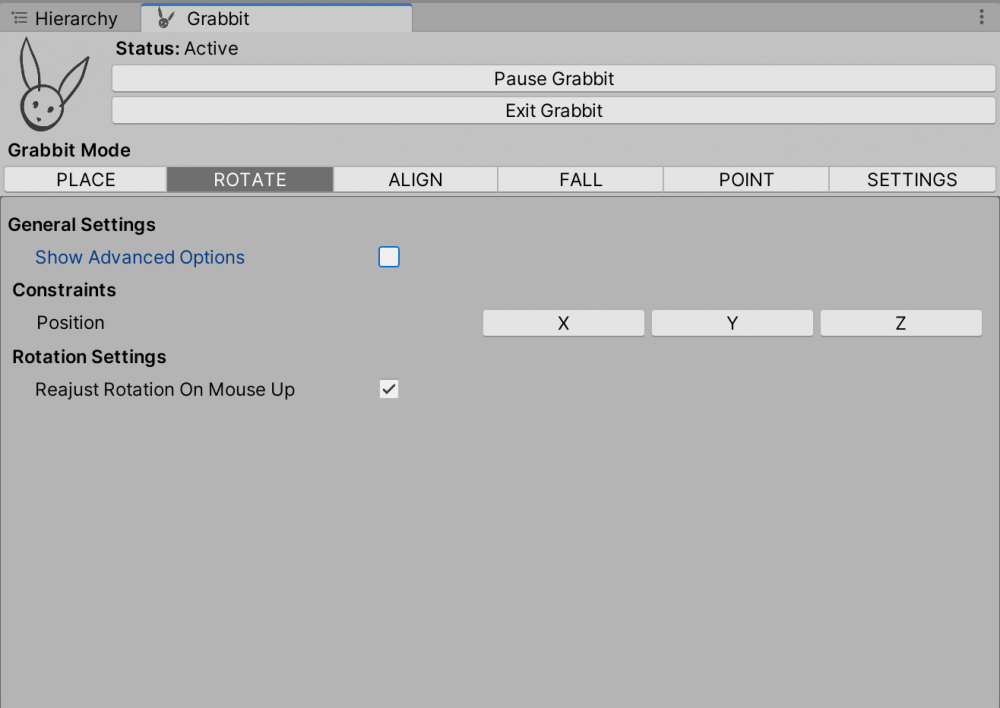
Rotate tool
Explanation:Alignment Mode
In Alignment mode, objects can be attached to each other or pulled apart in opposite directions.

How the Alignment tool works
Select multiple objects you want to manipulate, and drag them in the scaling direction to attach them together, or drag them in the expansion direction to separate them.
This is useful when you want to align objects or evenly distribute them.
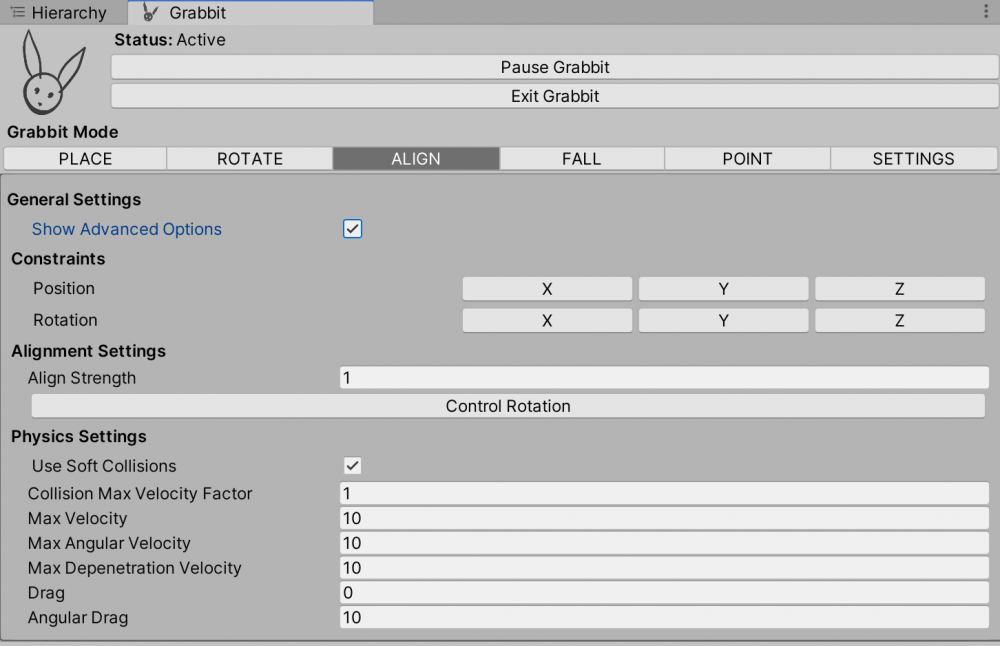
Alignment Tool
- Alignment Strength
Allows you to set the strength of the force used to attach and detach objects.
Explanation:Fall Mode
In Fall mode, you can simulate the motion of a model falling due to gravity.
How the Fall tool works
Select the object you want to manipulate, and press the spacebar to move the object along with the action of gravity.
Release the spacebar to stop the object at any point.
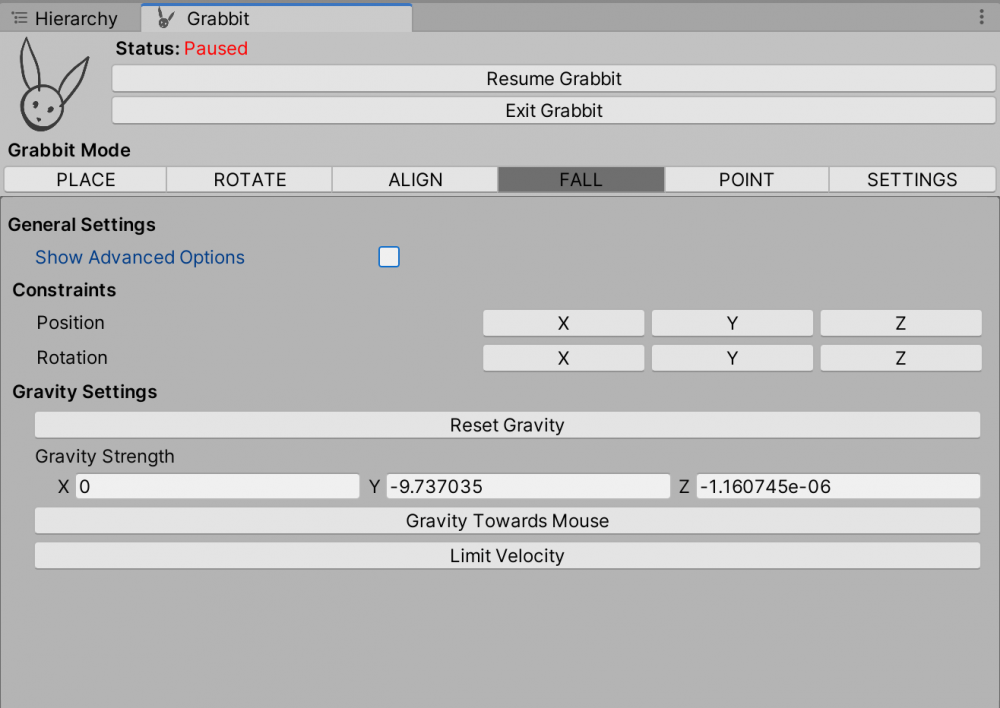
Fall Tool
- Gravity Strength
The object will fall with the direction and strength specified here.
Explanation: Point Mode
In Point mode, you can manipulate the object with the pointer.
How the Point tool works
Select the object you want to manipulate and press the spacebar to make the object follow the pointer.
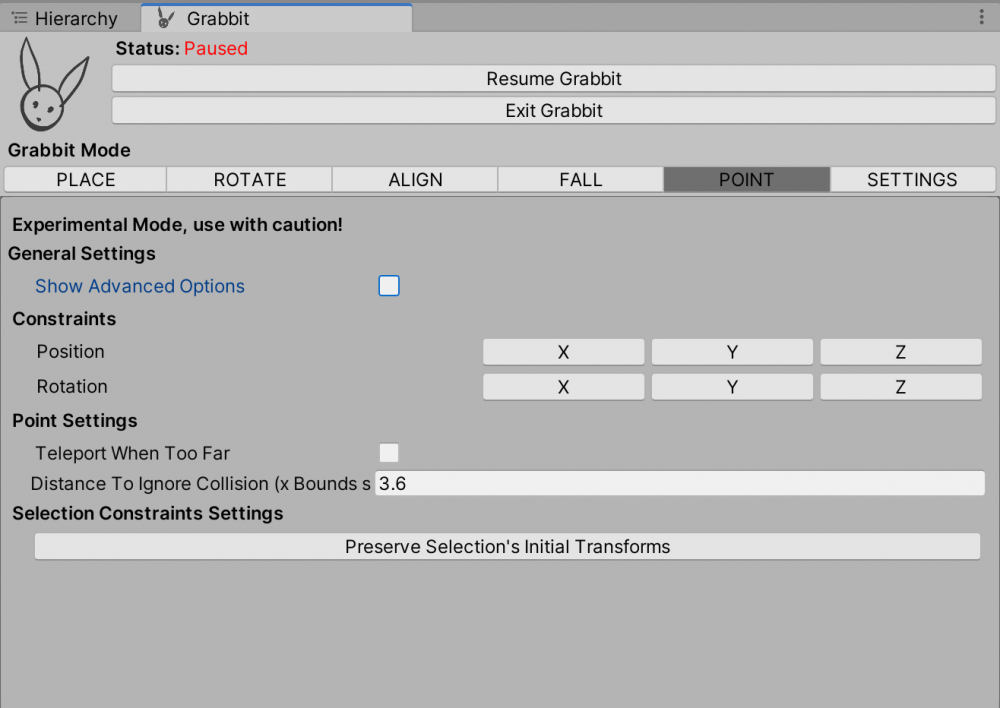
Point tool
- Teleport When Too Far
When on, the object will warp to the pointer when the pointer and object are too far apart.
Objects in between will be ignored.
Explanation: Preferences
This item allows you to configure settings for Grabbit.
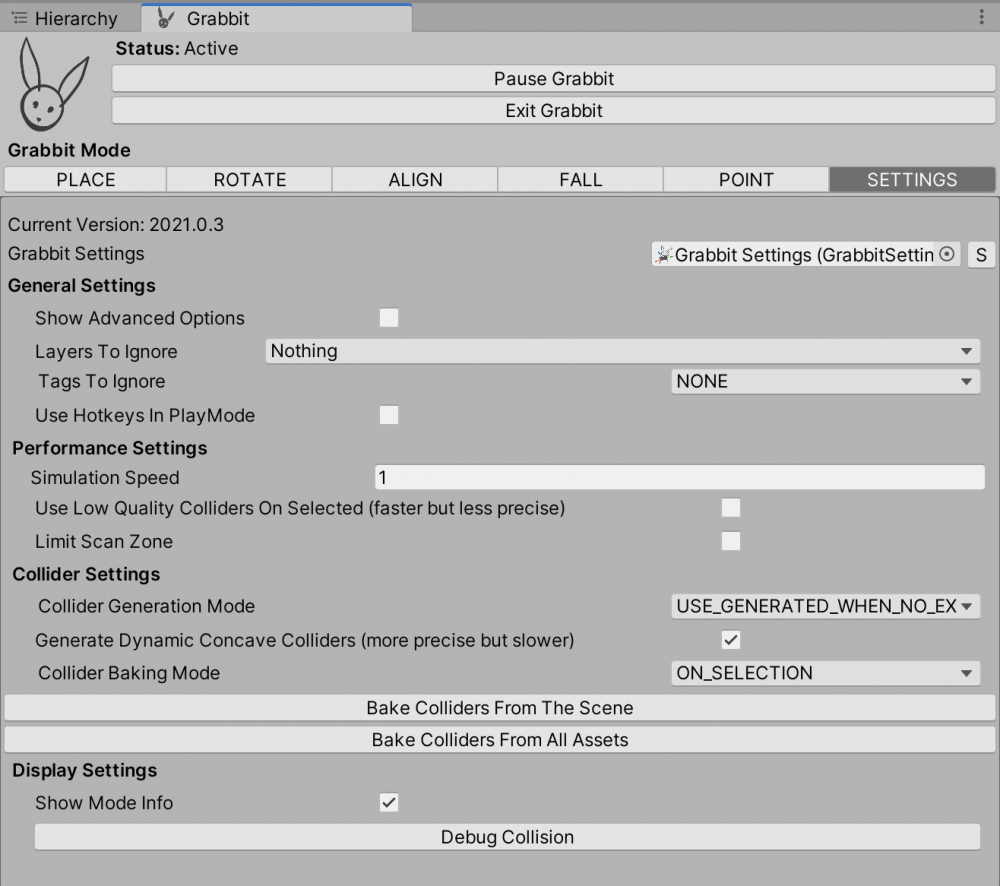
Preferences
- Layers To Ignore
Allows you to ignore the specified layers when using Grabbit. - Tags To Ignore
Allows you to set tags to be ignored as well as layers. - Simulation Speed
Allows you to set the speed of the physics simulation. The default speed is 1.
The higher the value, the faster the object will move and react when manipulated. - Use Low Quality Colliders
When on, you can reduce the quality of the colliders used for simulation. If you handle a lot of objects, or if your PC is slow, turning on this setting may improve performance. - Limit Scan Zone
By default, Grabbit scans the entire scene, but you can specify the area to be scanned in Limit Scan Zone. This is also a good option if your PC is running slowly. - Generate Dynamic Concave Colliders
You can choose whether to generate concave colliders or not. If you turn it off, the colliders will be less precise, but the performance will be improved.
At the end
In this article, I have explained the basic operation of Grabbit.
The biggest advantage of Grabbit is that you can simulate the collider and gravity immediately, which is usually only available in Play mode.
This makes it possible to place objects according to their physical behavior without having to go into Play mode every time, and allows you to place objects visually without feeling uncomfortable.
In the next article, I will actually use these features to create a scene.
You can use STYLY FORUM to solve the problem. STYLY FORUM is a place where people can discuss a service or technical issue on STYLY, or provide bug reports on STYLY.
https://en.forum.styly.cc/support/discussions