In this article, I explain how to blend two textures by vertex-colour blending in Shader Forge.
Using just a single seamless texture could make tiling unnatural. So I blend two textures.
Since ‘Terrain’ is available in Unity, you would use it for most cases. However, there is also a way to switch textures by providing vertex-colour information to the object modelled.
Bt the way, Unity2018 now has a tool called ‘Shader Graph’ so people mainly use it in future, I think.
Create a Shader by Shader Forge
Firstly, prepare two textures you want to blend.
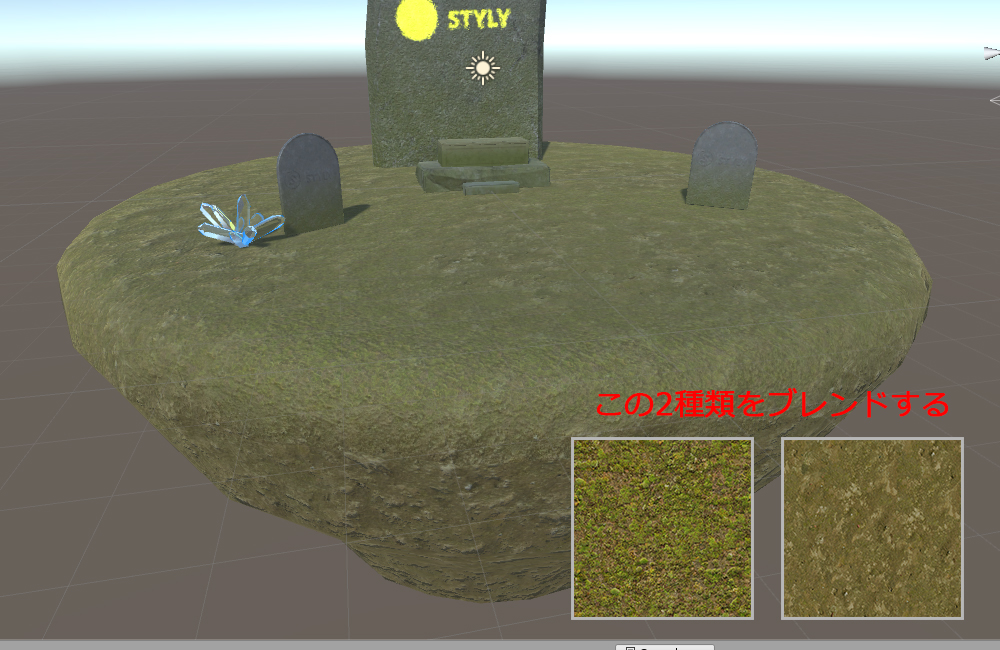
I prepared two textures for BaseColor and Normal here.
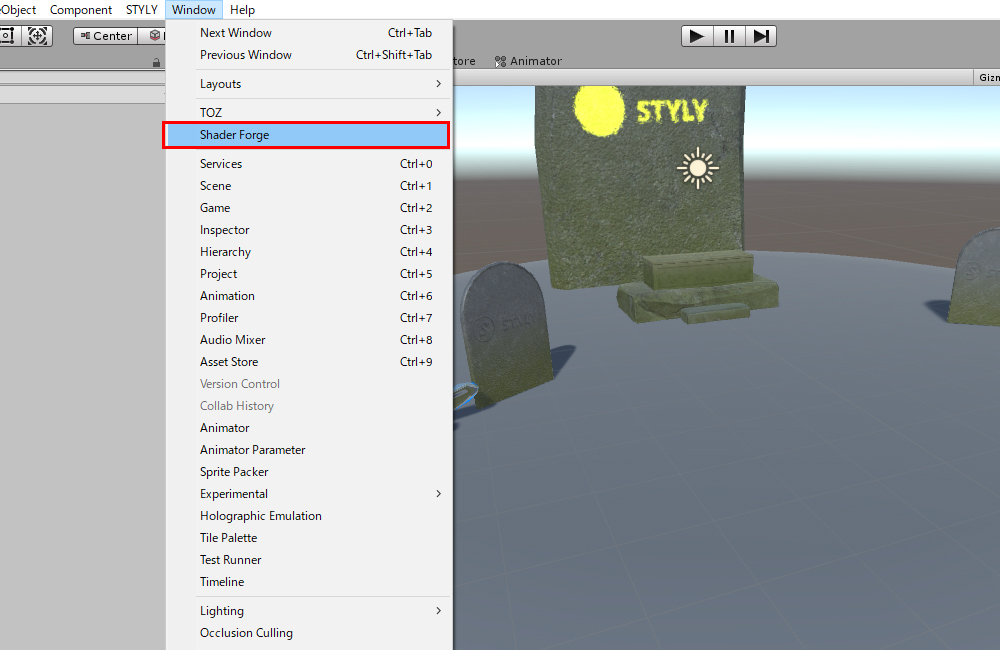
Select ‘Window > Shader Forge’.
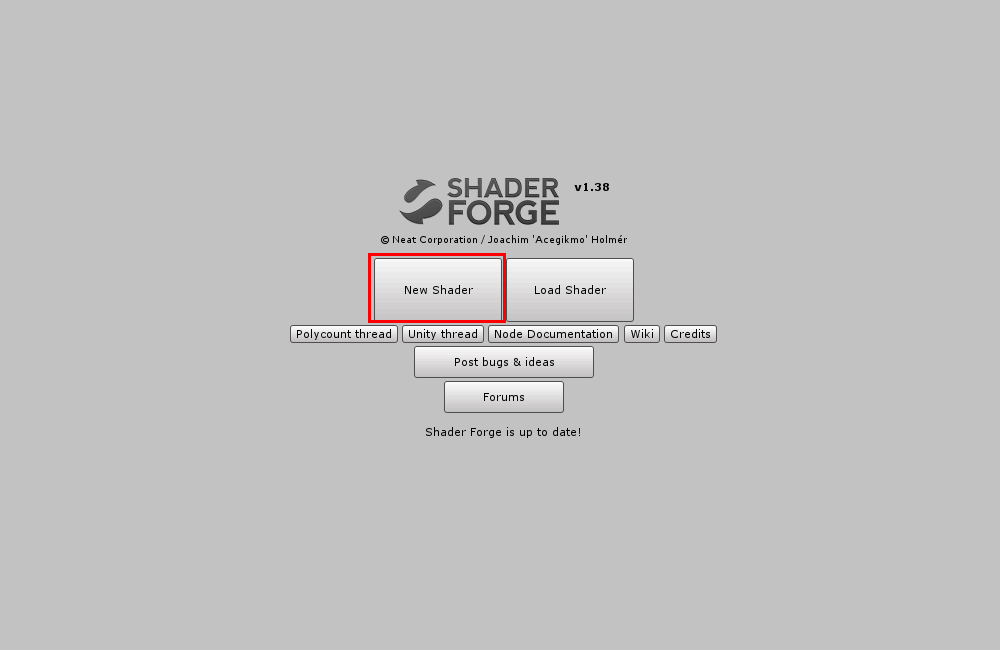
Select ‘New Shader’.
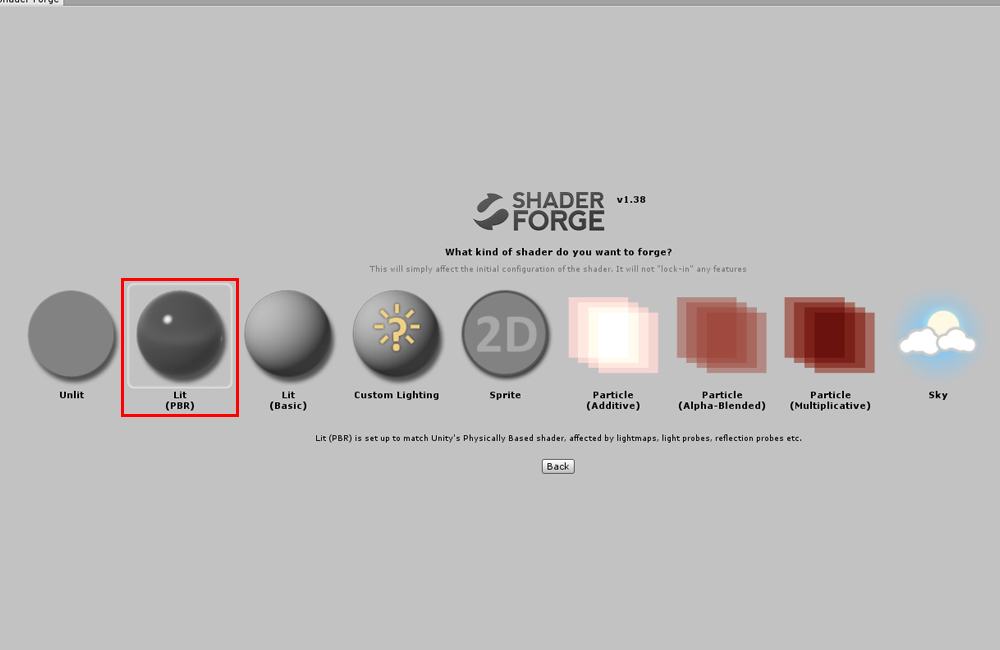
Select ‘Lit(PBR)’.
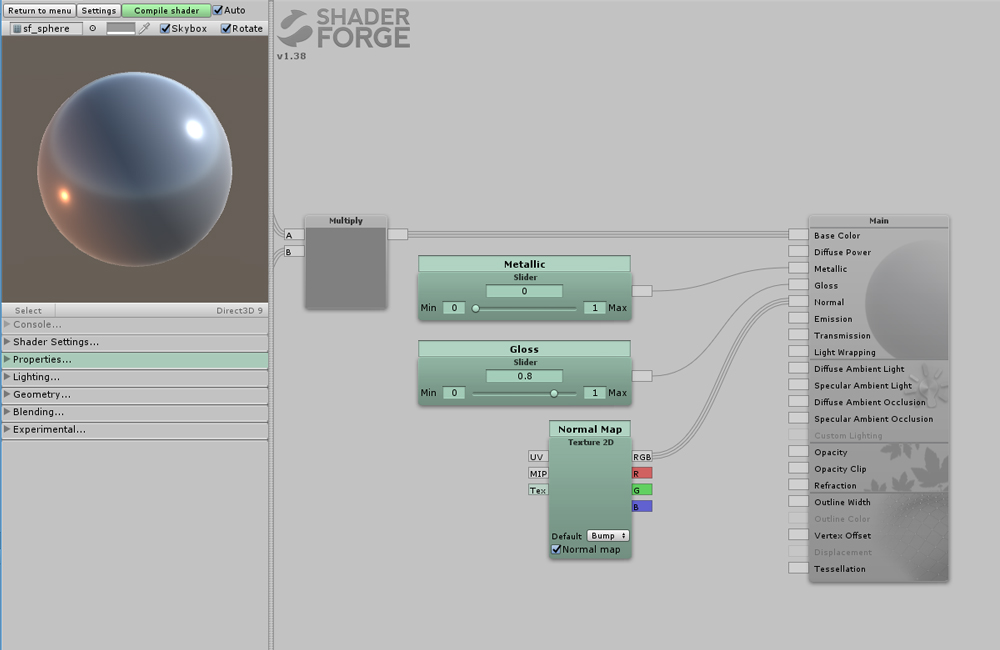
It brings up the screen shown above.
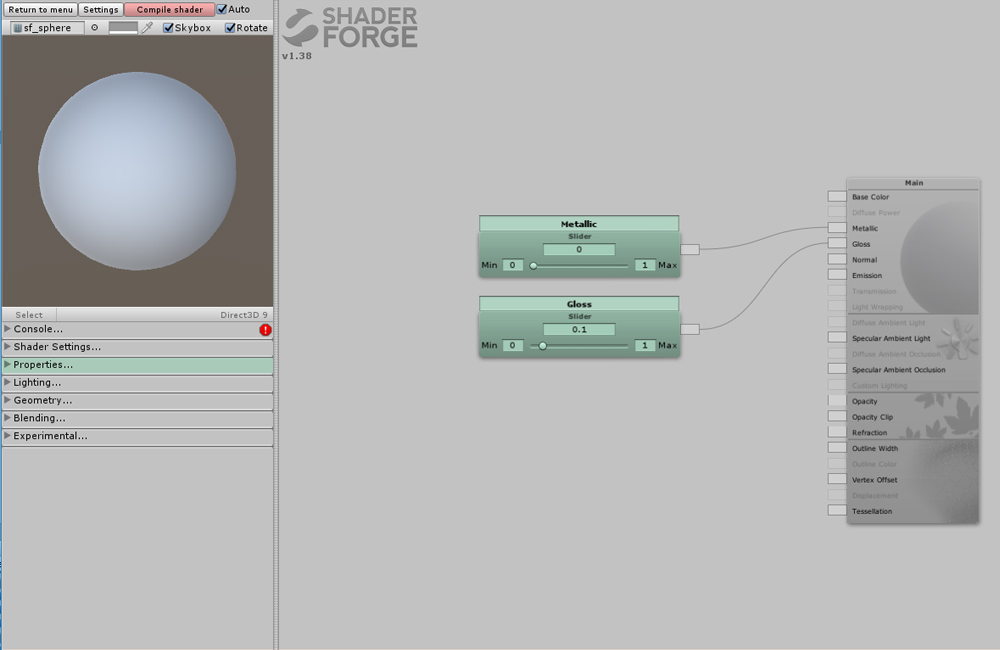
Delete all except ‘Metallic’ and ‘Gloss’ for now.
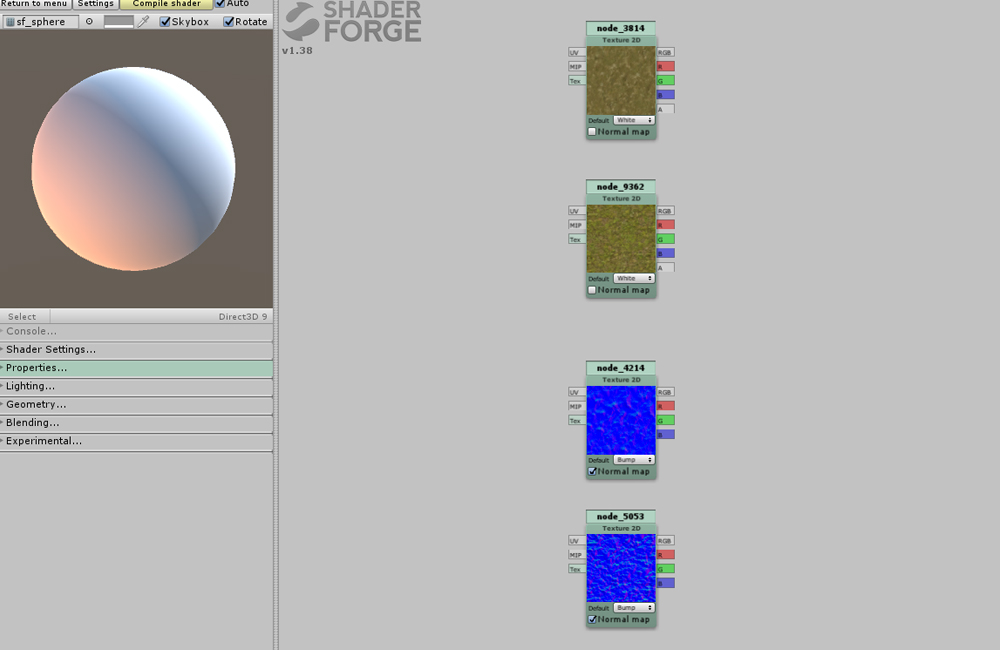
Drag and place two textures for BaseColor and Normal.
Firstly, let’s blend the two textures for BaseColor.
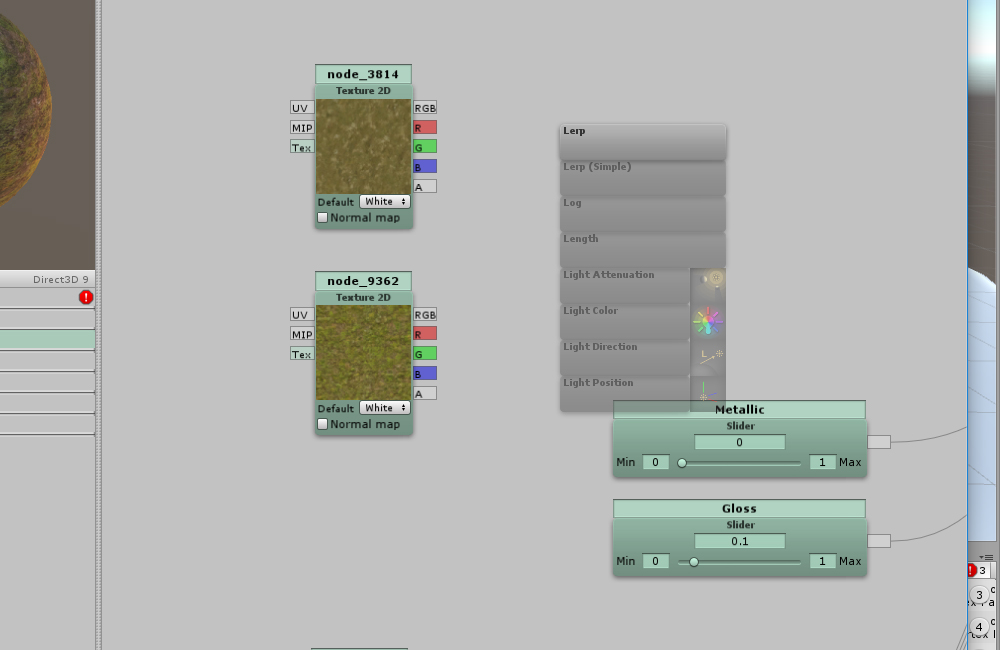
Press the ‘L’ key to find and select ‘Lerp’.
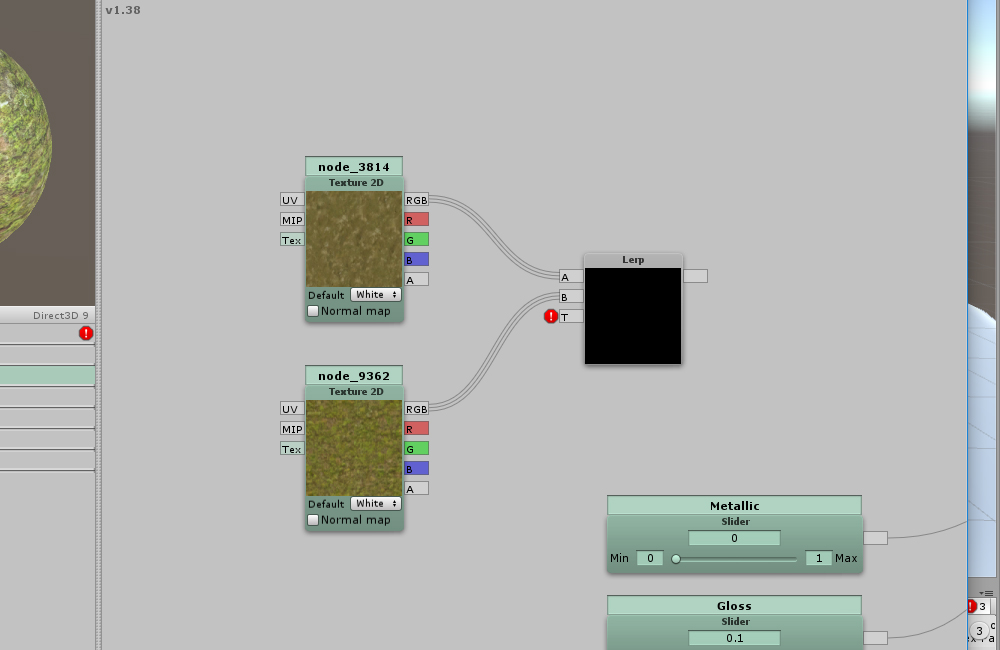
Connect each texture to Lerp.
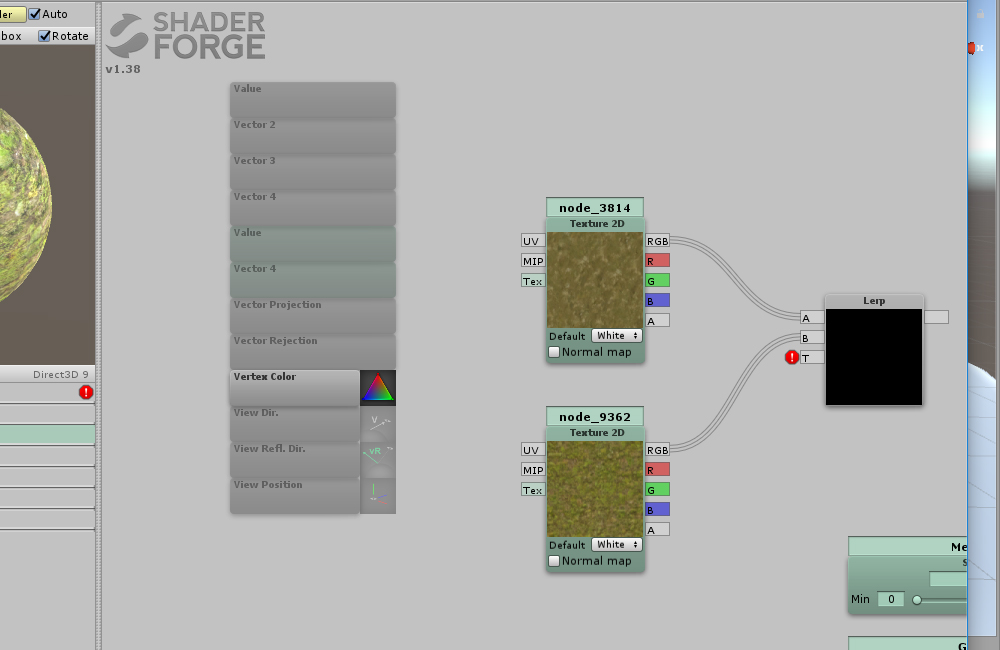
Press the ‘V’ key to find and select ‘VertexColor’.
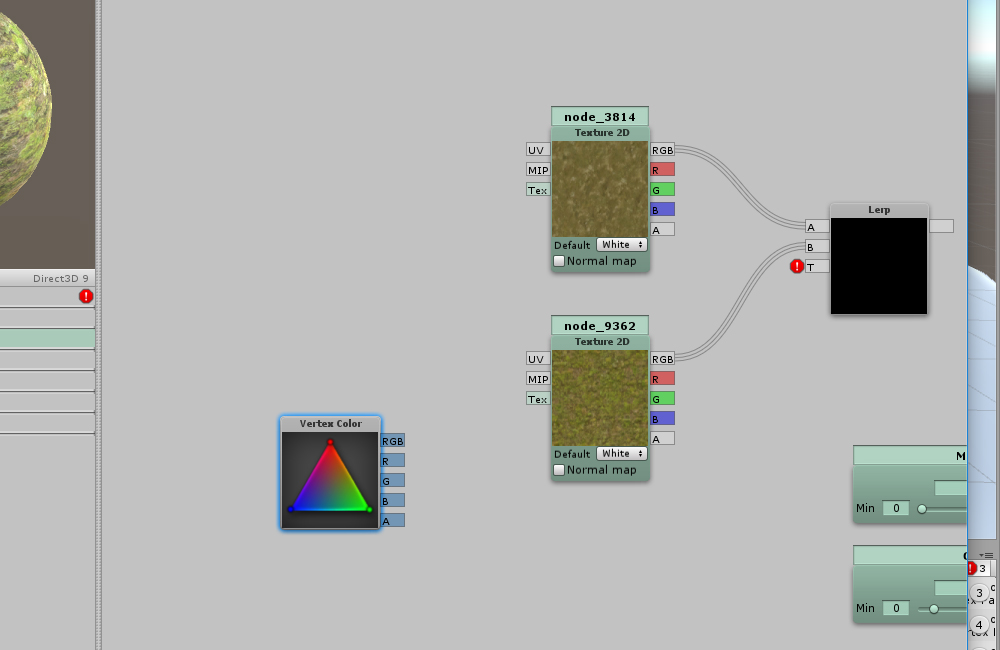
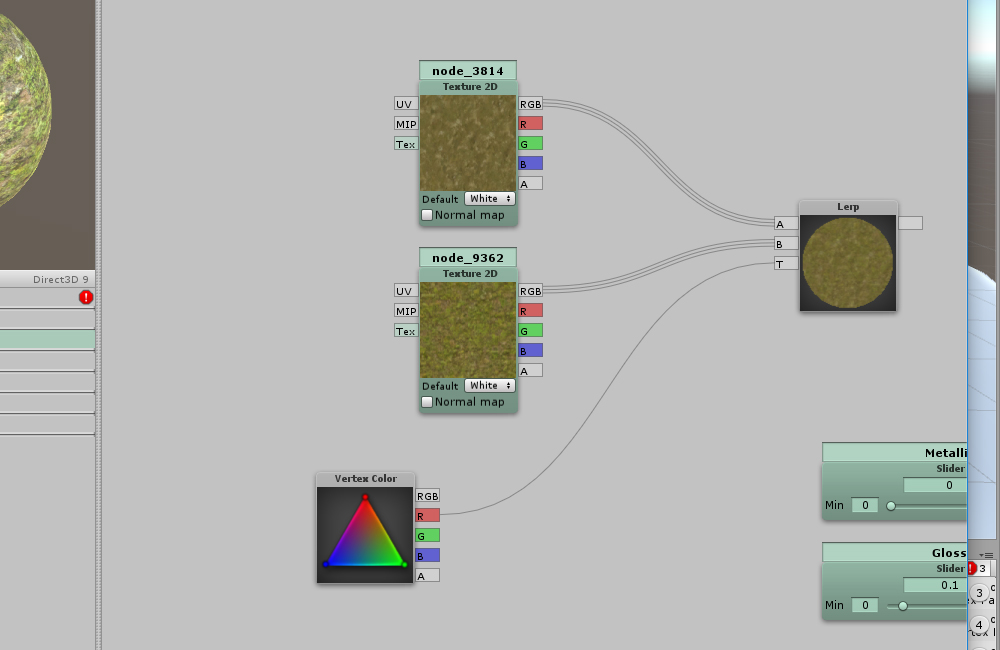
Connect the R channel of VertexColor to the T input pin of Lerp.
Do the same for Normal.
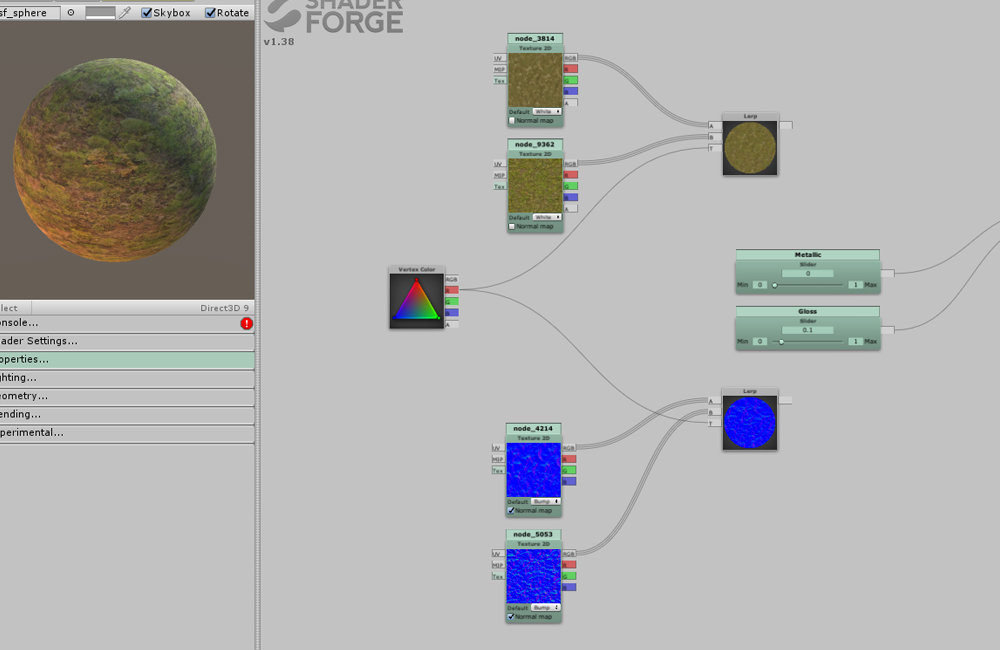
It ends up with the shown above.
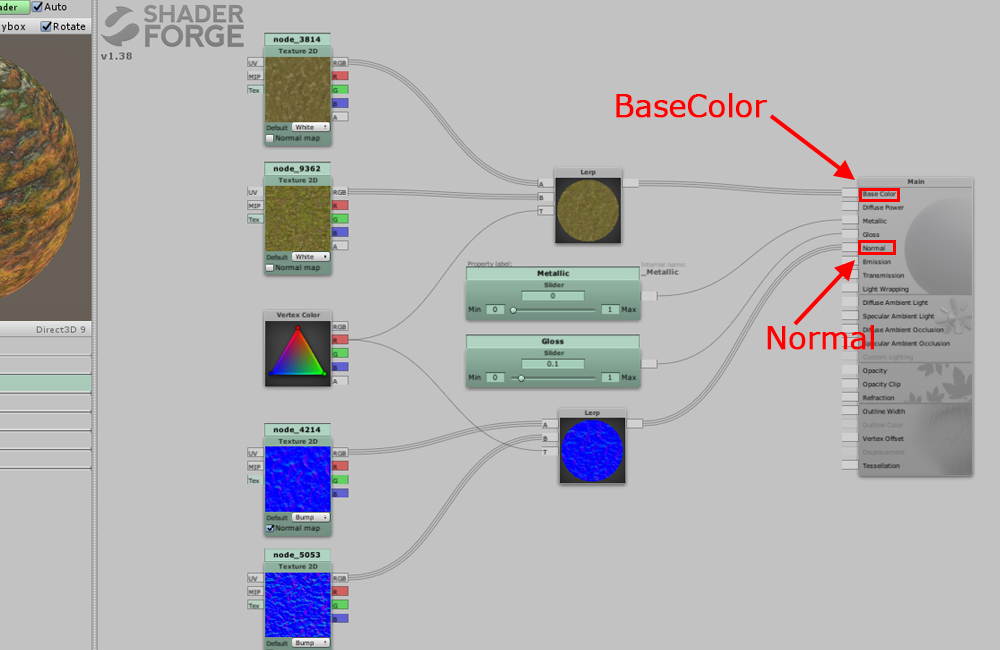
Connect the Lerp from BaseColors to the ‘BaseColor’ input pin, and the Lerp from Normals to the ‘Normal’ input pin.
This node layout makes it possible to control the mask by the R channel of VertexColor.
Assign VertexColor to textures
Firstly, create a new Material and assign the above Shader to it.
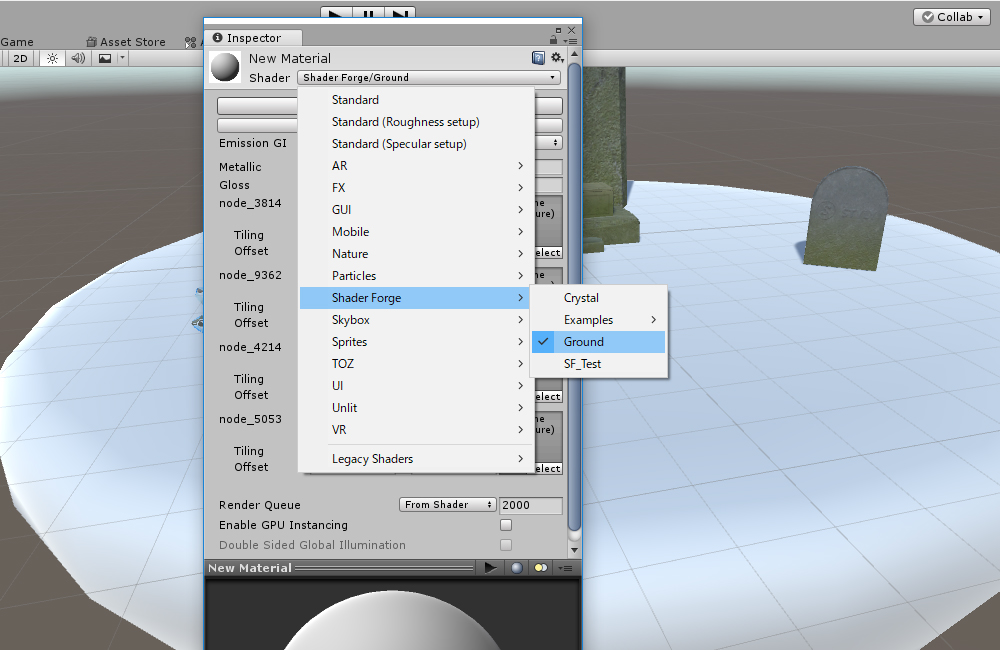
Select ‘Shader Forge’ from the Shader list. Find and select the Shader you created earlier.
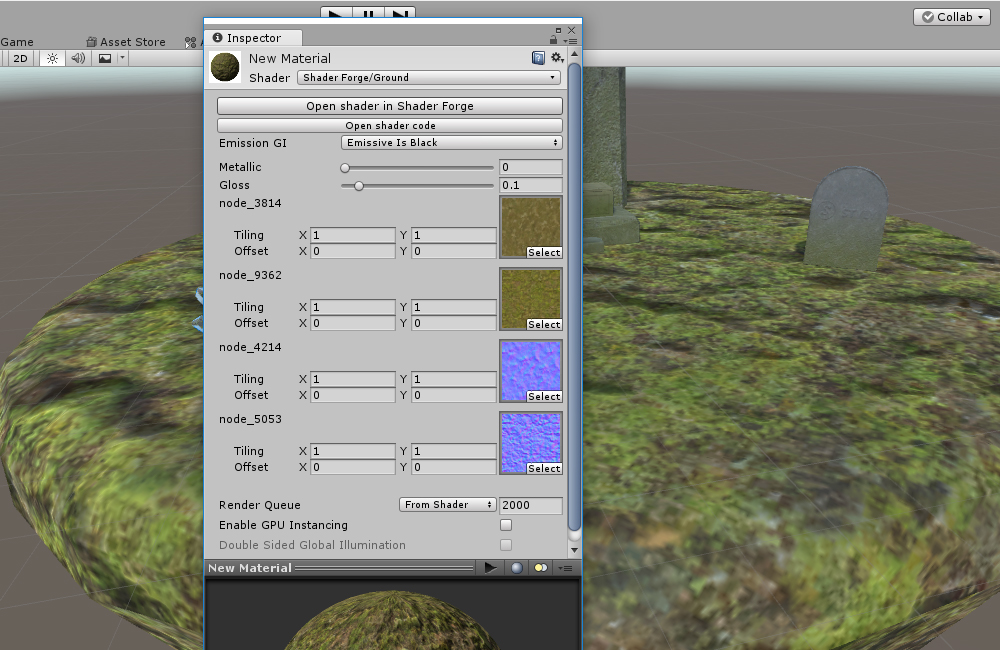
You can now see two textures included.
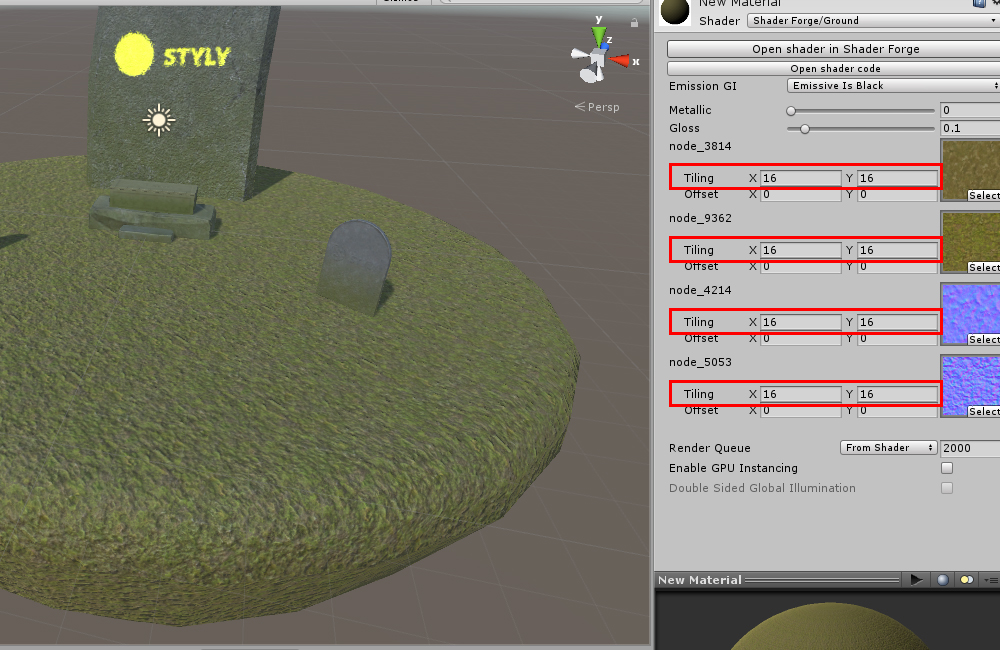
In this state, the scale doesn’t match the scene so adjust tiling parameters roughly to correct it.
Since the vertex-colour information is not provided, you cannot see the variation of texture yet.
To provide the vertex-colour information, import ‘TOZ Vertx Painter’ from Asset Store.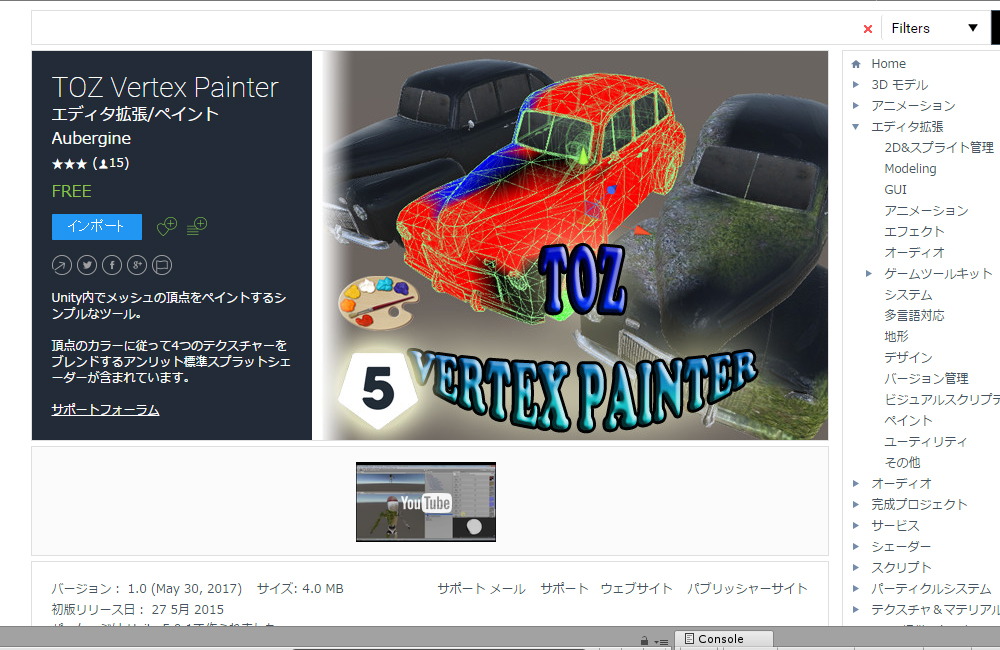
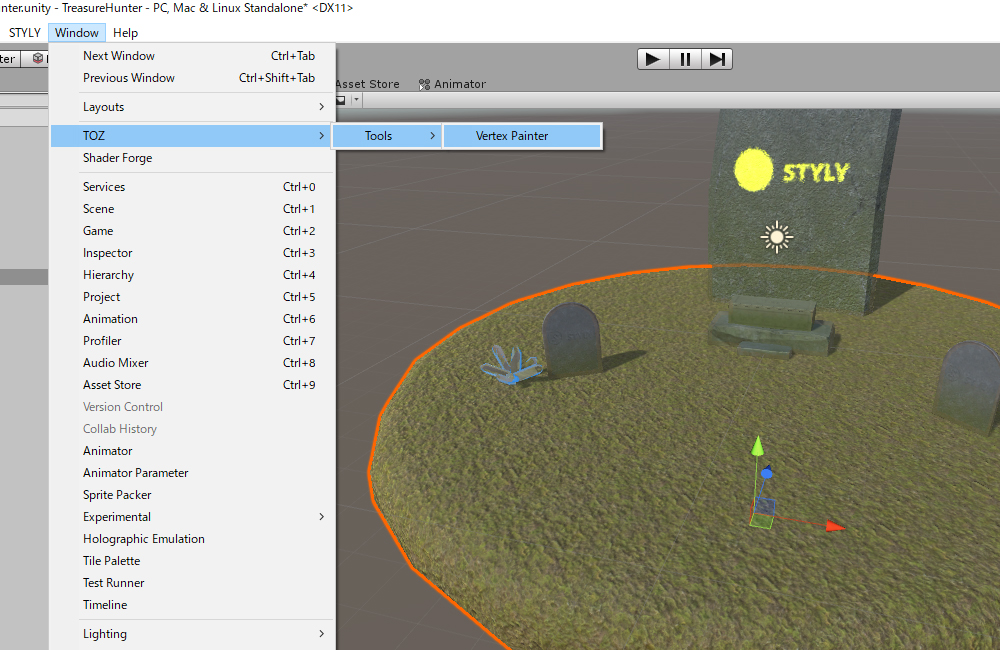
Once you imported it, launch it by selecting ‘Windows > TOZ > Tools > Vertex Painter’.
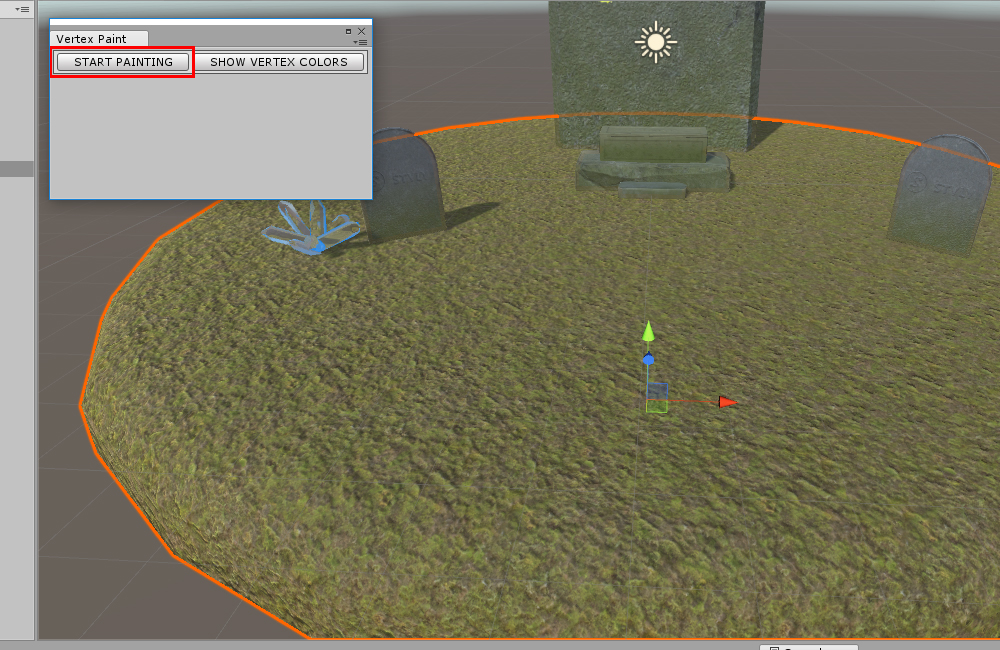
Press the ‘Start Painting’ button to start painting.
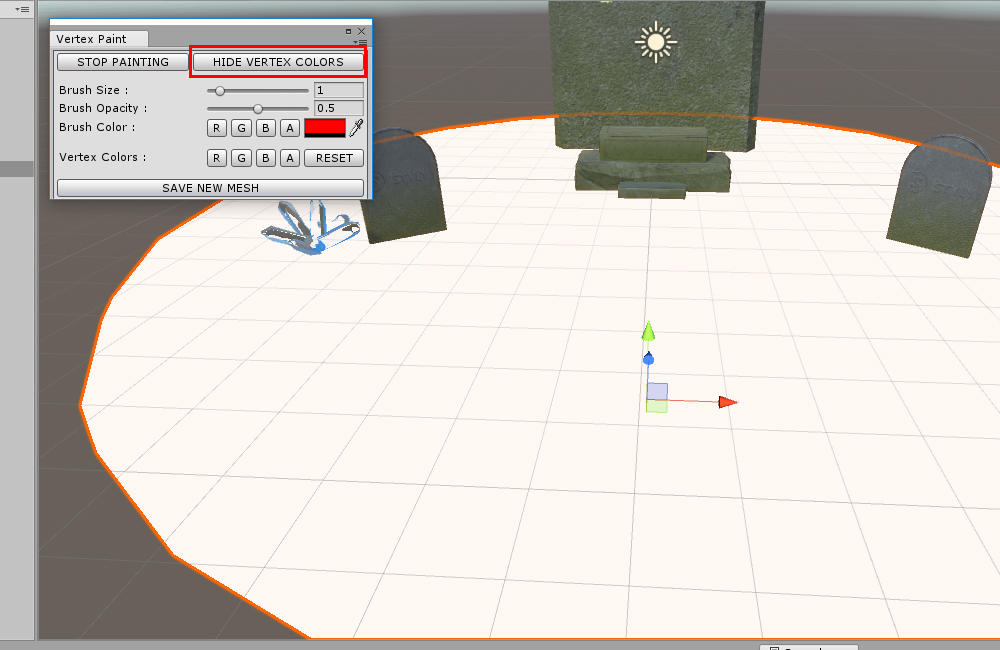
Press ‘Hide Vertex colors’ to make vertex colours invisible.
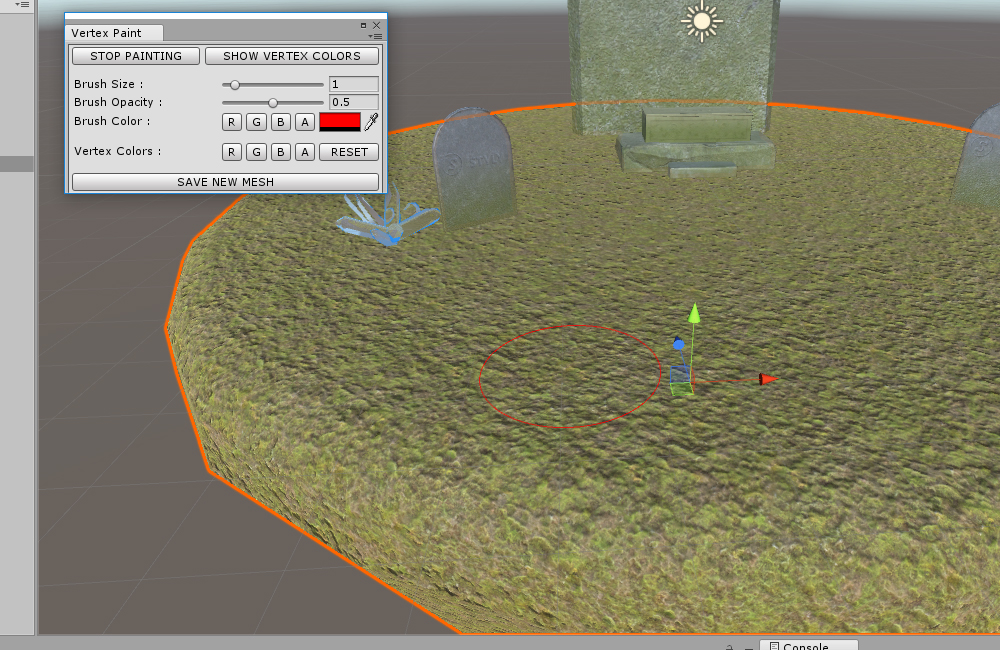
With ‘Brush Color’ set to ‘R’, paint the object.
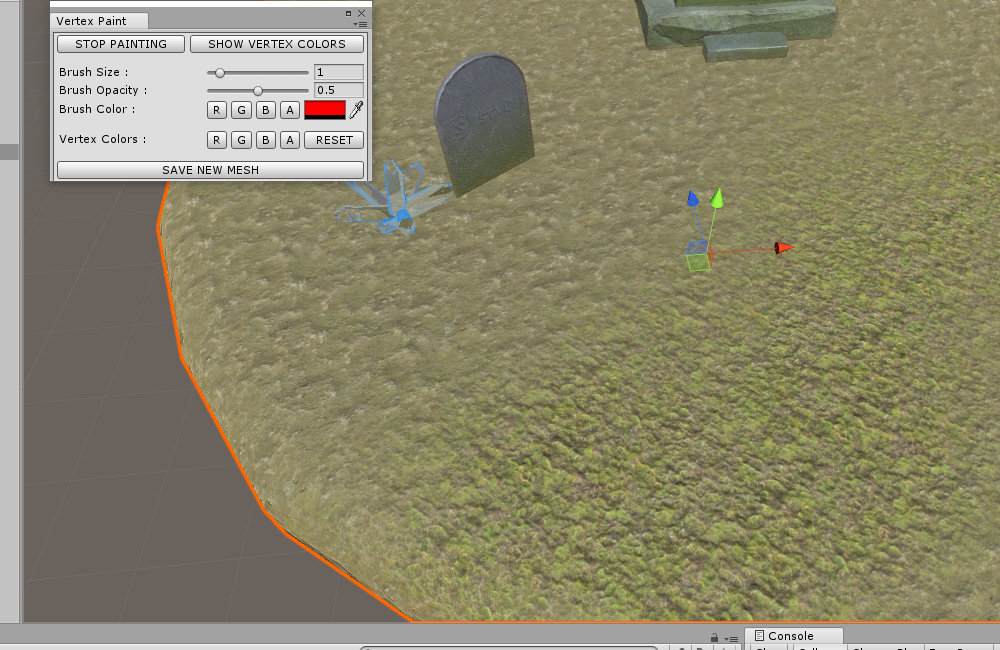
The texture you painted is now changed into the other one.
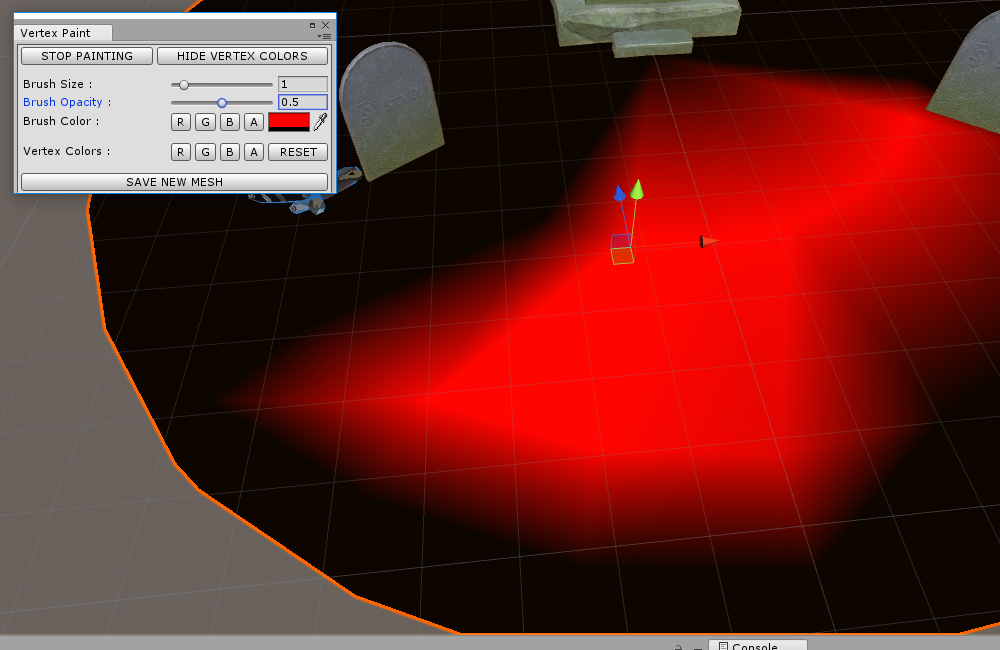
Display and check the vertex colour. You can see the texture painted red is replaced with the other texture.
Paint to make the tiling look natural while adjusting Brush Size and Opacity.
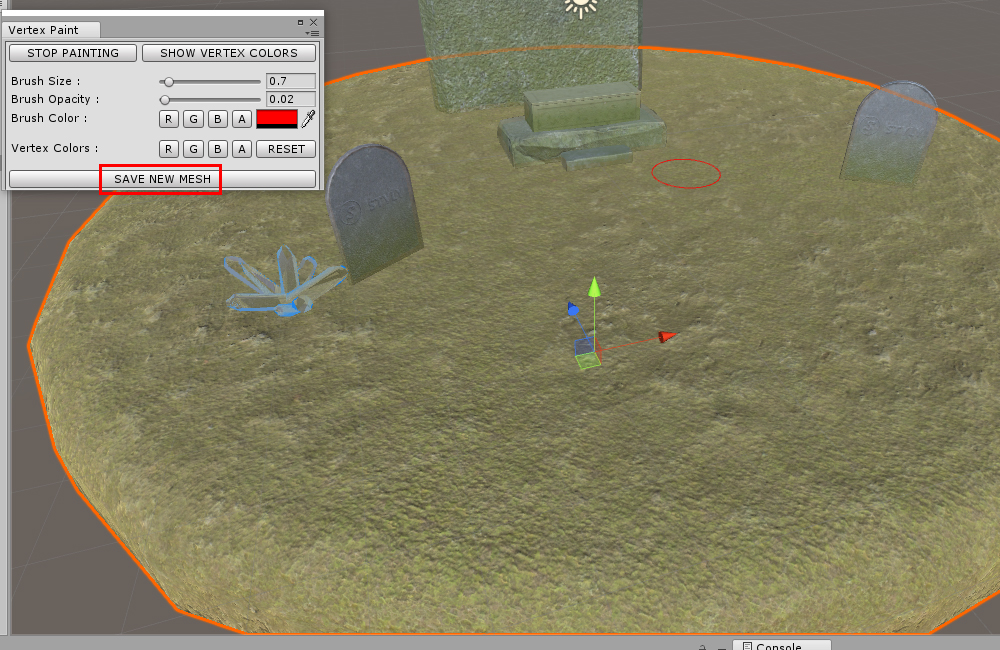
When you finished painting, save the mesh by ‘Save New Mesh’.
The mesh with vertex-color information has been created.
Replace the current mesh with the one just created.
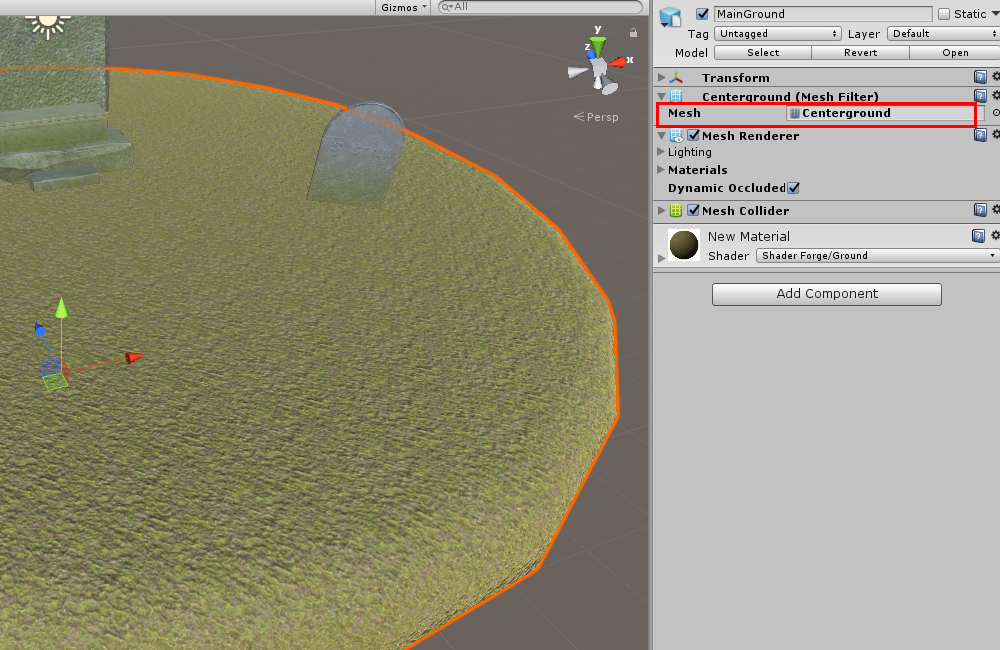
Set ‘Mesh’ to the new one. It’s finished now.
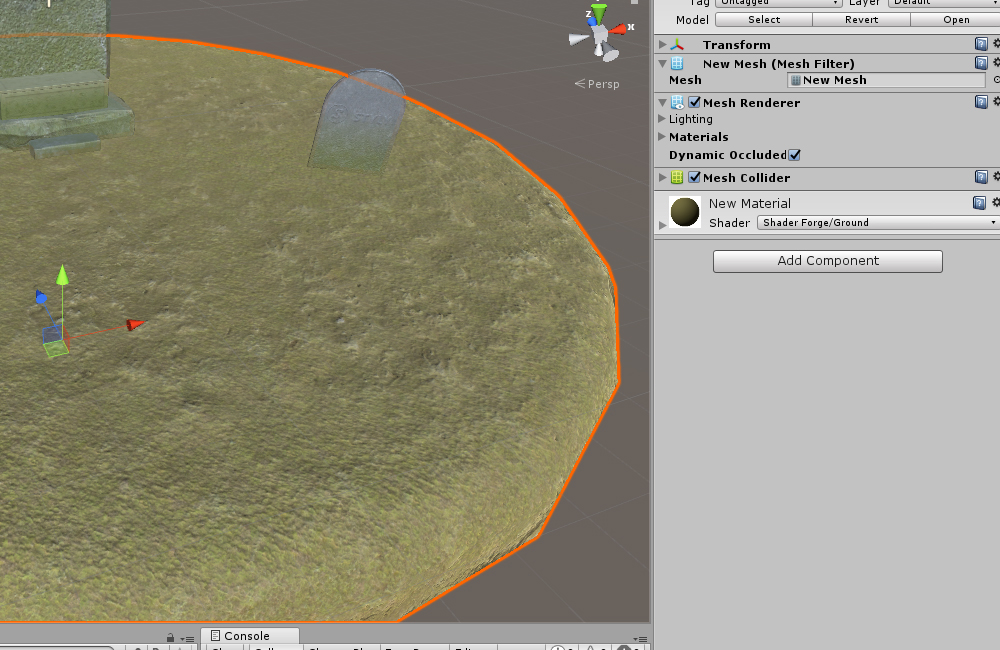
It created the object with the textures blended by vertex colour.
In this article, I introduced how to control multiple textures by vertex colour in Shader Forge.
Tiling could look unnatural when rendering a larger ground. But, you could improve how it looks by blending various textures.
This is also useful to render dirt and degradation.
You can access the VR space created in this article: TreasureHunter