In this article, we will cover the basics of Unity’s audio system and introduce the audio filters that add effects to the sound.
In the next article, we will also implement the ability to switch audio filters within a scene.
This article is an introduction.
By paying attention to the sound as well as the appearance, we can create a better VR experience.
I hope this article will help you understand the basics of Unity audio.
Please note that the content of this article may not be used STYLY.
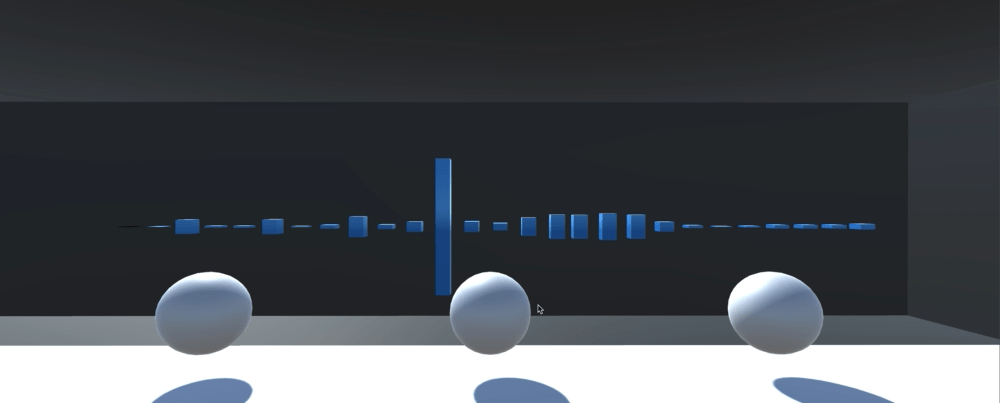
Finished image GIF
Actually Playing a Sound Source
Now, let’s play a sound source in the scene.
First, prepare the sound source you want to play and import it into your Unity project.
In this case, we are using a sound source from this website.
Maou Soul: https://maoudamashii.jokersounds.com/
To play the sound source in Unity, you need a component called “Audio Source”.
Let’s actually create an “Audio Source” in your scene.
You can place the sound source directly, but let’s place it inside a Cube to make it easier to find where the Audio Source is.
You can add an Audio Source by selecting the Cube and dragging and dropping the sound source into the Inspector window.
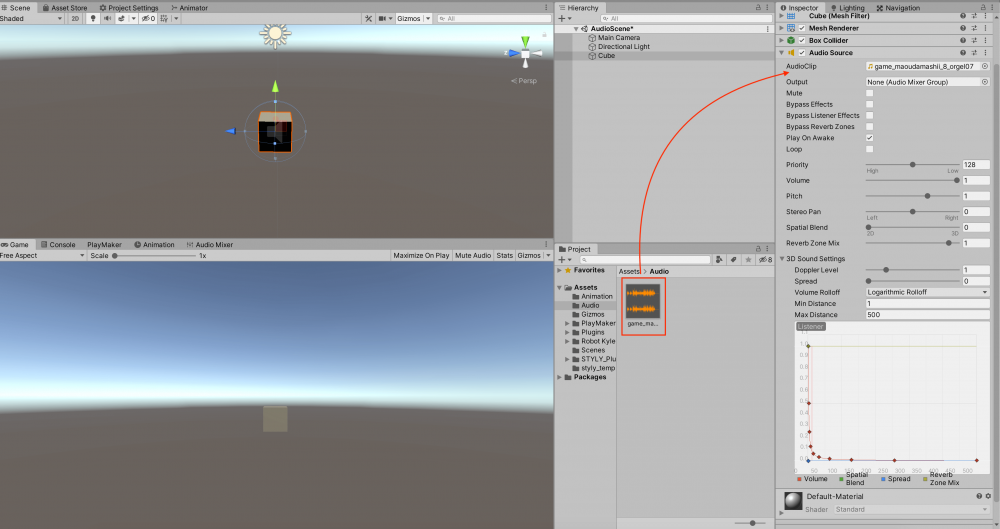
Adding an Audio Source
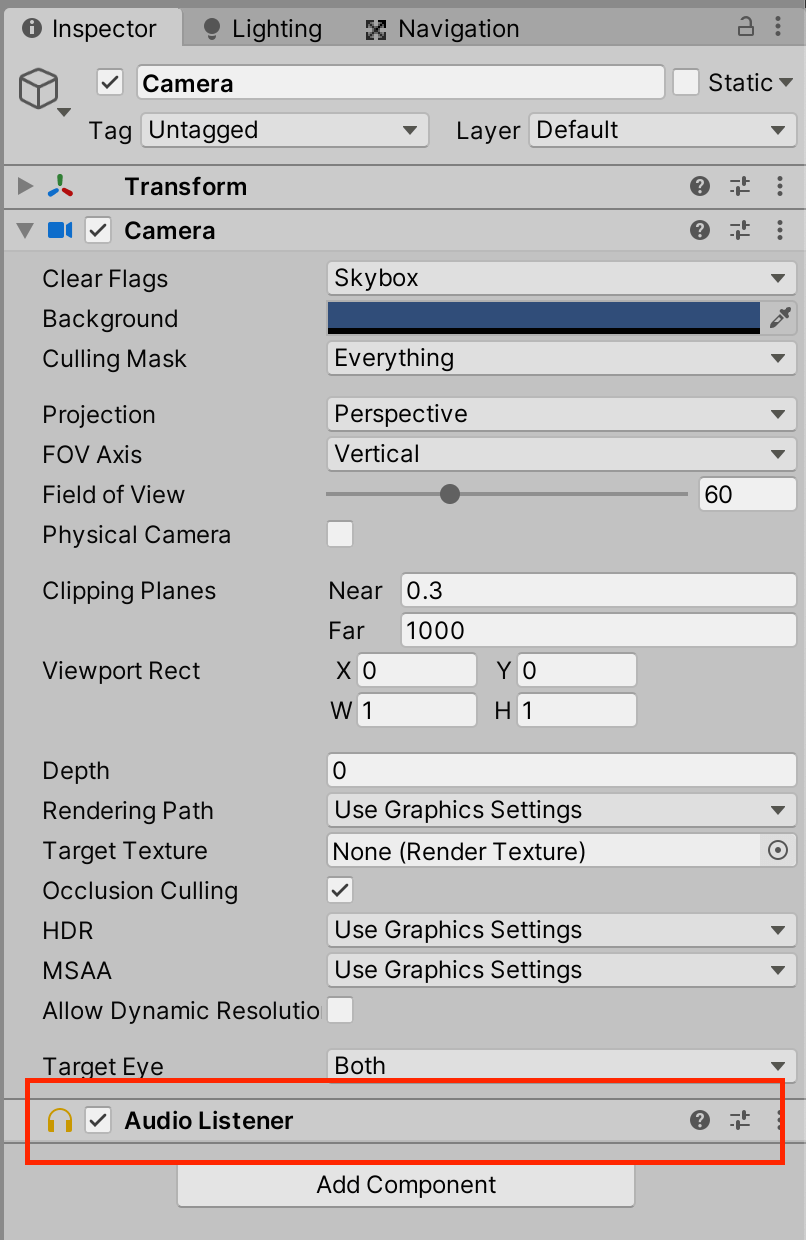
In order to listen to sounds in Unity, you need a component called “Audio Listener”.
The Audio Listener is in the main camera by default, so there is no need to add a new one.
It is also placed in the player in the STYLY scene.
When you actually play the game, the audio source should be playing.
Audio Basics
Unity’s audio system is basically made up of the following three components
- Audio Clip
- Audio Source
- Audio Listener
Audio Clip represents a sound source used in Unity.
When a sound source is imported into a Unity project, it is saved in the form of an Audio Clip.
Unity mainly supports AIFF, WAV, MP3, and Ogg formats.
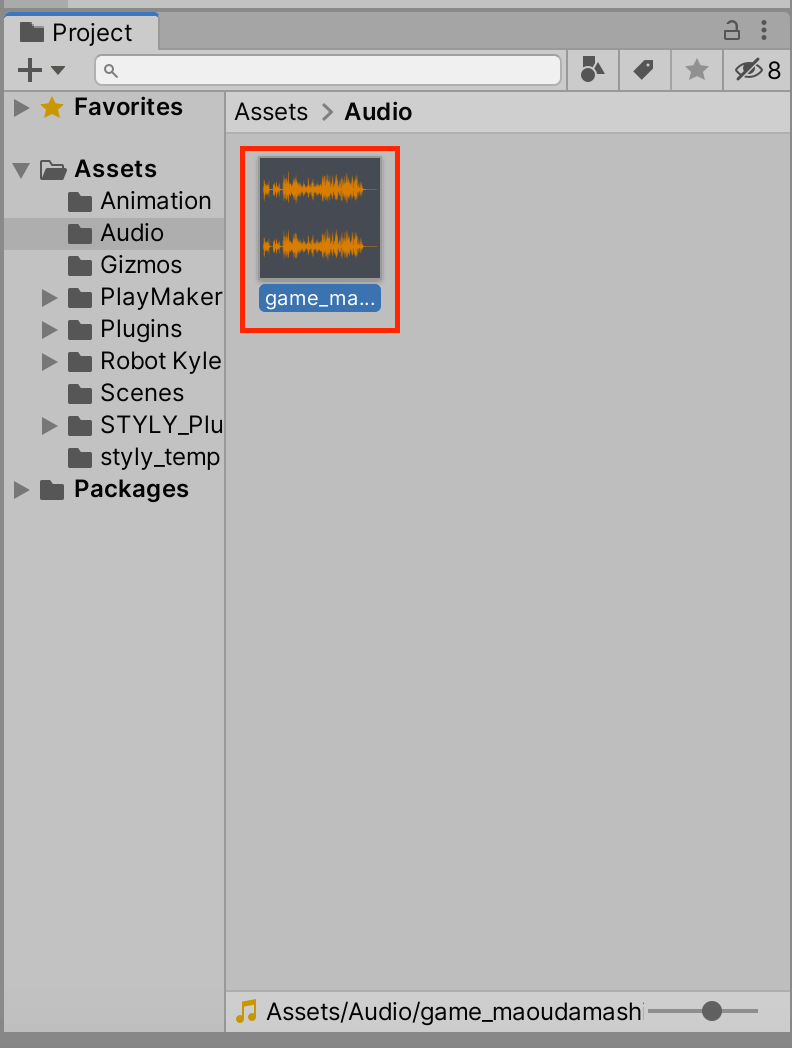
Audio Clip
Audio Source is one of the components.
The audio clip set in this component will be played.
You can also set the volume and pitch of the audio clip here.

Audio Source component
The following is a list of frequently used components.
- Audio Clip
- The audio clip to be played.
- Output
- Where the sound will be output to. By default, it is set to Audio Listener, and can be changed to Audio Mixer, but we will not use it this time.
- Mute
- Turn on to mute the sound.
- Bypass Listener Effects
- You can turn on and off the listener effects described below.
- Play On Awake
- When on, the sound source will be played back as soon as the scene is activated. If you turn it off, you will need to specify the timing of the sound playback separately.
- Loop
- When turned on, the sound source will loop.
- Priority
- Priority of the sound source. This is used when using a large number of sound sources. The higher the number, the lower the priority.
- Spatial Blend
- Allows you to make the sound source three-dimensional.
Use 2D when you want the same sound to be heard no matter where you are, like background music, and closer to 3D when you want to adjust the volume according to distance.
- Allows you to make the sound source three-dimensional.
Audio Listener is another component.
As the name implies, it is responsible for listening to the sounds that are playing in the scene.
The audio listened to here is output to the speaker so that it can reach the player as actual sound.
Audio Listener component
Note that only one Audio Listener can be placed in a scene.
If you place more than one, all but one will be disabled.
Basically, you want it to be in the same location as the player, so place it in the player’s main camera.
Each of these three is located in
- Audio Clip → Sound Source
- Audio Source → Speaker
- Audio Listener → Ear
You can think of them as the above.
Introduction to Audio Filters
Next, let’s take a look at the Audio Filter, which allows you to modify the sound source in Unity.
An Audio Filter is a component that can be placed to add effects to the sound.
Note that the filter must be placed on an object that has an Audio Listener to work.
Chorus Filter
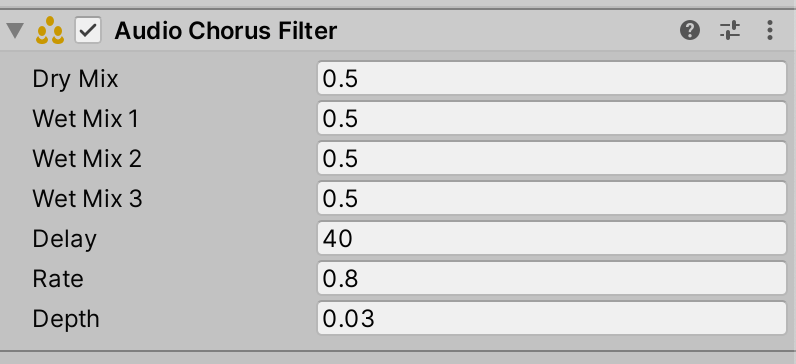
Audio Chorus Filter component
This filter creates a chorus-like sound by shifting the pitch and LFO and layering the sounds.
- Dry Mix
- The size of the output sound.
- Wet Mix 1
- The volume of the first chorus sound.
- Wet Mix 2
- The volume of the second chorus. It is 90 degrees out of phase with the first chorus.
- Wet Mix 3
- The volume of the third chorus. It is 90 degrees out of phase with the second chorus.
- Delay
- Magnitude of the delay of the sound.
- Rate
- The width of the modulation.
- Depth
- The depth of the modulation.
Distortion Filter

Audio Distortion Filter component
トA filter that creates a walkie-talkie-like sound distortion.
Note that the higher the value, the louder the sound.
Reverb Filter
This filter creates a hall-like reverb sound.
You can set it yourself, or there are several presets available.
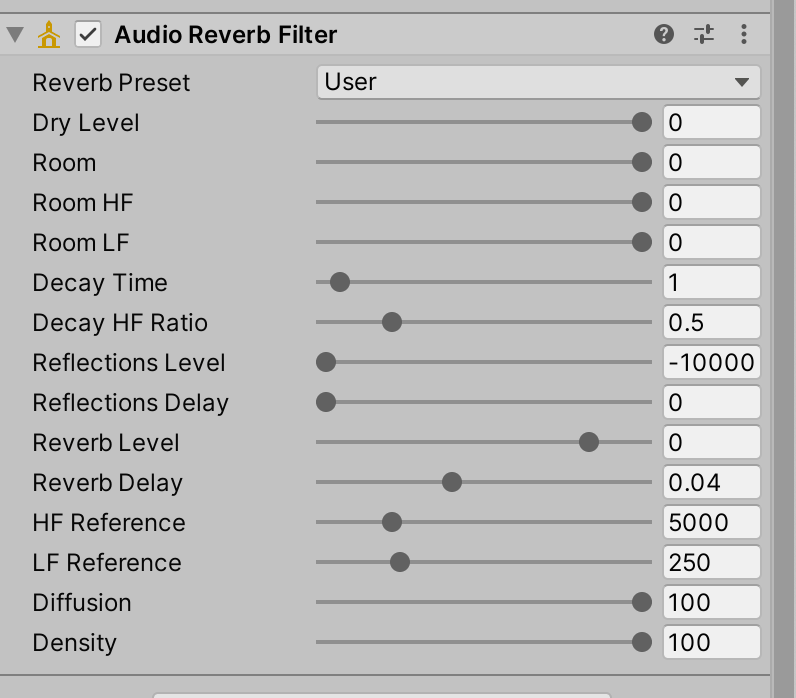
Audio Reverb Filter Components
There are many components to choose from, so here are a few that are easy to use.
- Reverb Preset
- This component allows you to use the Reverb Filter settings provided by Unity. If you want to make your own settings, select “User”.
- Room
- The size of the sound room effect.
- Room HF / Room LF
- The size of the room effect for high-frequency and low-frequency sounds can be set respectively.
- Decay Time
- Sets the time it takes for the reverberation sound to decay and disappear.
Echo Filter
This filter creates an echo sound by delaying the sound.
It is suitable for expressing repetitive sounds such as echoes.
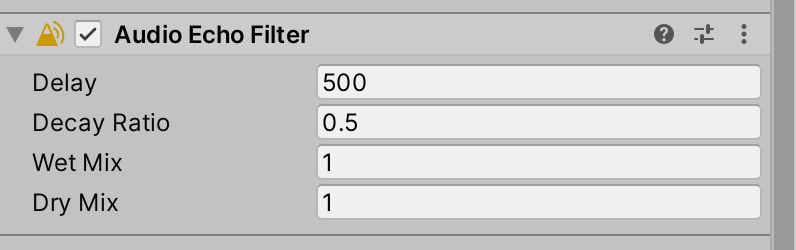
Audio Echo Filter Components
- Delay
- Allows you to set the amount of delay for the echo.
- Decay Ratio
- Allows you to set the decay ratio of the reverberation.
- Wet Mix
- Sets the output level of the reverberation.
- Dry Mix
- The output level of the sound source.
High Pass / Low Pass Filter
This filter cuts off sound at frequencies above and below the set value.
The High Pass filter cuts off frequencies below the set value, and the Low Pass filter cuts off frequencies above the set value.
Note, however, that this does not mean that the sound is completely inaudible.
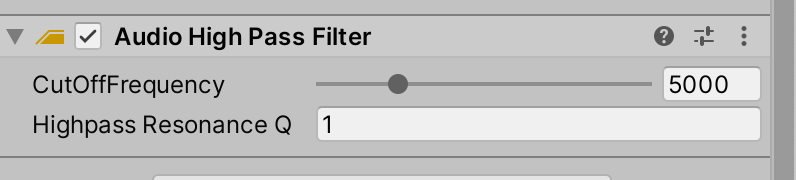
Audio High Pass Filter component

Audio Low Pass Filter component
- Resonance Q
- The higher the value, the more the sound near the cut area will be emphasized.