Hi, SenstiveCube here! Todays tutorial is how to make ‘Fruit Lamp’ with Cinema4d, Unity and STYLY.
In is tutorial, I’ll show you how to create the 3dmodels and animation for this scene with Cinema4d.
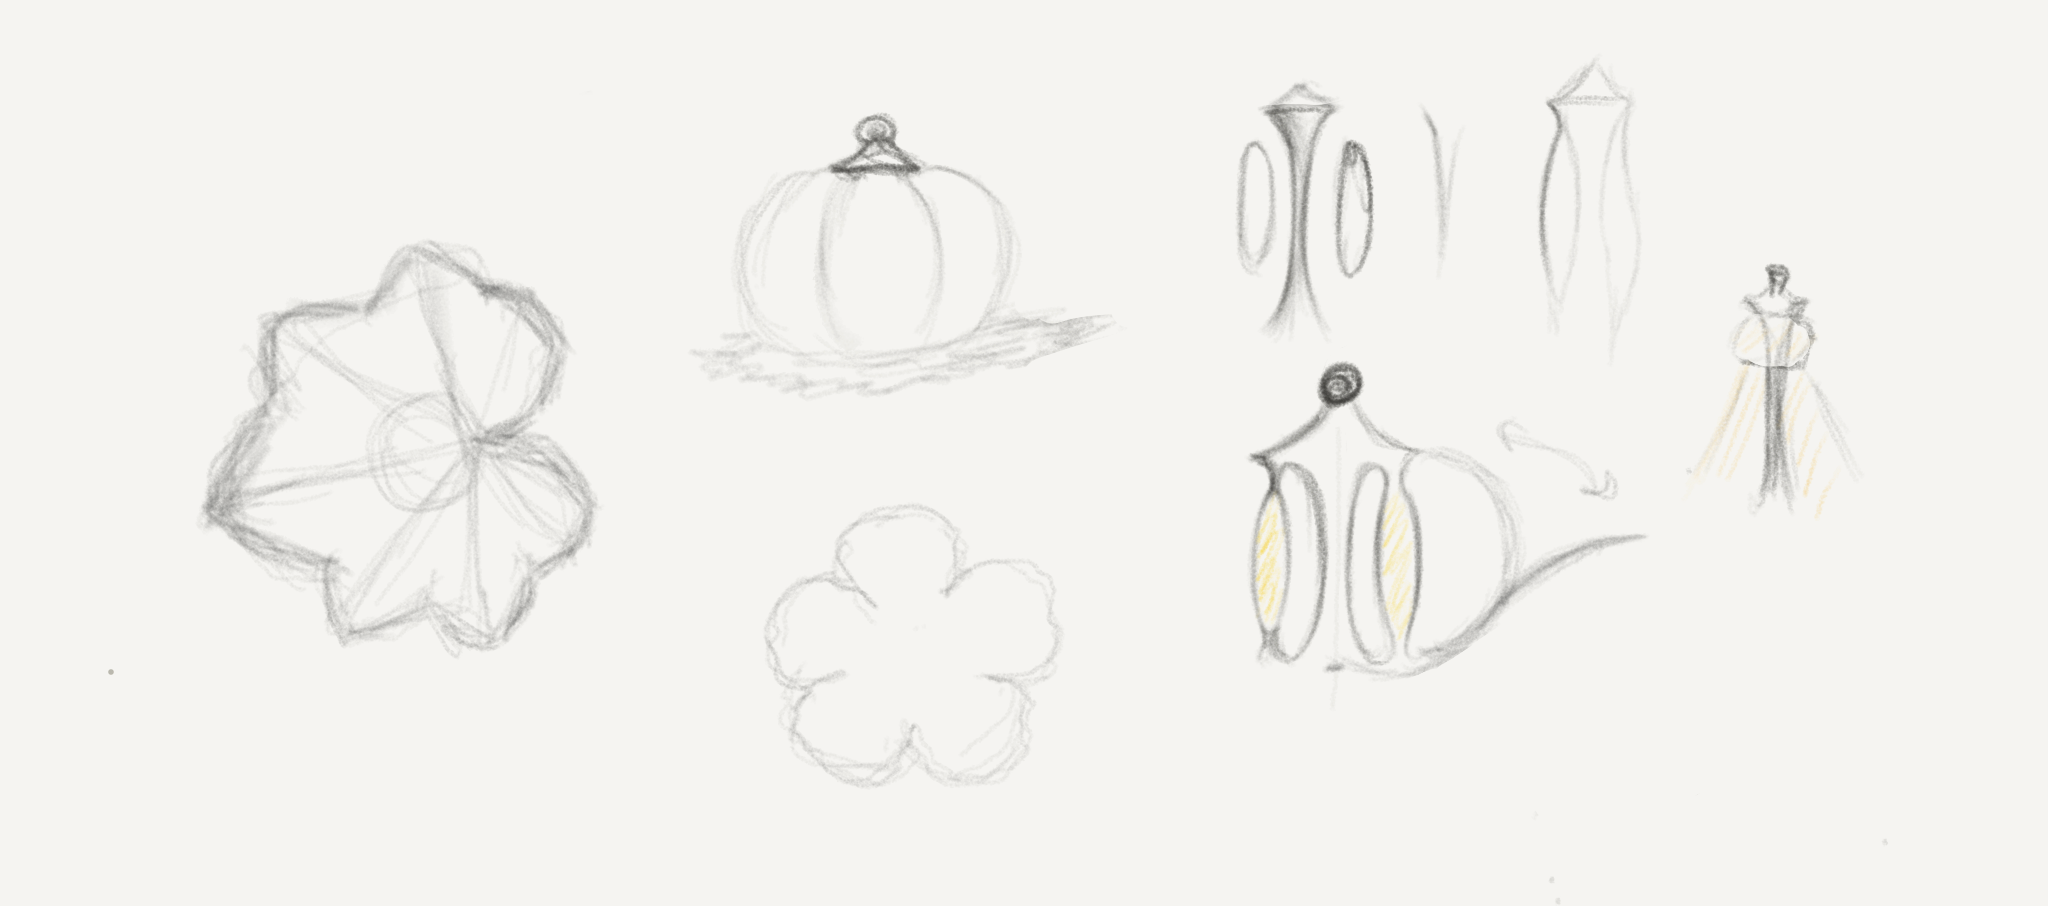
Sketch
This sketch is the first idea of this project.
This lamp will turn on when the player cloath to the lamp. If the player go to far, the lamp will turn off.
Before the modeling
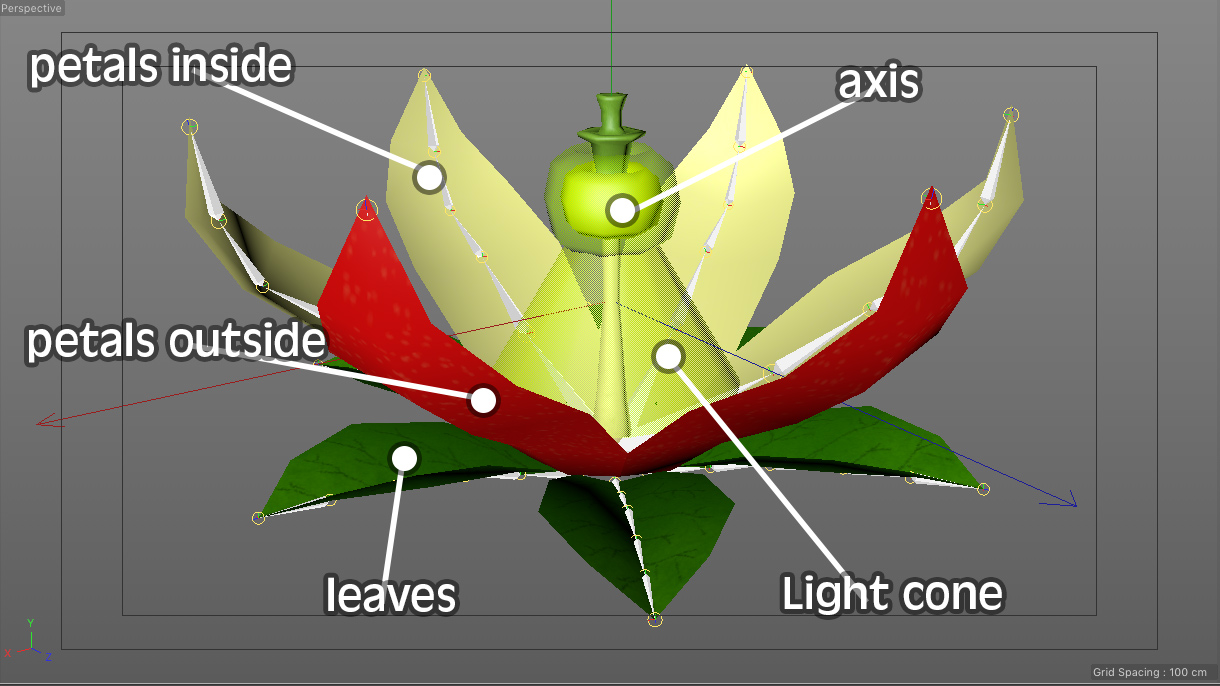
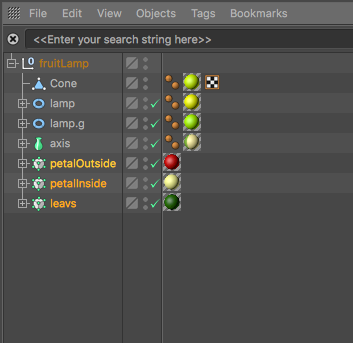
I’ll show the result of this tutorial. In this scene, there are 6 parts which are petals outside(red), inside(cream), leaves(green), axis(light green) and light cone(yellow).
Modeling petals
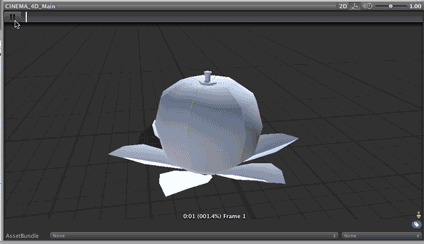
Let’s turn on the Cinema4D. At first, select Sphere menu and create it. ( Create > Object > Sphere )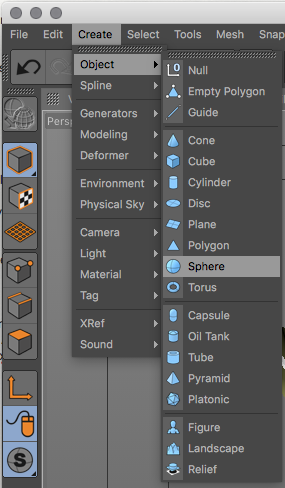
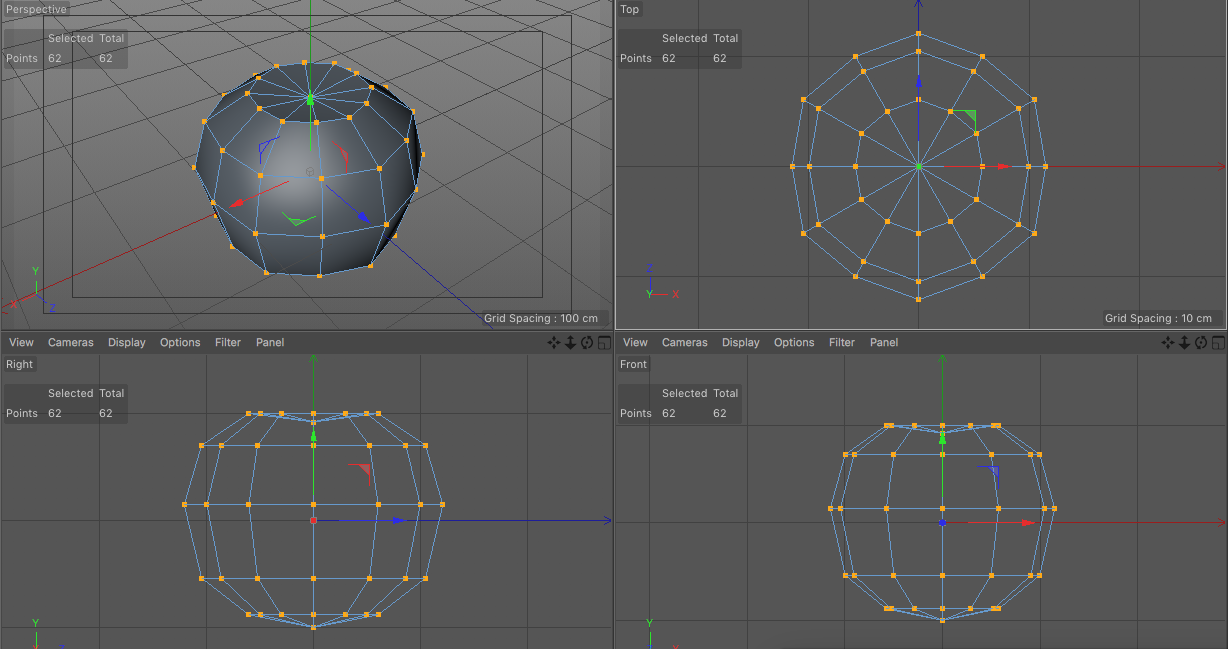
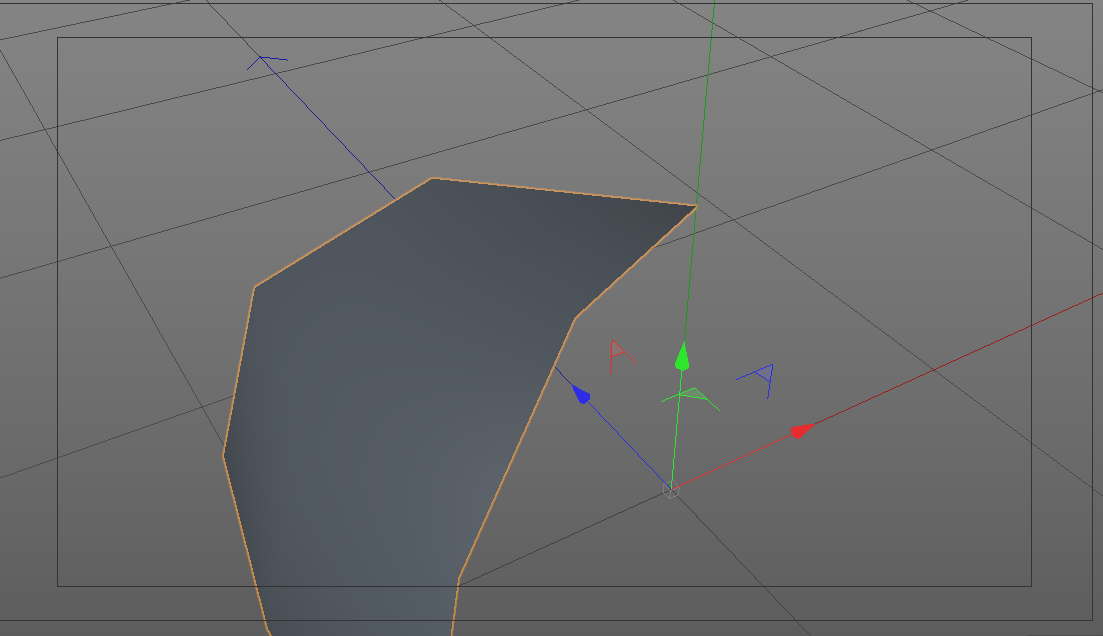
The sphere is appear in scene view. Goto attributes window and change Segments to 12. This sphere can’t edit yet. So make this editable. Select the sphere in Object panel and select ‘Make Editable’ menu(Mesh > Conversion > Make Editable) or just hit the ‘c’ key. After that, you can edit the object. The next step is to turn the sphere into fruit by moving points.
Select the sphere and hit the Points button. Points are became visible in viewport. After that, We can edit the object. Change this like figure below with Move tool and Scale tool. Don’t forget to check with multiple view. If the object looks nice, save the C4D scene.
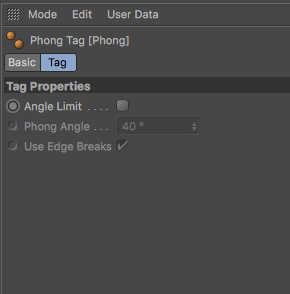
We need a single petal. Select vertex like figure below and hit delete key. You will find non-smooth edge in the view port. I don’t like this so, fix it. Search ‘Sphere’ in Object panel and click ‘Phong tag’ and turn off ‘Angle Limit’ in Attributes window.
Entire object will be smooth. Change name of this object to ‘Patel’ and save the scene. The modeling is done!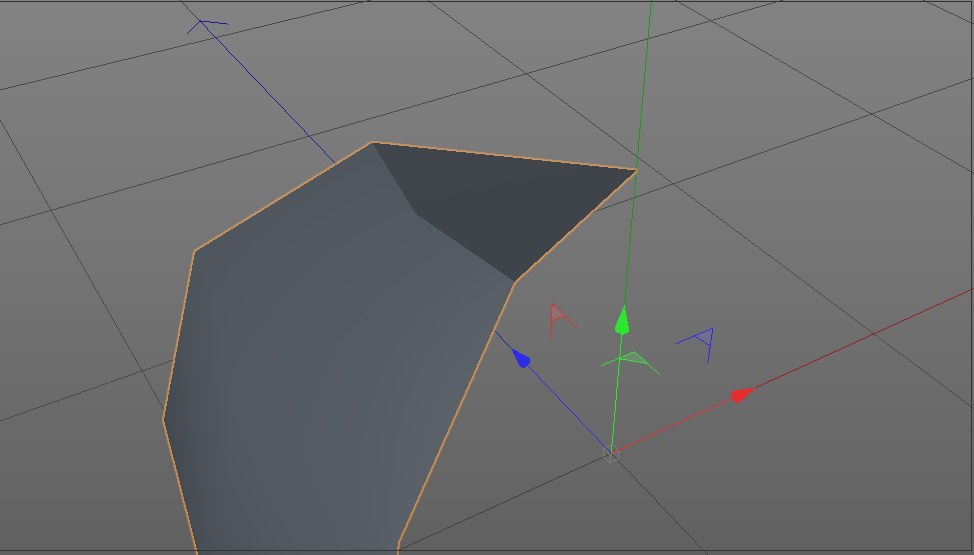
Rigging
Before add some animation, we need rigging. In other word, bones and skinning are needed.

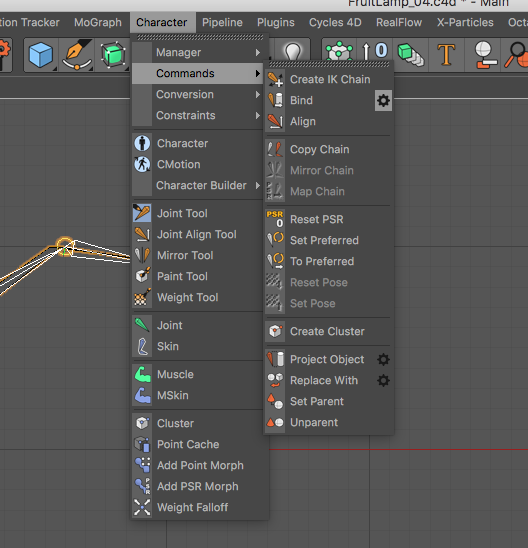
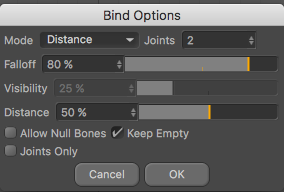
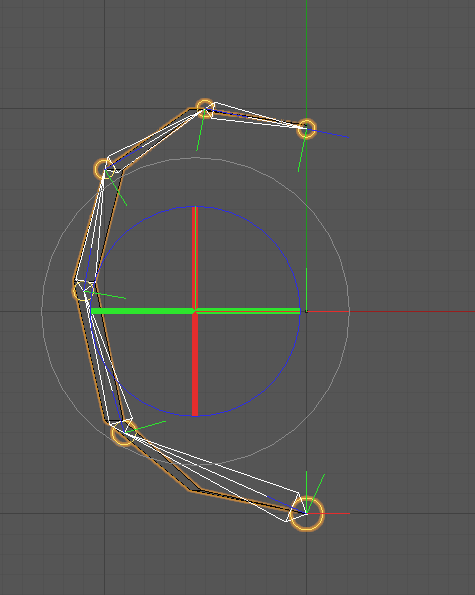
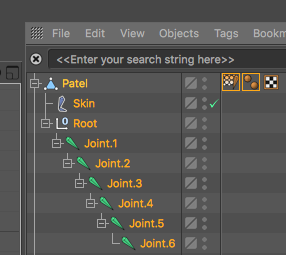
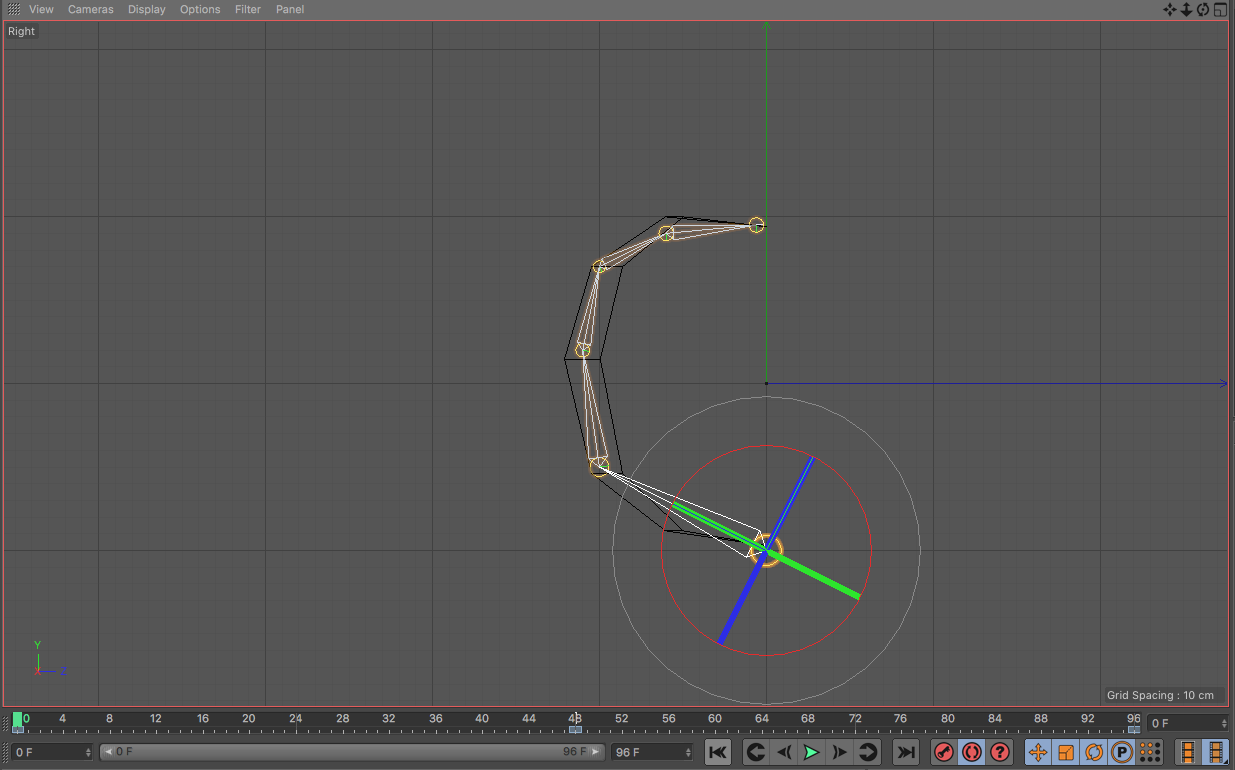
Change viewport to Front view. Select joint tool (Character > Joint tool ). We can create Joints(or bones) with hold down CTRL-Command key and Click the viewport. Let’s create joints like figure below. 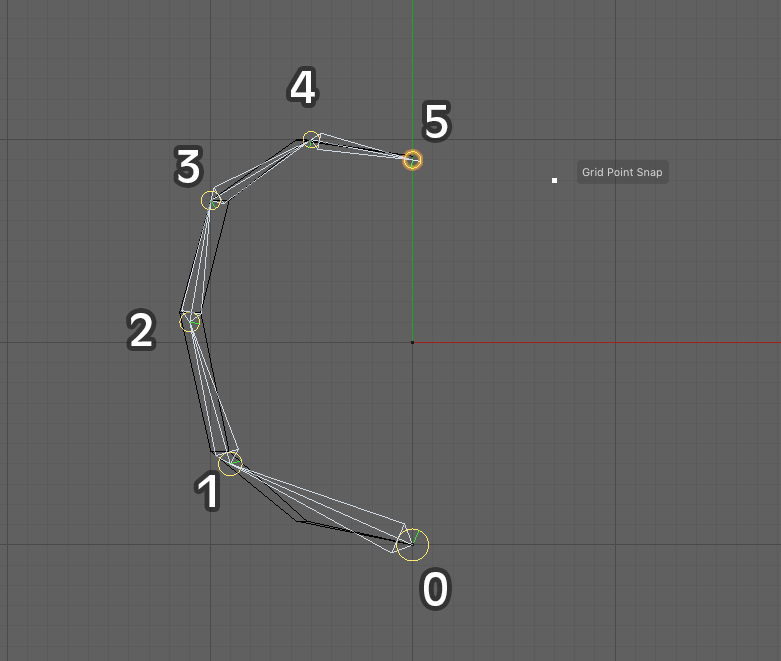 In this state, there no relationship between Patel object and Joints. Select all objects in Object pane. Hit the cogwheel icon next to the Bind menu(Character > Commands > Bind). Bind Options window is appear. Just hit the OK. After this, you will find Skin object in Object panel. When you rotate the joints, the Patel object will change the own shape.
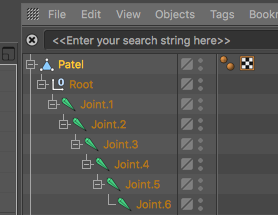
Animation
Let’s add animation for this. Goto first flame (0) and select all joints. Hit the Record active Object button. Goto 96 flame and hit again. There are 2 key flames each joints. Hit Autokeying button and goto 48 flame. Select Rotation tool and rotate joints like figure below. Hit the Play Forwards button and check animation.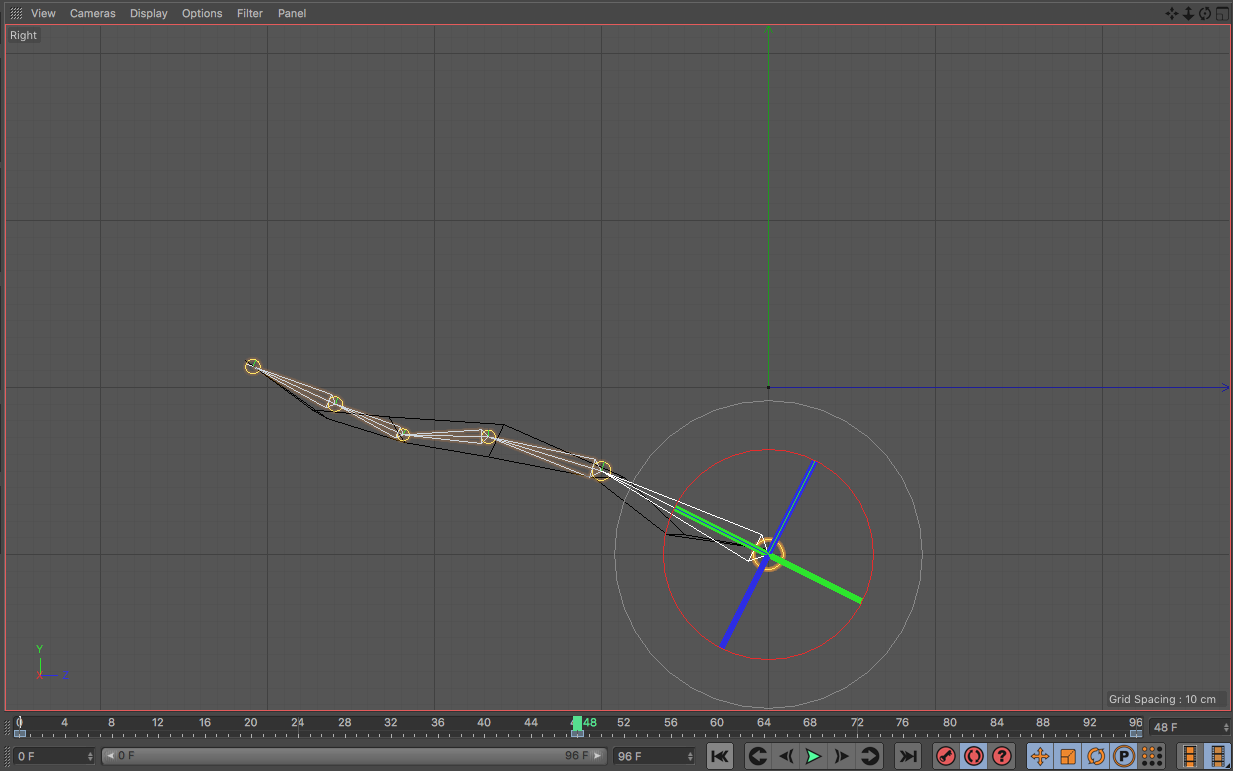
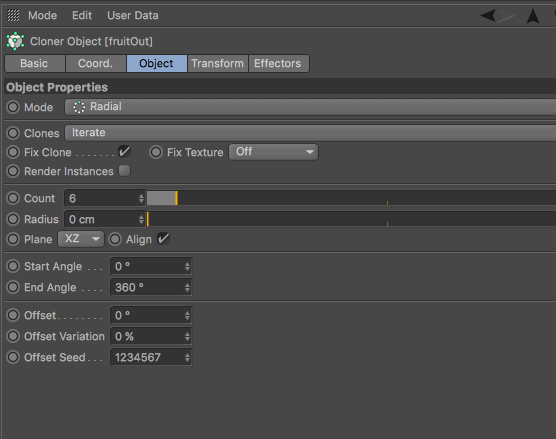
Duplicate the petal.
Now we have a single petal. Let’s duplicate to 6. Easiest way is using moGraph Cloner. Select petal object and hold down alt key and hit Cloner menu(MoGraph > cloner).Goto attributes panel. Change parameter to below.
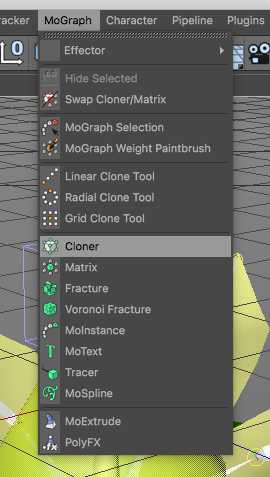
mode : Radial.
Count : 6
Radius : 0
Plane : XZ
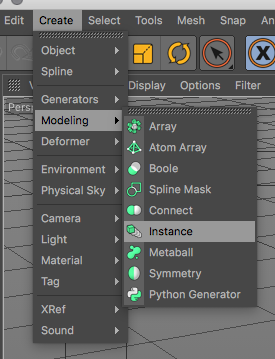
For Cinema4D prime, Visualize and BodyPaint user.
You can use the Instance object instead of Cloner object. Select petal and hit Instance (create > Modeling > Instance ). copy the Instance and rotate 60 degree each.
Finally, petals are done!
Other objects.
: Petal inside.
copy the Petal object and select it. Change to Polygon mode and select all polygons. Select Reverse Normals (Mesh > Normals > Reverse Normals).
: Leaves.
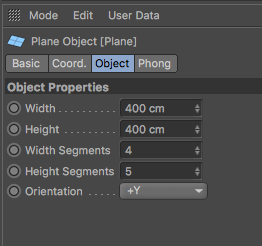
Create Plane and set parameter below.
Width Segments 4
Height Segments 5
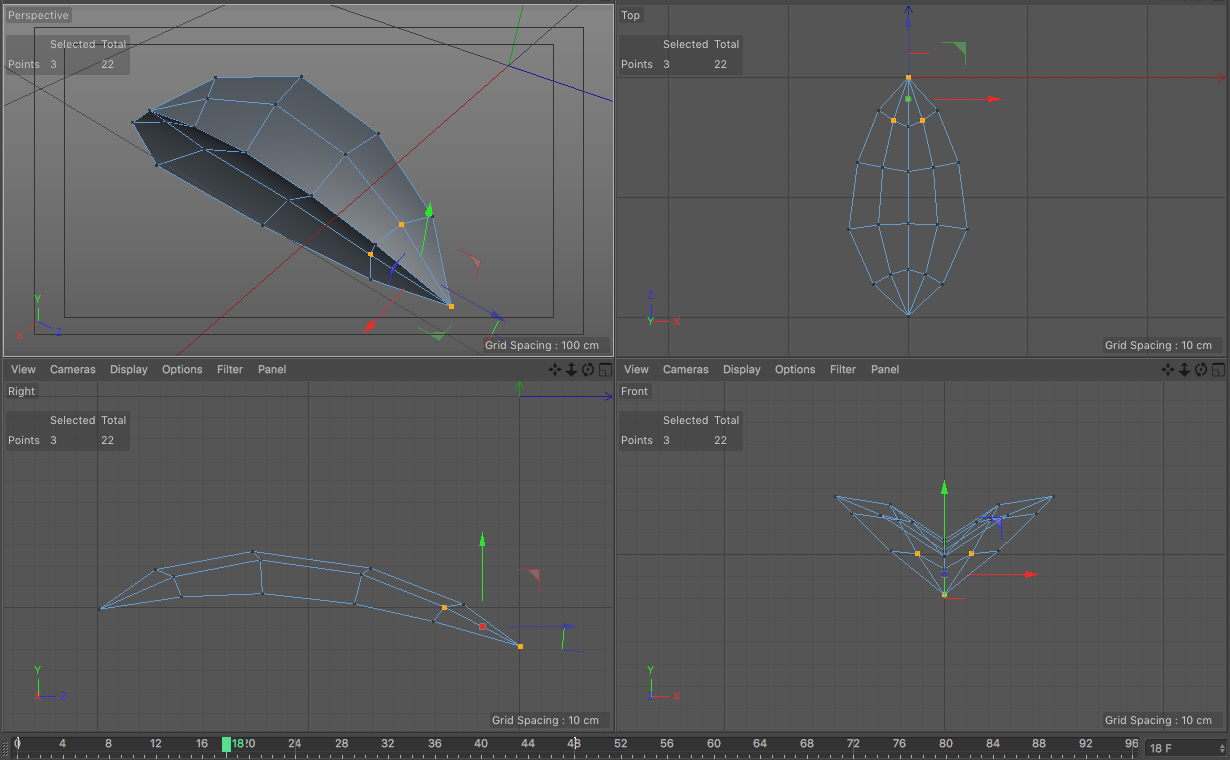
change editable mode and edit point like figure below.
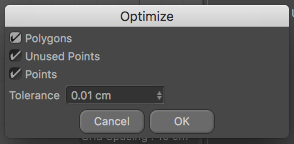
After that, select all points and hit Cogwheel icon next to Optimize (left click > Optimize ). Make sure points is checked and hit ok.
Rigging and animation is as same step as petal.
: Axis,Light cone
These are no need animation. Just need object mesh. I’ll omit explain further , but as same as others. Create object, make editable and edit points. Feel free and enjoy to create these!
Materials.
Create and add materials to objects as below. I’ll create materials with Unity, so I will not do edit materials here.
Object Name : Material Name
PetalOutside : Out
PetalInside : in
Leaves : Leaves
Axis : Axis
Cone : Cone
Export for Unity.
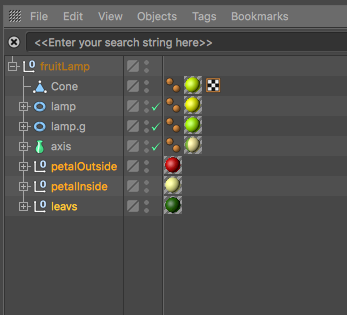
Firstly save as different scene such as ‘fruitLamp_output.c4d’. Select all cloner object and make editable( hit ‘C’ key).
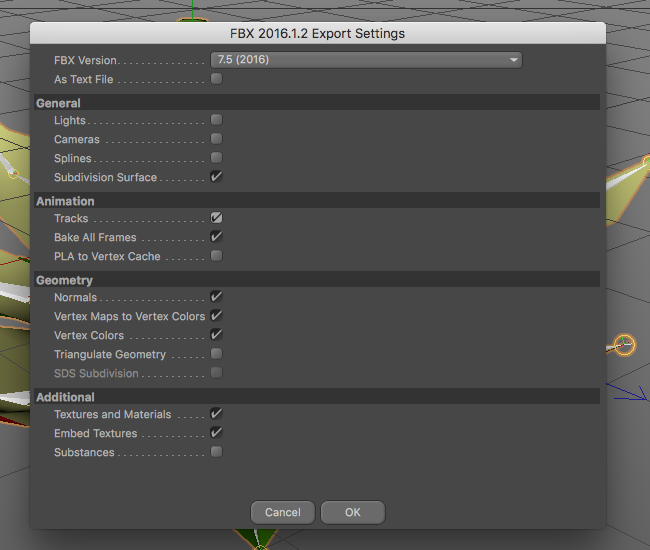
Delete all unnecessary object in the scene such as camera, lights or buckup meshes. If looks nice, select export FBX (File > Export >FBX(*.fbx)).
Select specific folder and named the file name such as ‘FruitLamp_output.fbx’. Make sure the Trucks and Make All Frames are checked in Animation section. Hit OK and done!
If you are Cineversity user, I recommended to use ‘CV-SmartExport’.
https://www.cineversity.com/vidplaylist/cv-smartexport
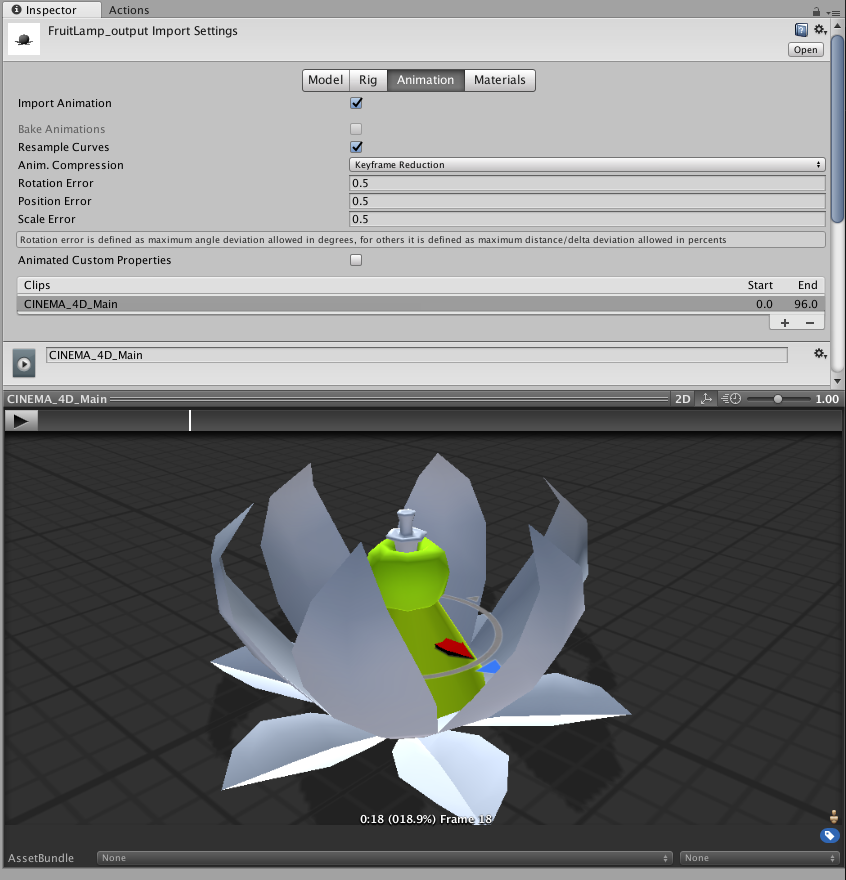
Check Fbx in unity.
Let’s turn up the Unity and drag and drop the Fbx file to Project window. Select the fbx file and goto Animation tab in inspector window. If animation and models are correct, the export was successful!