A photogrammetric model’s hand often has fingers attached and may not be moved easily. In this article, we are going to show you how to adjust your photogrammetric model so that you can move your fingertips.
Introduction
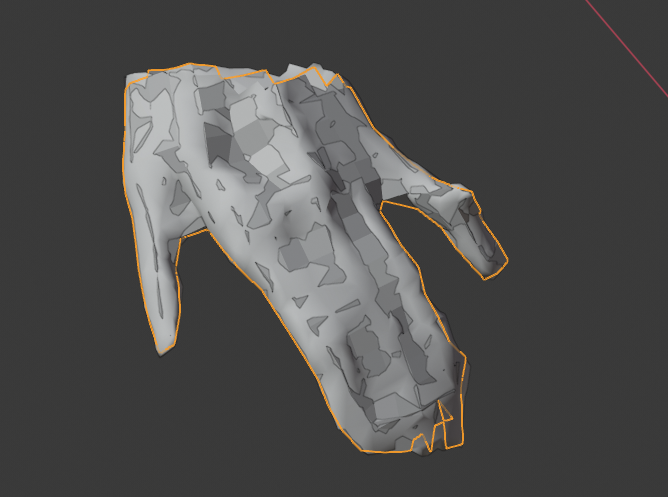
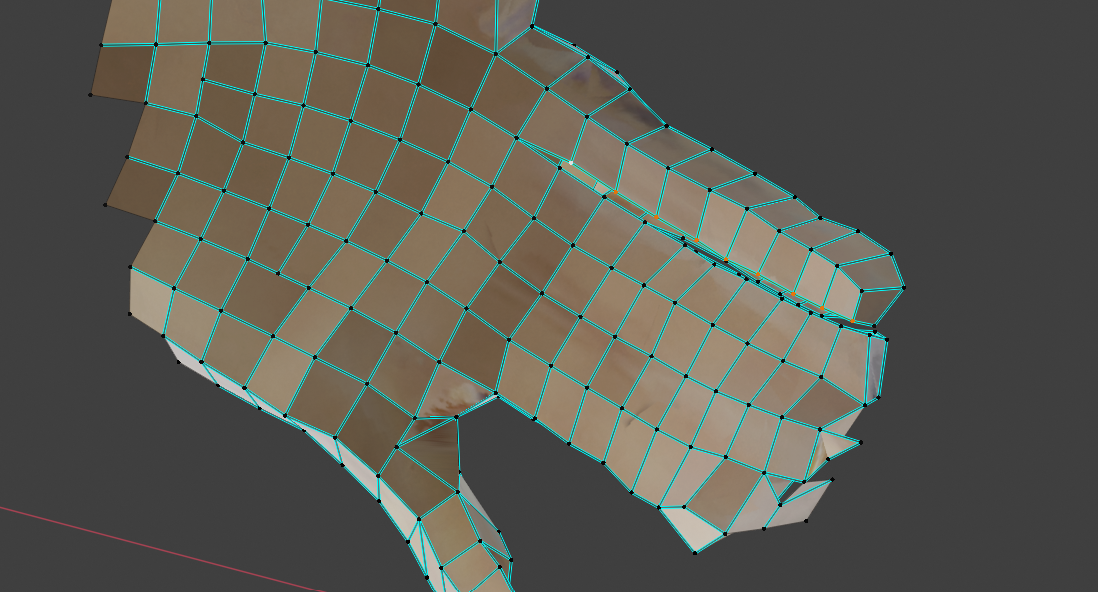
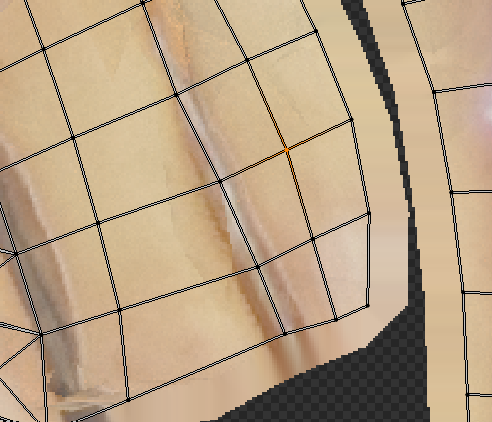
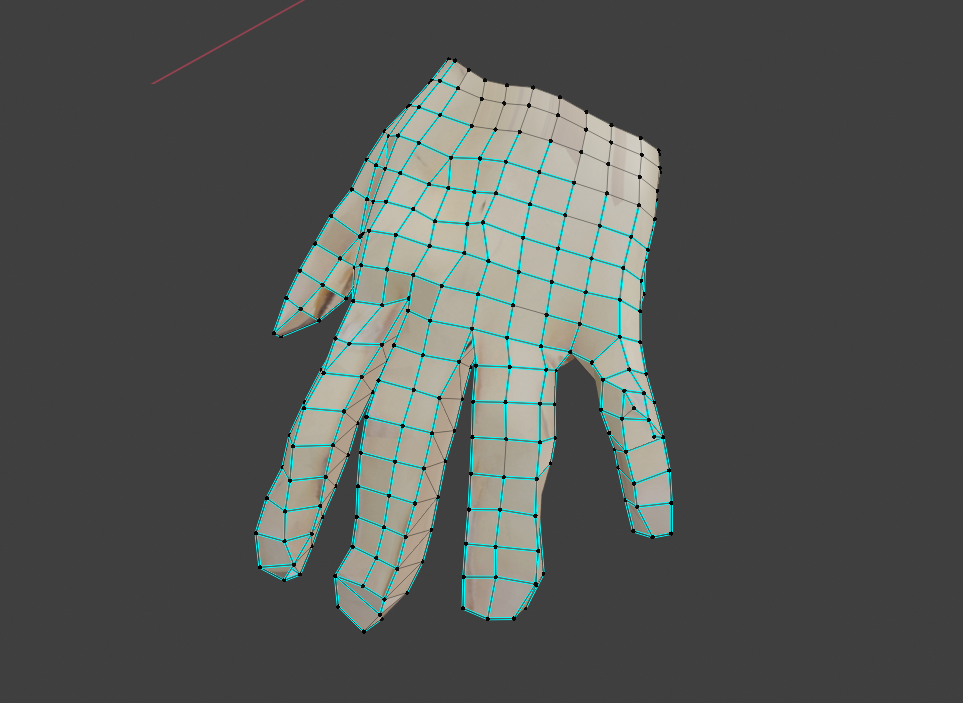
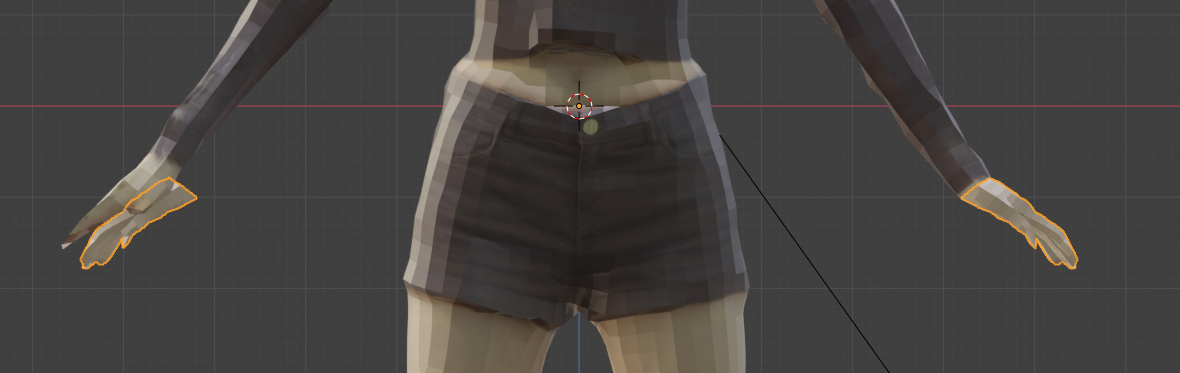
The model’s hand (unprocessed after photogrammetry) before retopology looks like the following. The index finger to the ring finger is stuck together.
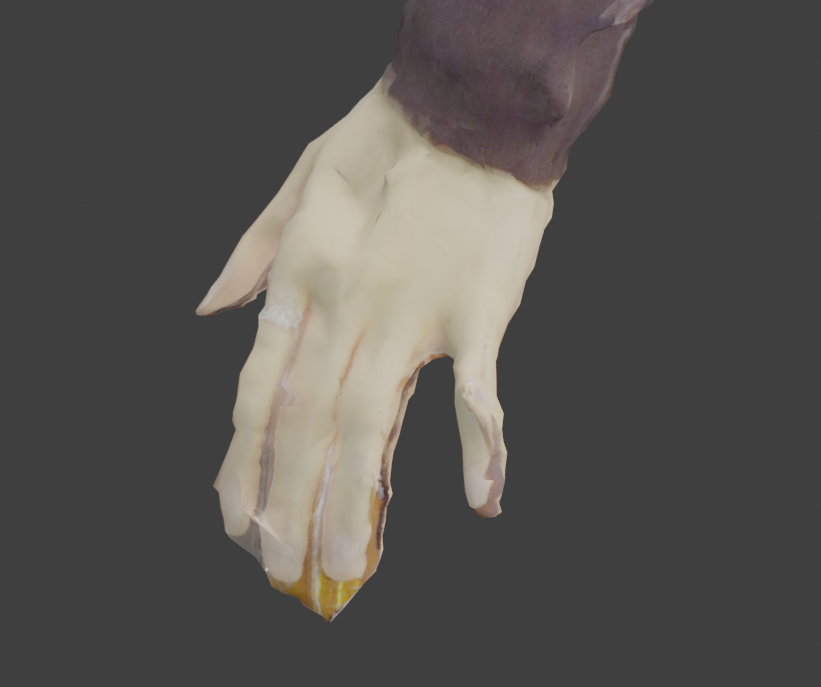
Fingers are attached
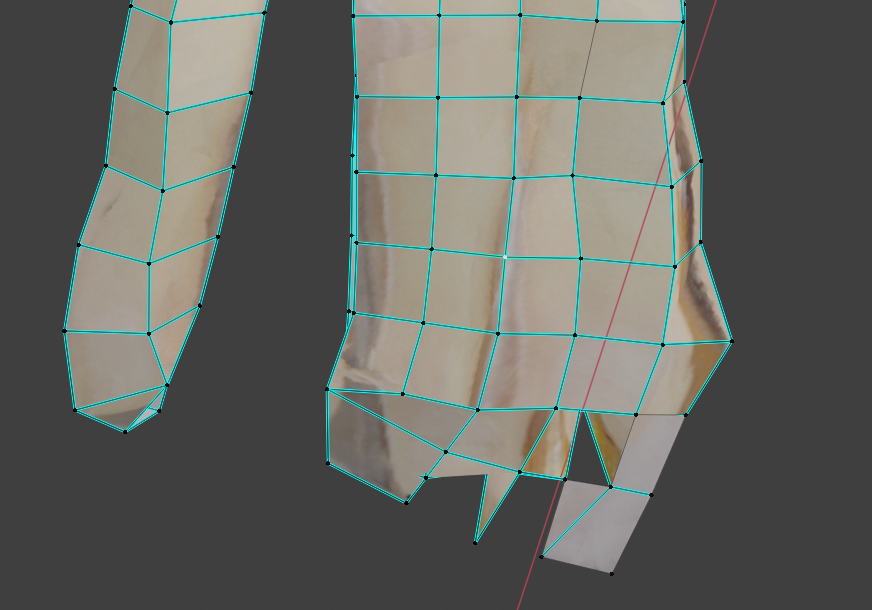
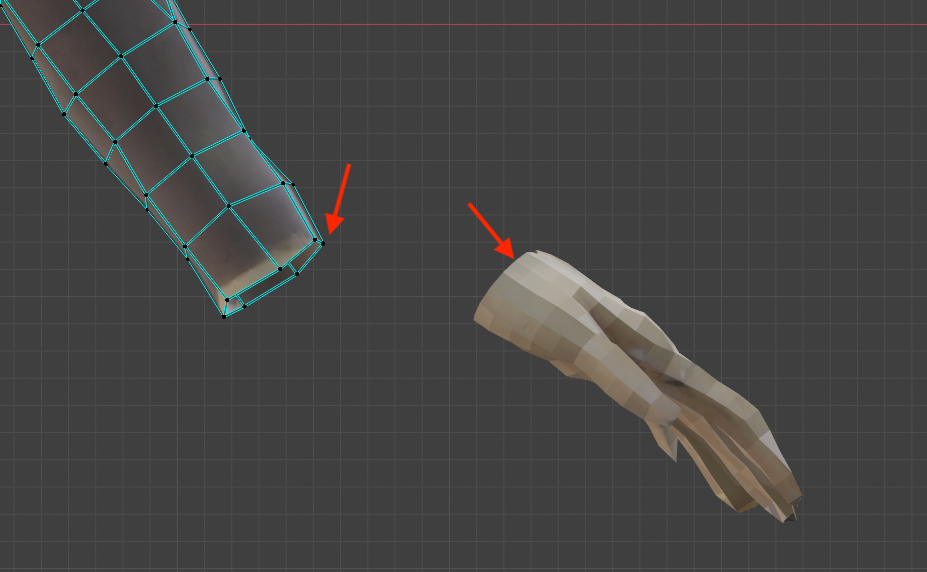
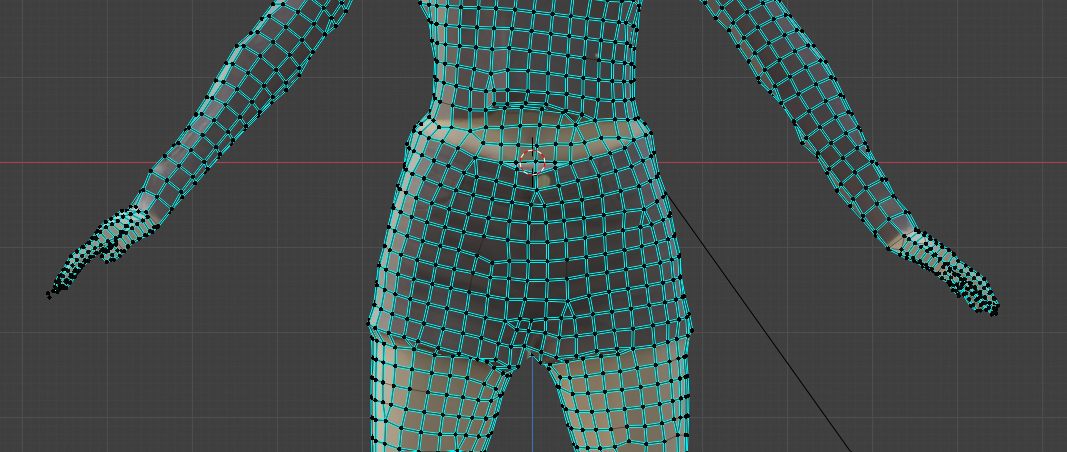
When we apply auto-retopology to the whole body, the hands can be taken on an unoriginal shape.
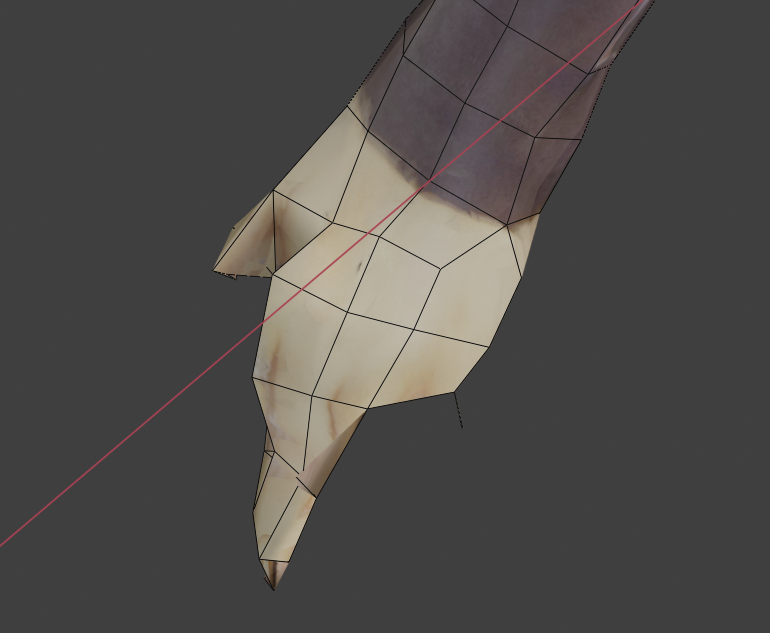
The shape of his hand is not fixed
So, this time, based on the pre-retopology model hand, we will create a hand with all fingers separated so that they can be moved.
Operation procedure
Cut the hand from the pre-retopology model
Roughly select a hand in the pre-lithology model and select “Selection” from the [P] key to separate the part of the hand into a separate object.
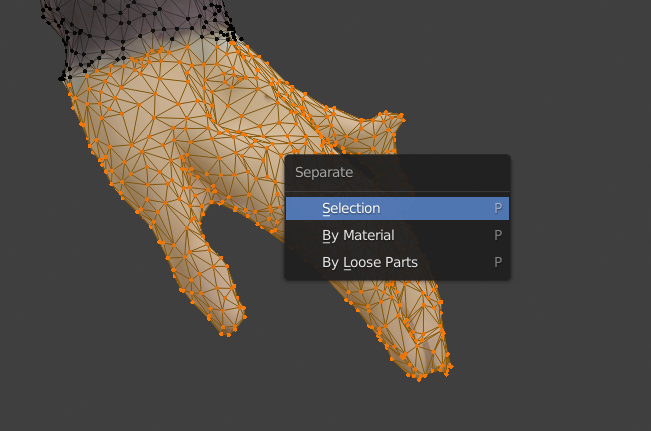
Select the part of the hand
To make it easier to work with, hide all but the detached parts.
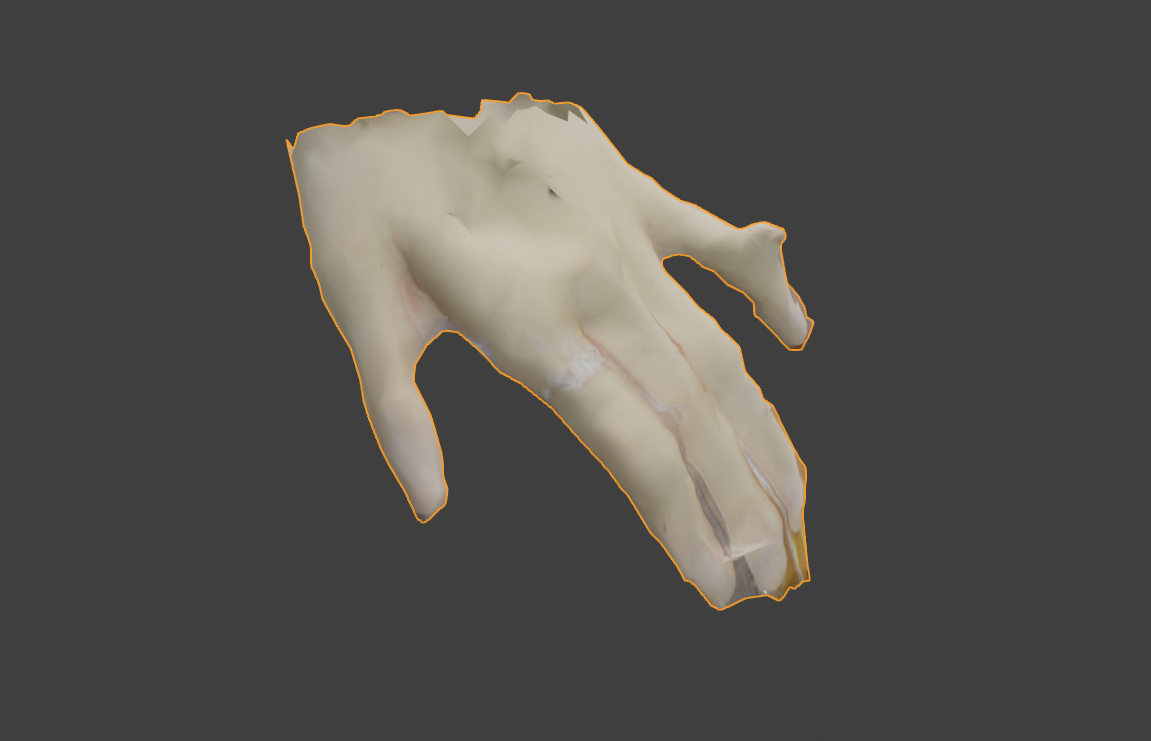
Hide all but the hands
Auto-retopology
The pre-retopology model has a fine mesh that makes it difficult to detach the clinging fingers. Therefore, only the hand part is auto-retopologized again.
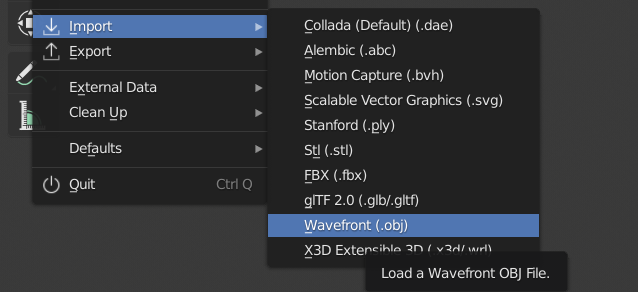
First, we export the model in obj format to flow into the Instant Meshes.
With the hand selected, select “Wavefront (.obj)” from “Export” in “File”.
Export in obj format
Select “Selection Only” from the “Include” item in the dialog that comes up.
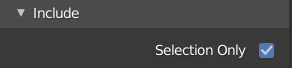
Export only the selection
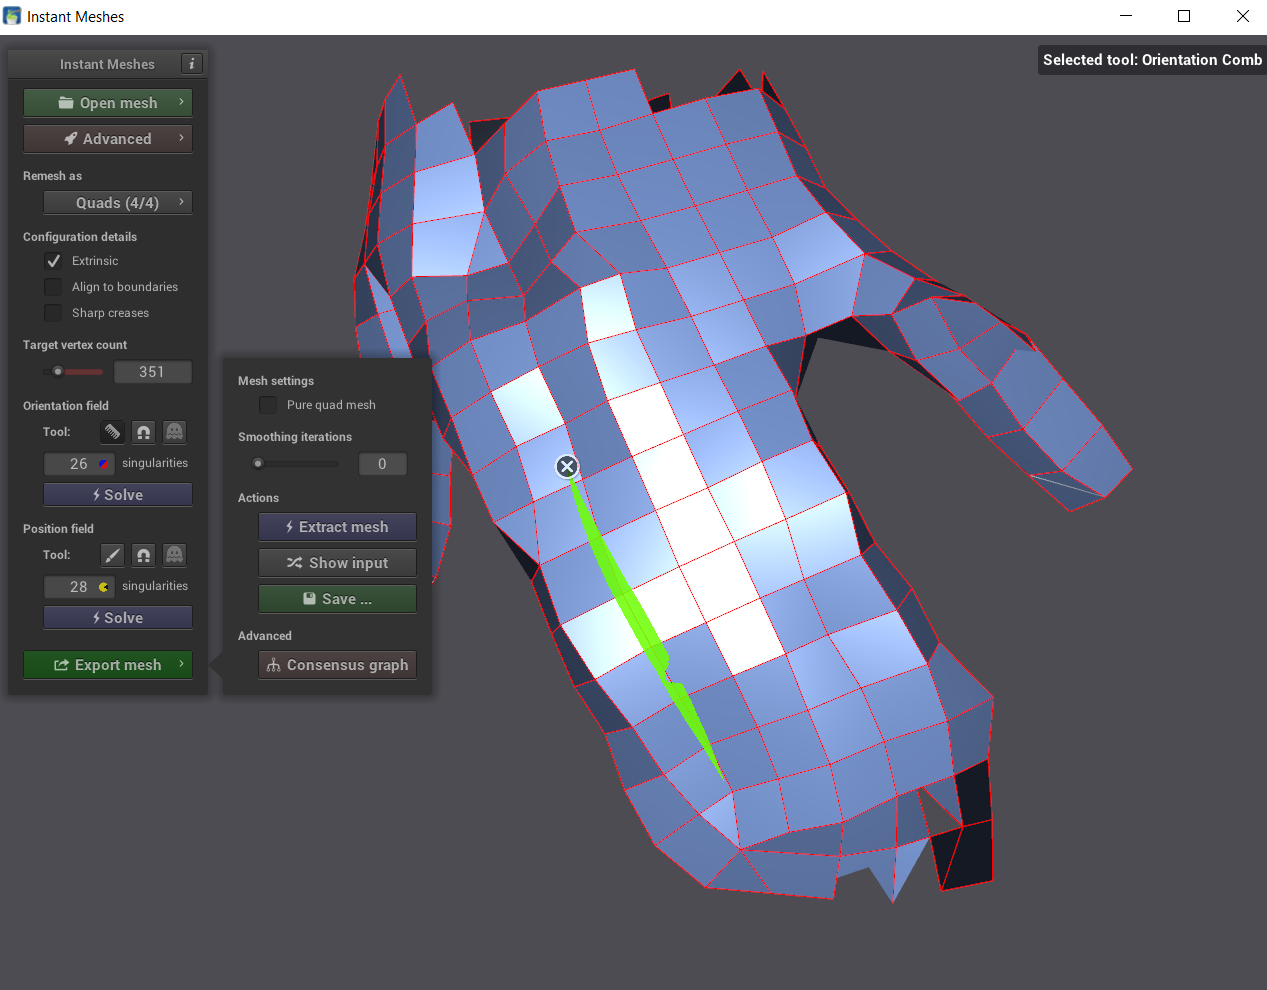
Outputs. Import the output .obj file into Instant Meshes.

Load into Instant Meshes
For more information on how to do auto-retopology, see the following article.
retopology results
Import the Retopologized hand into Blender again.
Importing in obj format
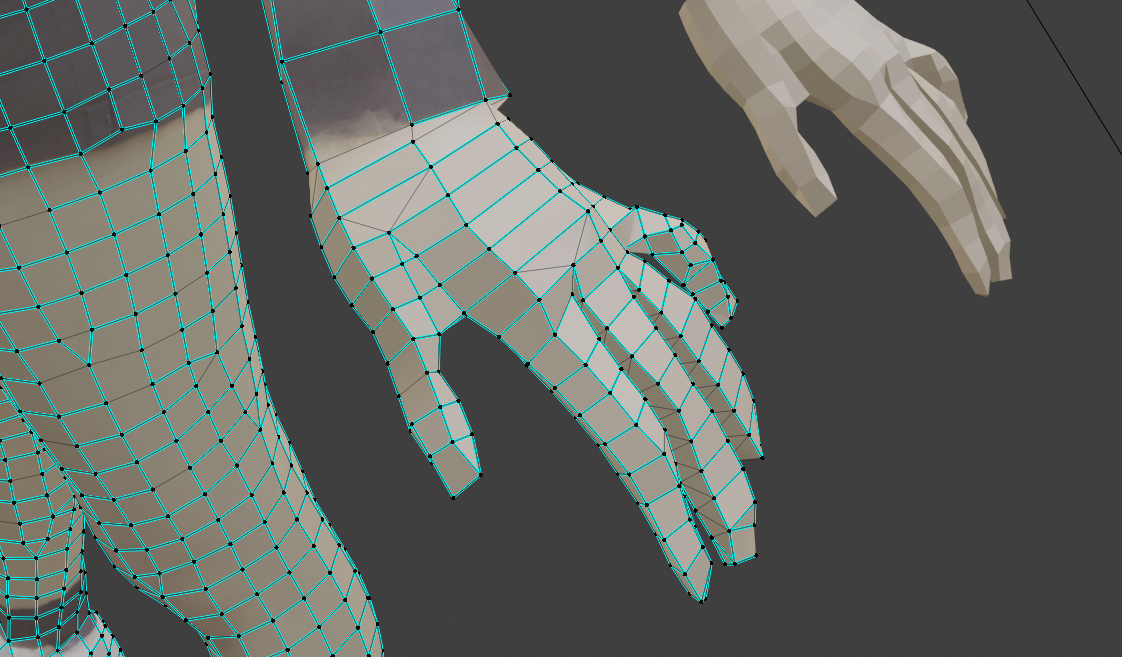
It is loaded in the same position as the pre-retopology model.
Before and after retopology models are shown overlaid
If you move it to check, you can see that the number of polygons has been reduced. For later steps, put it back in its original position once you’ve checked it.
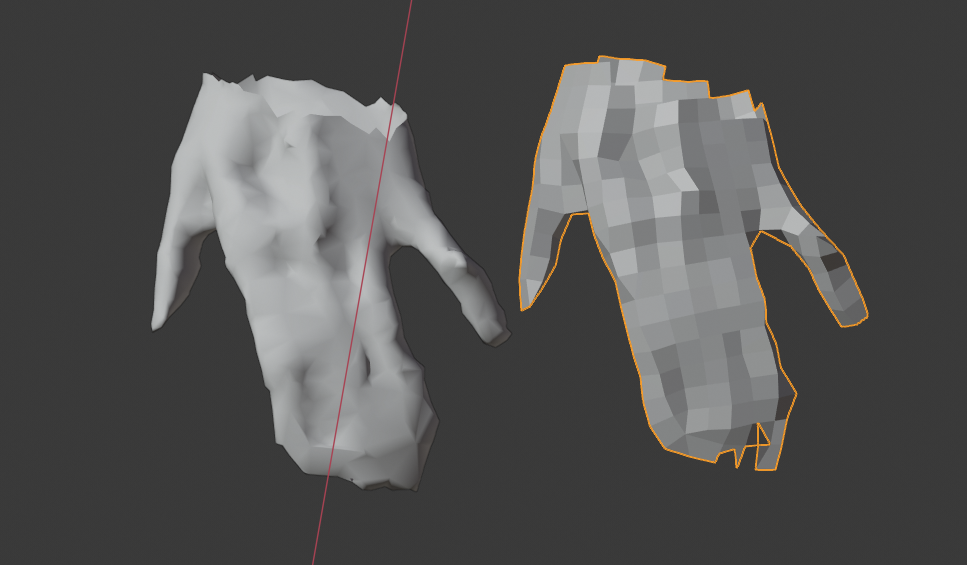
We’ve got a retopology
Bake Texture
The post-retopology model is untextured. In this state, it’s hard to tell where the original finger breaks are, so we bake the texture once.
See the following article on how to do texture baking.
![[Blender 2.81] Baking textures into retopology models](https://styly.cc/wp-content/uploads/2020/03/キャプチャ6-160x160.png)
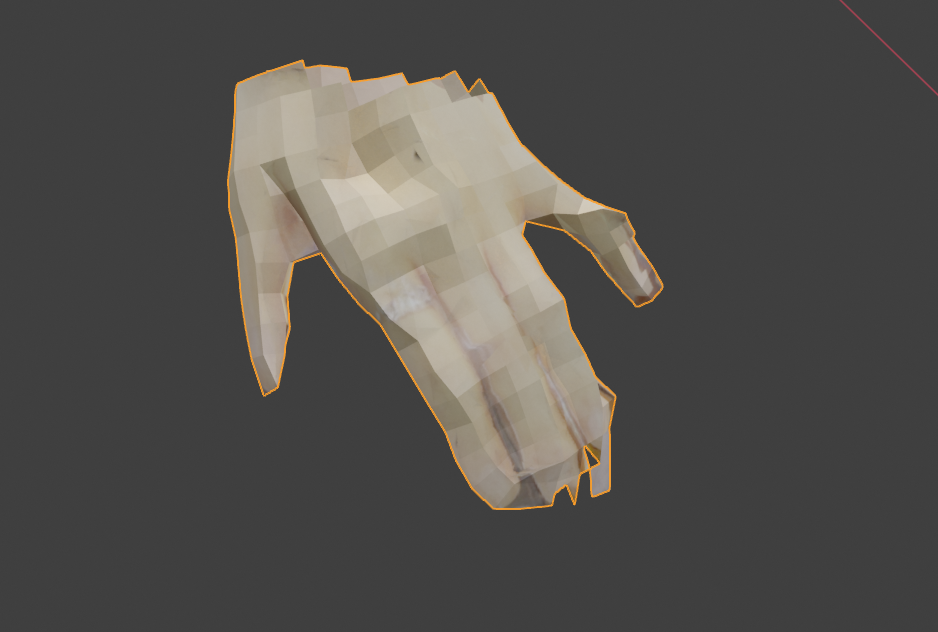
The textures were baked
Separate the fingertip mesh
Finally, the work of separating the mesh from the fingertips begins. Select multiple vertices on the border of the finger.

Select the apex of the border between the index and middle finger
Press the [V] key after selection to tear off the vertex. As you can see below, the border between the index and middle finger has been slashed (reversed direction of view for clarity).
The apex was sliced open
In this state, there are no faces on the side of your finger, so select the vertex you want to attach a face to, then select “Bridge Edge Loops” from “Edge” at the top of the screen to attach a row of faces.

Bridge of edge loops
The sides were flanked
Move the top of the finger and clearly separate the index and middle fingers.

Let the index finger go
Repeat with your other fingers. Note that the boundaries of the mesh and the texture may not be aligned.
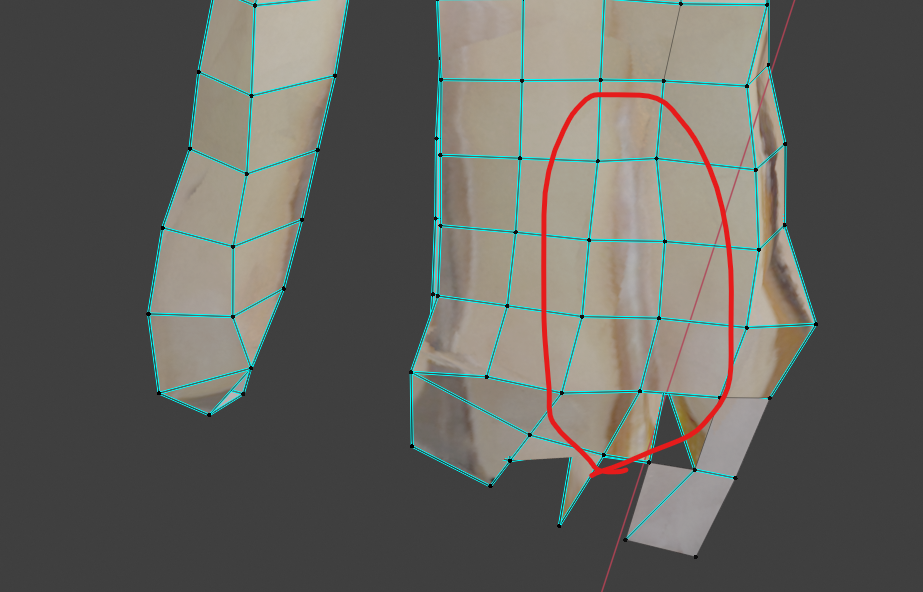
The mesh and texture are out of sync
When you check the texture in this area, it should look like this.
Check from the UV Editing tab
In this case, you can move the texture in the UV editor.
Move vertices to texture borders
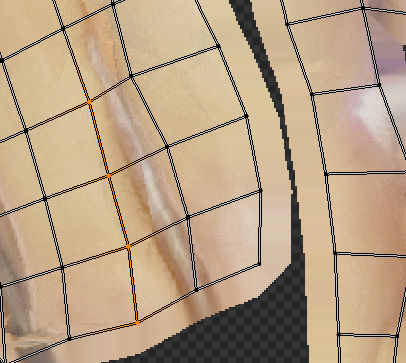
Also, if you create a new mesh, the texture may have a black pattern.
There’s a weird pattern in the texture
This happens when a new mesh is created, and the auto-generated UVs straddle the unbaked area.

The UV straddles the untextured area
There are many ways to settle this, but this time I moved it to a skin tone area.
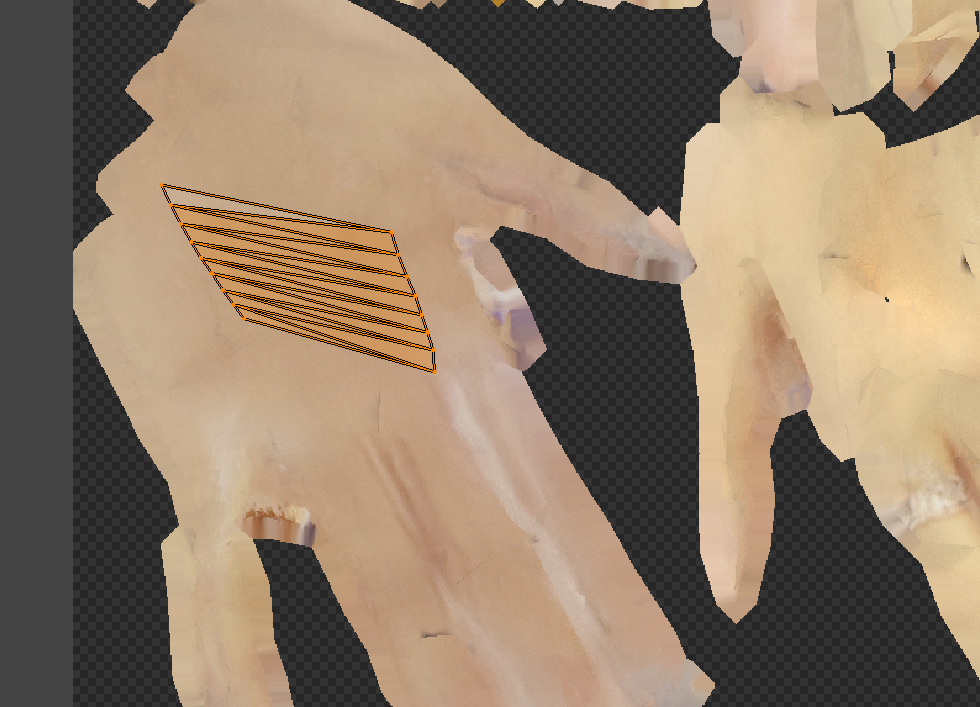
Move the UV
The UV alignment will be corrupted by this method, so we will duplicate and re-bake it later to get the correct UV alignment.
Re-bake when you’re done fixing everything
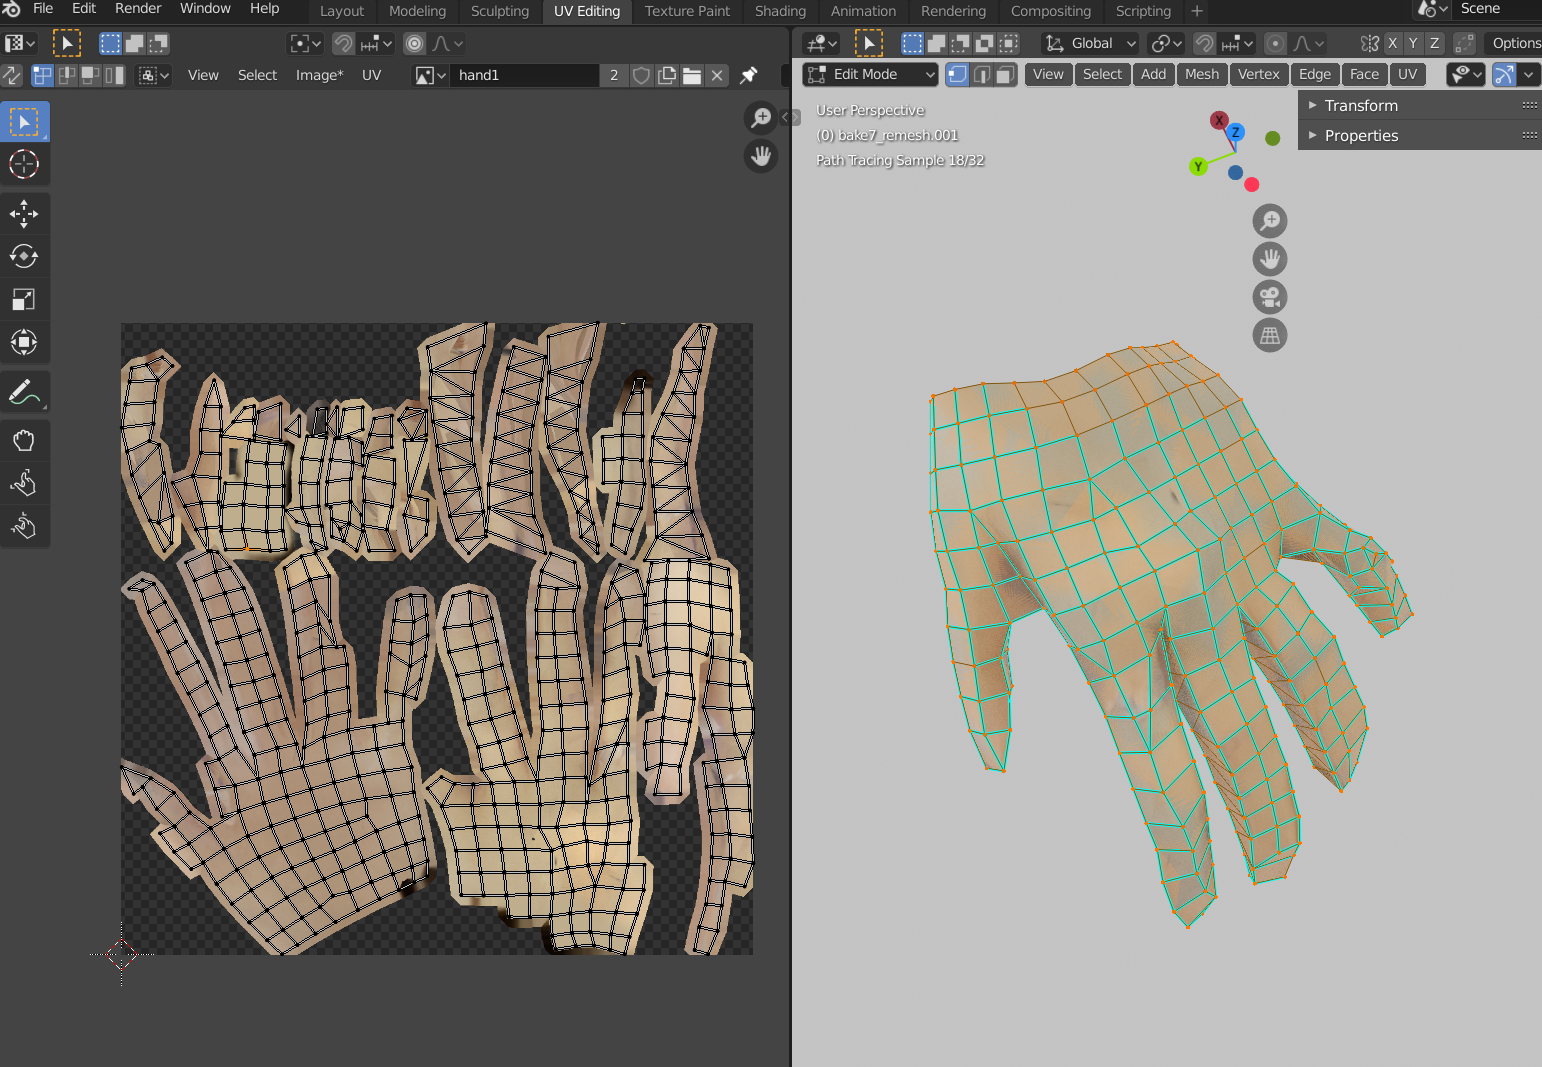
It completes the area leading to the wrist and is completed as follows.
Correction completed!
Bind to the whole body
As I was working on separating the hands from the whole body, I would integrate them into a full body model.
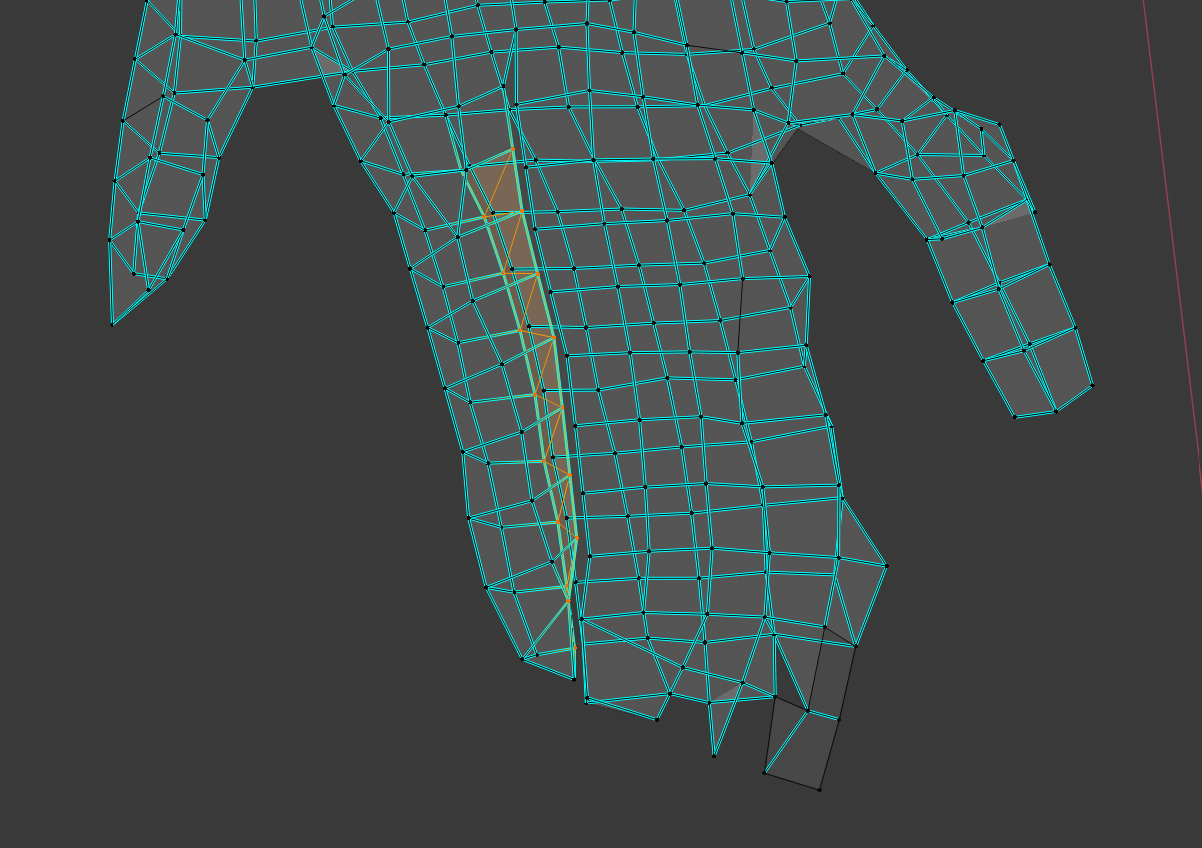
Yet, if the number of vertices in the joint to the hand in the whole body model does not match the number of vertices in the joint to the whole body model of the hand, it is not possible to connect it directly. This time, the number of apexes of the hand model is clearly outnumbered.
The number of vertices in the coupling section does not match
With both the full body model and the hand model selected, press [Ctrl]+[J] to merge the objects. This is to make the comparison of the number of vertices in the joint easier.

Dissolve the unwanted vertices
To reduce the number of vertices, select the edge you want to reduce, press the [X] key, and select Dissolve Edges. Then the face is not deleted, only the edges are deleted.
Repeat this, reducing the number of vertices so that the wrists are connected.
When the number of vertices is equal, select one vertex on the whole-body side and one vertex on the hand side, then press [Alt]+[M] to join the vertices and connect them as follows.
I can join my hands
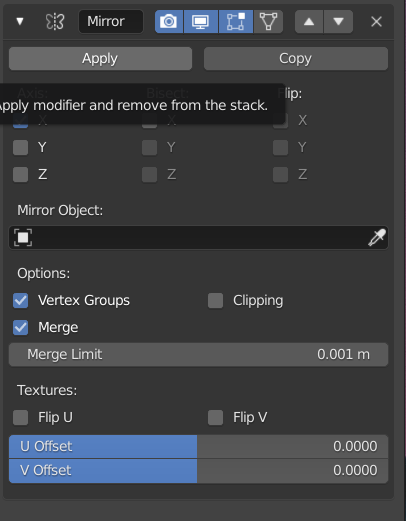
Mirror modifier
The right hand will be made in the same way. Reverse the left hand with a mirror modifier. The photogrammetric model is not symmetrical on the left and right, so it needs to be adjusted here as well.
Apply Mirror Modifier
Connect the tops of the hands in the same steps as in the left hand. The left hand requires less work than the left hand because it is done with a somewhat reduced number of vertices.
Connect the vertices
We were able to hold hands without feeling uncomfortable.
Complete!