Let’s understand what virtual live performance is.
Virtual live performance is a live performance in a virtual space.
Live performances can be divided into two types: real-time and pre-created live performances, which are usually composed of three elements: performers, music, and stage direction.
There are many ways to create a virtual live performance, such as using shaders, animation, 3D objects, particles, etc. Rather than using only one of the above methods, we will use all of them as needed and as the situation demands.
Among these methods, we will show you two methods for creating effects using the particle system, which are relatively easy to handle even for Unity beginners.
Changing the Size of Particles
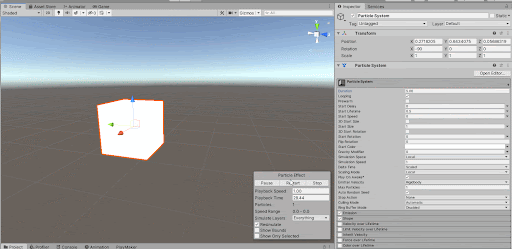
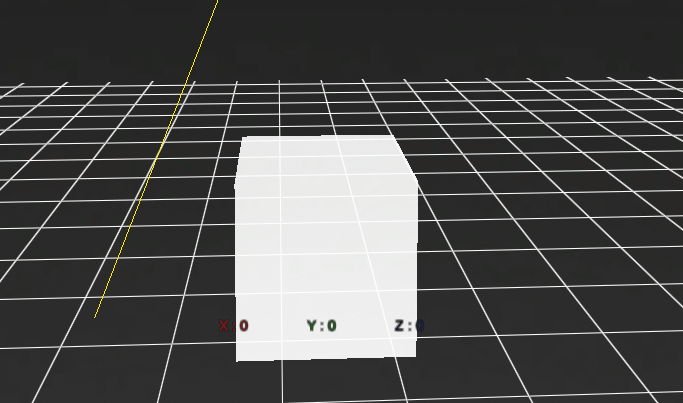
First, let’s create a particle system by right-clicking in the Hierarchy window and selecting Effects > Particle System.
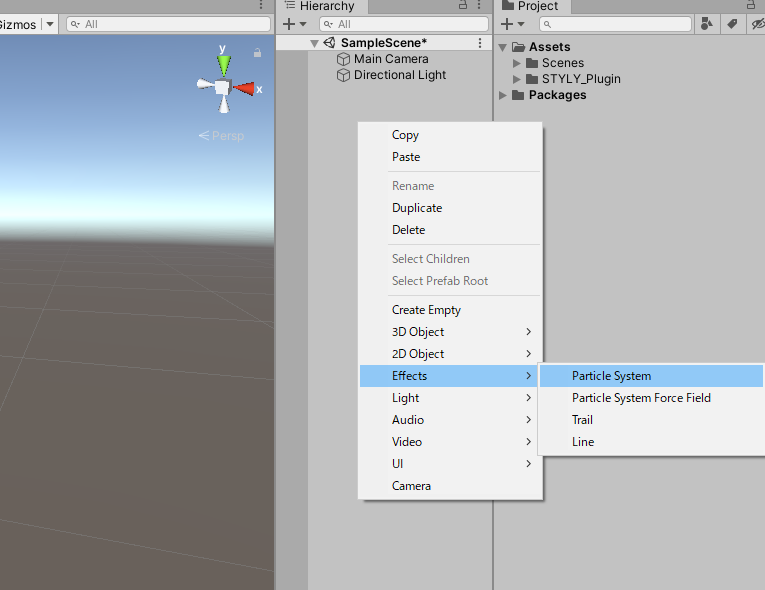
Change the settings of the generated particle system as follows
- Start Speed: 0
- Max Particles: 1
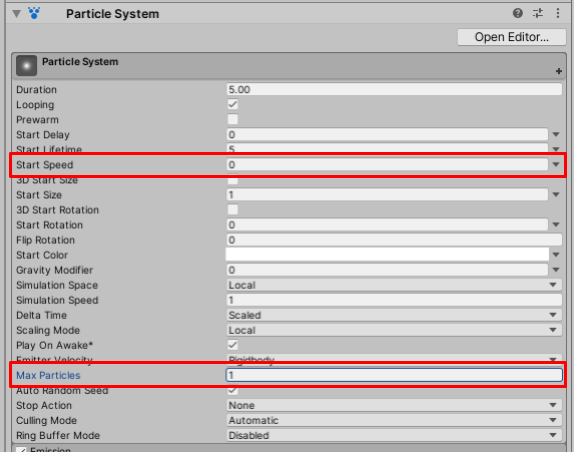
Shape:Mesh (*Not specified)

Renderer
Render Mode:Mesh (select default Cube)
Render Aligment:Local
Next, let’s assign a material to Particle.
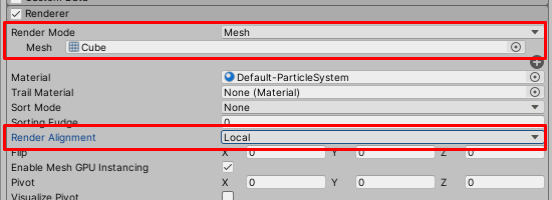
Right-click on the project window and select Create > Folder.
Name the folder Materials.
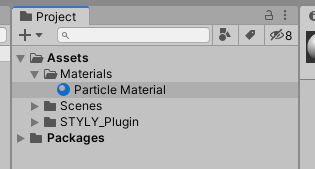
Right-click on the Material folder and select Create > Material.
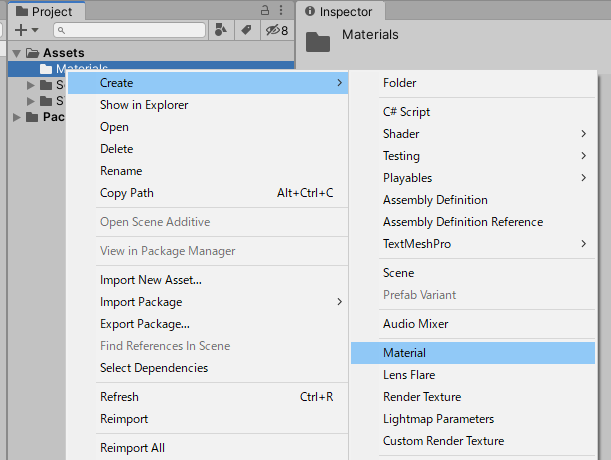
Set the Material name to Particle Material.
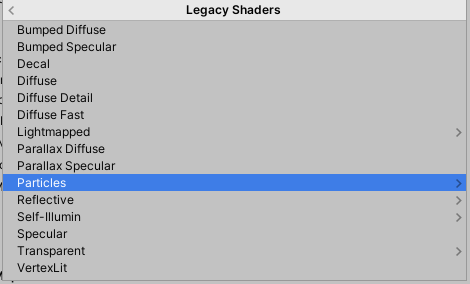
Change the Shader of Particle Material to Legacy Shaders > Particles > Additive.


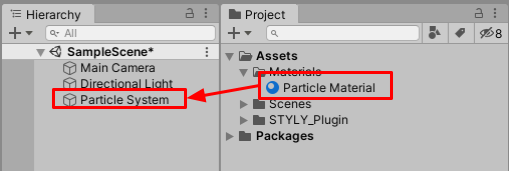
Drag and drop Particle Material from the Project window to Particle Syetem in the Hierarchy window.
Next, check the “size over life time” checkbox in the inspector of the Particle System.

Then, check the “size over life time” checkbox in the inspector of the Particle System.
Next, prepare the music (hereinafter referred to as “audio file”) to be used.
In this case, we will use a song with a BPM of 120.
In this case, we will use the song Star Light Step.
Check the terms of use.
Terms of Use
https://dova-s.jp/_contents/agreement/
Download page
https://dova-s.jp/bgm/play13820.html
After downloading the sound file, save it in any folder.
If you do not know the BPM of the audiophile you are using, download and use BPM Analyzer, an automatic BPM software, to measure the BPM.
Windows version Download
Mac version Download
After measuring the BPM, import the music into the project.
In the project window, create a folder named Music, and drag and drop audio files from a local folder into the Music folder.

The file name is a sample.
Once imported, right-click on the Hierarchy window and select Audio > Audio Source.
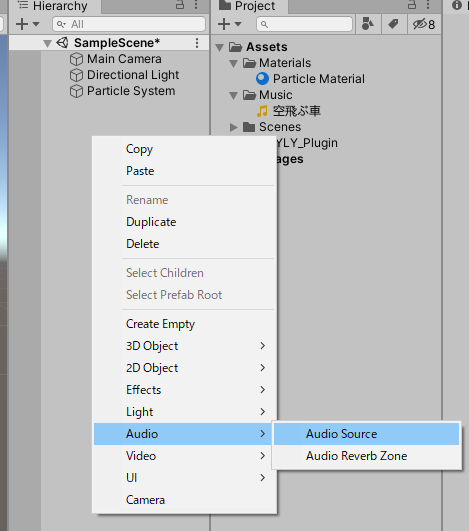
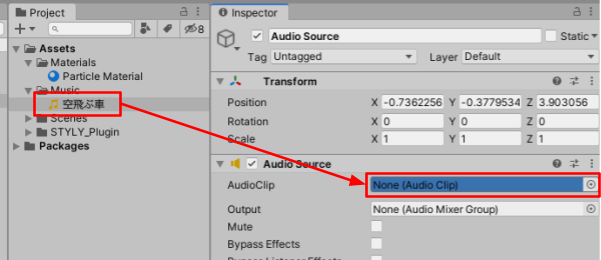
Drag and drop the music you just imported into the Audio Source inspector window AudioClip.
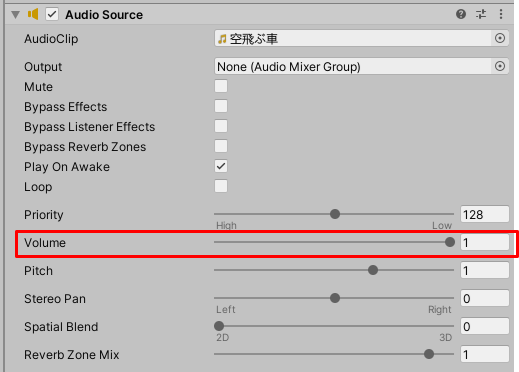
The Audio Source has many settings, but for the first time, adjust only the volume.
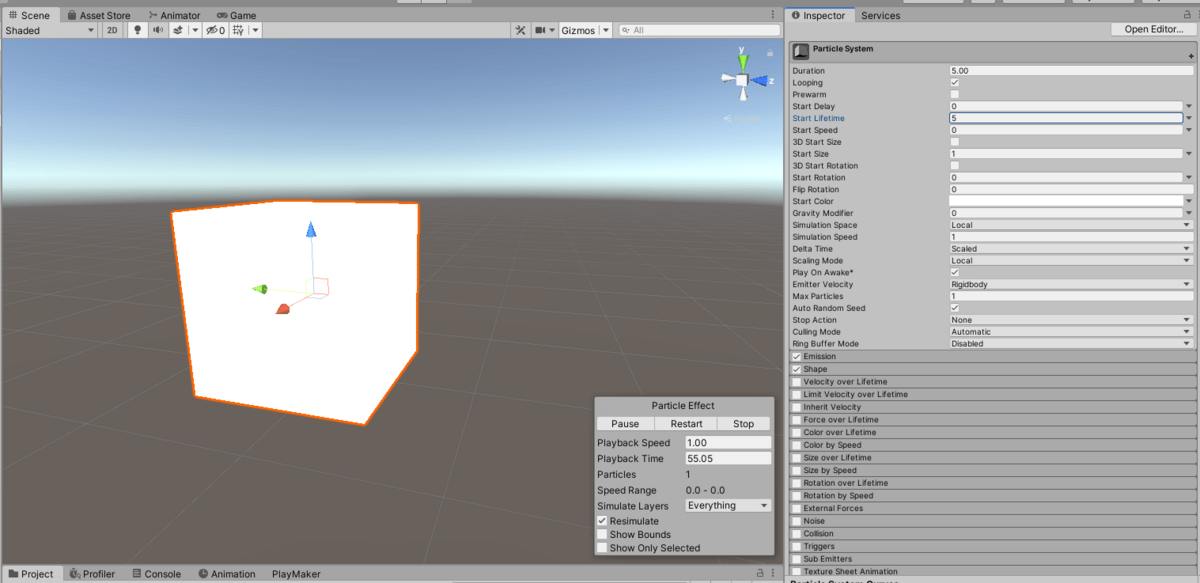
Next, set the particle system to appear to be synchronized with the BPM of the song (* This is only an implementation that “appears” to be synchronized with the BPM).
In order to match the BPM of the song to the particles, we will use the Start LifeTime adjustment method.
For example, if the BPM is 120, and the particle’s LifeTime is 0.5, it will be created and extinguished twice per second. 120 loops (2 x 60 seconds) in a total of 1 minute will give the illusion of matching the BPM of the song. 140 BPM would be 60 ÷ 140 = 0.4285…so the LifeTime would be 0.4285. However, this is only a pseudo-matching and will become misaligned as time goes on, but it is the easiest way to match the song and the performance.
Calculation Formula for Start Lifetime
Start Lifetime = 60 / BPM
Enter the calculated value in the “Start Lifetime” field.
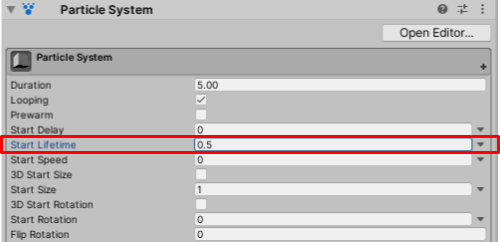
The following is a particle system adjusted to 120 BPM (Lifetime 0.5)
Changing the Color
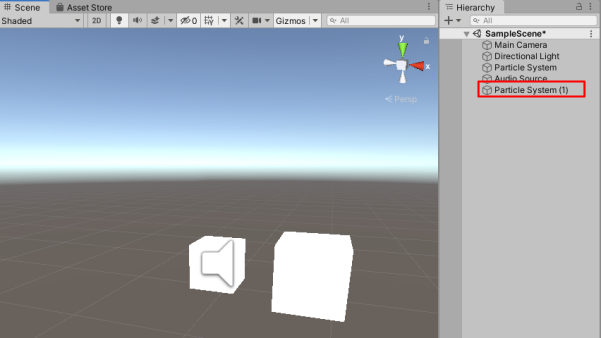
Copy the Particle System used in the method for changing the size.
Use the copied Particle System(1).
Uncheck “Size over Lifetime” once in order to adjust the BPM by changing the color.
Then check “Color over Lifetime”.

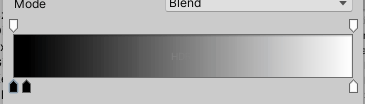
Click on the Color bar of Color over Lifetime to display the Color Window, and select the clip for the alpha adjustment (upper right) → set the value of 255 to 0.

Points to note when matching BPM with particles
The main point to note is that this is not a completely synchronized performance, but rather a performance that “appears” to be synchronized, and therefore BPM will always be off by a few BPM as time goes by.
Summary of particles used in the virtual live scene
The following three types of particles will be used in this project.
- Particles that change size
- Blinking particles
- Particles that change color
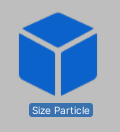
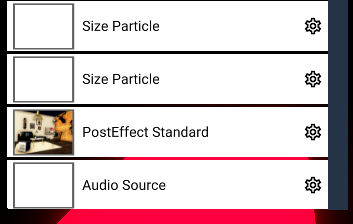
For particles that change size, use the Particle System created in the “Changing the Size of Particles” section, rename it to Size Particle, and prefabricate it.
To create a blinking particle, use the Particle System (1) created in the “How to change the color of particles” section, rename it to “Blink Particle” and prefabricate it.
Create a particle that changes color.
Color-changing particles can be created by changing the Color over Lifetime setting.
Click on the Color bar of Color over Lifetime to display the Color Window.
Click on the color bar labeled New to create a new color bar.
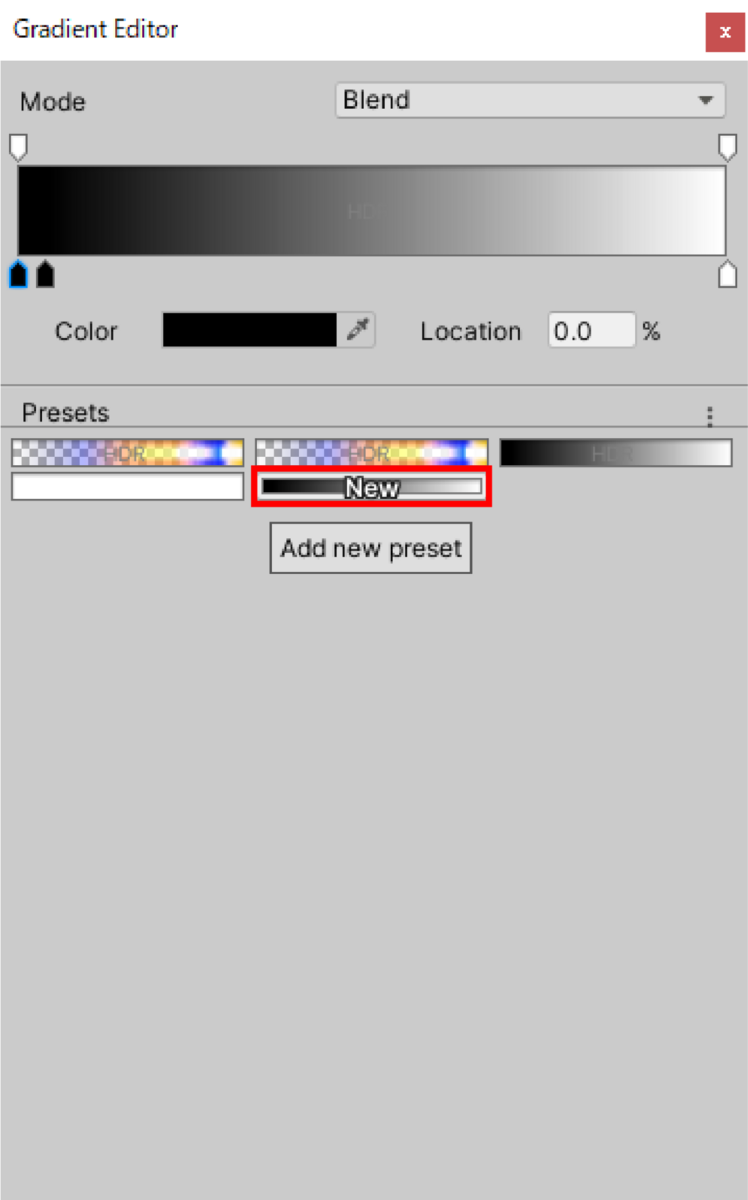
As the color bar appears, change the color freely.
When completed, name it Color Particle and prefabricate it.
Create a virtual live scene STYLY
Upload the actual particles and audio source as a prefab to STYLY.
Select My uploads > Unity and place the three prefabs uploaded from Unity into your scene.
Once they are placed in the scene, the particles will automatically run.
Feel free to place particles as you wish.

Finally, place the audio source you uploaded as a prefab into the scene.
As before, select “Audio Source” from “My upload > Music” in the asset window and place it in the scene.
This completes the creation of the scene.