In
this third article in the series explaining how to create XR Live, a live music performance on XR using particles for beginners, we will introduce how to create and manage materials for lyric expression, which often appears in particle live performances.
Preparing Lyric Data
There are two ways to create lyric expression: using 2D lyrics or 3D lyrics. Since we are creating the performance for AR, we will assume that we will use 3D text, which looks good on small screens.
Therefore, we will use Blender to create the 3D lyric data for the live performance.
Text of lyrics
Before
working with Blender, first write out the lyrics you will need in your text editor, if you don’t have one, you can use Google Docs or Notepad.
Create lyric data in
Blender
Since we want to create a simple lyric expression, we will use Blender’s text function to create lyric data for each phrase for now.
Select text generation
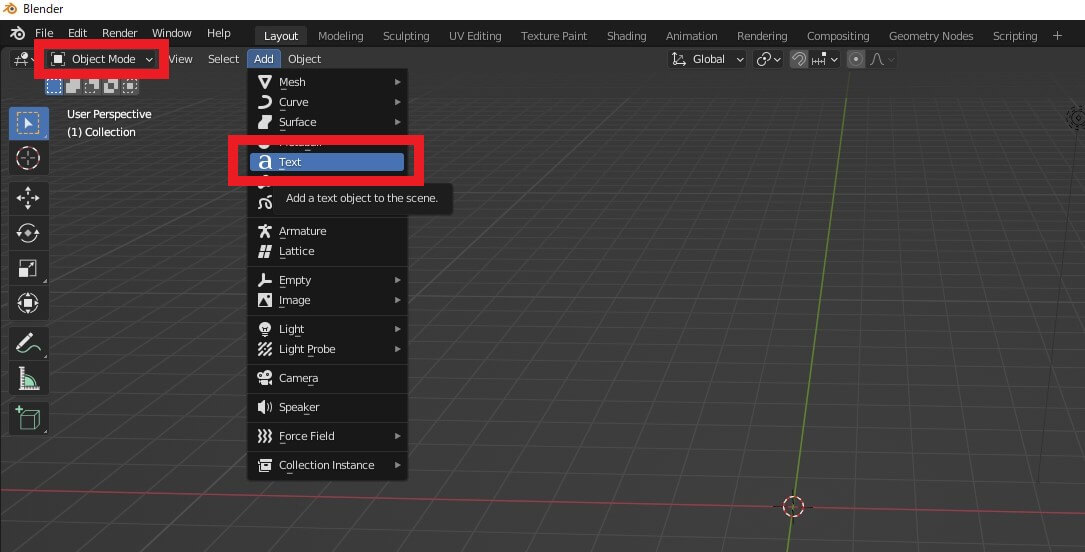
Use Blender’s text generation feature.
Make sure you are in Object mode and select “text” from Add.
Text will be generated
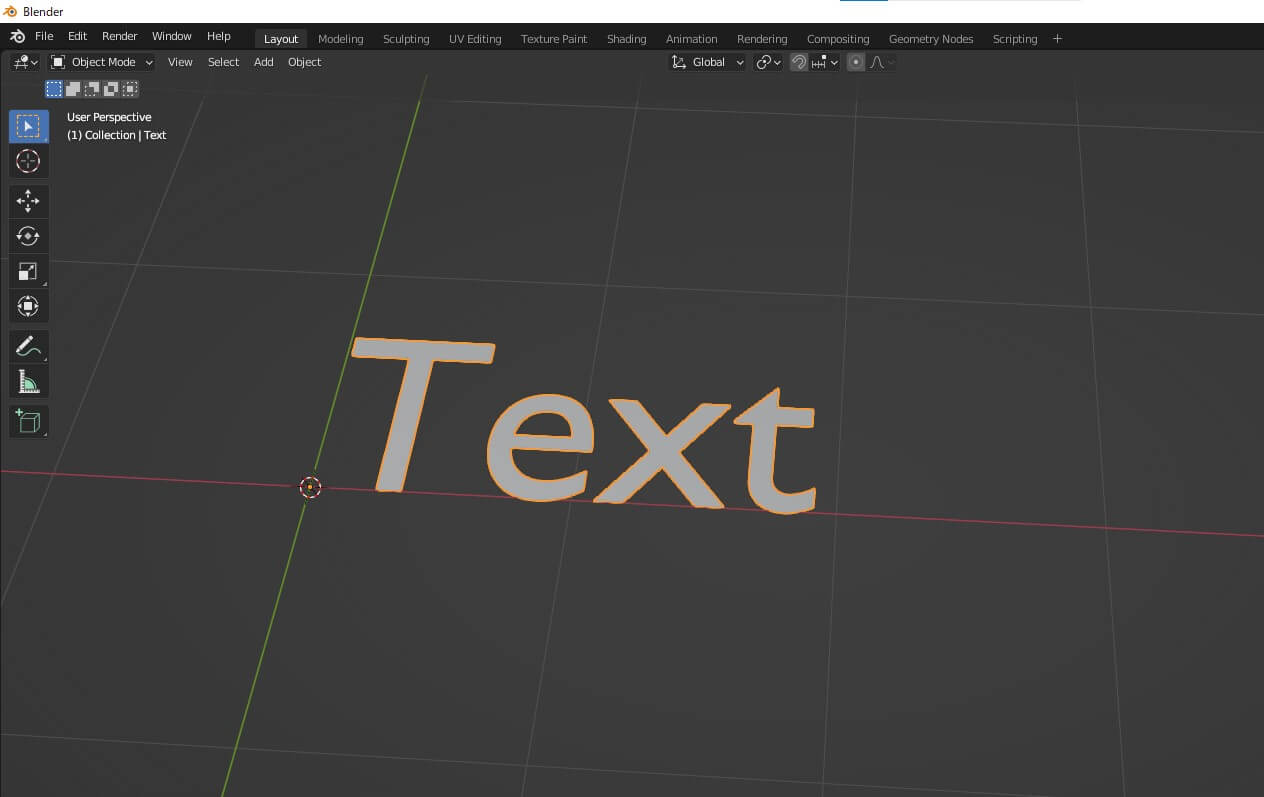
The
word “Text” will appear.
However, as it is, Japanese input is not possible, so set the font.
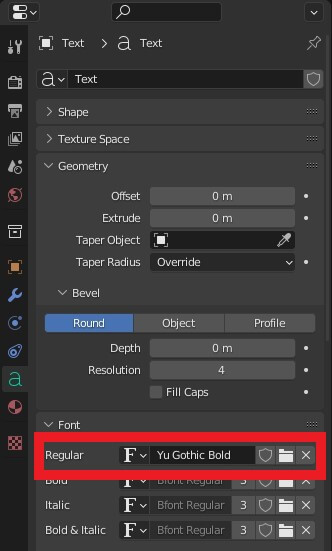
Change the font
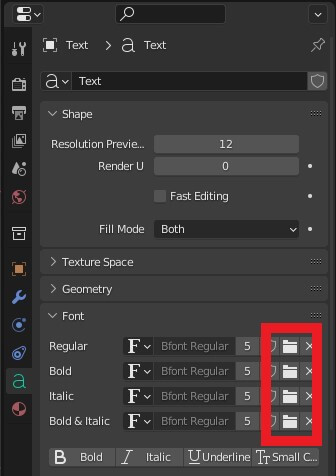
Open the Font item in the Object menu to set the font for each font style, such as Regular, Bold, etc. The default font does not support Japanese, so set a font that does.
Click on the folder icon in the red box.
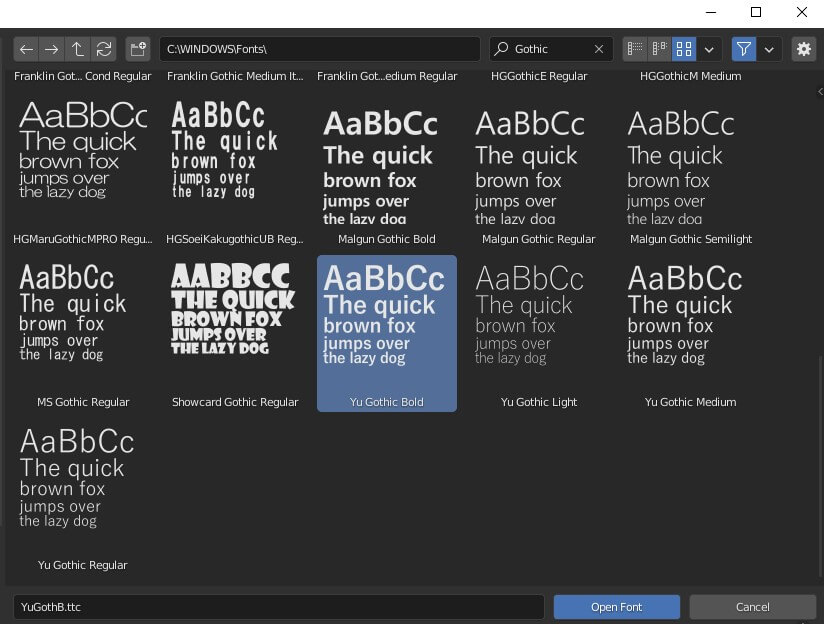
Select a font
A
folder containing fonts will automatically open, choose any font that supports Japanese
Select a font
In this case, we chose Yuu Gothic
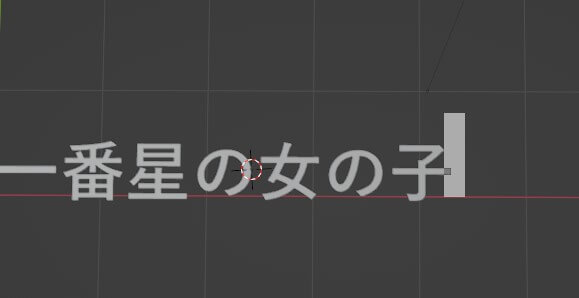
You will be
able to
enter Japanese text
After changing to Edit mode, copy and paste the lyrics you wrote in your text editor to create solid Japanese text
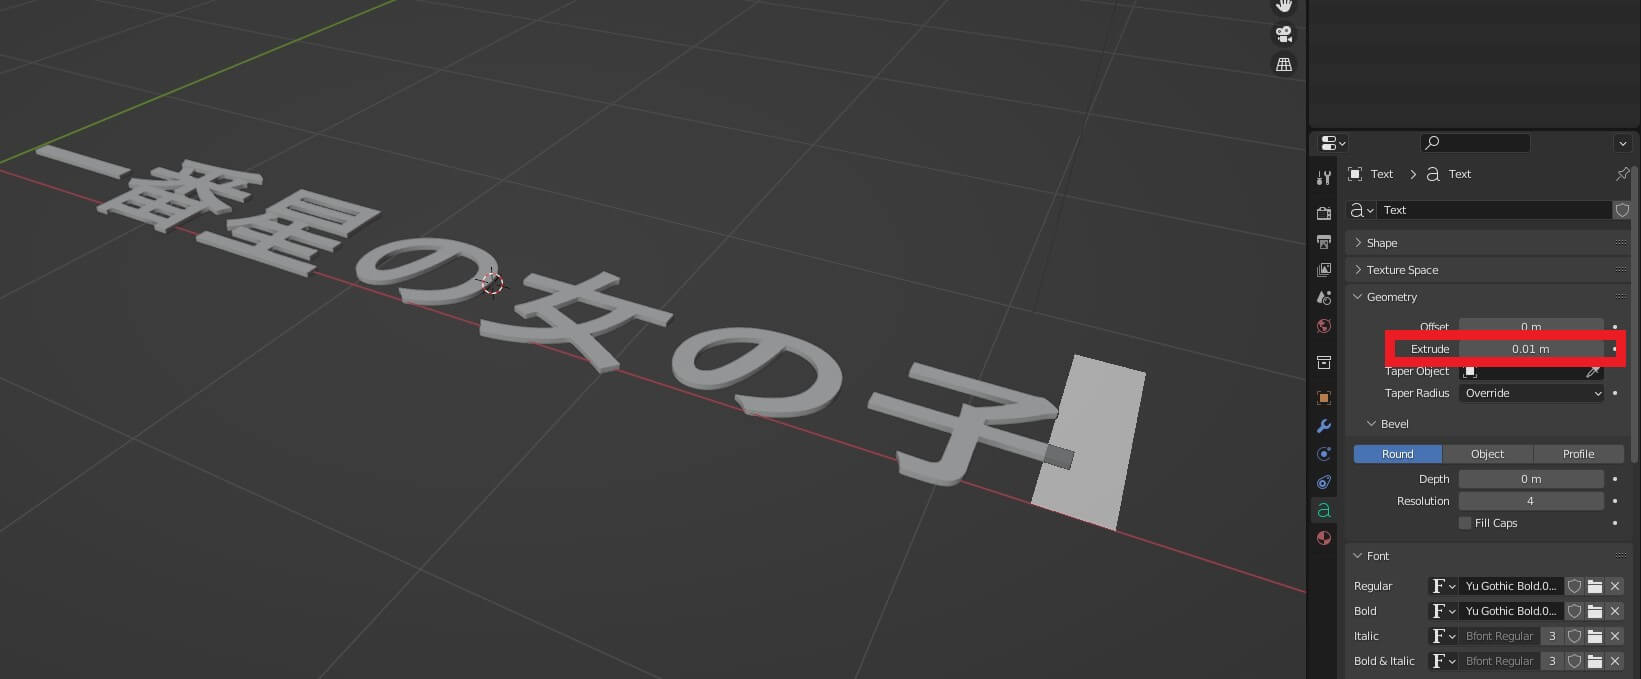
Add thickness
Make it thick
and 3D.
You can make it thicker by increasing the value of “Extrude” in the Geometry item of the Object menu. make it as thick as you like

Make it a mesh
Once in Object mode again, select Object > Convert > Mesh and make the 3D text a mesh
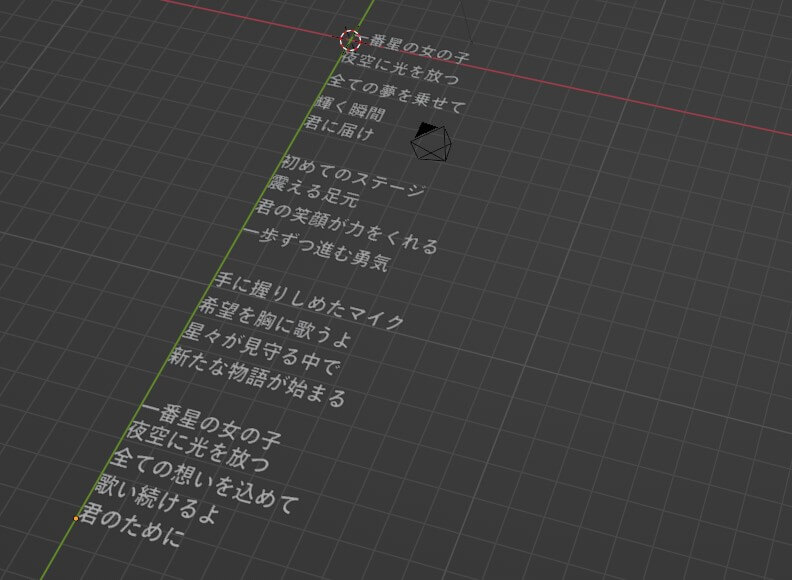
Make all lyrics into 3D text
Repeat this step for all lyrics.
At this point, it is recommended to group the lyrics by section for easier viewing.
Exporting to FBX
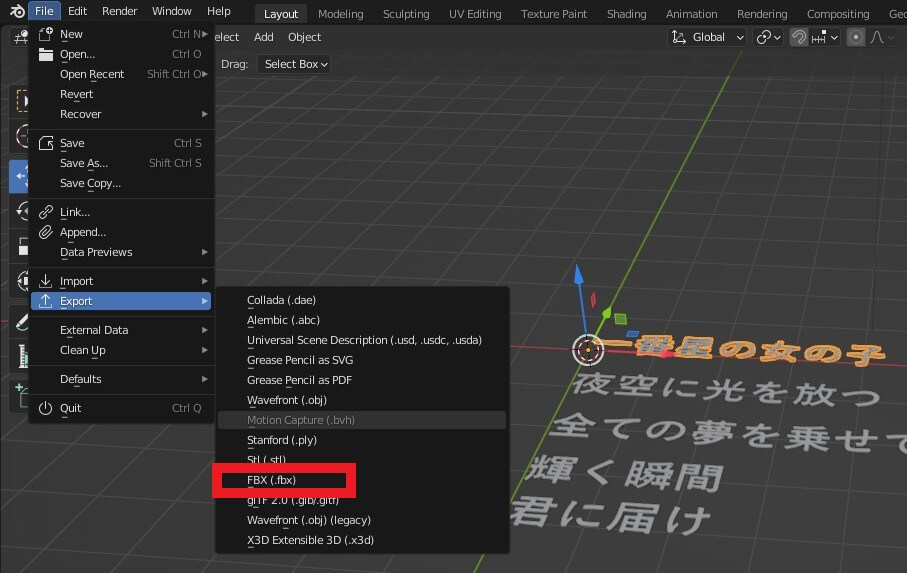
To
export 3D text, select File > Export > FBX with the lyric you want to export selected and open the Export to FBX format menu
Export settings
Here is where you enter the
export menu.
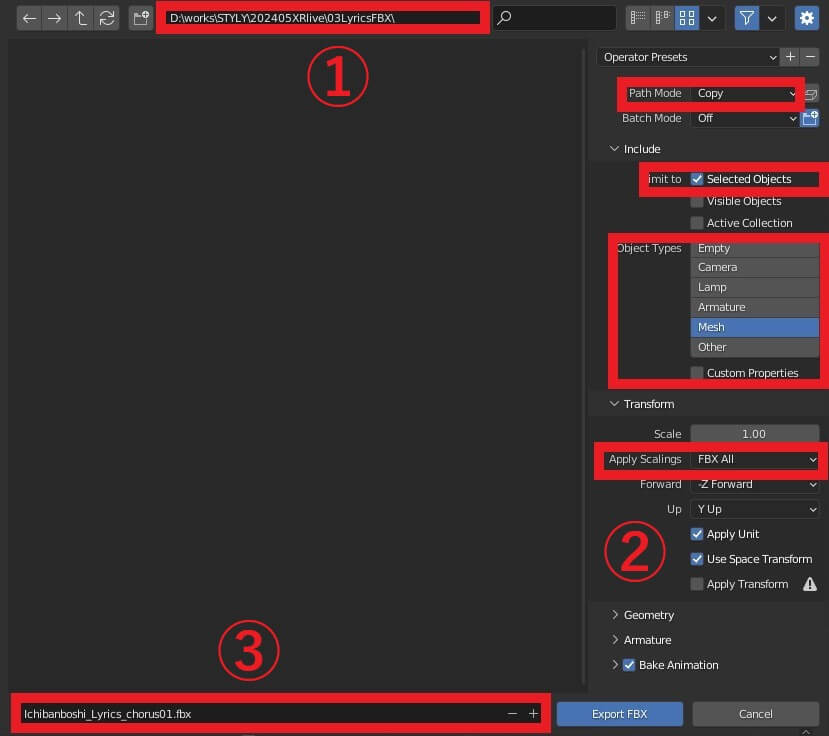
In section (1), select the folder to which you want to export. we recommend that you create a folder that will contain only lyric FBXs for easier management. you can create it at this point
.
Export Settings
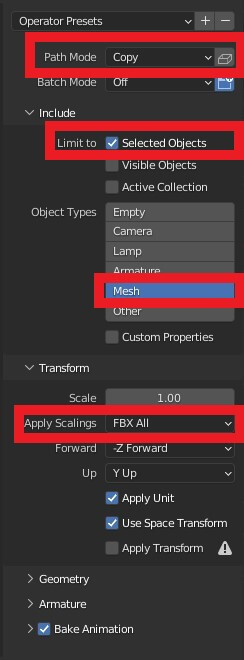
Section (2) is about the export settings. set the following settings
:
Path Mode: select Copy
Limit to: check only Selected Object
Object type: select only Mesh
Apply Scalings: select FBX All
Section
(3)
is for entering a file name. it is recommended to use a manageable name.
Once you have entered the file name, click Export FBX and you are done.
Using FBX as a particle mesh
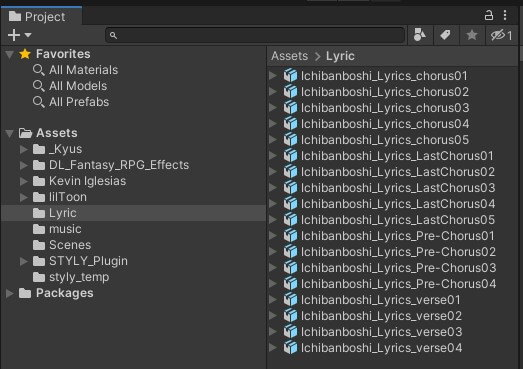
Import the FBXs
Import all the FBXs you created into the Project folder.
Create a new folder called “Lyric” and put them there for easy management.
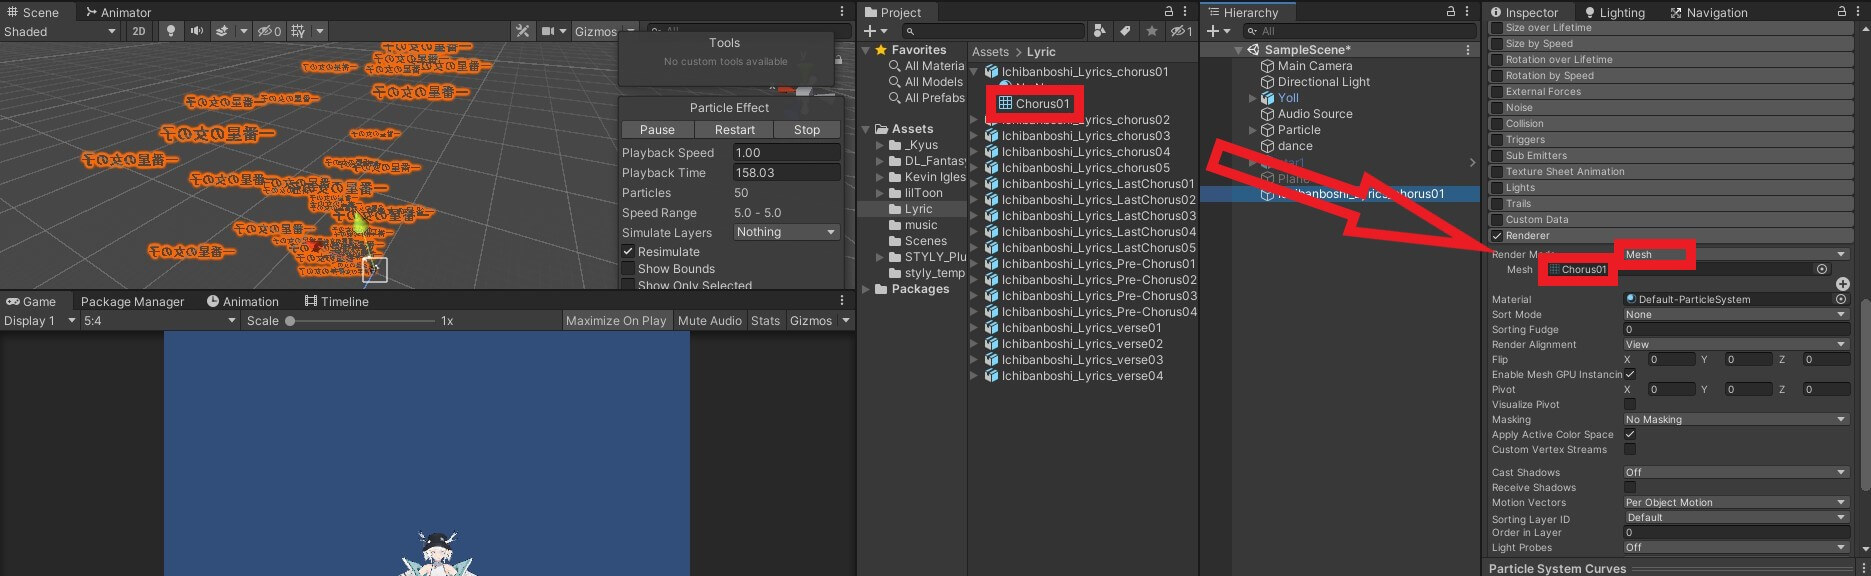
Set a mesh for the particle
Set an FBX mesh for the particle.
Create
a particle in the Hierarchy
, set the Renderer mode to Mesh, and attach the FBX mesh data, so the particle becomes a Lyric created in Blender.
It is easy to understand if you name the particle as well as FBX.
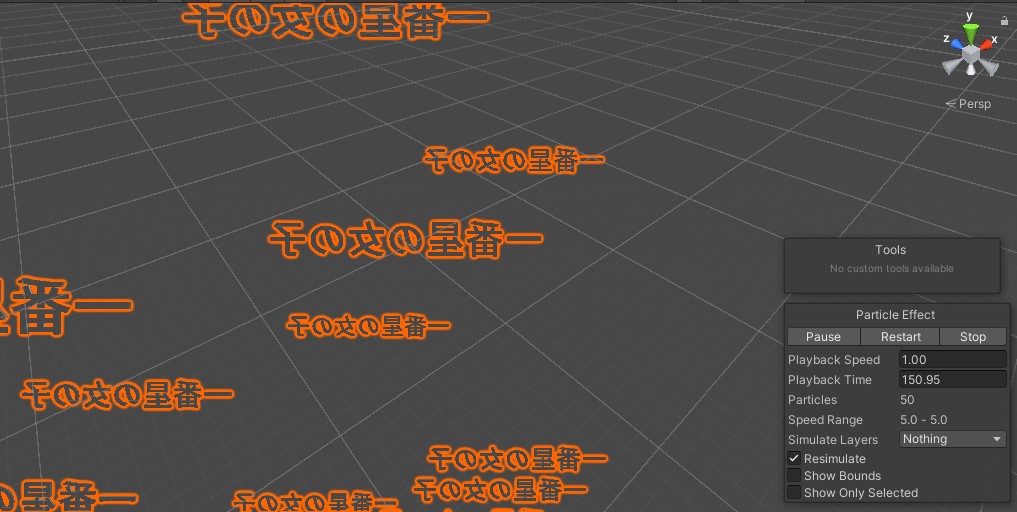
Mesh is inverted
If the
mesh is inverted, correct it from inspector
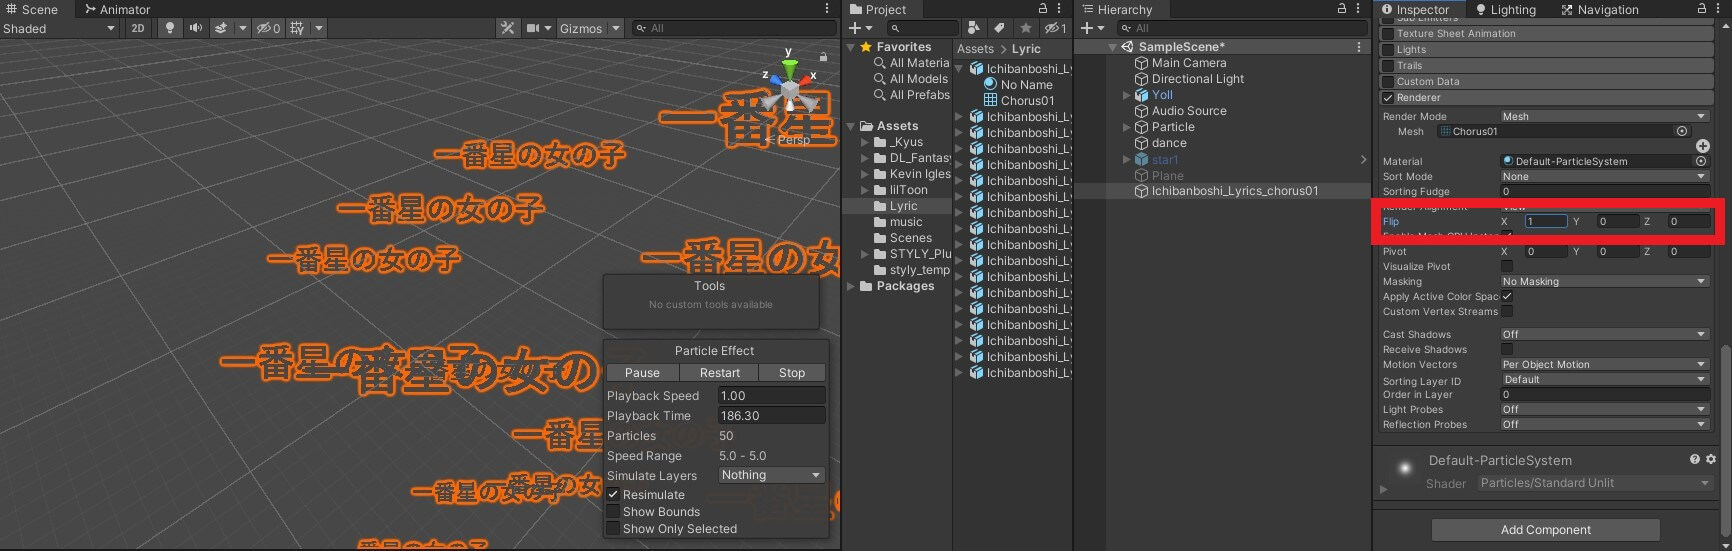
Fix the inversion
From Flip, you can mirror it along the axes; typing 1 for the X axis got it right
Adjust particle settings
As
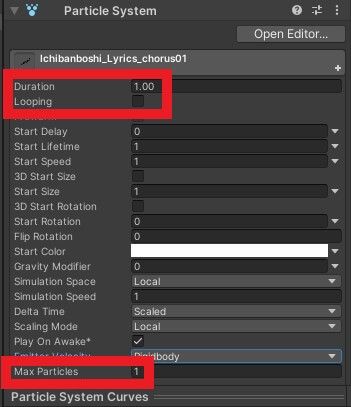
it is now, the lyric is being emitted infinitely, so to set it to appear only once for now, change the ParticleSystem item as follows:
Duration: 1.00
Looping: uncheck
MaxParticles: 1
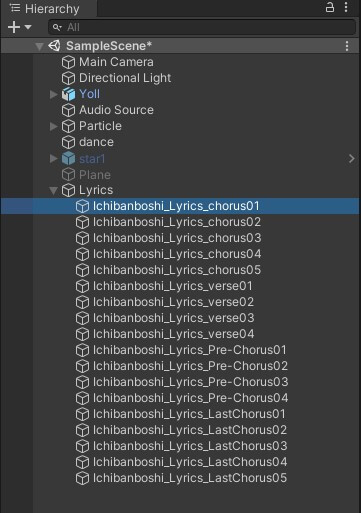
Duplicate the particles
Duplicate the particles from earlier and set the mesh with their names as file names in order, so they are easier to see at a glance: name the empty GameObject Lyrics and place it in its child relationship.
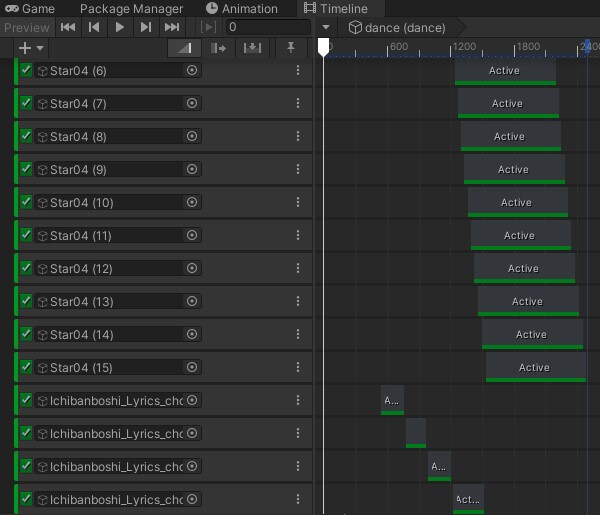
Arrange them in the timeline
Once all the particles have their meshes set, arrange them in the timeline that we have been using since the first part
.
If all the particles are displayed at the timing that we have targeted, we are OK at this stage
. The
next article will be the last; next time I will show you how to create the lyric part and the overall effect and examples
.