I explain how to upload 2D models as 3D models to STYLY by ‘SELVA3D’, an online tool to convert a 2D model such as image, logo, into a 3D model.
Create SELVA account
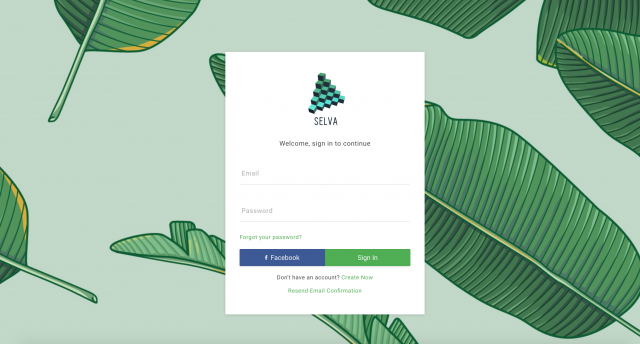
Access SELVA(https://www.selva3d.com/).
Firstly, create your SELVA account.
User registration for SELVA #1
Click ‘Create New’ below the ‘Sign in’ button.
User registration for SELVA #2
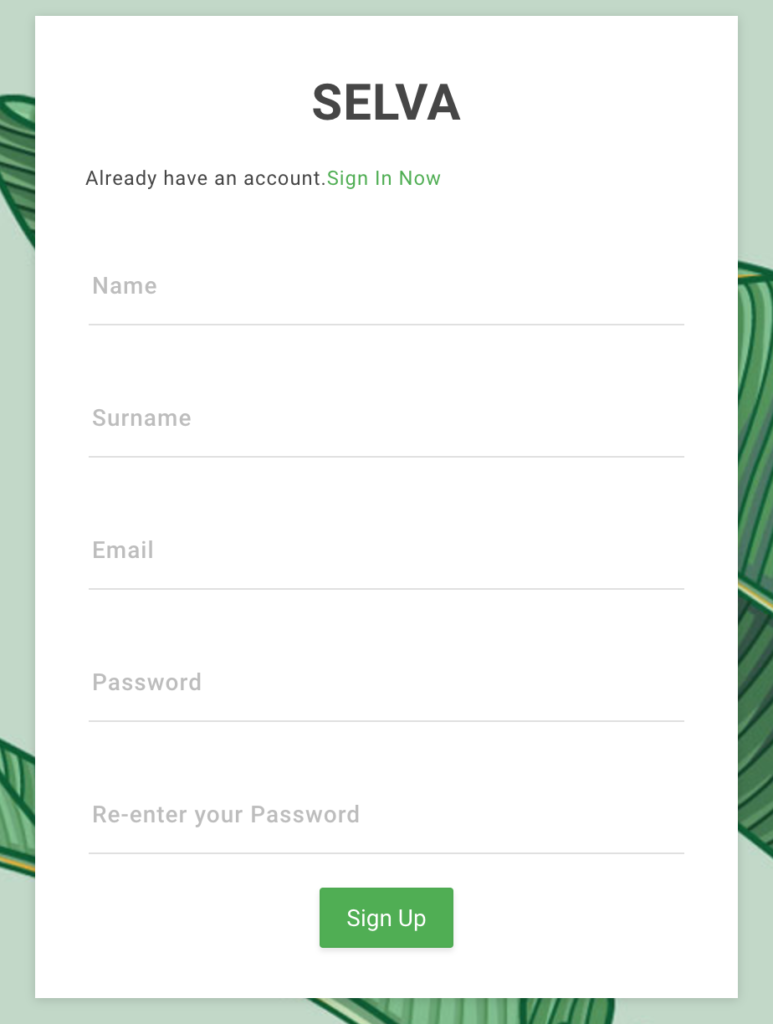
・ Name
・ Surname
・ Email
・ Password ※enter twice
After filling the fields above, click ‘Sign Up’. It sends an e-mail with the URL to the address you registered. Confirm it.
When the registration is completed, log in to SELVA.
Upload image file to SELVA
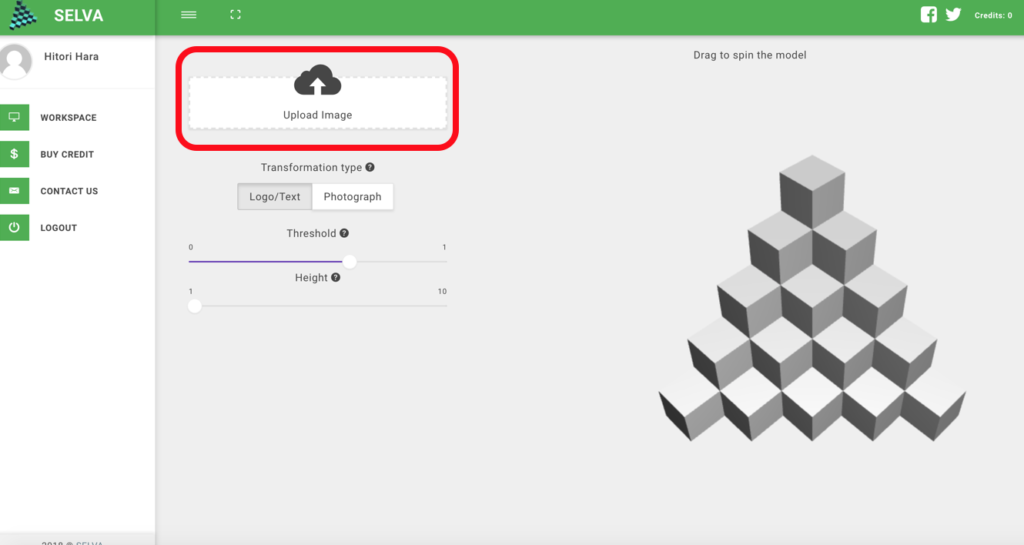
Click ‘Upload Image’ or drag the file you want to convert into 3D, onto the ‘Upload images’ field.
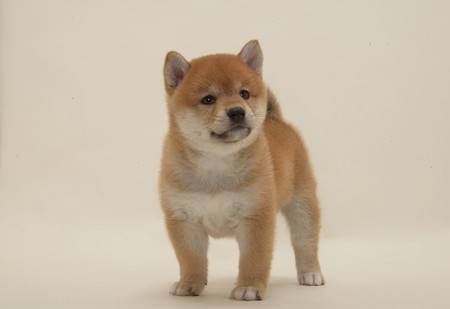
We upload the logo of STYLY this time.

STYLY’s logo
It takes a while to upload.
Upload an image to SELVA #1
From the following types, choose the one suitable for the file you uploaded.
・ Logo/Text
・ Photograph
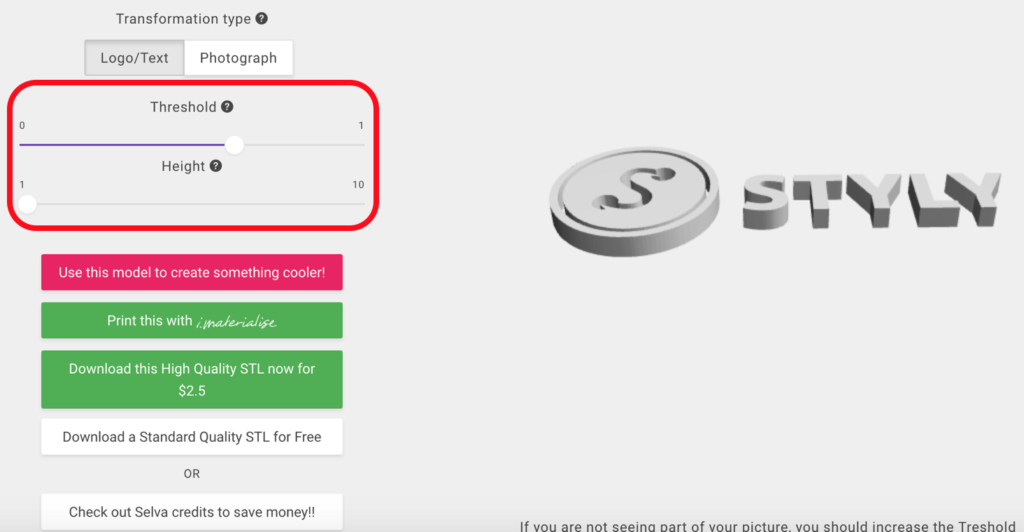
Since we uploaded a logo this time, select ‘Logo/text’.
Upload an image to SELVA #2
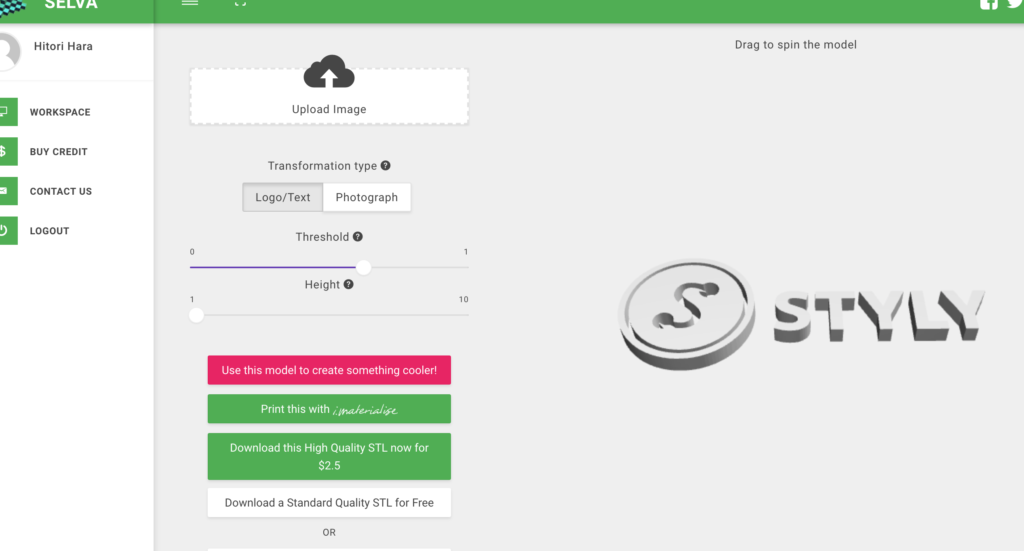
The 2D logo has been converted into a 3D model.
Modify 3D model(Logo/text)
We modify the 3D model generated.
Skip this section if you are already satisfied with the quality of the model.
Modify the 3D-model of a logo
・ Threshold: it changes the threshold of brightness. Usually lighter colours are associated with white and darker colours with black.
・ Height: it changes the thickness of the model.
This time, set Threshold to 0.8, and Height to 5.
Modify 3D model (Photograph)
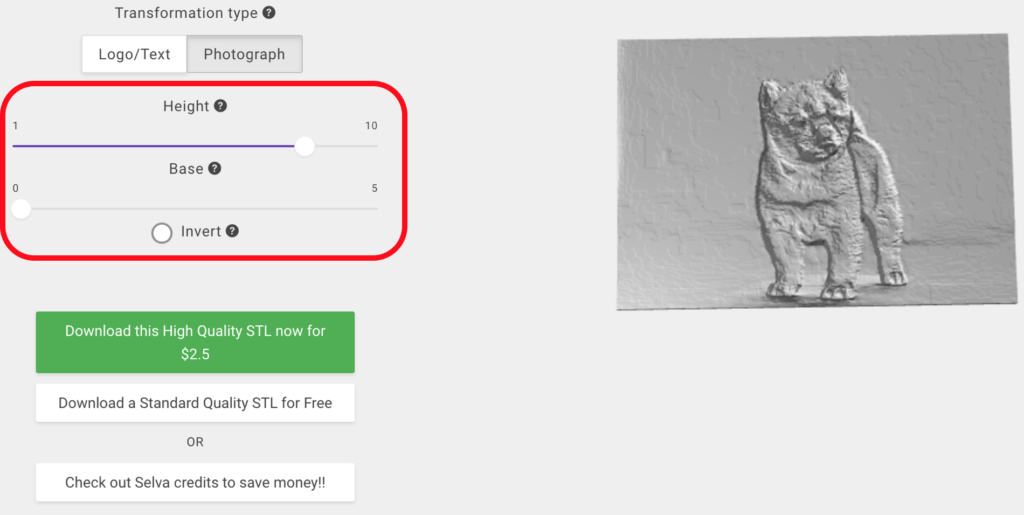
This is the explanation when you process a photo. Like the section for ‘Logo/Text’, skip this if you don’t have any problem of the current quality.
In the case of a photo, the whole photo has been made into a board and the object on the photo has been extruded into a 3D object.
3D-model photo material
In the same way as the logo, upload this photo.
Modify a 3D-model made of photo
・ Height: It changes the height of the object on the photo.
・ Base: It changes the thickness of the board.
・ Invert: By checking it, the object is extruded in the reversed direction so that the object is curved on the board.
This time, set Height to 8, and Base to 5. Check the Invert button.
Download 3D model from SELVA
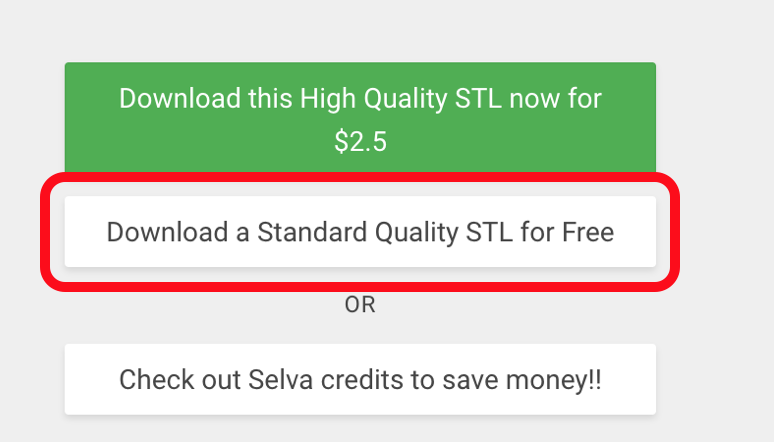
After adjusting the model, we download it from SELVA.
Since downloading the high-quality model is not free, select ‘Download a Standard Quality STL for Free’ this time.
Download 3D model from SELVA 3D #1
Convert the file downloaded
The downloaded file is STL, which is not supported by STYLY.
Therefore, you need to convert it into SKP(2014 or 2015 model), FBX, Blender, Obj, Mtl or Jpeg, which is supported by STLY.
This time, convert it into Obj file.
Access http://www.greentoken.de/onlineconv/, then:
1 Select the file by ‘Add File’.
2 Once ‘Start Uploading’ is completed, press ‘Next’.
3 With ‘Obj’ selected, press ‘Next’.
4 Press ‘start’ to start converting.
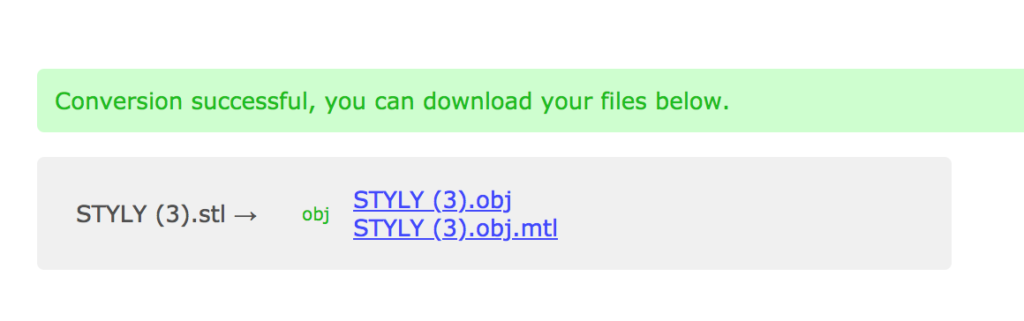
Download 3D model from SELVA 3D #2
5 There should be two files generated, ‘(filename).obj’ and ‘(filename).obj.mtl’. We just need ‘(filename).obj’ to place in STYLY. Click it to download.
That’s all you need to convert STL file into OBJ file.
Upload 3D model to STYLY
Launch WebEditor on STYLY, and open the Scene to edit. Select ‘Asset’ in the top-left corner of the window.
Select ‘3D Model’ > ‘Upload’ to open the Upload window (This sequence is the same as the one for images or other 3D models).
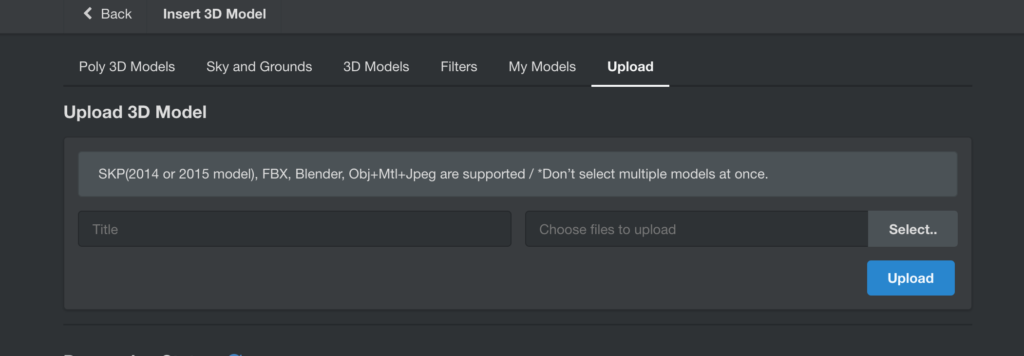
Upload 3D model to STYLY #1
Select the OBJ file downloaded earlier by the ‘Select’ button on the right. Then, press the ‘Upload’ button.
When it’s finished, check if it’s uploaded to ‘My Models’.
The file should be uploaded if there was no problem.
Select that file and insert it in the Scene.
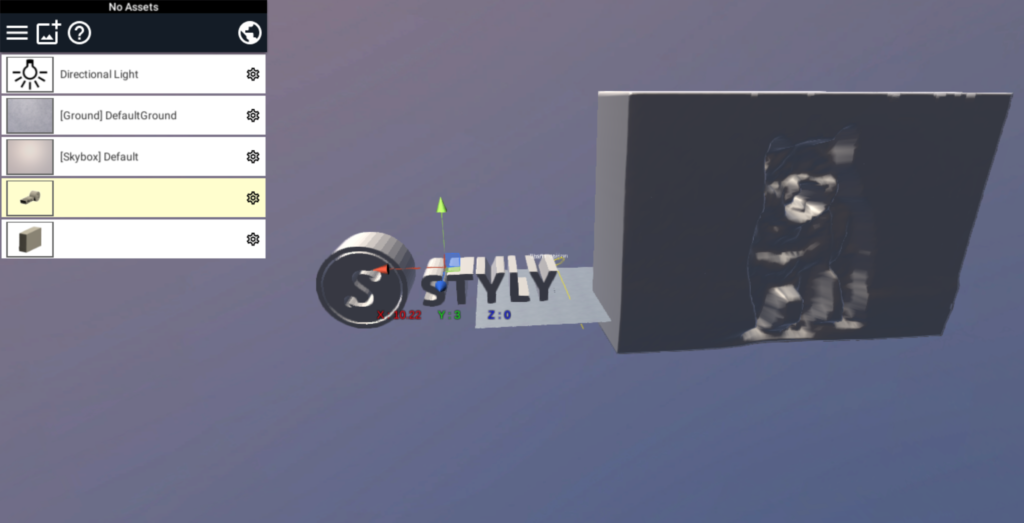
A screenshot – STYLY WebEditor
It’s uploaded to the Scene without any problem. That’s all.
In this article, I explained how to use SELVA and upload the model to STYLY.
You can now render a 2D file such as logo, image, photo, in 3D space!
Congratulations!