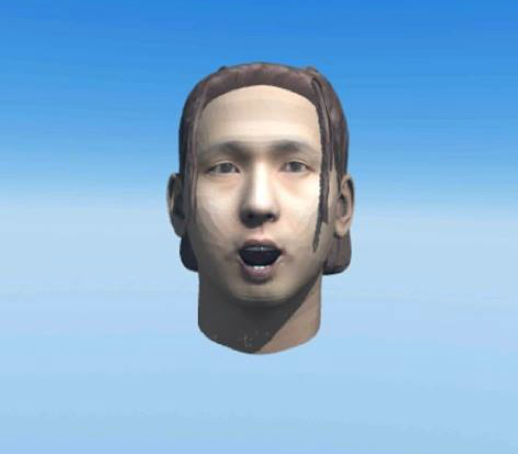
How it looks on ‘STYLY for Oculus Go’
This time, we use a Unity asset ‘Avatar Maker’ to make the 3D model of the head.
Avatar Maker allows you to create a three-dimensional model of the face from a single facial photograph.
In this article, I explain how to create and edit the 3D model of the head and upload it to STYLY.
※This asset only works on Windows. So you cannot use it on MacOS.
Avatar Maker Pro
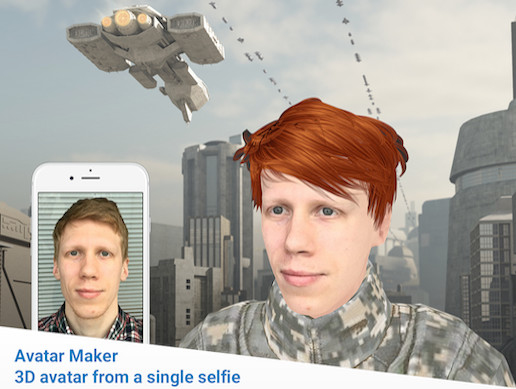
Avatar Maker Pro
The total file size: 129.5MB
Supported Unity Version: 2017.2.0 or higher
The price: $49
The web site:
https://assetstore.unity.com/packages/tools/modeling/avatar-maker-pro-3d-avatar-from-a-single-selfie-134800
※You can follow the below instructions up to ‘Edit 3D model’ even with the free version, ‘Avatar Maker Free’, but it cannot export the model (it means you cannot upload it to STYLY).
Upload the photo
This time, I use a photo of Mr Tatsuya Okawa, who is popular for his activity of providing his own photos as free materials.
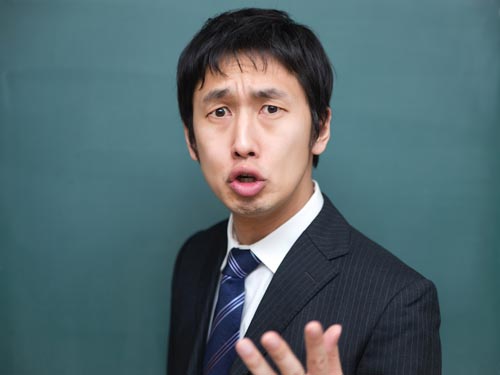
The photo material used
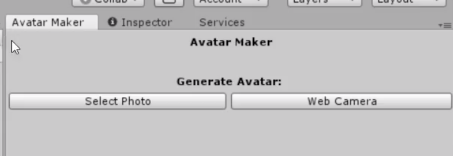
After importing ‘Avatar Maker Pro’, click ‘Window > Avatar Maker’.
There are two ways to upload a photo. Click ‘Select Photo’ if you use the image saved in your PC. Click ‘Web Camera’ if use the Web camera.
Select the camera mode.
Once you selected the image, the upload starts.
When the upload finishes, ‘100%’ is displayed at the bottom of the Inspector window of Avatar Maker and a head part appears in the Scene view.
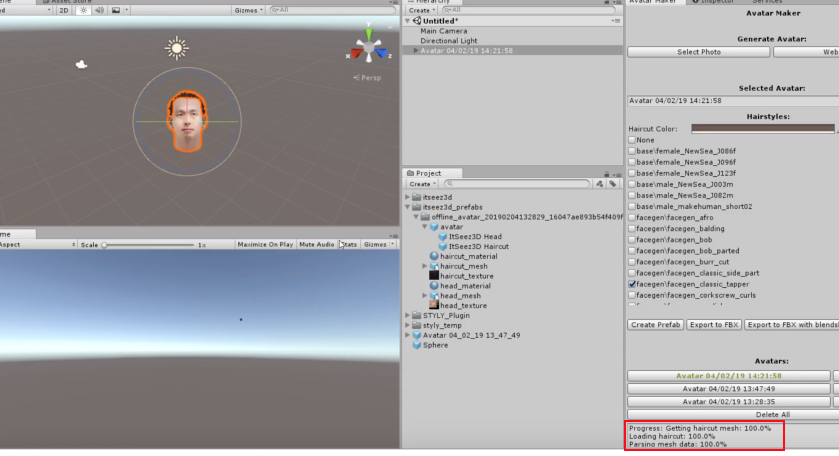
Screenshot – the image has been uploaded.
Edit 3D model
There are 45 hairstyles and 62 facial expression patterns available, so you can change them independently.
To change the hairstyle, you just need to tick the checkbox.

Change the hairstyle
You change the facial expression by customizing the eyebrows, cheek, eyeblink and etc.
There are some patterns for the motion of the chin, so you can create a ‘lipsync’ motion.
The adjustment of eyebrows
The adjustment of chin and eyeblink
The adjustment of cheek
※The functions used so far are also available in the free version, ‘Avatar Maker Free’, but it doesn’t have the export function. So you cannot upload the model to STYLY as the 3D model has a script built in (STYLY doesn’t support the C# script yet).
Export 3D model
Once you finished editing the 3D model, export it as an OBJ file.
There are four buttons related to the export function in the Inspector window of Avatar Maker. Select ‘Export to OBJ’.
(I couldn’t export the model to STYLY with the other three buttons for some reason.)
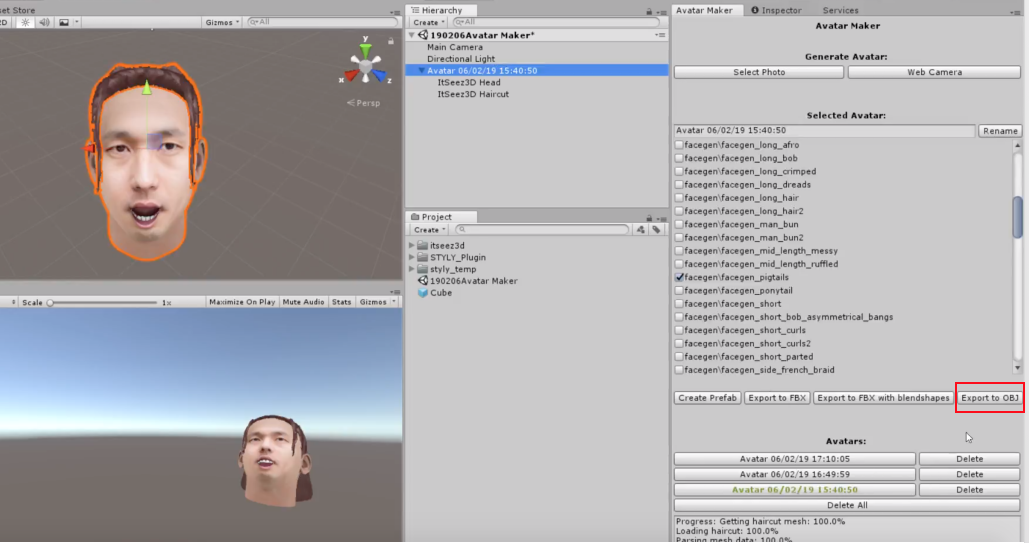
Select ‘Export to OBJ’.
Upload to STYLY
When you check the files exported, you should find the 6 files in total, three types of files starting with ‘harcut_facegen~’ and another three types of files starting with ‘model.~’.
The first three files are the mesh and texture to shape the hairstyle and the latter three files are the mesh and texture to shape the head.
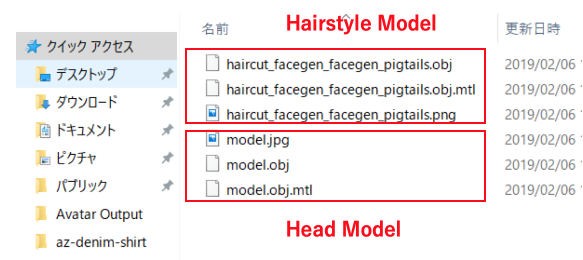
Check the exported files.
When I tried to upload those six files to STYLY at once, I got such problems that nothing was displayed except the hairstyle and the texture was not applied.
Therefore, I uploaded the three files of the hairstyle at once to STYLY, and then upload the three files of the head. It worked successfully.
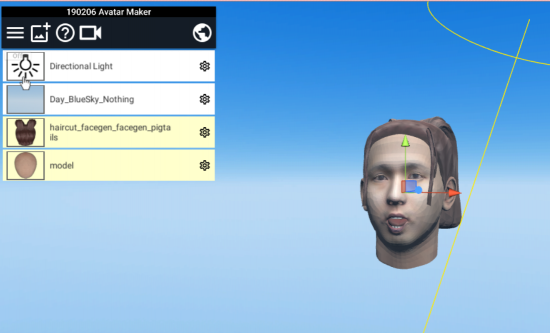
Adjust the model in Web Editor
As I uploaded the hair and the head separately, it’s difficult to adjust their positions by moving, scaling and rotating each part. So, after uploading the hair and the head into the scene, select both of them together to move, scale and rotate.
Congratulations!
That’s all for the introduction of Avatar Maker Pro.
This asset is very handy to make a 3D head model from a single image, so please try using it by yourself!