This article is the second installment of the Introduction to Visual Scripting series. You can check the previous article from the link below.
This time, we will introduce the process of displaying “Hello World” using If statements, key inputs, and coroutines.
“Hello World” is a phrase displayed when programming for the first time.
How to use If statements
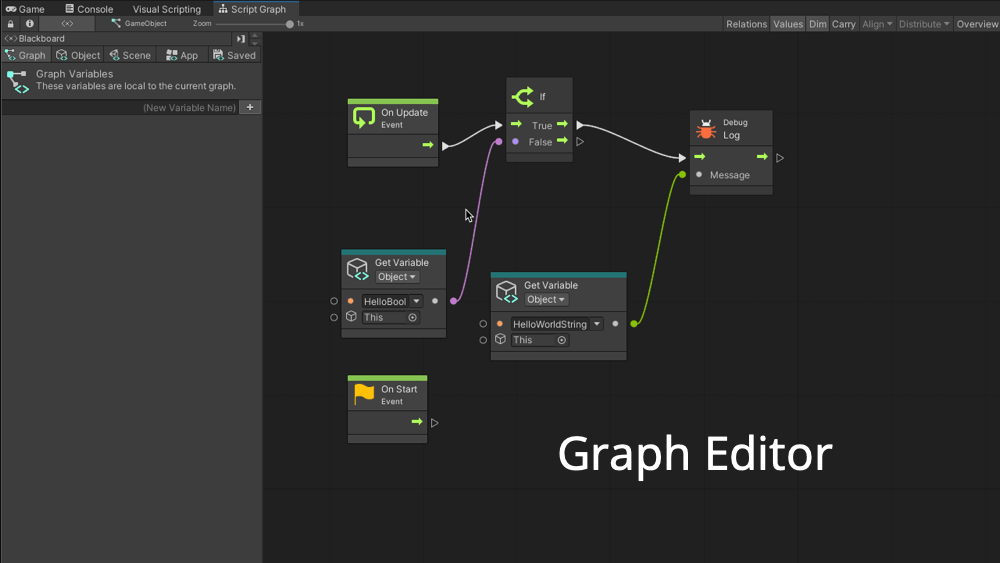
Right-click in the GraphEditor to add an If node.
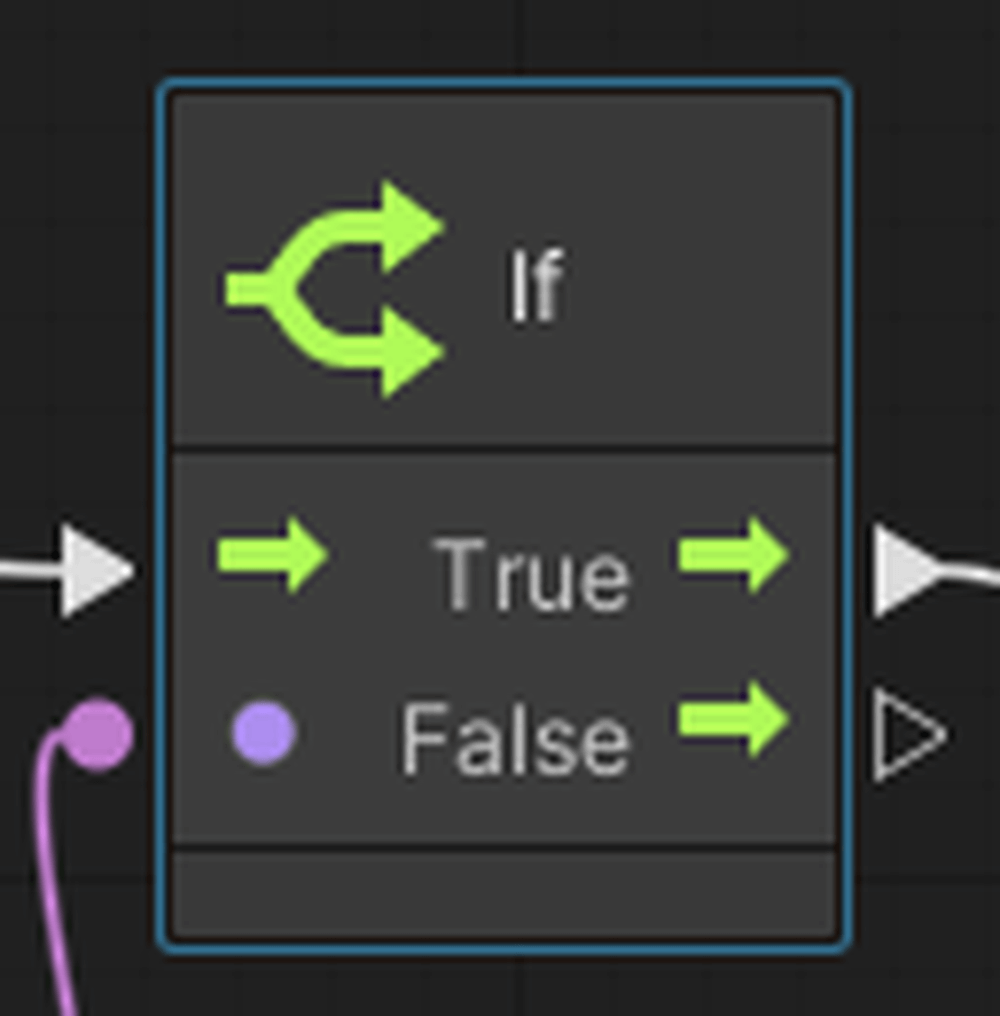
An If statement allows you to branch processing based on whether the condition is met (True) or not (False).
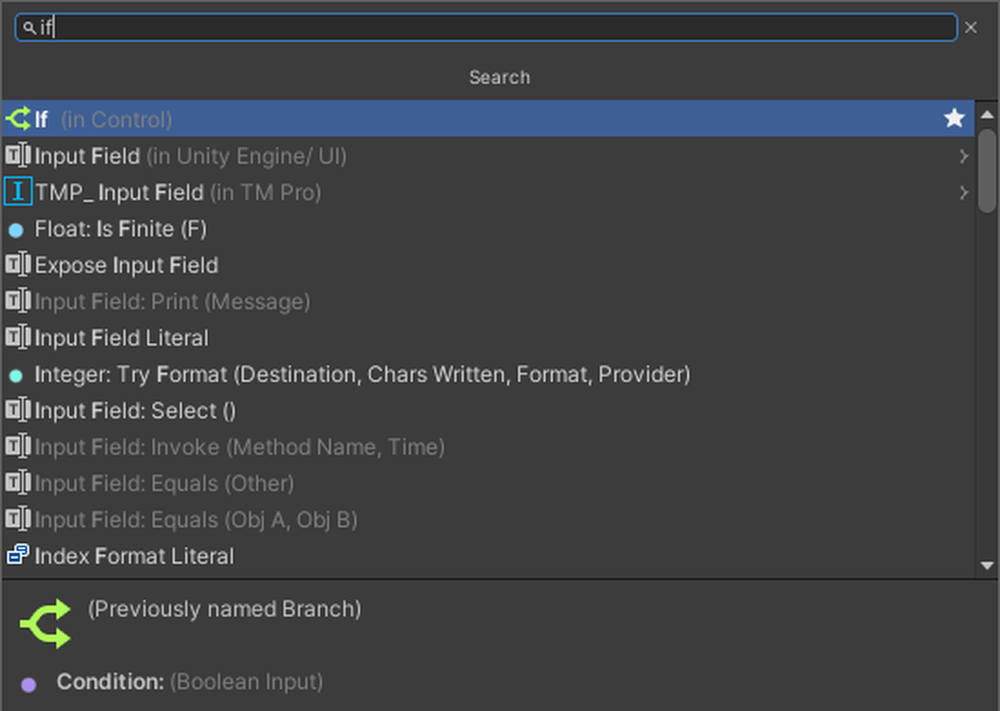
GraphEditor→If
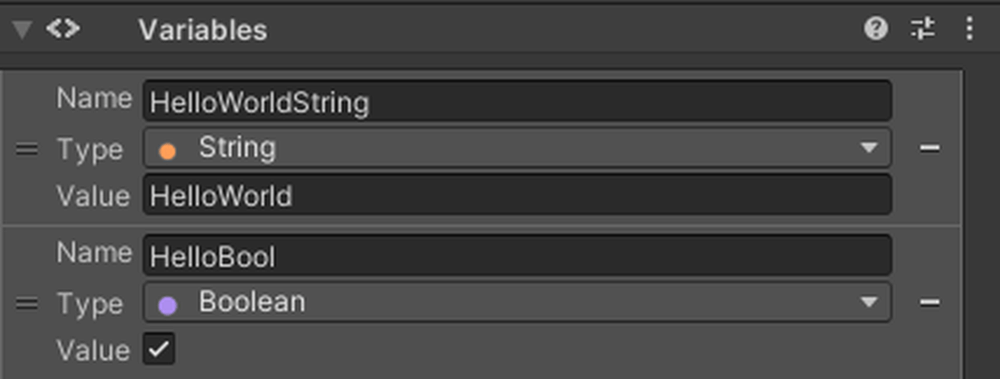
Select the HelloWorld GameObject and add a new Boolean (Bool type) variable in the Variables section of the Inspector.
(A Boolean variable represents True if a certain condition is met, and False otherwise.)
This time, we named it “HelloBool”. Drag and drop “HelloBool” into the GraphEditor.
HelloBool
HelloBool
Connect the nodes as shown below. You can right-click on the root of the connecting line to remove it.
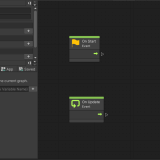
The OnUpdate node executes the connected process every frame

Conect nodes

Conect nodes
The purple port of the If node connects to the Boolean condition. The right port connects to the process for when the condition is True.
If
Press the play button at the top to run the scene
The If statement is processed every frame, and the Debug.Log process is executed when the value of “HelloBool” is True
Since Debug.Log is connected to the True port of the If node, if you set the value of “HelloBool” to False, Debug.Log will stop. It will resume when set back to True.

Play scene
Displaying HelloWorld by pressing a key
There are two ways to implement key input: Input Get Button and Input Get Key.
First, let’s use Input Get Button.
This time we will use the A key.
Open Edit→Project Setting→Input Manager from the main menu bar.
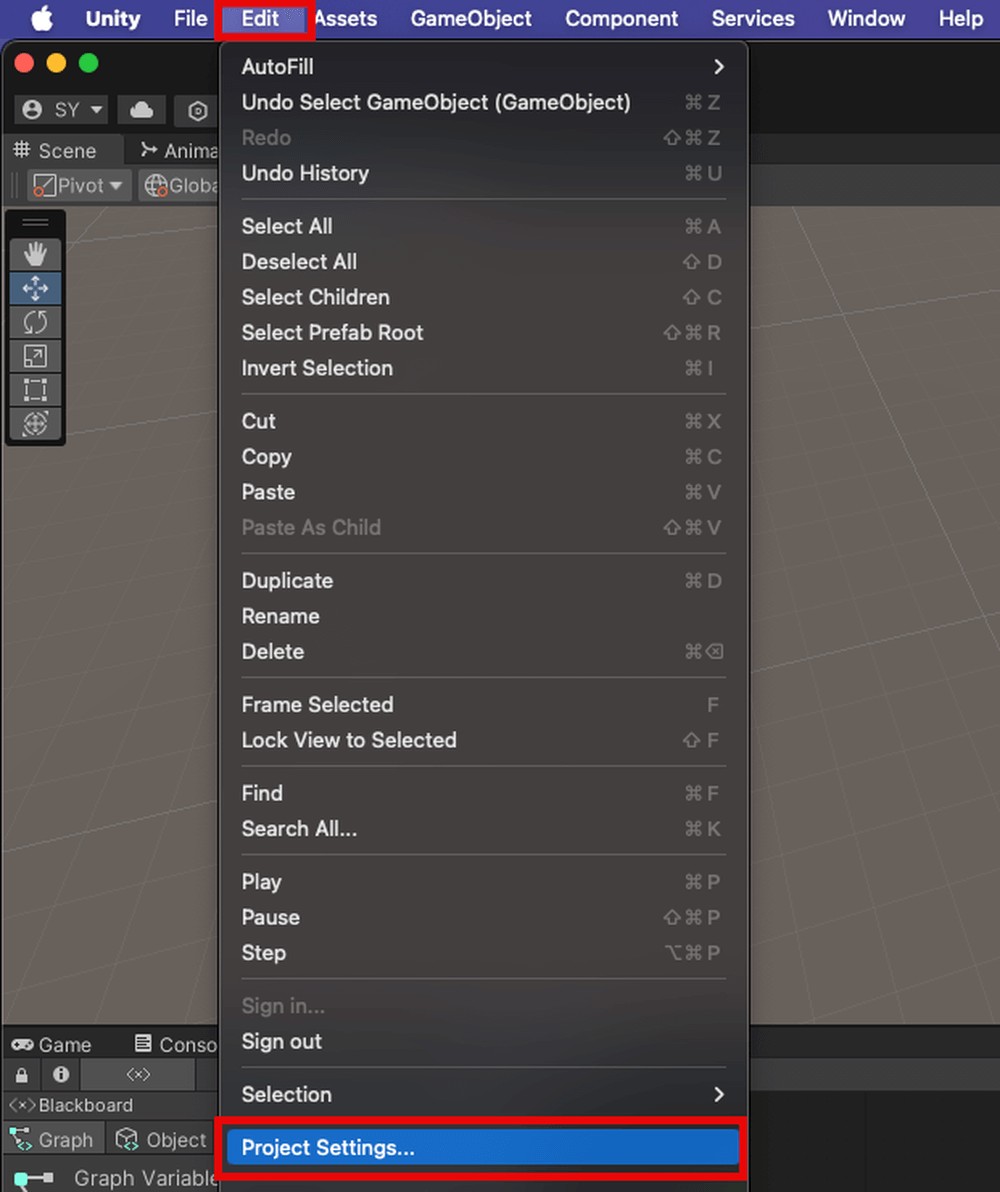
Edit→Project Setting→Input Manager
Change the size to 19.
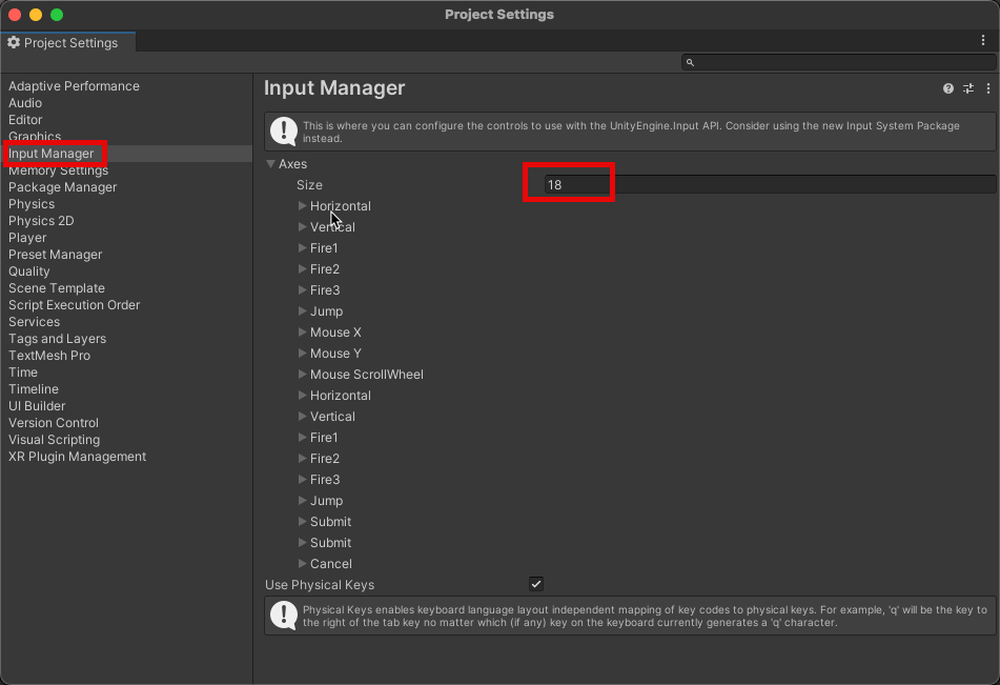
Size=19
The “Cancel” at the bottom will be duplicated, so set its Name to “A” and the Positive Button to “a”.
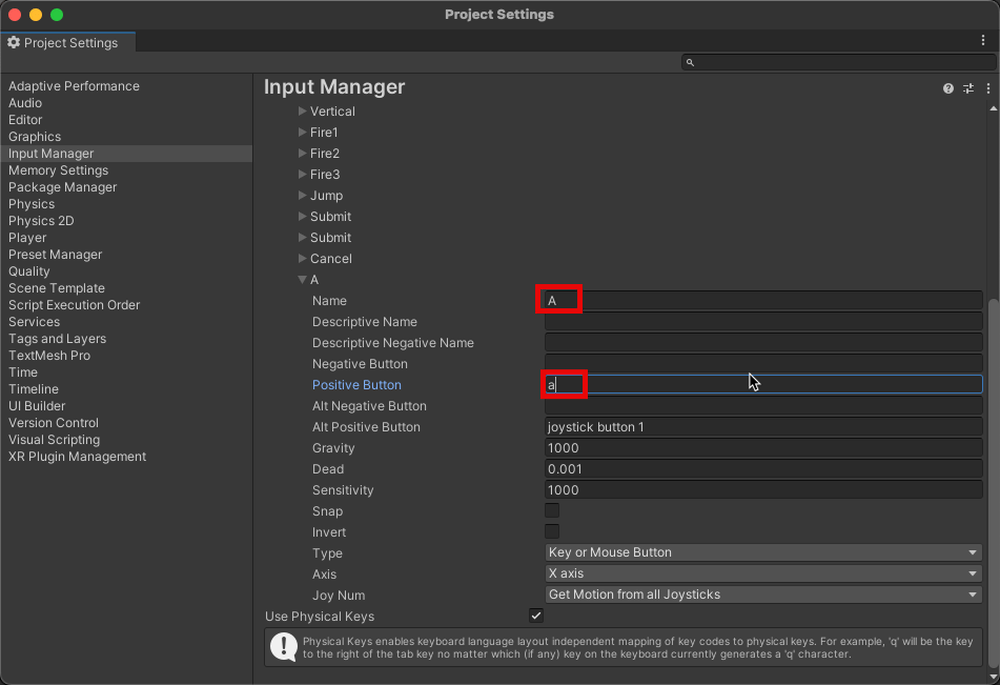
Name=「A」、Positive Button=「a」
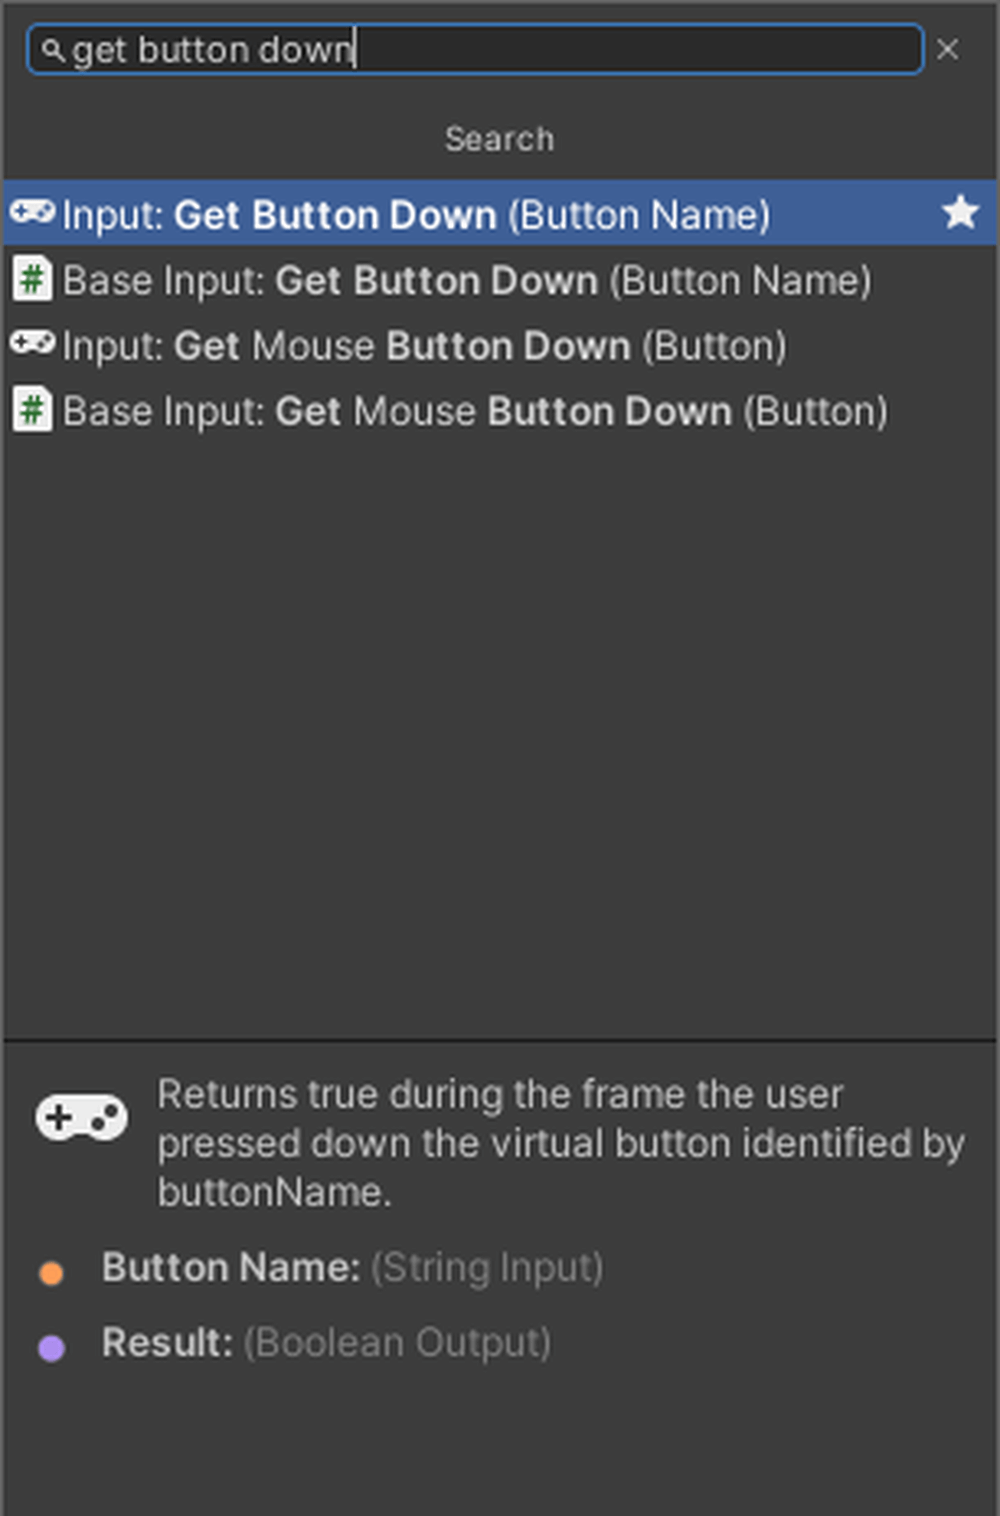
Add a Get Button Down node to the Graph Editor.
Get Button Down
Supplement
Get Button Down: Becomes True when the key is pressed.
Get Button Up: Becomes True when the key is released.
Get Button: Becomes True while the key is being pressed.
Get Button~
Enter “A” in the Button Name.
Reconnect the previous nodes and connect them as shown below.
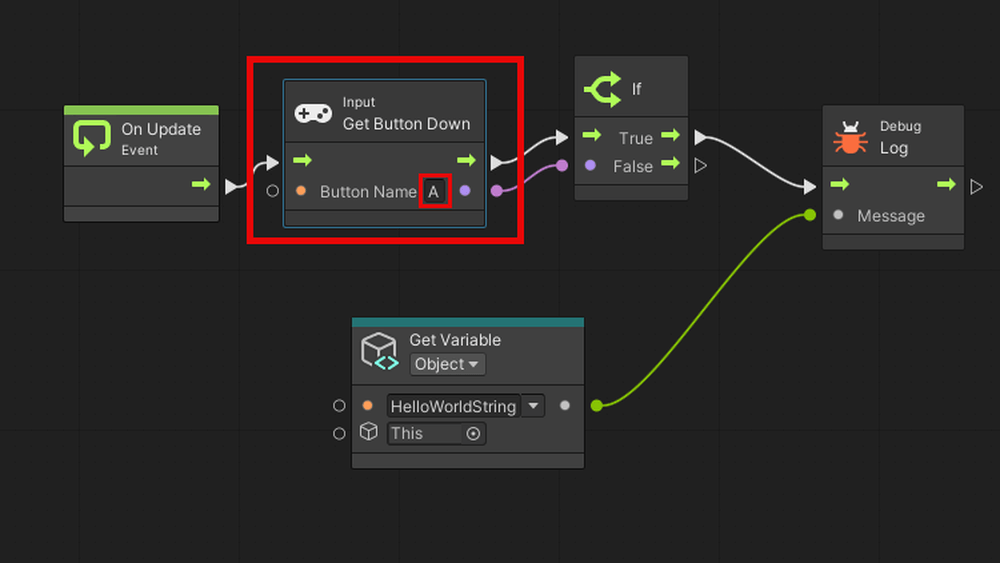
Button Name=A
Since Get Button Down becomes True when the key is pressed, connect it to the purple port.
Let’s run the scene. When you press the A key, HelloWorld is displayed in the Console.

Play scene
Next, let’s use Input Get Key.
Add Input Get Key Down.
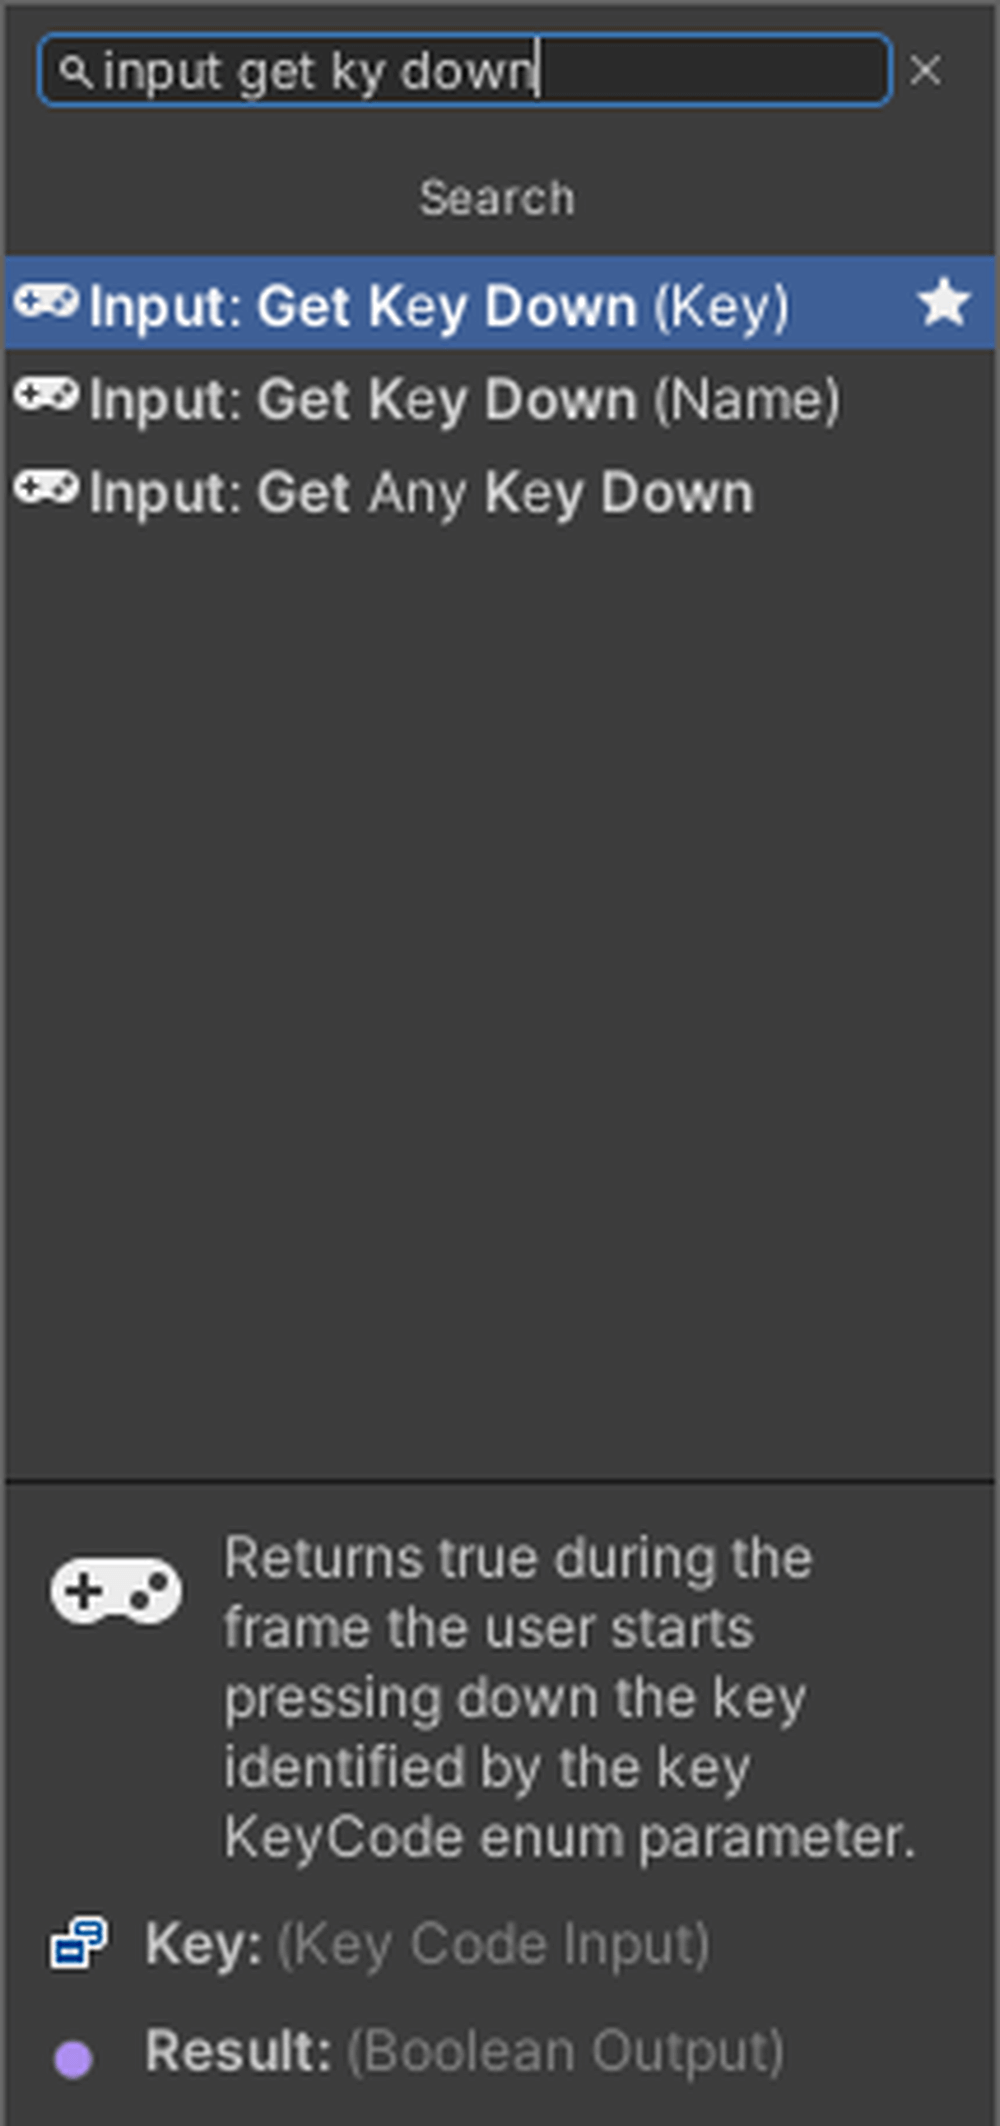
Input get key Down
Select Space for the Key. Reconnect the nodes as shown below.

Key=Space
Run it. You can display HelloWorld by pressing the Space key.

Key=Space
The difference between them is that GetButton allows the user to change the input key on the application side.
This is because the key specification method is a string type, so if the variable is set to a different string, it can perform the same process with different keys. On the other hand, GetKey cannot do this.
Therefore, when developing an application for production, use GetButton, and for debugging or programming practice, use GetKey.
Display HelloWorld using Coroutines
A coroutine is a program that executes a process after a certain amount of time has passed.
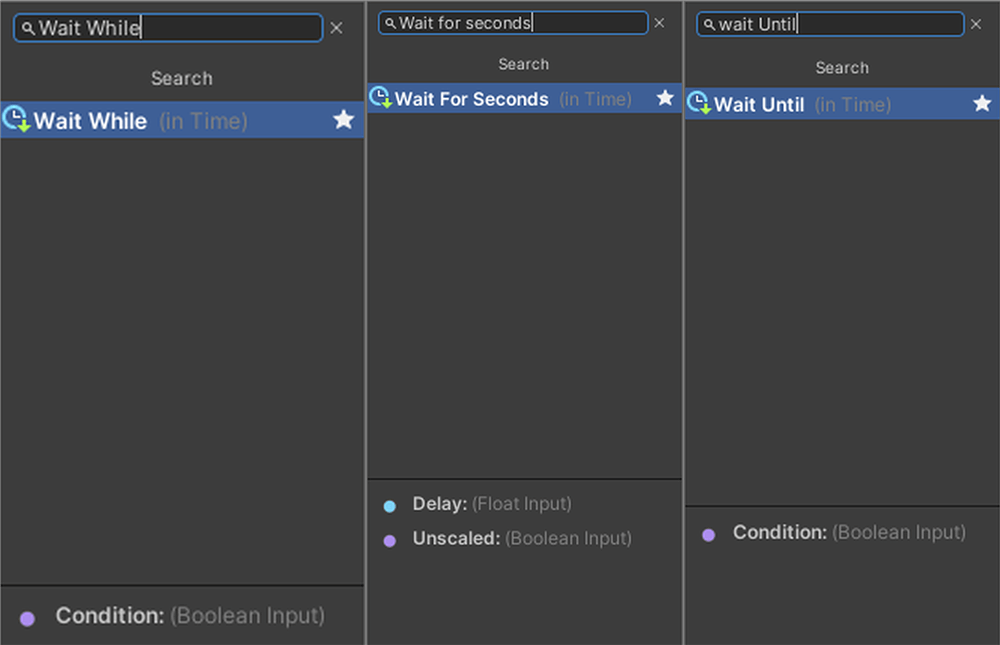
This time, we will use the following nodes.
|
WaitForSecond |
Waits for a few seconds (variable) |
|
WaitUntil |
Resumes when the condition is True |
|
WaitWhile |
Resumes when the condition is False |
Let’s add each node.
Add nodes
We will start with WaitForSecond.
To use a coroutine, you need to check the Coroutine box in OnUpdate.
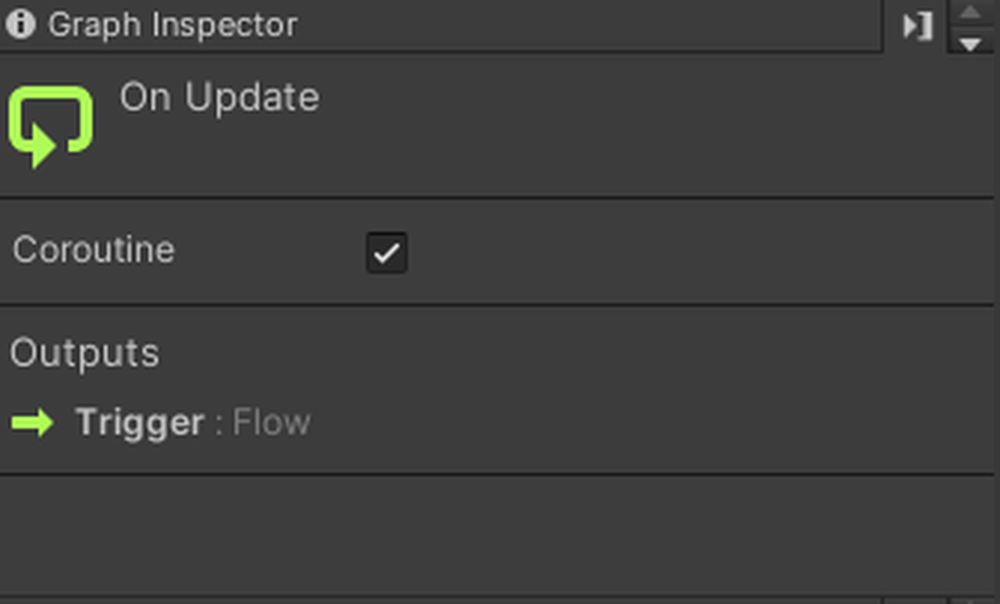
OnUpdate→Coroutine
HelloWorld will be displayed 3 seconds after pressing the Space key. Enter “3” in the Delay. Connect the nodes as shown below.

Delay=3
Run it. HelloWorld was displayed in the Console 3 seconds after pressing the Space key.

Play scene
Next, we will use WaitWhile and WaitUntil.
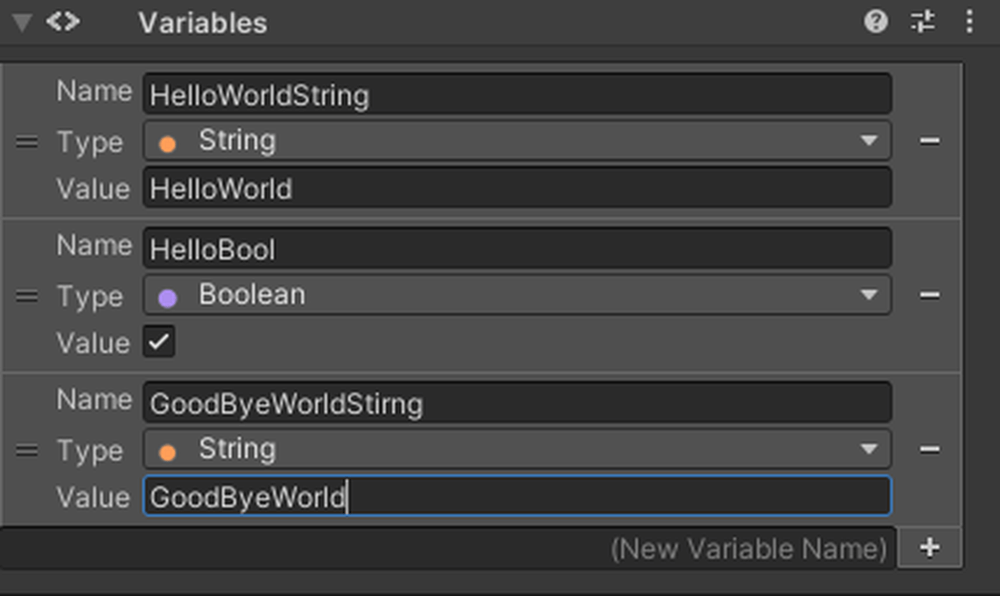
Add a string variable from Variables. Name it “GoodByeWorldString” and set the value to “GoodByeWorld”.
Drag and drop “HelloBool” and “GoodByeWorldString” from Variables into the GraphEditor.
WaitWhile&WaitUntil
Add OnUpdate and Debug.Log to the GraphEditor and connect the nodes as shown below.

OnUpdate&Debug.Log
Run it. When HelloBool is False, WaitWhile resumes, and HelloWorld is displayed.
When HelloBool is True, WaitUntil resumes, and GoodByeWorld is displayed.

Play scene
Good job! This concludes the second installment.
Next time, we will introduce how to install Unity packages, button input, and calculations through the creation of a rapid tapping game.