This is the 10th article in the Visual Scripting Introduction series.
In this article, we’ll explain how to integrate Visual Scripting with STYLY for Vision Pro.
Download the sample scene that summarizes the features available in STYLY for Vision Pro.
Use Unity version 2022.3.27f.
This tutorial will show you how to grab an object and apply some effect to it.
Grabbing Objects with Visual Scripting
Open the downloaded project in Unity Hub.
Click the Add button.
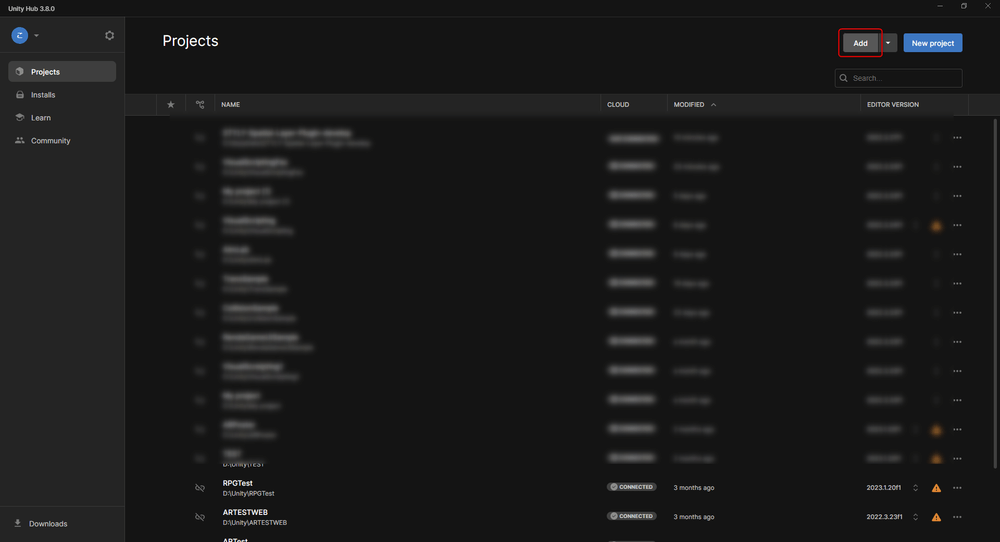
Open the downloaded project in Unity Hub
Select the downloaded folder and click Open to open the project.
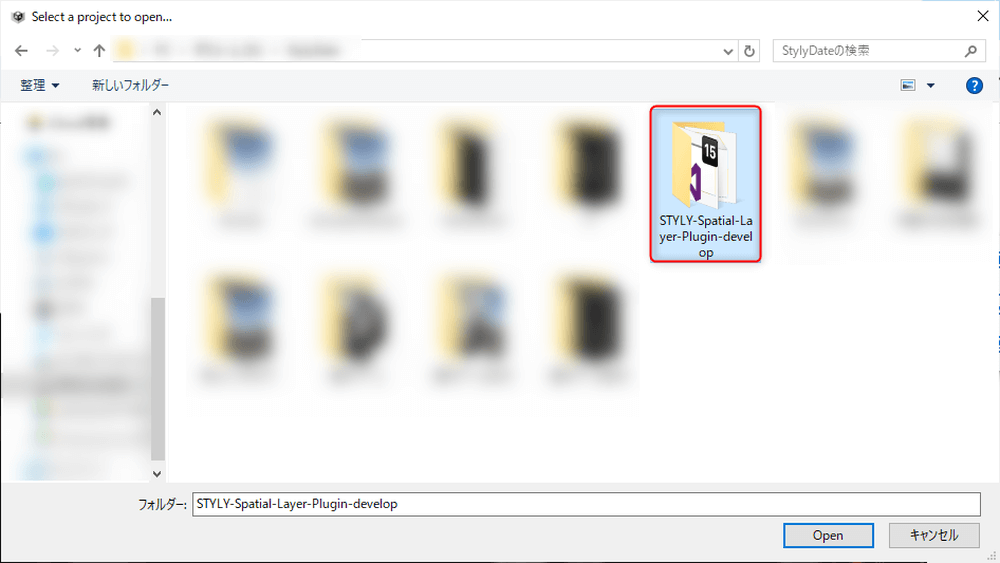
Open the project
Click the + button at the bottom of the Project tab, select Scene, and create a new scene.
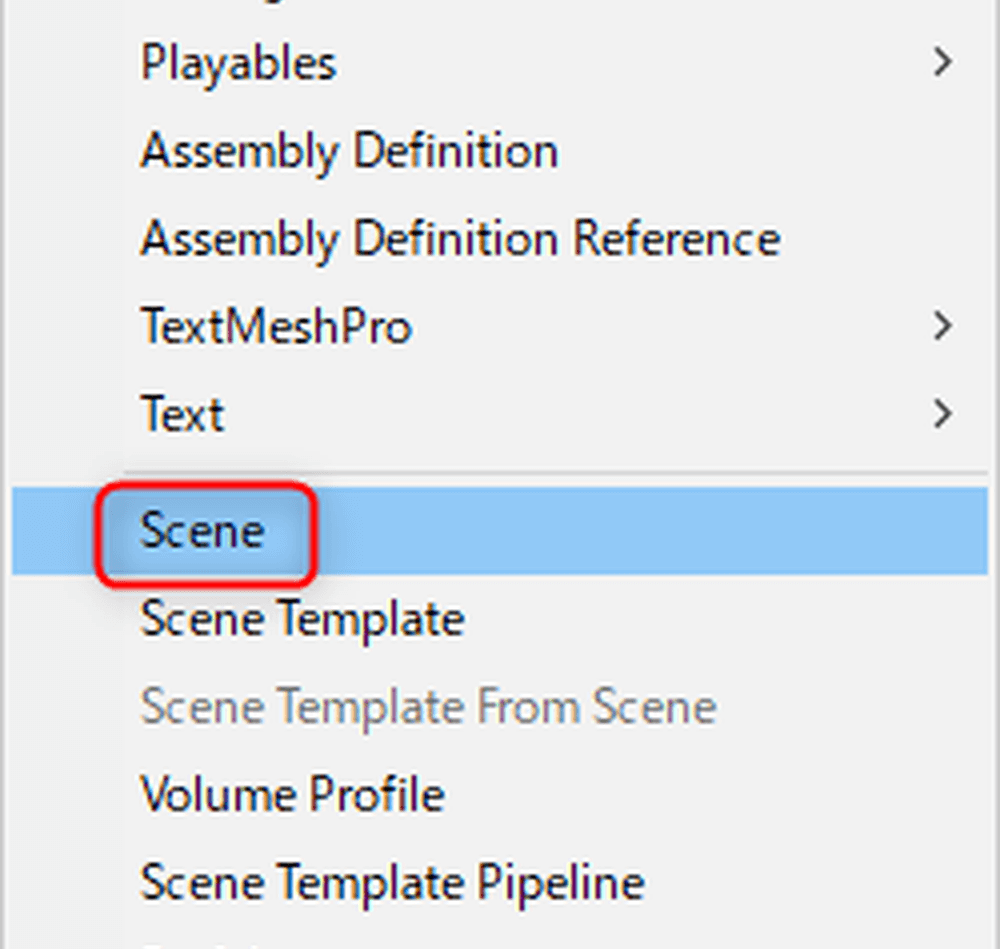
Create a new scene
For this tutorial, name the scene [GrabScene].
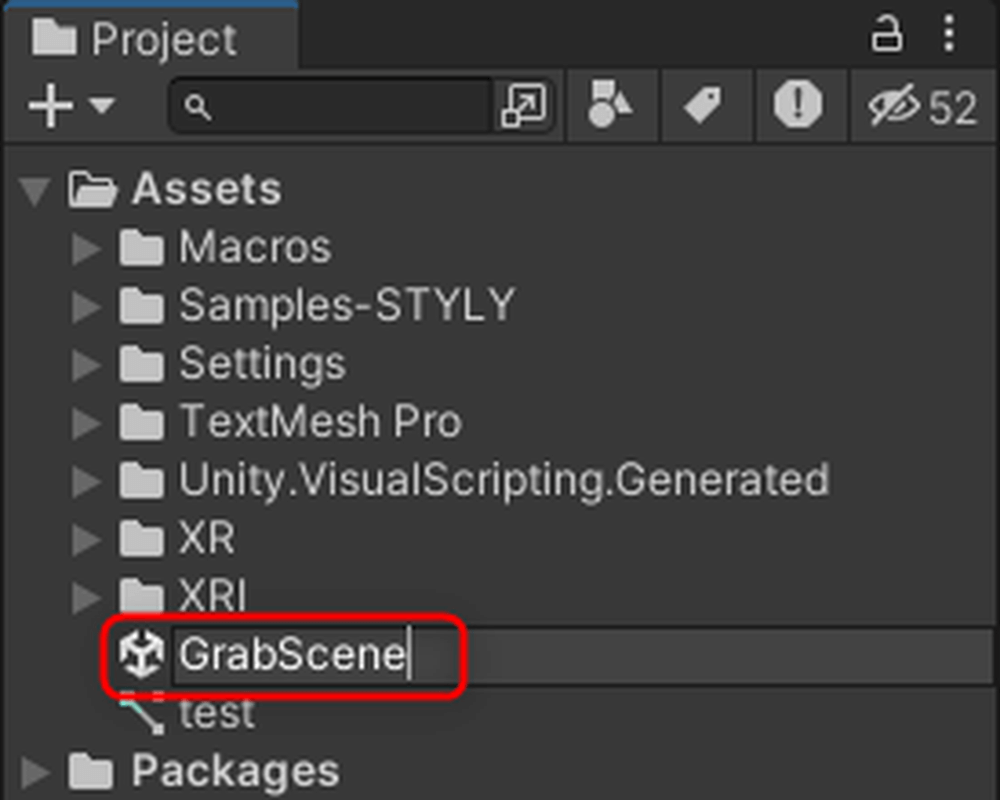
GrabScene
Next, create the object to be grabbed. Click the + button in the Hierarchy, select 3D Object → Cube, and create a cube.
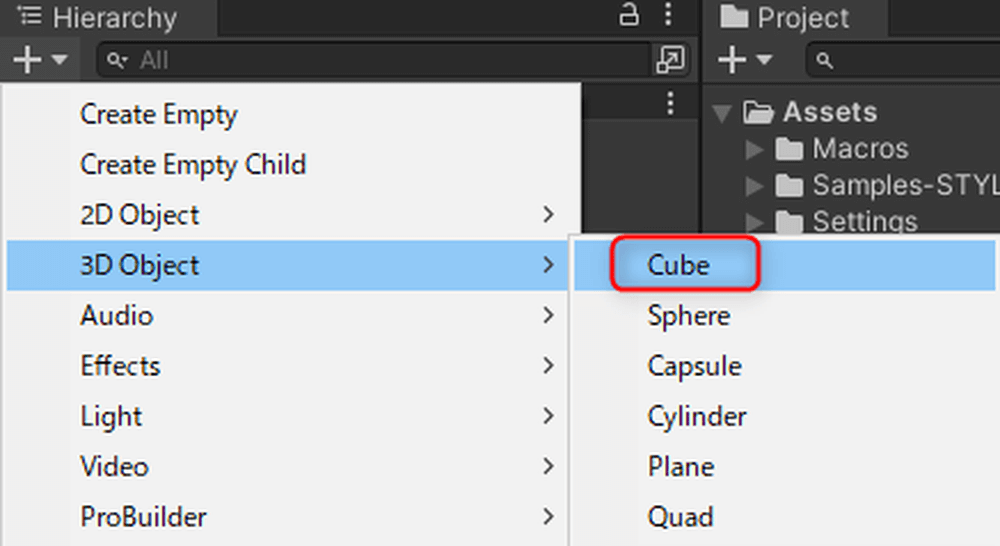
Select 3D Object → Cube to create a cube
Name it [GrabCube] and add the XR Grab Interactable component.
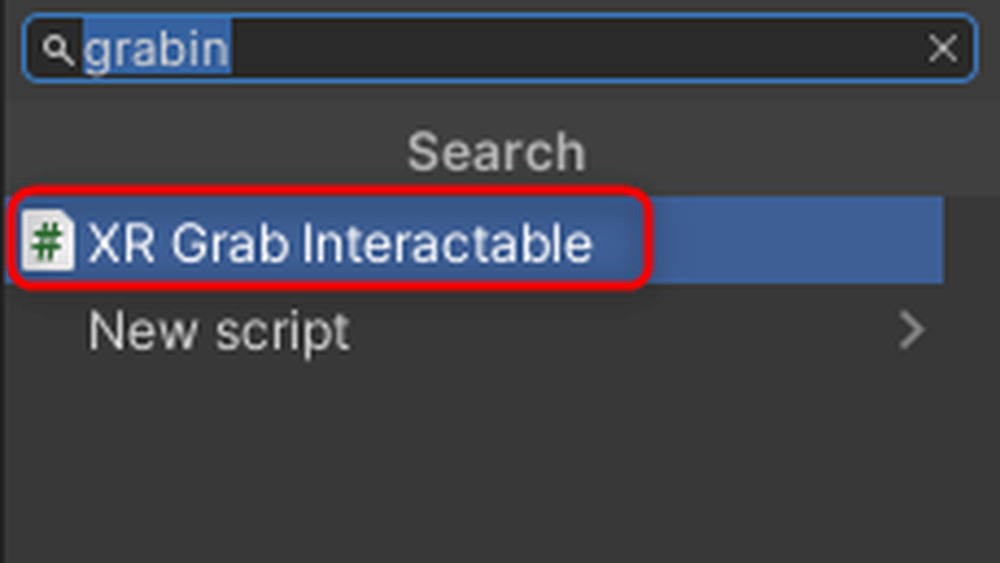
Add the XR Grab Interactable component
XR Grab Interactable is a component that allows objects to be grabbed in the XR space.
This C# script is integrated with STYLY for Vision Pro, so you can use it directly.
Changing the Color of Grabbed Objects with Visual Scripting
XR Grab Interactable has many functions.
If you want to learn more about its features, refer to the Unity manual.
Open the Interactable Event section in the XR Grab Interactable component.
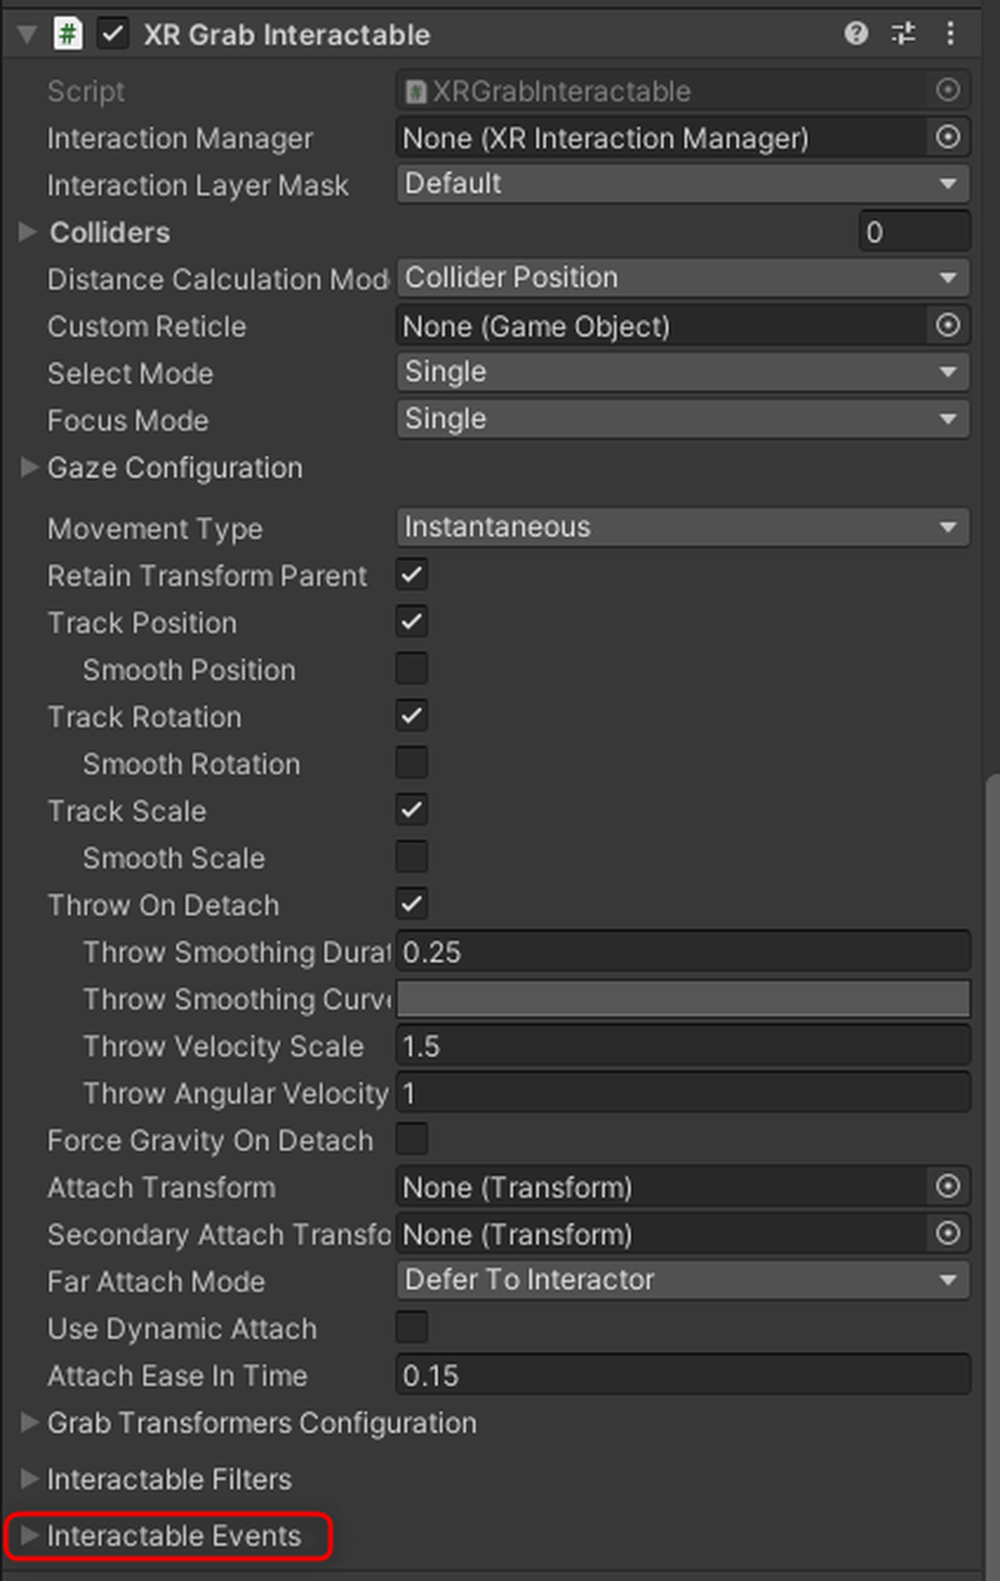
Open the Interactable Event in XR Grab Interactable
Click the + button for both Select and Select Exited, then drag and drop as shown below.
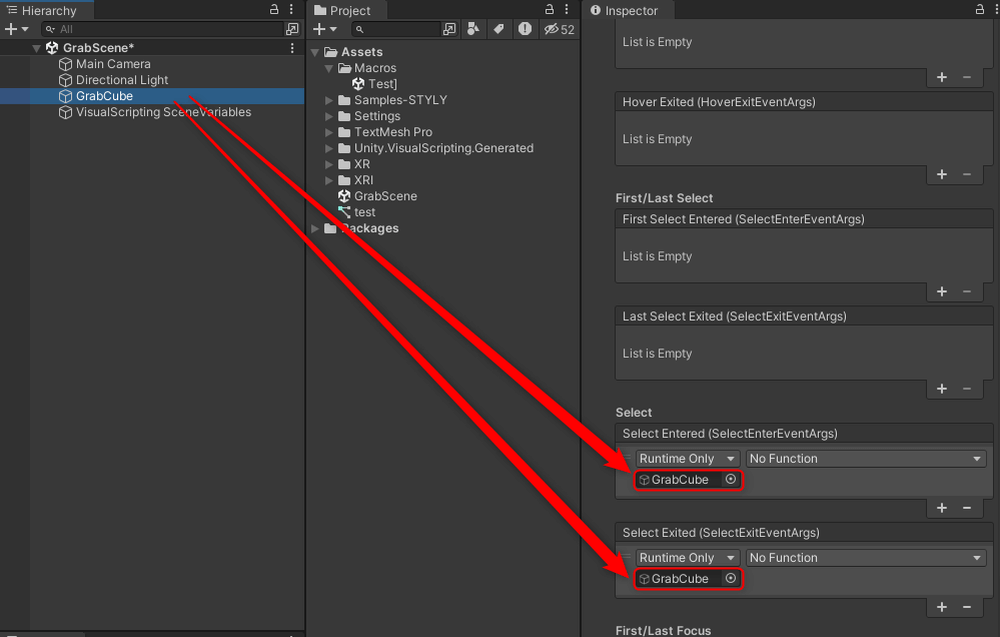
Drag and drop to add
Click No Function, then select Script Machine → TriggerUnityEvent.
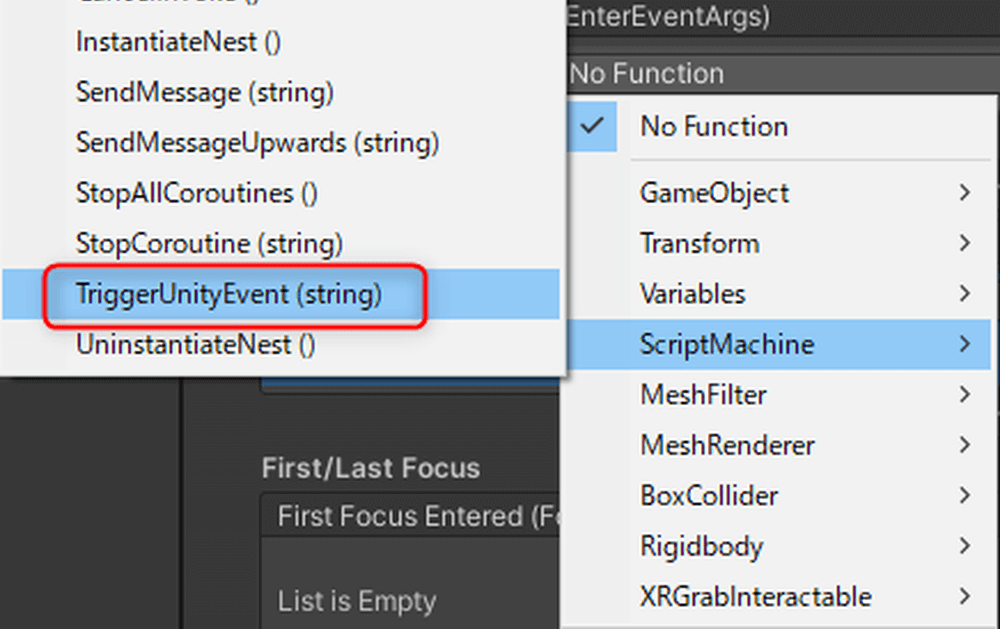
Script Machine → TriggerUnityEvent
In Select, enter [StartGrab] as shown below.
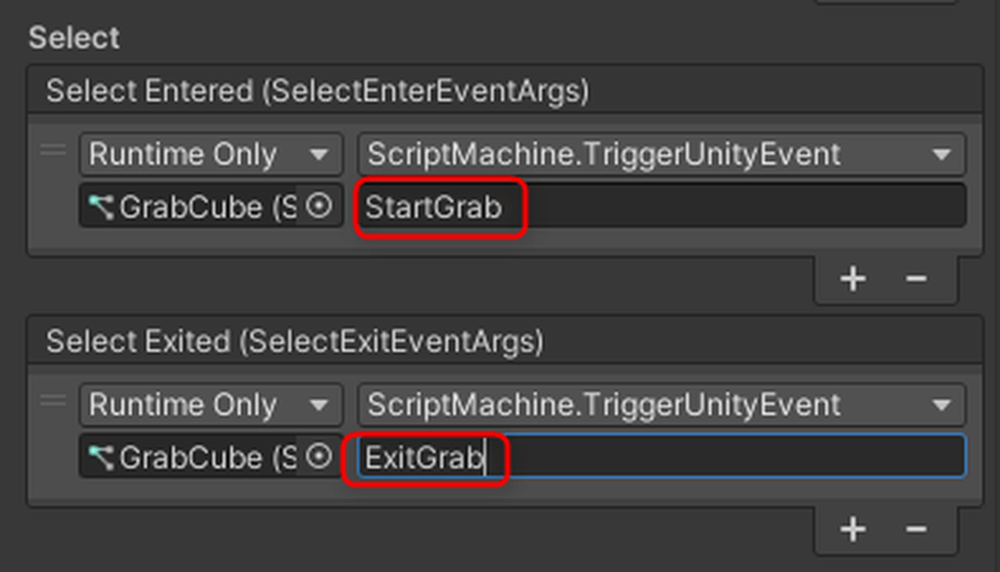
StartGrab
For Select Exited, enter [ExitGrab].
Select triggers actions when the object is grabbed.
Select Exited triggers actions when the object is released.
Attach a Script Machine to the [GrabCube] object.
Change the Source to Embed.
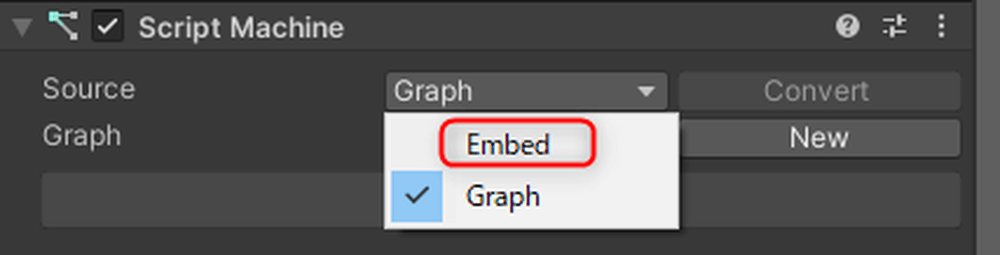
Change Source to Embed
Click Edit Graph to display the Script Graph.
Add the following nodes to the Graph Editor:
- UnityEvent
- Renderer Get Material
- Color Literal
- Set Color
Note: Images are provided for nodes that might be unclear.
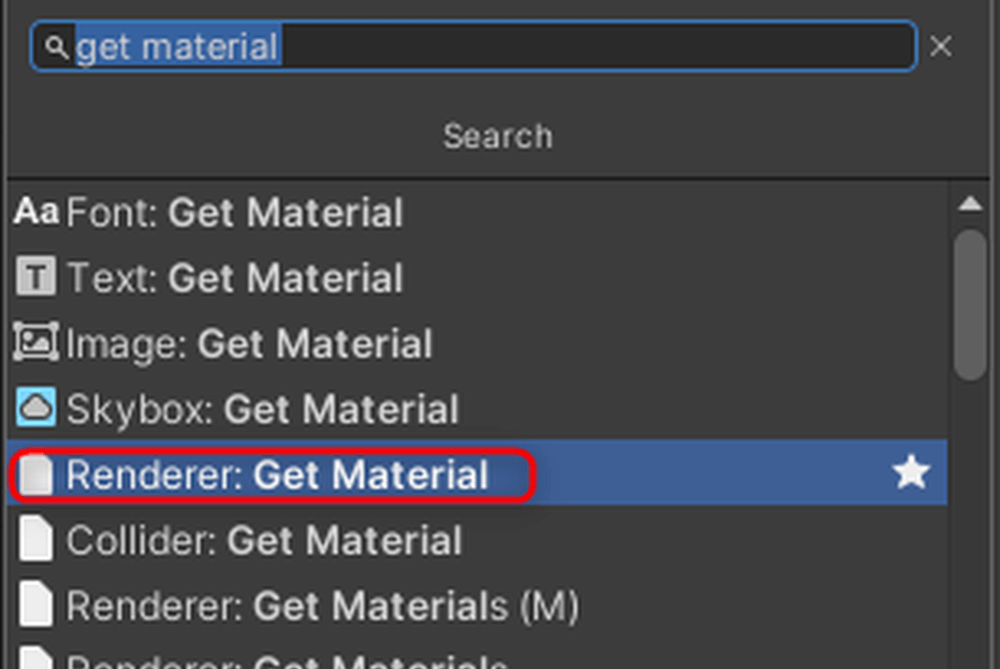
Renderer Get Material
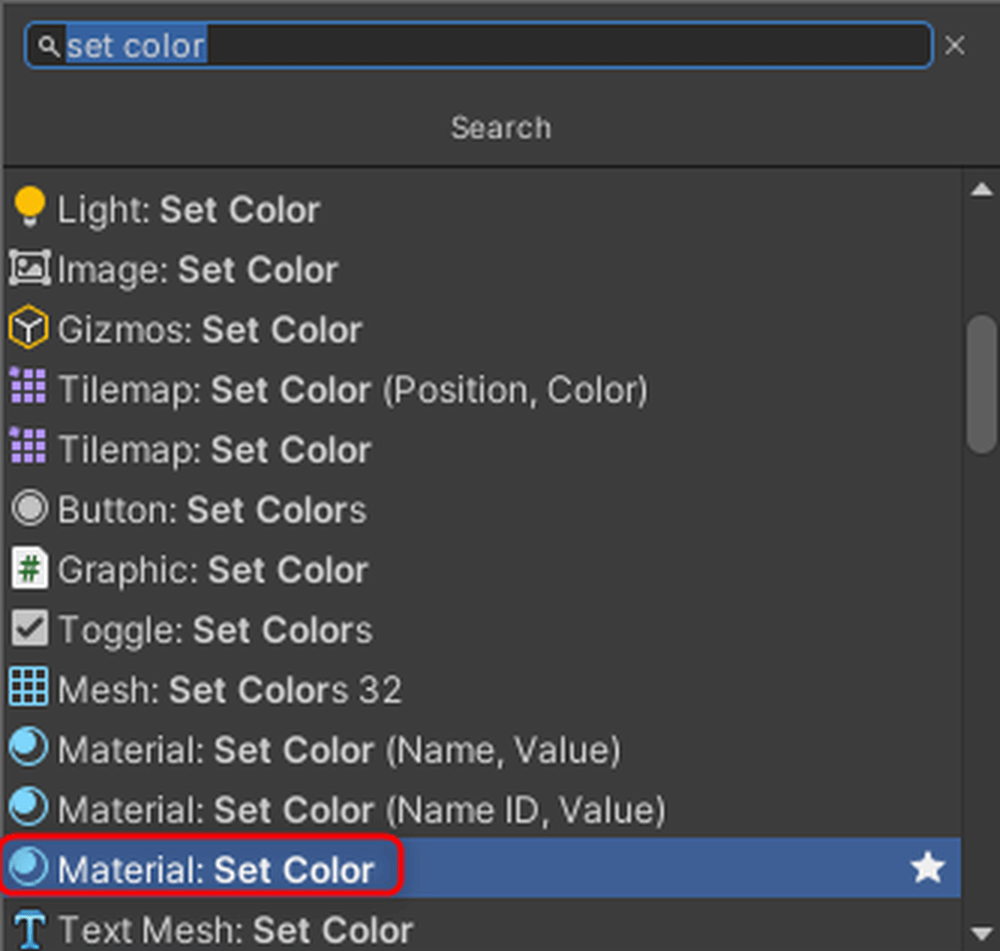
Set Color
Connect the nodes as shown below.
In the UnityEvent node, enter [StartGrab] as set in the XR Grab Interactable’s Select event. Set the Color to the color you want when the object is grabbed; in this case, it’s set to red.
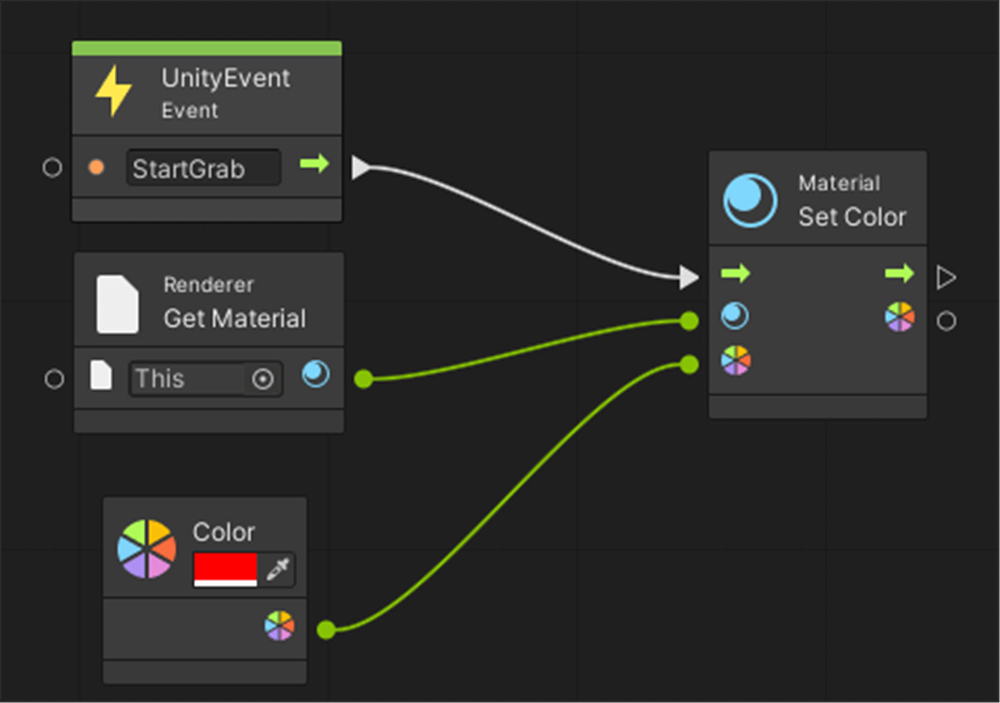
StartGrab
Select all the connected nodes, and duplicate them by pressing Ctrl+D (or Cmd+D on Mac).
Similarly, enter [ExitGrab] in the UnityEvent node and set the Color to the color you want when the object is released. In this case, it’s set to white.
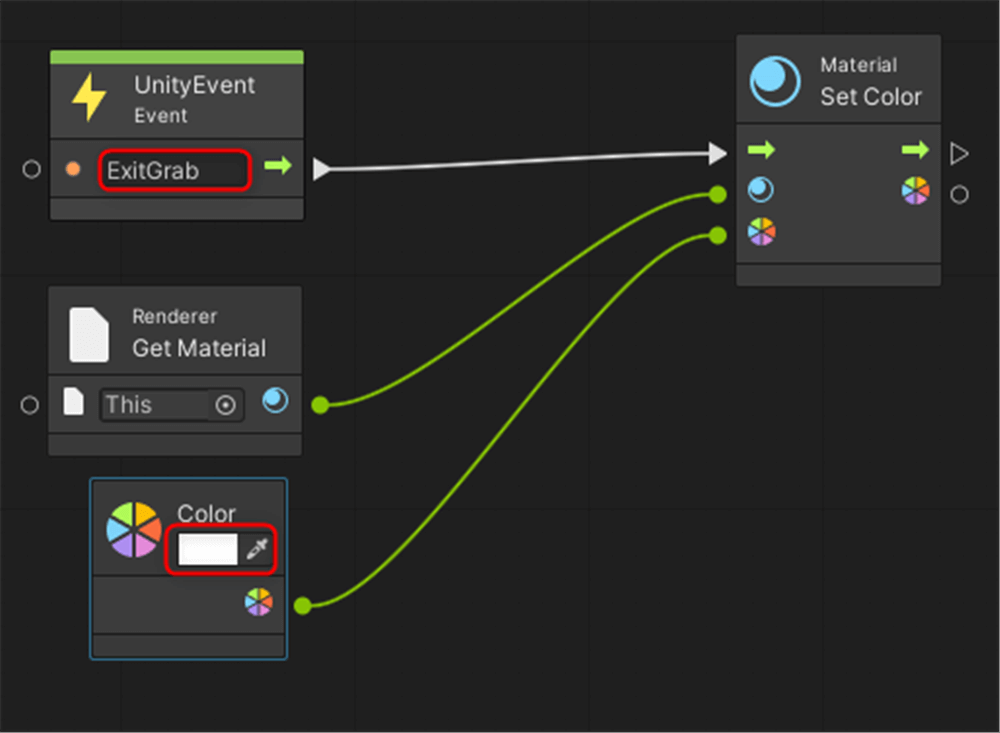
ExitGrab
Uploading to STYLY for Vision Pro
In Unity, the Transform units are in meters. The current [GrabCube] might be too large, so resize it to a 30 cm cube.
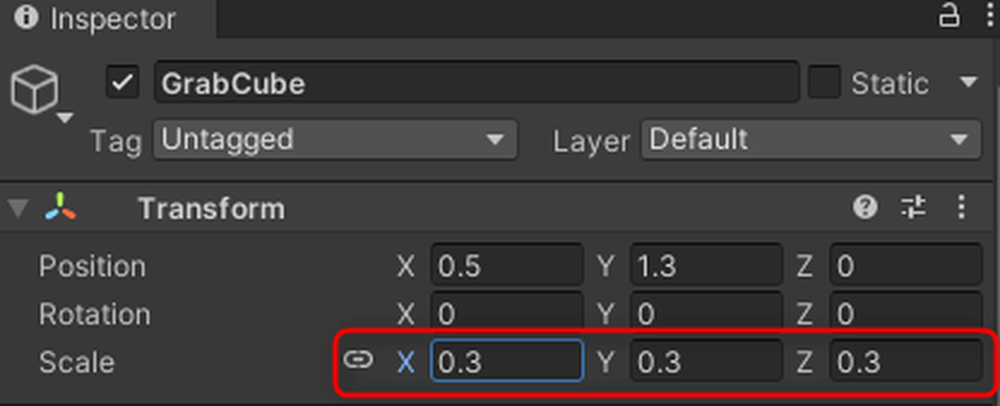
Resizing the cube to 30 cm per side
The [GrabCube] has a RigidBody attached, so gravity will cause it to fall. To prevent this, create a base for it to sit on.
Create a new Cube in the scene and position it underneath the [GrabCube]. You don’t need to change its size.
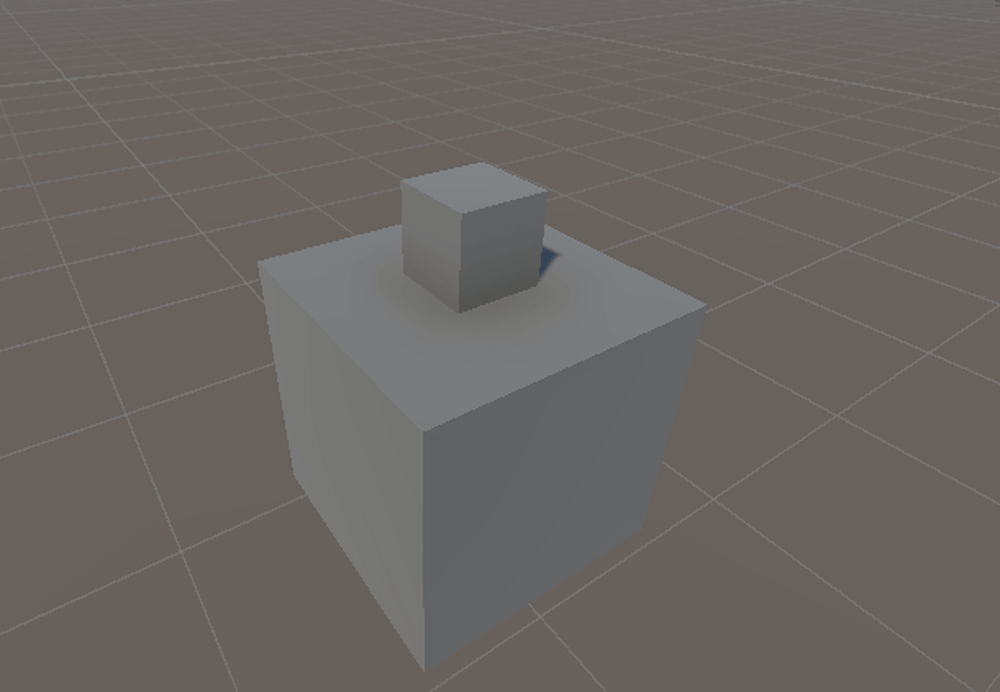
Placing the base
When uploading multiple objects, group them together and create a Prefab.
Create an empty GameObject, name it [GrabPrefab], and move both the [GrabCube] and the base under it.
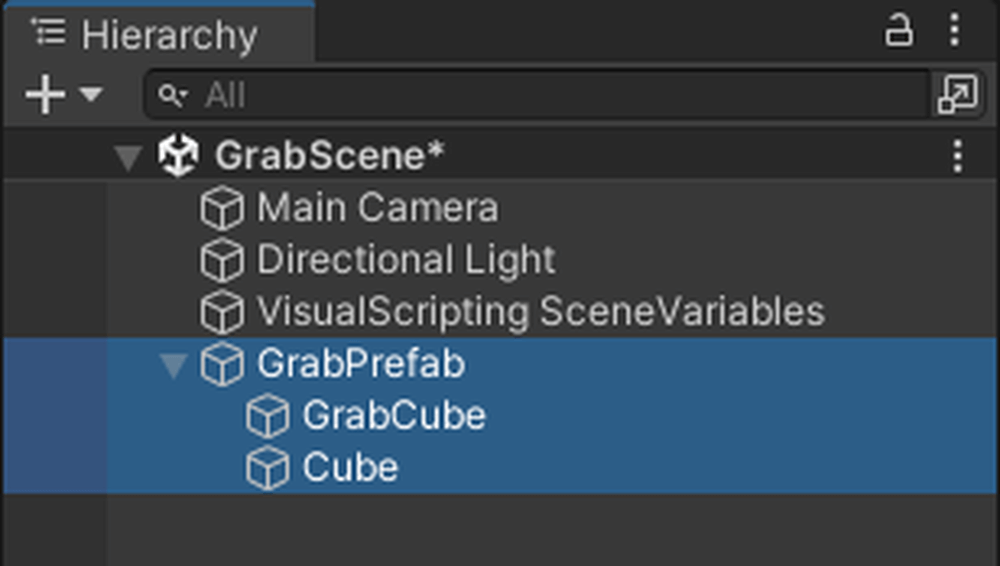
Prefab creation
Drag and drop the [GrabPrefab] into the Project window to create a Prefab (you’ll see the icon turn blue).
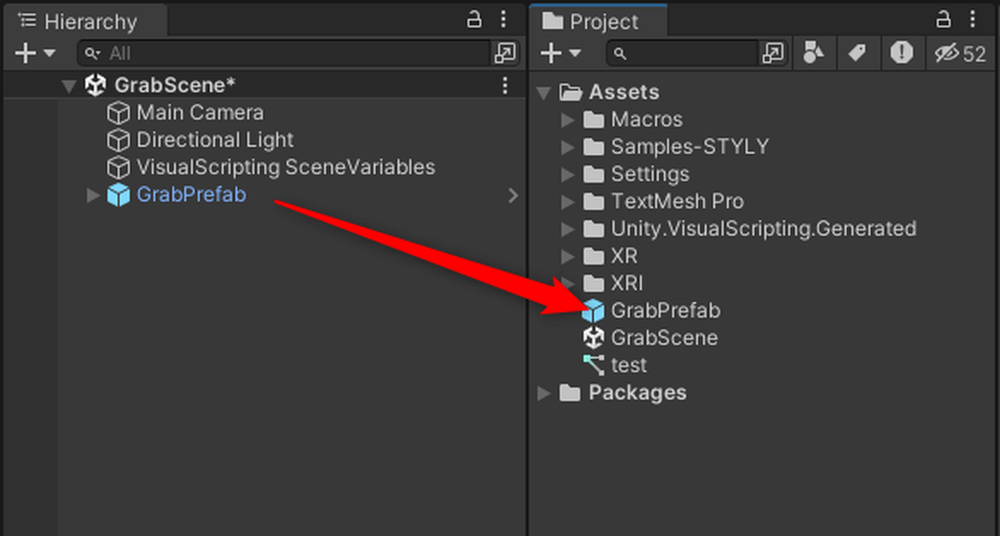
Drag and drop GrabPrefab into the Project window
Right-click on the Prefab [GrabPrefab] and select STYLY → Build prefab.
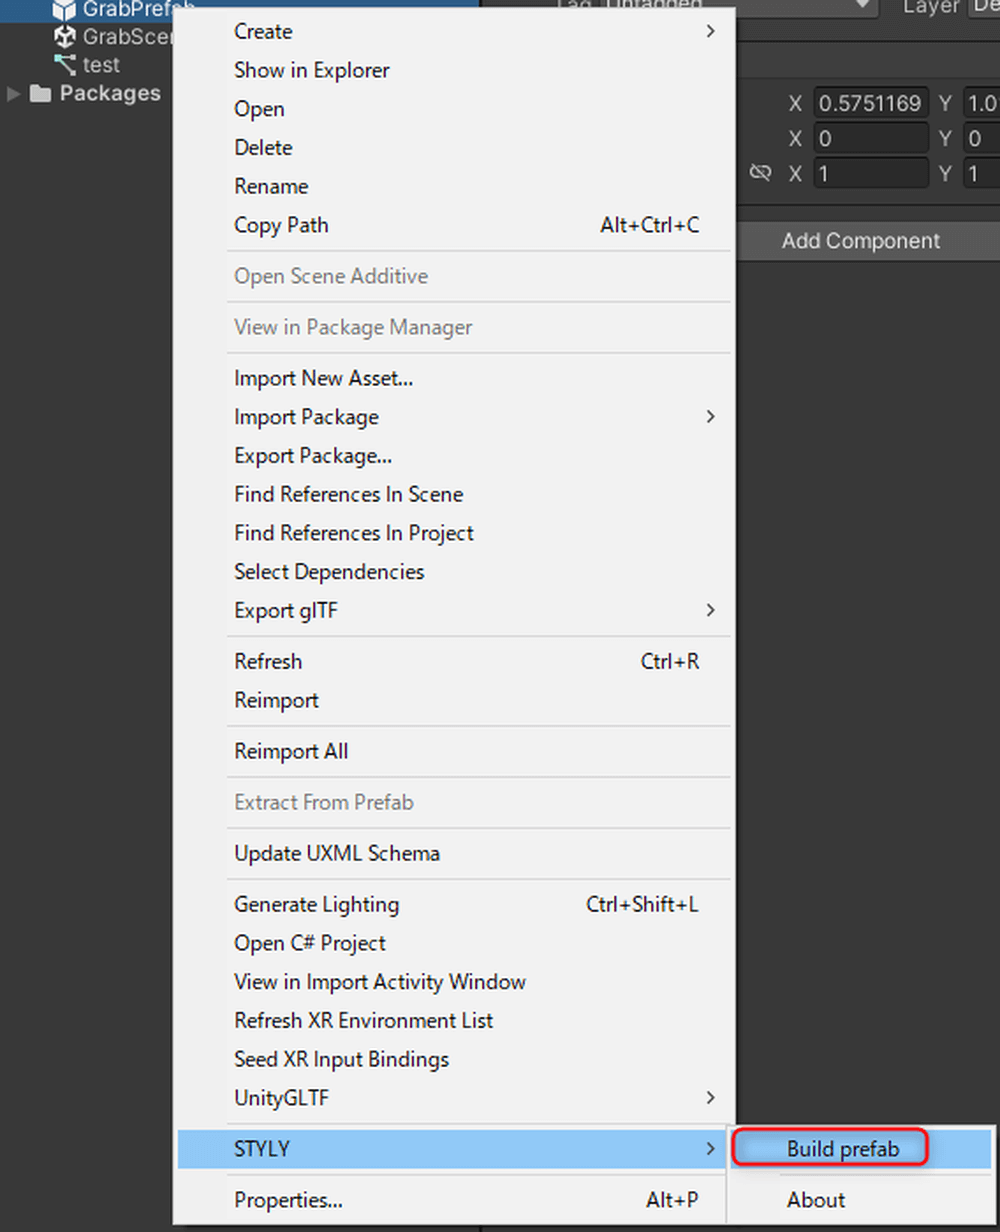
STYLY → Build prefab
Your browser will open automatically.
After creating an account and logging in, you’ll see a screen like this. Click on [+ New content].
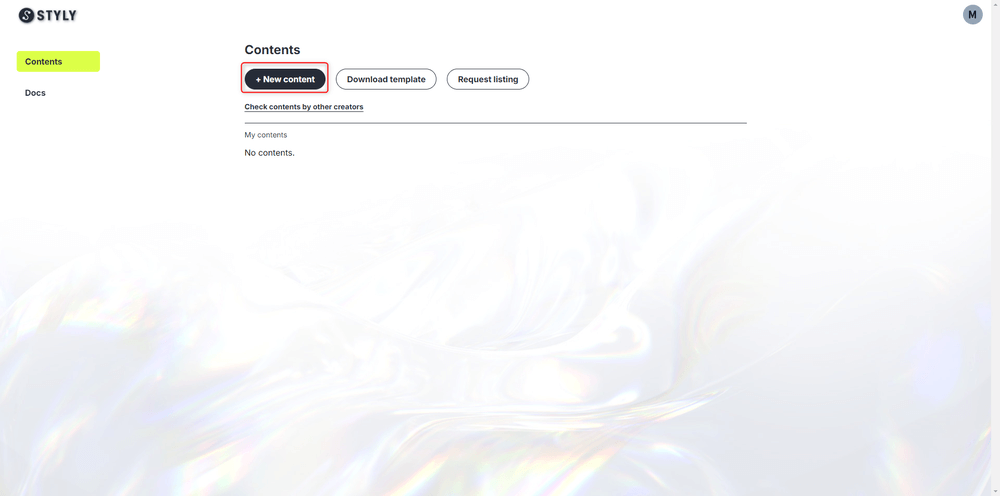
+ New content
Set a title—[GrabColor] is used in this example.
Next, drag and drop the generated folder from the [_Output] folder within your project into the Select file section, then click Upload to finish.
All other settings remain at their default values.
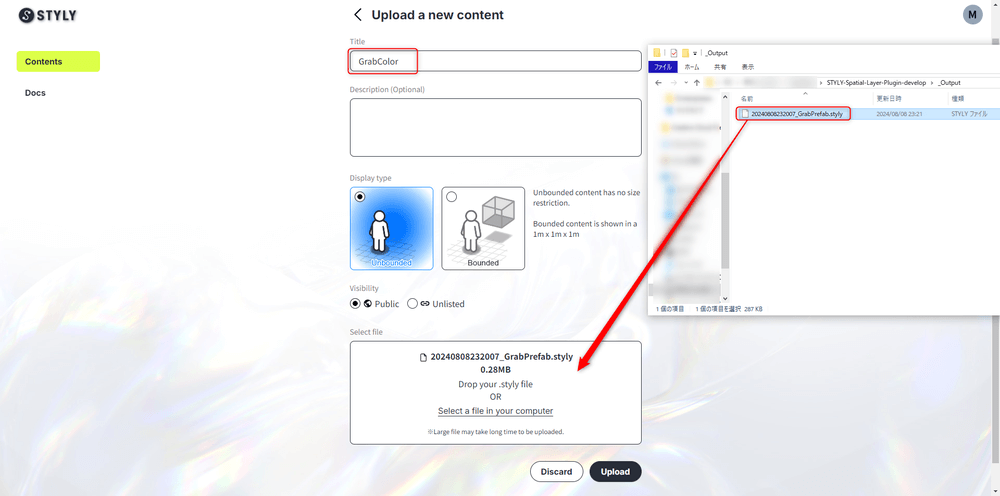
Upload
This time, we introduced how to integrate Visual Scripting with STYLY For Vision Pro.