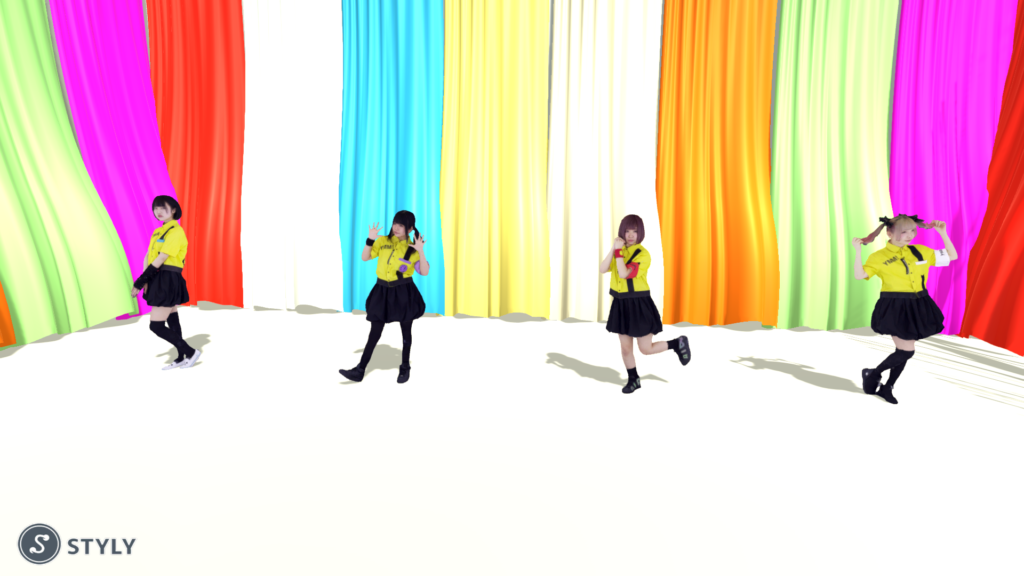
This is ‘You’ll Melt More!’. In this series, I introduce how to make a VR space to exhibit costumes. The third episode is ‘Ikiro!!’ (Live!). Except for the models of the members, I created all objects in the VR space for ‘Ikiro!!’ in Unity and uploaded to STYLY. And, the word, ‘Ikiro’, written by the members changes every few seconds. I create this kind of actions by Playmaker (Unity). Now, I explain the concept design (the direction for space design) and the actual design process of the VR space.
Concept design (direction for space design)
You’ll Melt More! ‘Ikiro!!’ (Official Music Video)
I planned to reproduce the MV of ‘Ikiro!!’ in VR space, as it is. You find eight members in the MV, don’t you? It’s published on 17th July 2014 and it tells the choreographer was Momobi. I feel the history of ‘You’ll Melt More!’ here.
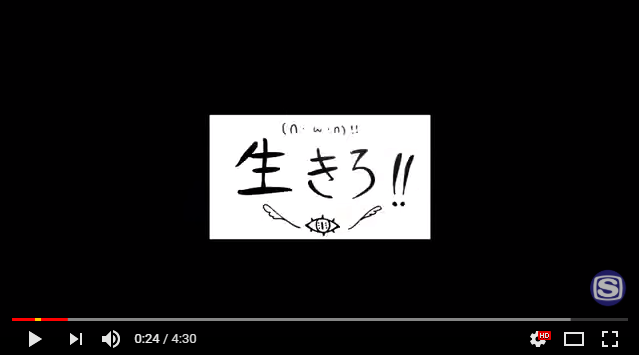
At 0:24 in the MV
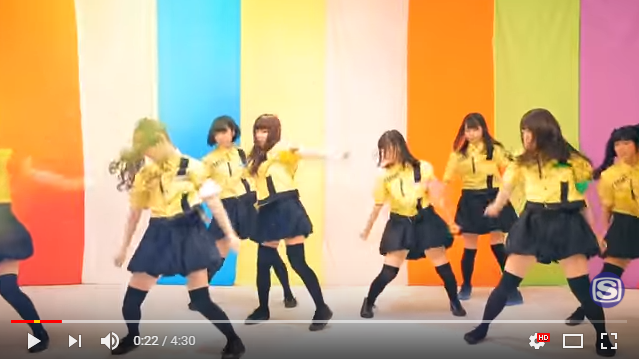
At 0:22 in the MV
I decided to reproduce the scene at 0:22 in the MV as it is. Then, I planned to place the image of the word, ‘Ikiro!!’, written by the members, in the space, and arrange the members in a simple way. I thought it would be interesting to visualize the message, ‘Ikiro!!’, for viewers to be inspired.
How to make the space
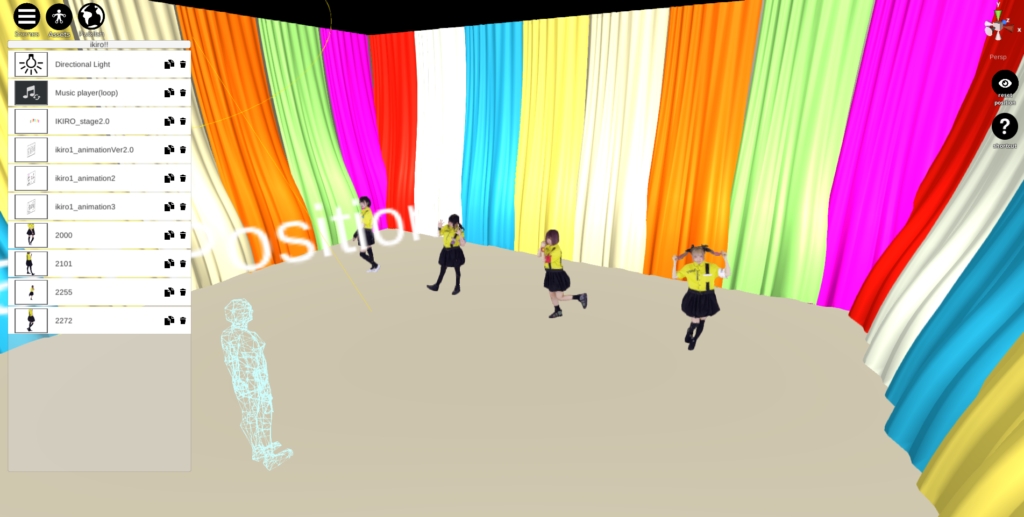
A snapshot of the design work for ‘Ikiro!!’ in STYLY Web Editor
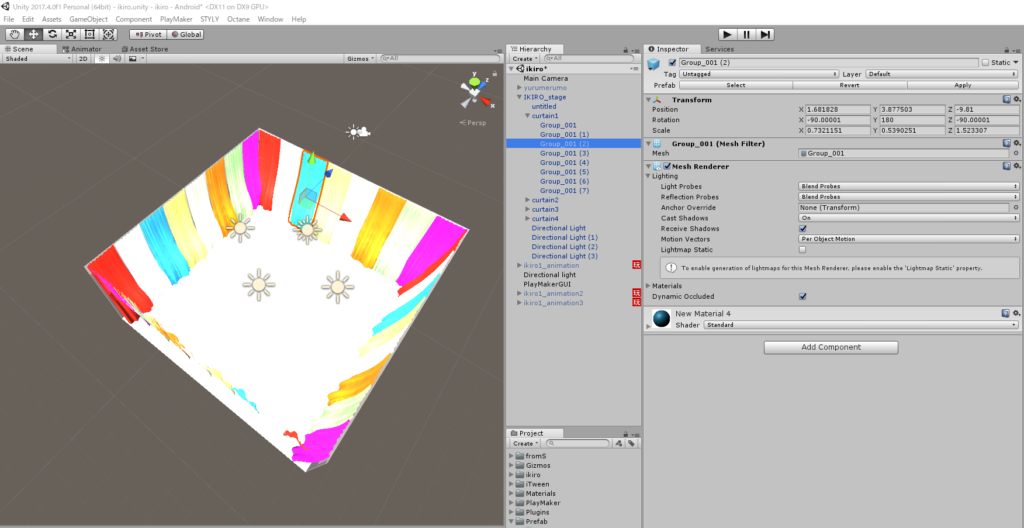
Unity screen
Create a square room in Unity and place the curtains while changing the colour for each curtain. Intensify the lighting by pointing 4 Directional Lights to the curtains. Next, make a mechanism to switch the image on the ‘Ikiro!’ panel every few seconds. We use Playmaker to create that system. Refer to the following to learn about Playmaker.
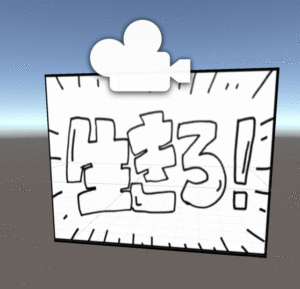
How to switch the ‘Ikiro!!’ panel in Unity
Next, I will show the mechanism to switch the image on the ‘Ikiro!!’ panel every five seconds.
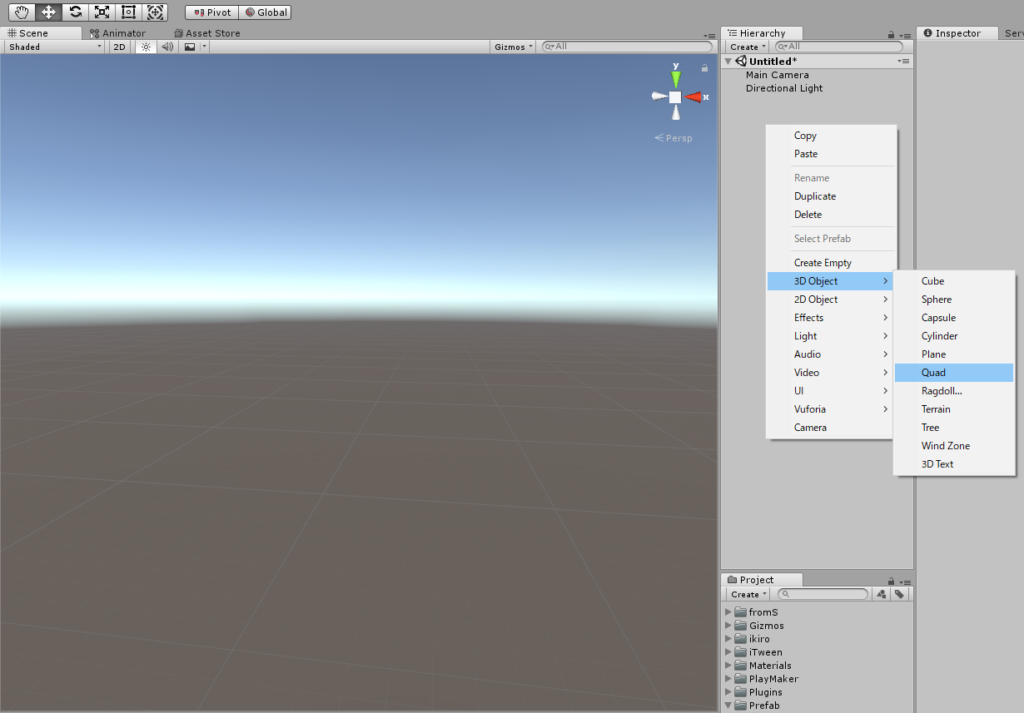
How to create the ‘Ikiro!!’ panel #1
In the Hierarchy menu, right-click and go to [3D Object] > [Quad] to create a panel in the Scene.
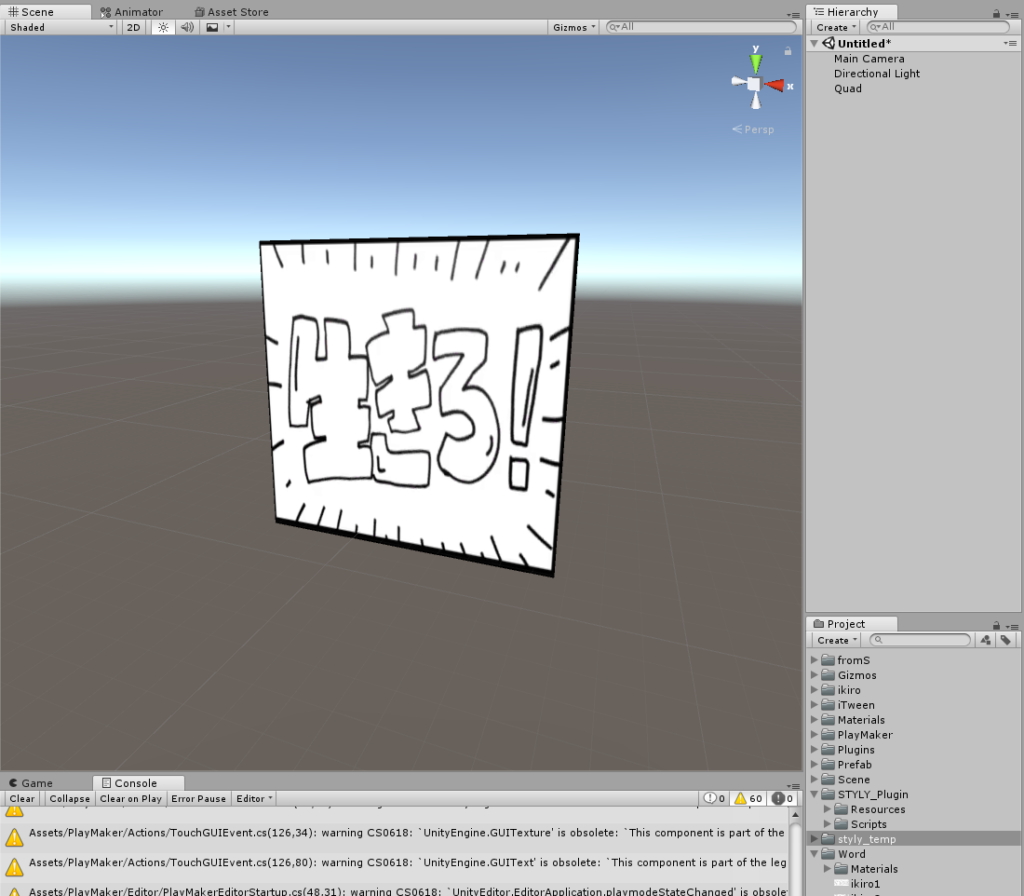
How to create the ‘Ikiro!!’ panel #2
Place the image (‘ikiro.jpg’ in this example) to the Project view. You can drag from the folder into the Project view directly. Next, drag ‘ikiro.jpg’ in the Project view onto the Quad created in the Hierarchy menu. Then the image is attached to the Quad. Create another three panels in the same way.
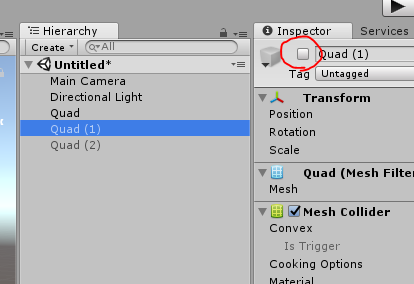
How to create the ‘Ikiro!!’ panel #3
Once you created the three panels, overlap those together (set the X-axis of each panel to zero). Then, uncheck the box (in the red circle above) for Panel 2 and Panel 3 to hide them as the initial condition to switch the image of the panel.
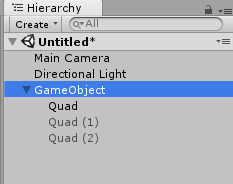
How to create the ‘Ikiro!!’ panel #4
Create a GameObject and drag the Panel 1 to 3 onto it to group them.
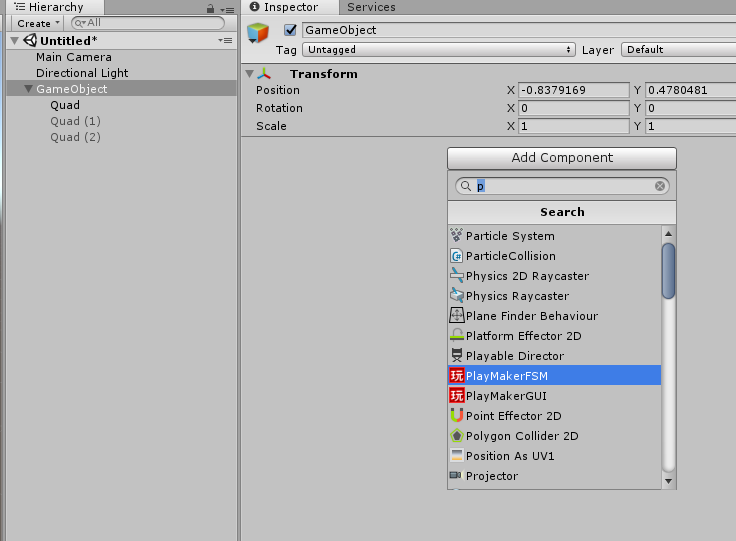
How to create the ‘Ikiro!!’ panel #5
Click ‘Add Component’ in the Inspector of the GameObject and select ‘Play MakerFSM’. Next, I explain what actions we need to add to Playmaker. The outline of the Action sequence is as follows; Display Panel 1 for five seconds > hide Panel 1 and show Panel 2 > Display Panel 2 for five seconds > Hide Panel 2 and show Panel 3 > display Panel 3 for five seconds > Hide Panel 3 and show Panel 1 (i.e. it returns to the beginning). We make this by Playmaker.
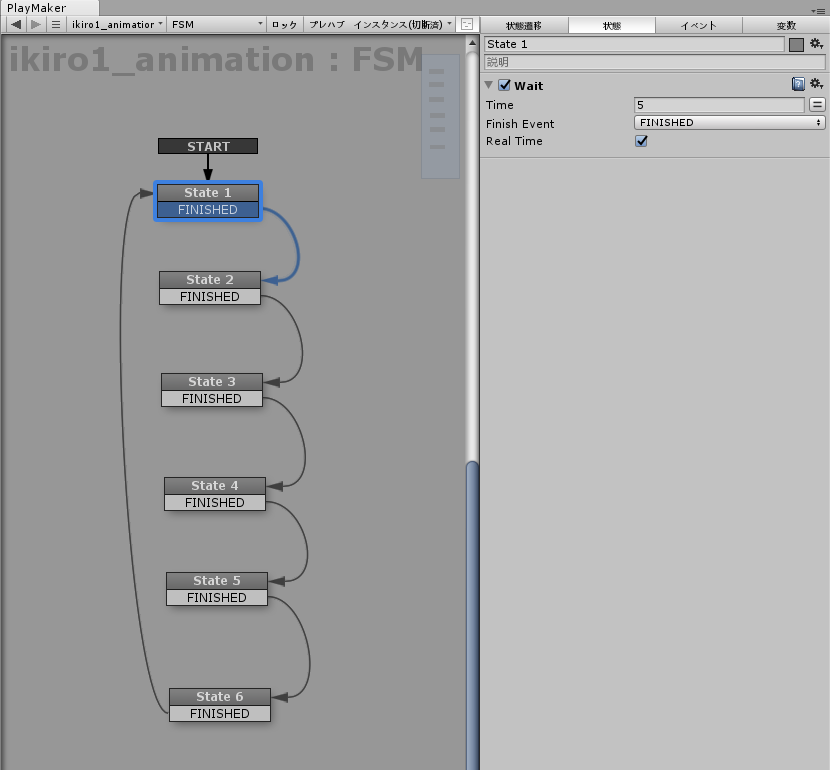
Playmaker State #1
Use the Wait action in ‘State 1’. Set Time to 5 and check the Real Time box. It means Panel 1 is displayed for five seconds.
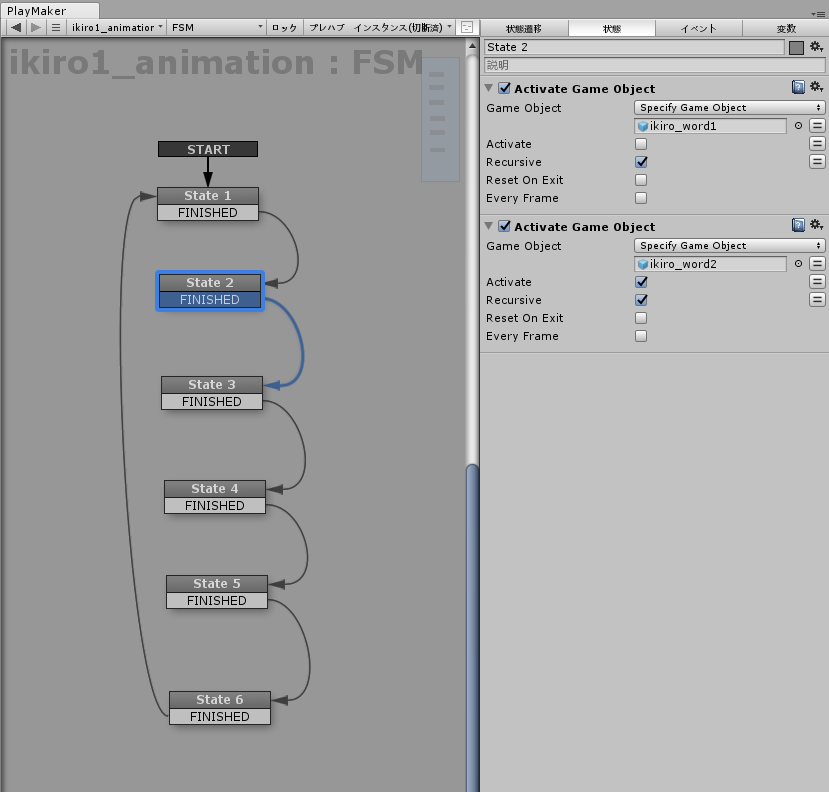
Playmaker State #2
In State 2, use the ‘Activate Game Object’ action. ‘Activate Game Object’ can toggle hide/unhide for an object. Uncheck the Activate box for Panel 1 to hide and check the Activate box for Panel 2 to show. Repeat this sequence for Stage 3 to Stage 6.
By Playmaker (Unity), you can make an action you want in STYLY without any coding.