Hi! SensitiveCube here!
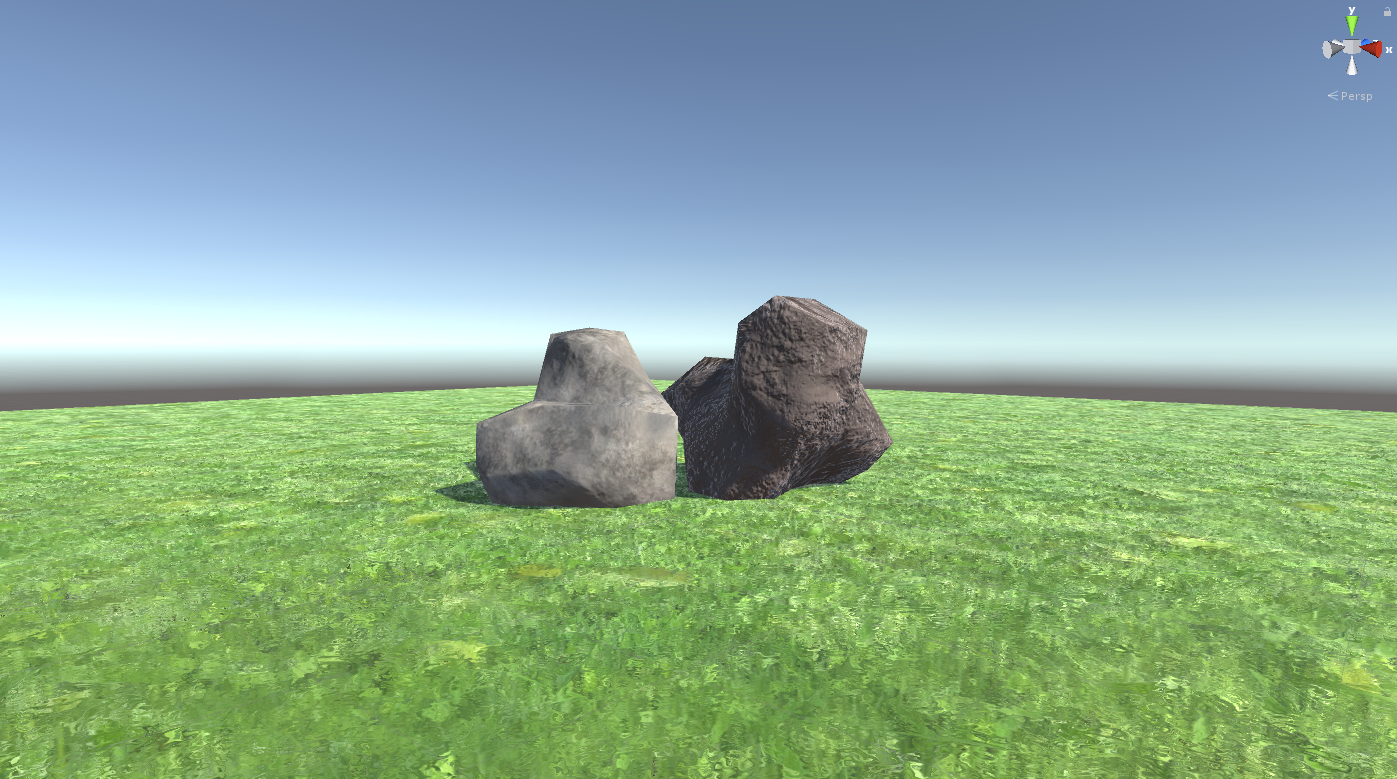
In this tutorial, I’ll show you how to make several patterns of rocks. In part 1, you will learn basics of new CInema4d R20’s volume modeling. Part 2, I ‘ll show you the beginning of Substance Painter.
an image of texturing with substance painter
Create UV map with Cinema4D
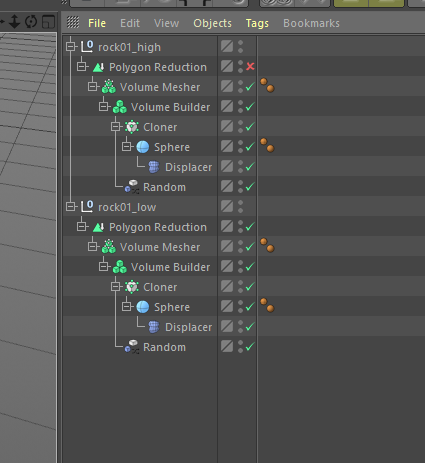
Let’s prepare for export. We need two object each patarn, LowMesh and HighMesh.
LowMesh : will use in Unity and STYLY, Polygon Reduction on, need UV map.
HighMesh : Just for textureing, Polygon Reduction off, UV map is unnecessary.
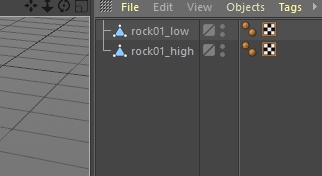
At first, Copy the set of a rock and change name like ‘rock01_low’ and ‘rock01_high’,
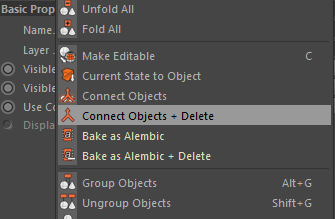
Turn off rock01_high ‘s Polygon Reduction and select all objects inside the set. Left click in Object panel and select ‘Connect object and delete’.
an image of texturing with substance painter
an image of texturing with substance painter
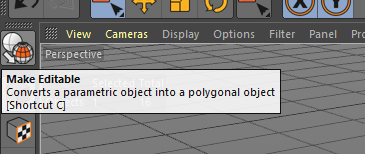
Go to Polygon Reduction in ‘rock01_low’ and hit ‘c’ key( = make editable) twice. Select all objects of ‘rock01_low’ and hit ‘Connect object and delete’.
an image of texturing with substance painter
an image of texturing with substance painter
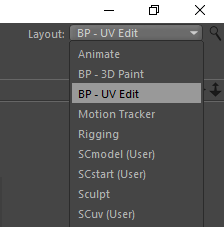
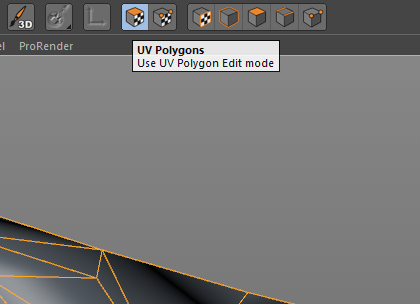
Make sure selecting ‘rock01_low’ and change Layout to ‘BP – UV Edit’. HIt the ‘UV polygons’ icon and hit Ctrl + A key. Goto UV Mapping > Optimal Mapping. Turn on Optimal (Angle) and set Macimum Distortion to around 40% Spacing to around 2%. Then hit Apply. HIt the Model icon and back to normal Layout such as Startup. Exprot these two object to FBX and modelling section is done!
an image of texturing with substance painter
an image of texturing with substance painter

an image of texturing with substance painter
texturmaking with substance painter : bake high mesh to low mesh
The models are ready but textures are not. This time I use Substance painter.
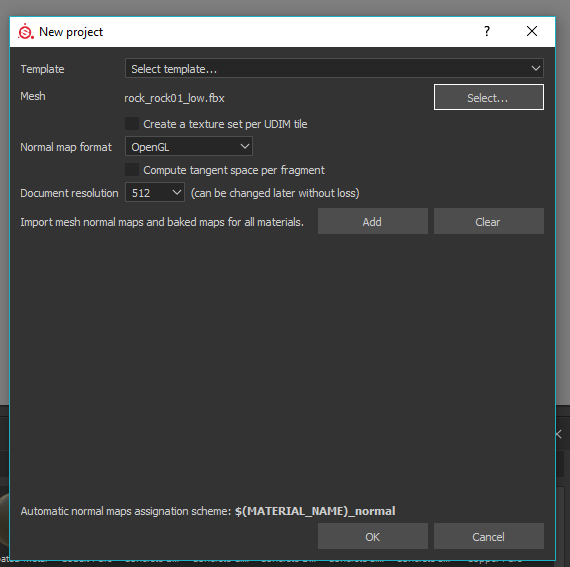
At first, select File > New. The window will open. Hit Select button and set ‘rock01_low.fbx’. Then hit ok.
an image of texturing with substance painter
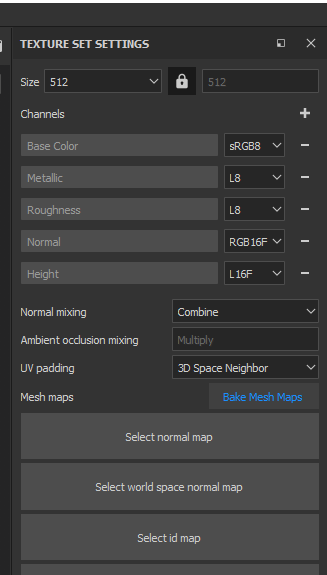
The polygon mesh will loaded. Lets add some details. First, add details from ‘rock01_rock01_high’. In other word, bake normals from high-mesh to low-mesh. Hit the Bake Mesh Maps button in Texture Set Setting panel.
an image of texturing with substance painter
an image of texturing with substance painter
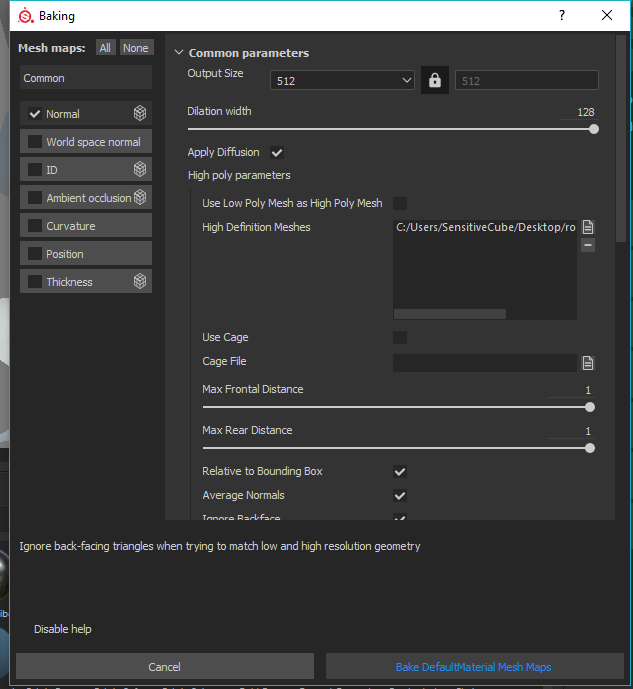
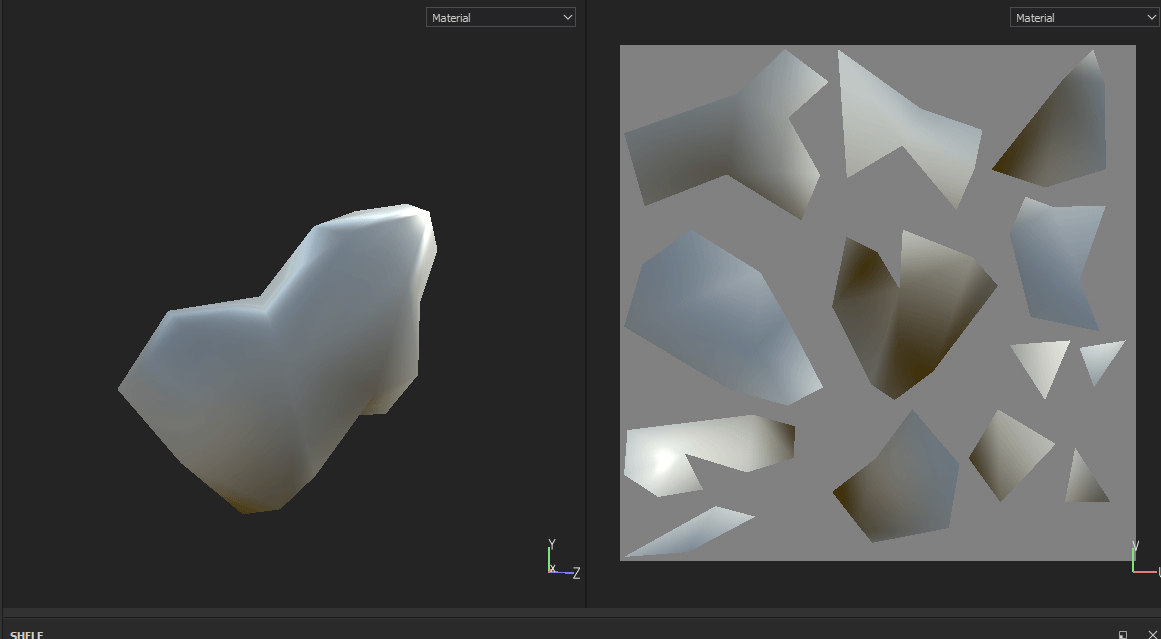
Baking window will appear. In left side of window, turn on Normal and turn off others. Then, goto right side. Add ‘rock01_rock01_high’ to High Definiton Meshes. Set both Mac Frontal Distance and Max Rear Distance to 1. And hit the Vake DefualtMaterial Mesh Maps. As a result, The low mesh get some details from High mesh.
an image of texturing with substance painter
an image of texturing with substance painter
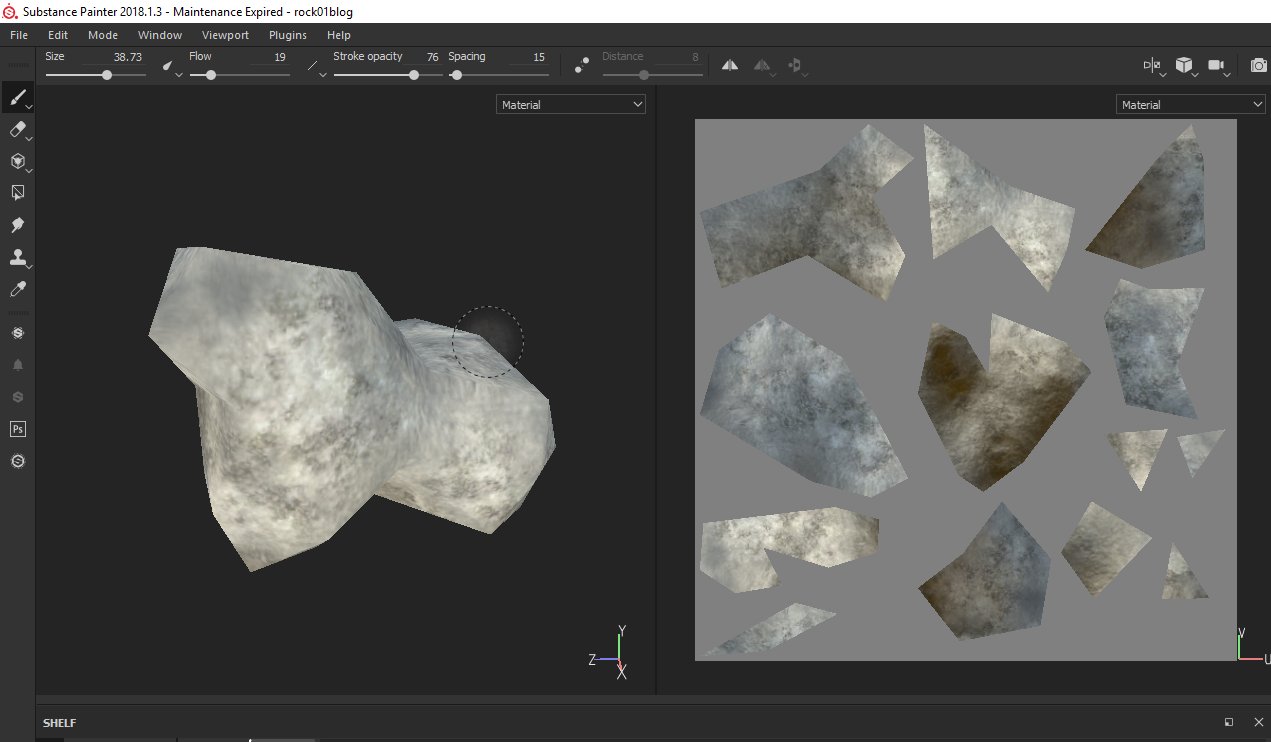
texturmaking with substance painter : 3D painting
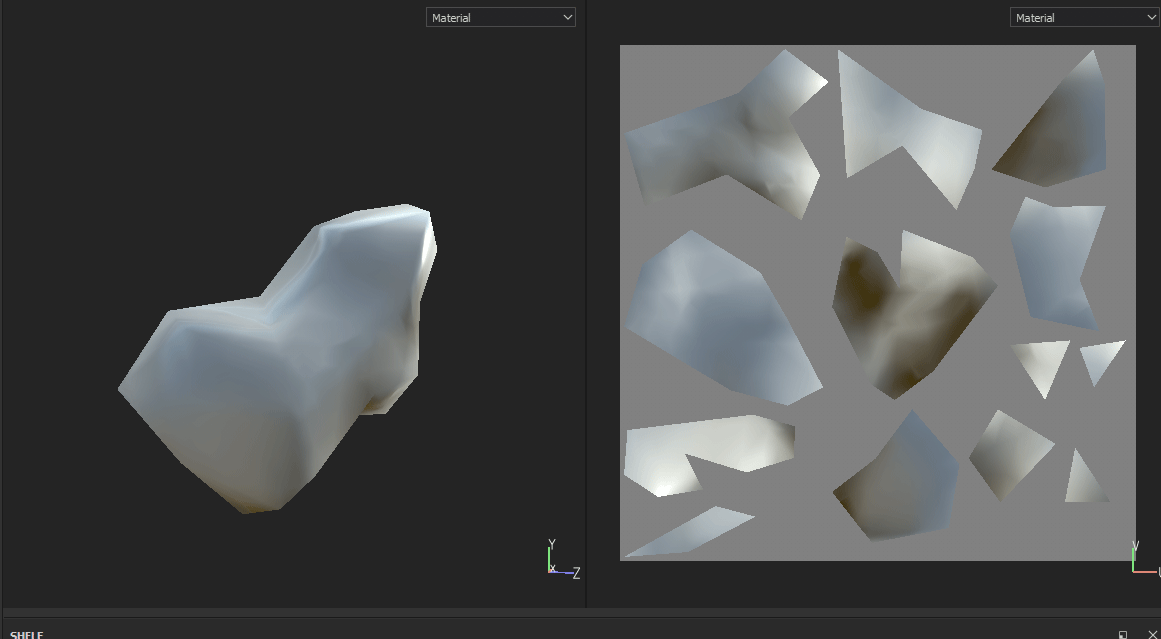
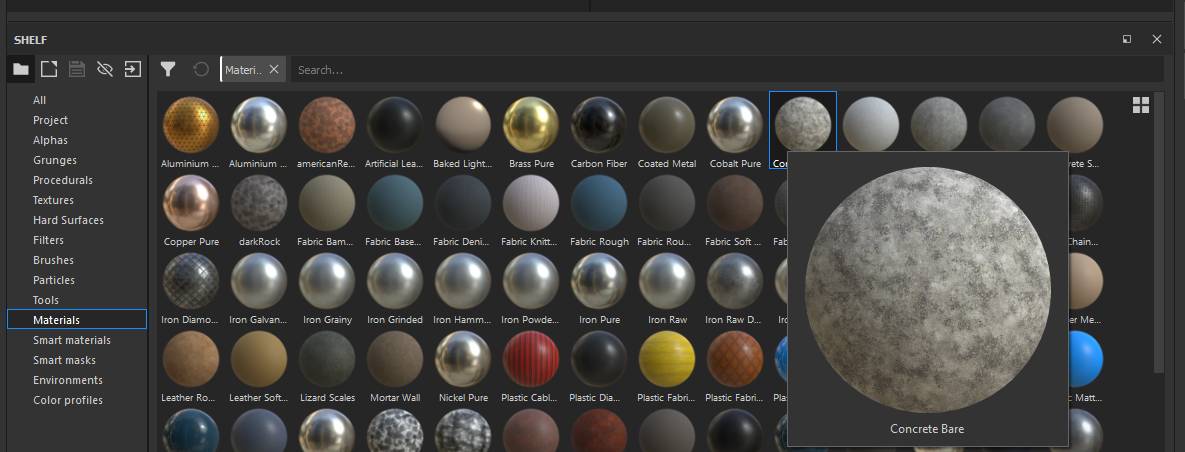
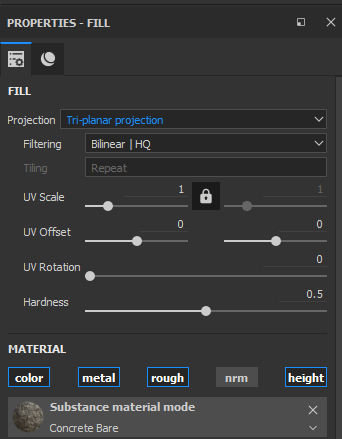
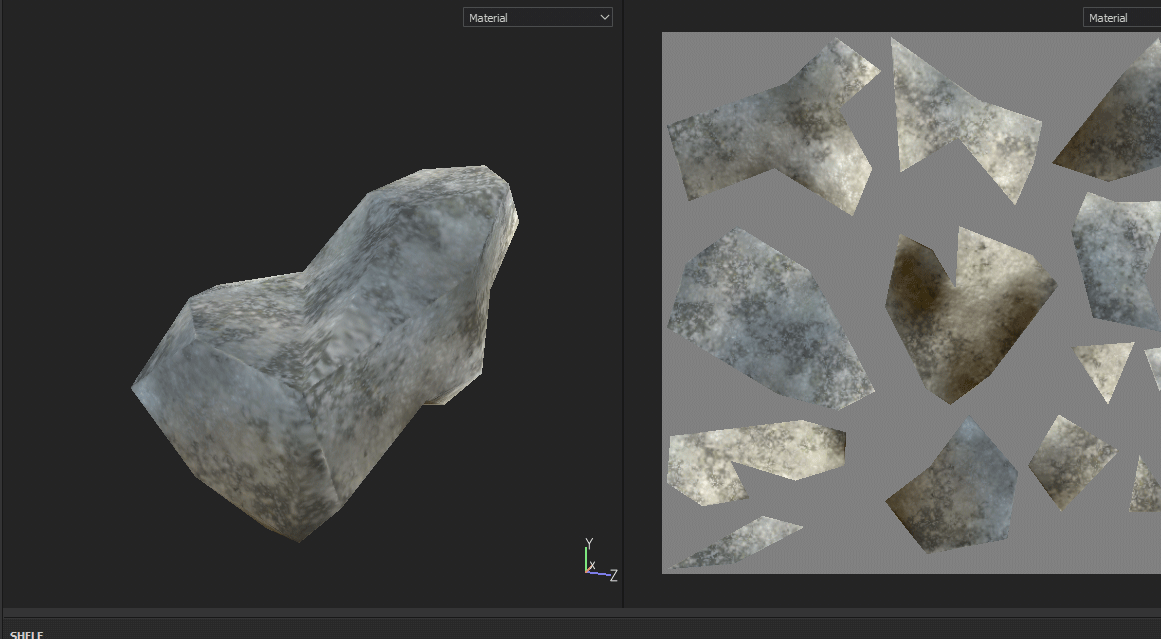
We need more details. This time use material and layer. The mesh became better, but still too clear. Goto Shelf > Materials and select Concrete Bare. Drag to this to Layer. In Properties, change Projection to ‘Tri-planar projection’. The rock mesh became better.
an image of texturing with substance painter
an image of texturing with substance painter
an image of texturing with substance painter

an image of texturing with substance painter
an image of texturing with substance painter
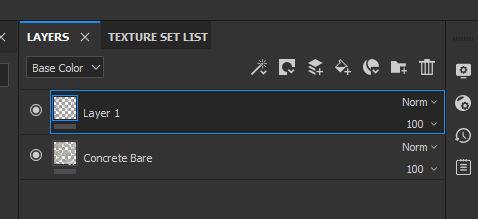
Let’s tweak bit. Add new layer and set Brush. Paint the mesh in preview window.
an image of texturing with substance painter
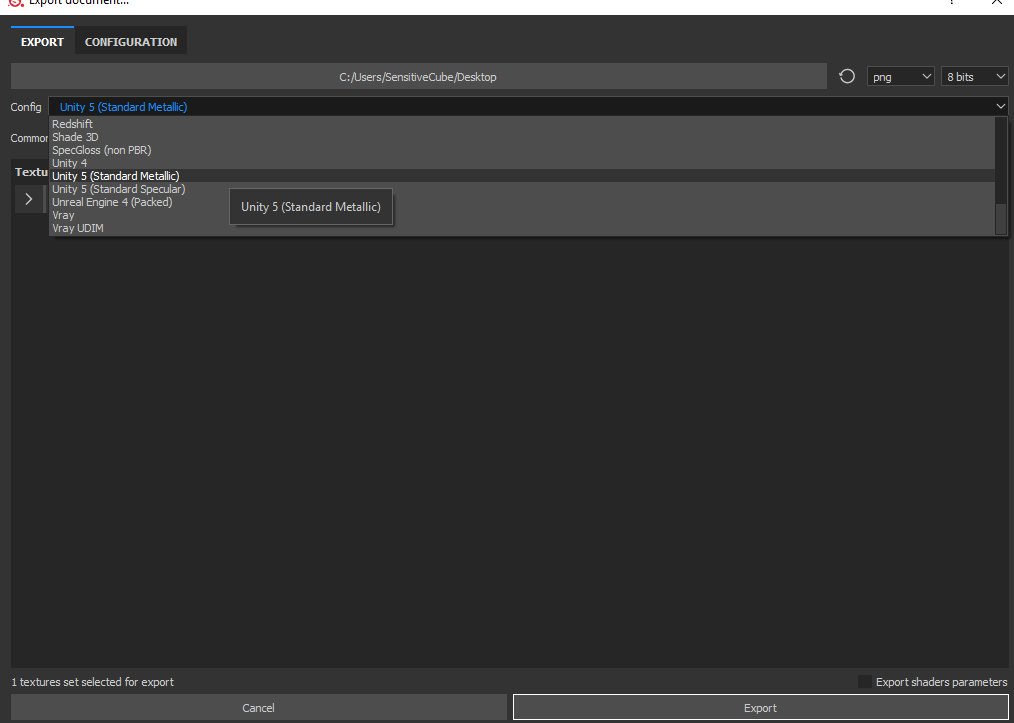
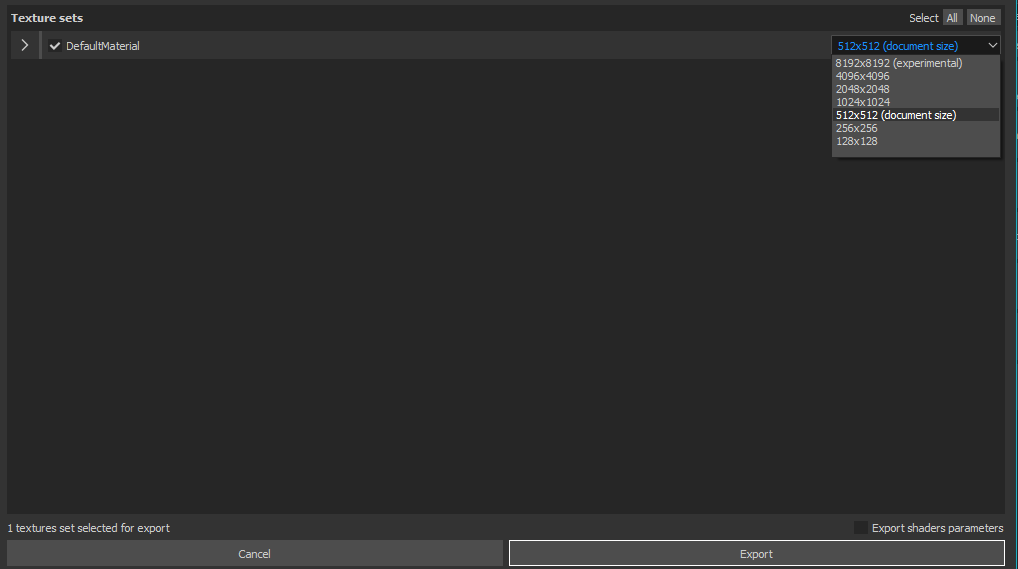
So, final moment with substance painter. GotoFile>Export Textures. Set Config to Unity 5(Standerd Metalic) and Check size is ok. Hit Export and Done.
an image of texturing with substance painter
an image of texturing with substance painter
an image of texturing with substance painter
Create materials with Unity
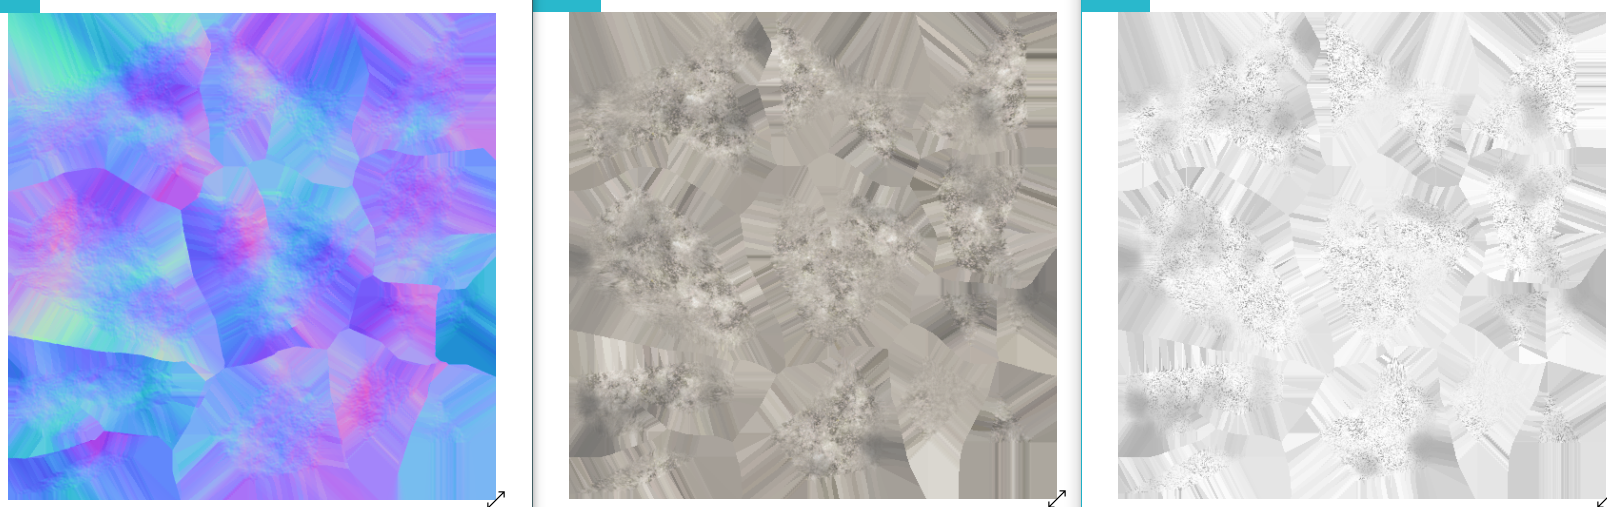
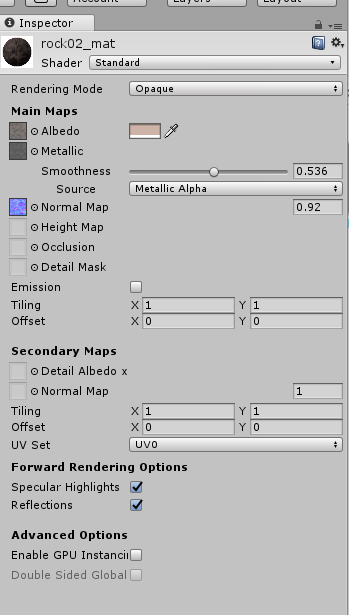
Turn up the Unity and import files, Lowmesh fbx and tree textures from substance painter. This time, I use Unity’s default material. Just add textures to material. Don’t forget hit Fix button in normal area. Bit tweak the material bit and done!
an image of texturing with substance painter

an image of texturing with substance painter
Now you can up load to STYLY. Enjoy!