Hello! Today’s article is about the SensitiveCube. I’m going to show you how to use Playmaker and Unity to set objects to face the player STYLY, just like the “Target” feature in C4D, or the “look at” feature in Maya and 3dsMax. We are also going to have a closer look at simple texture animation using ShaderForge. Let’s get started! 😀
First, we are going to look at assets such as models and texture maps; in chapter 2, we are going to see how to set up (and rig) the laser using Playmaker; in chapter 3, we’ll take a closer look at simple texture animation using ShaderForge. Finally, let’s check them out in STYLY and you’re done!
Prepare with Cinema4d, Photoshop and Aftereffects
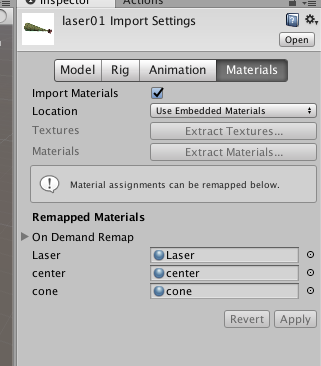
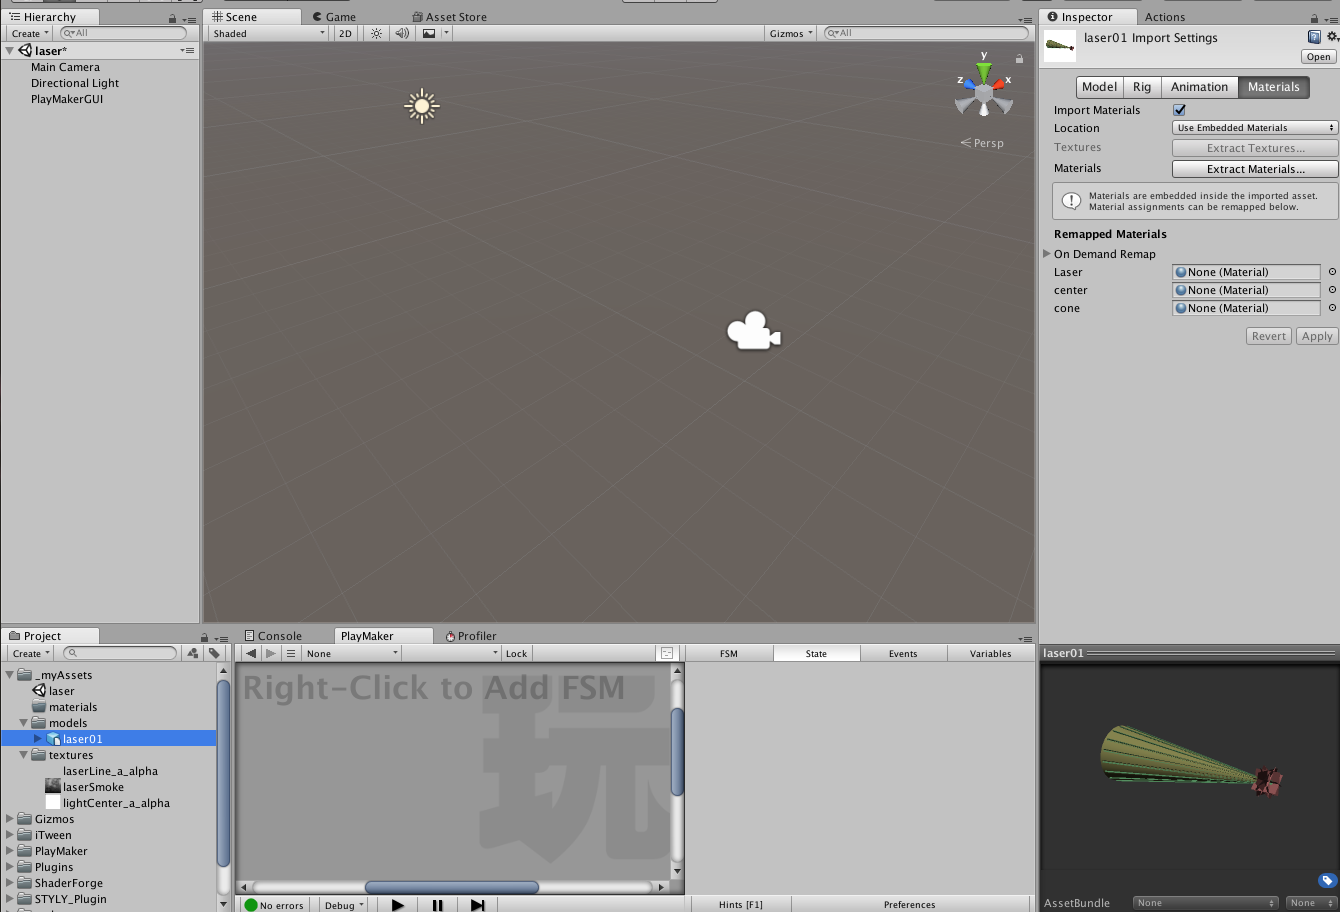
First, let’s We review the assets we are going to use in this tutorial. For this scene, we are going to use three objects and three materials each, and to export in FBX format, go to File and select menu > Export… > FBX(.fbx).
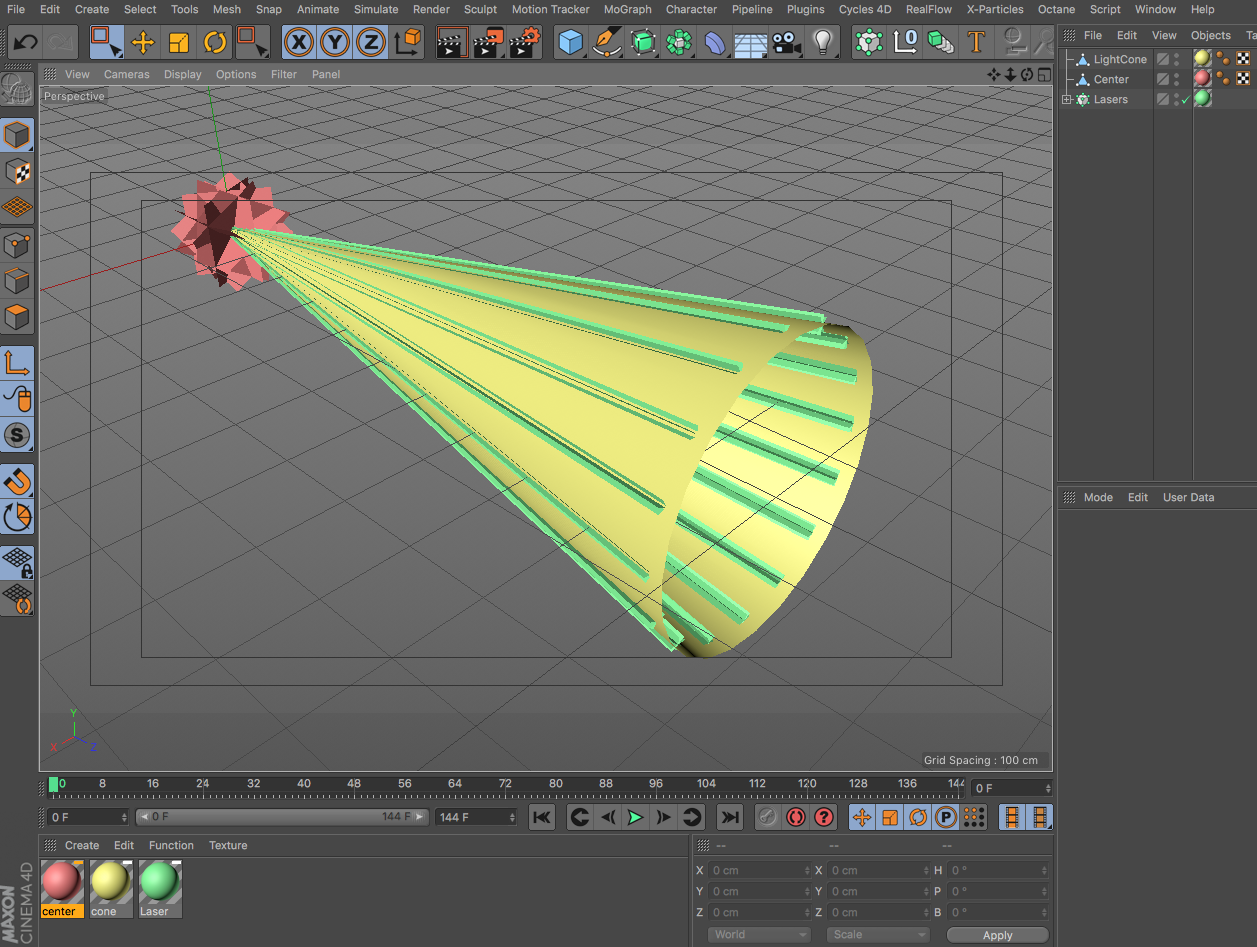
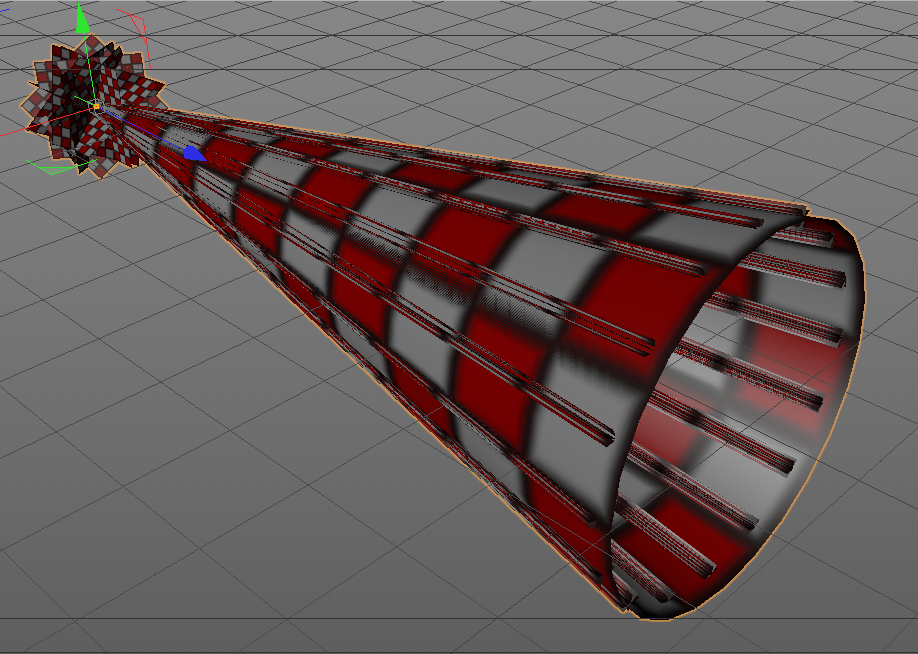
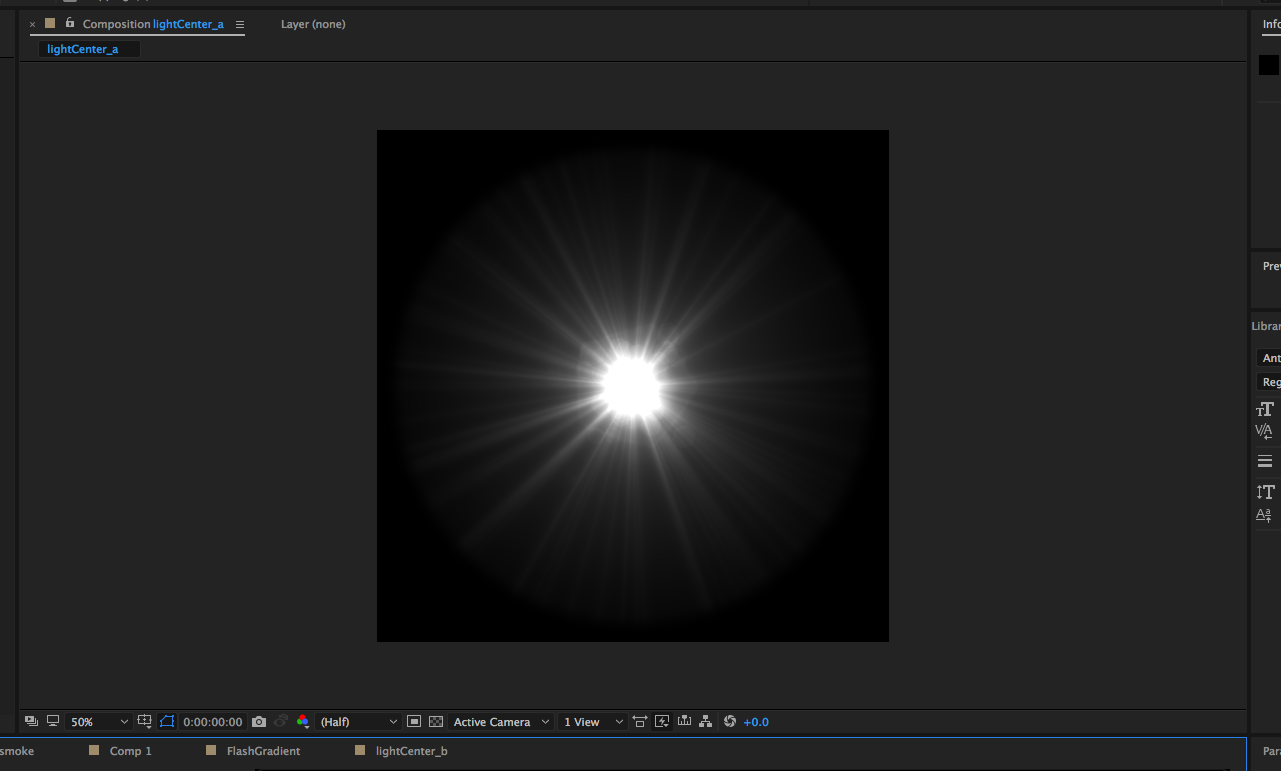
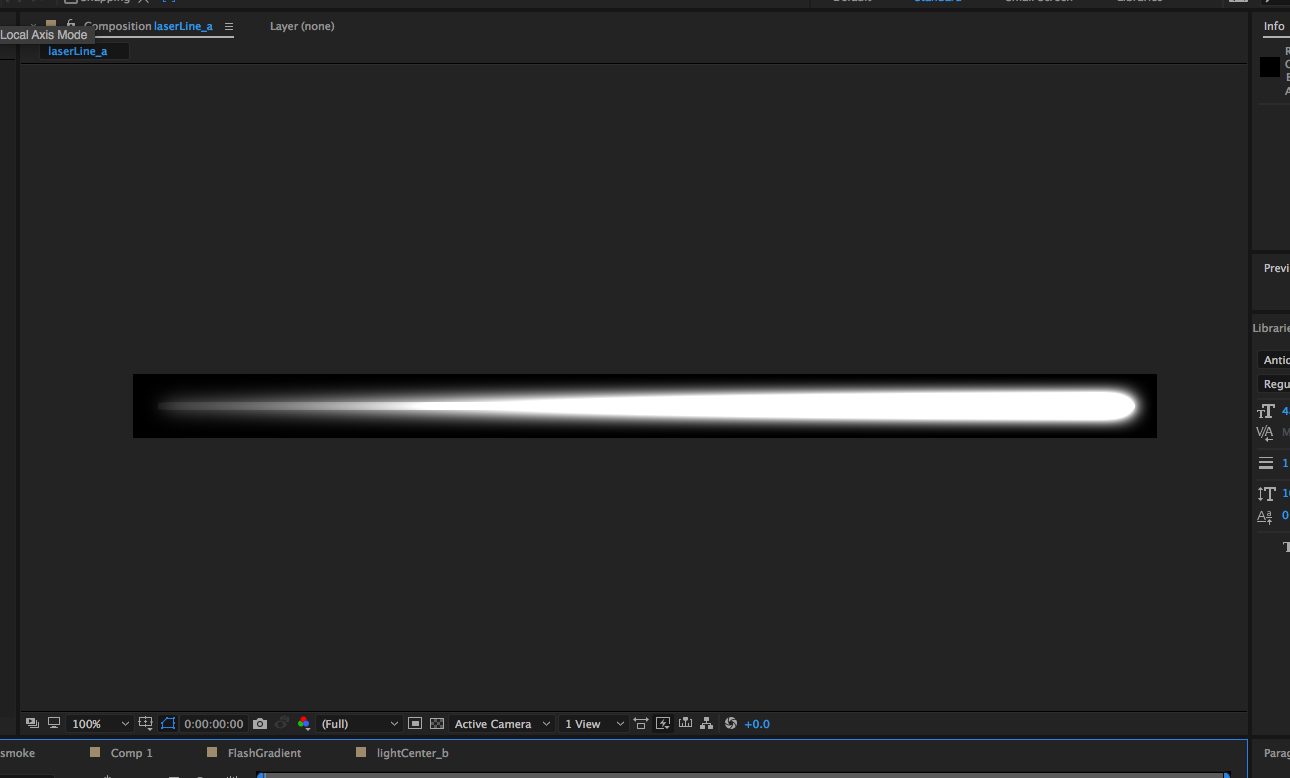
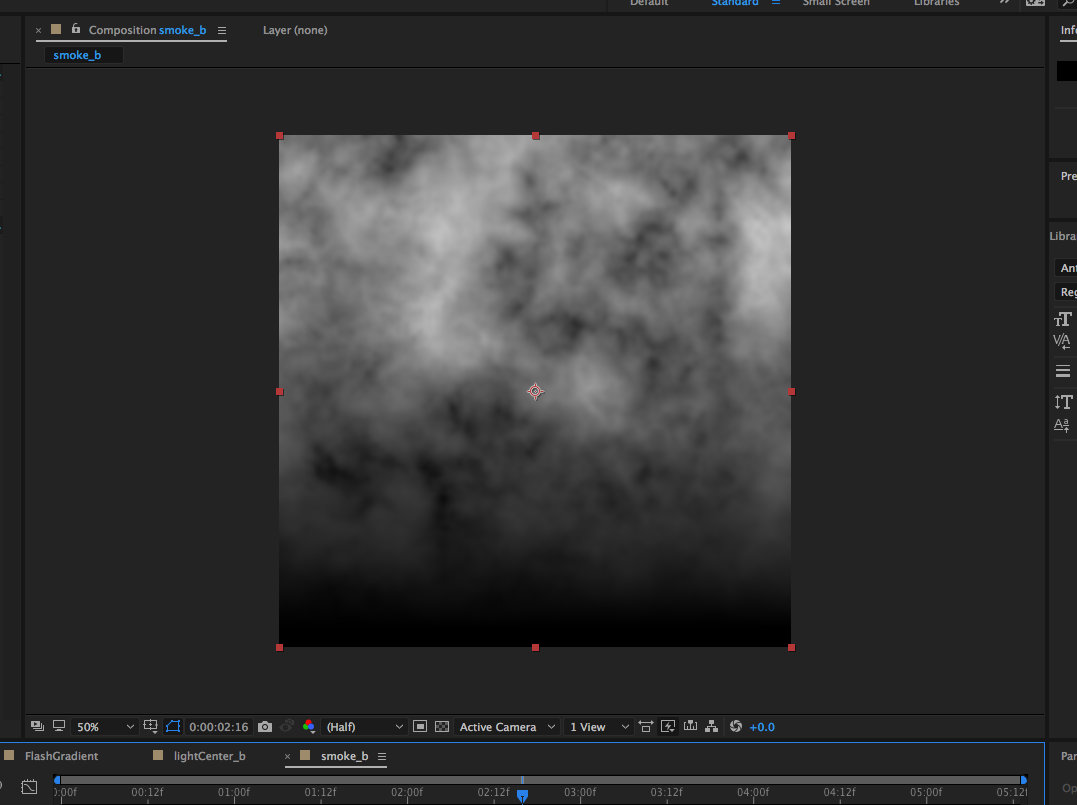
In the Laser by SensitiveCubeLaser by SensitiveCube export settings window, uncheck all the General checkboxes and check the Textures and Materials in the Additions. Name the file “Lase01.fbx” and save it. Three textures are required for each model. These are all images in grayscale.
Setting up with Playmaker
Set the laser so it always points at the player. All you need to do here is to get the player’s position information and set the laser direction to change to the player at each frame. To do so, we use the “Find Game Object” and “Look at” actions.
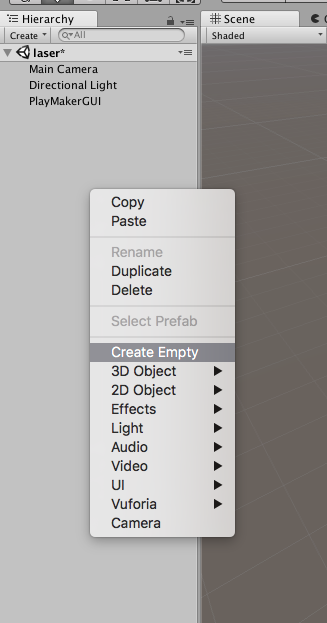
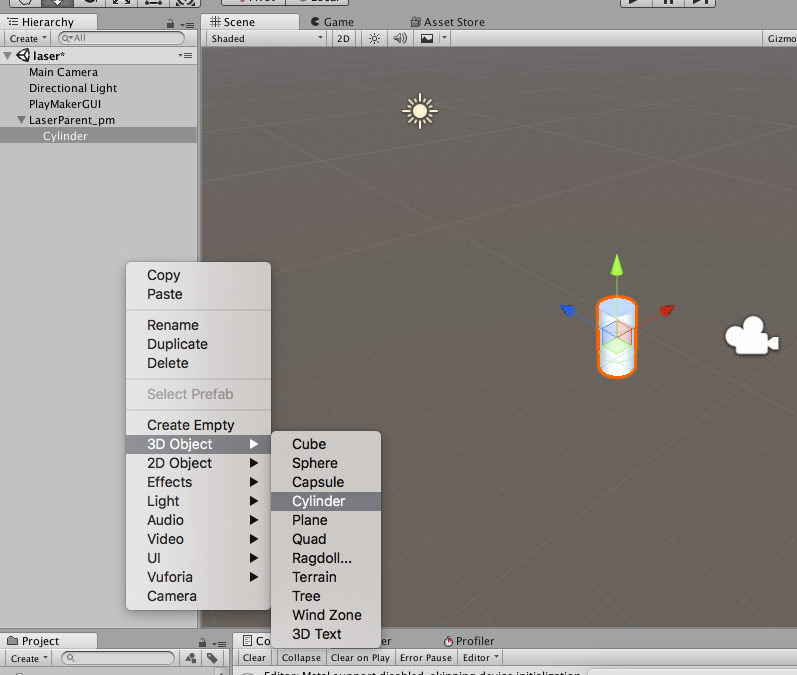
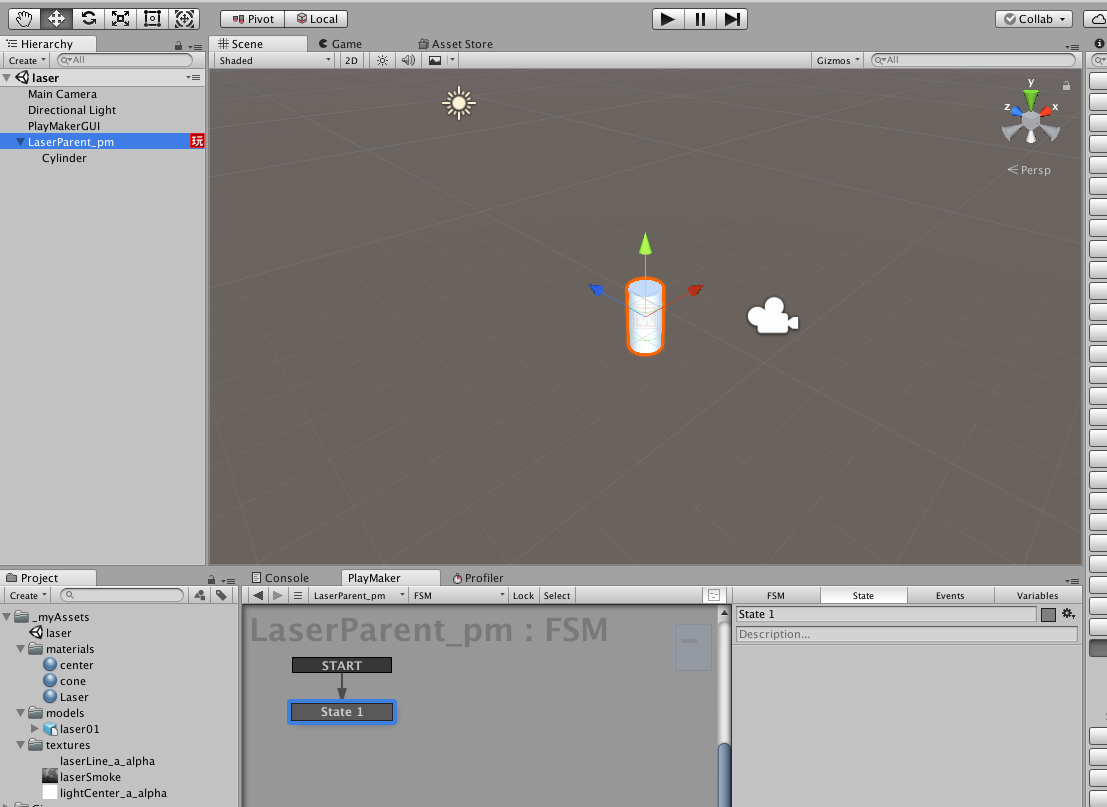
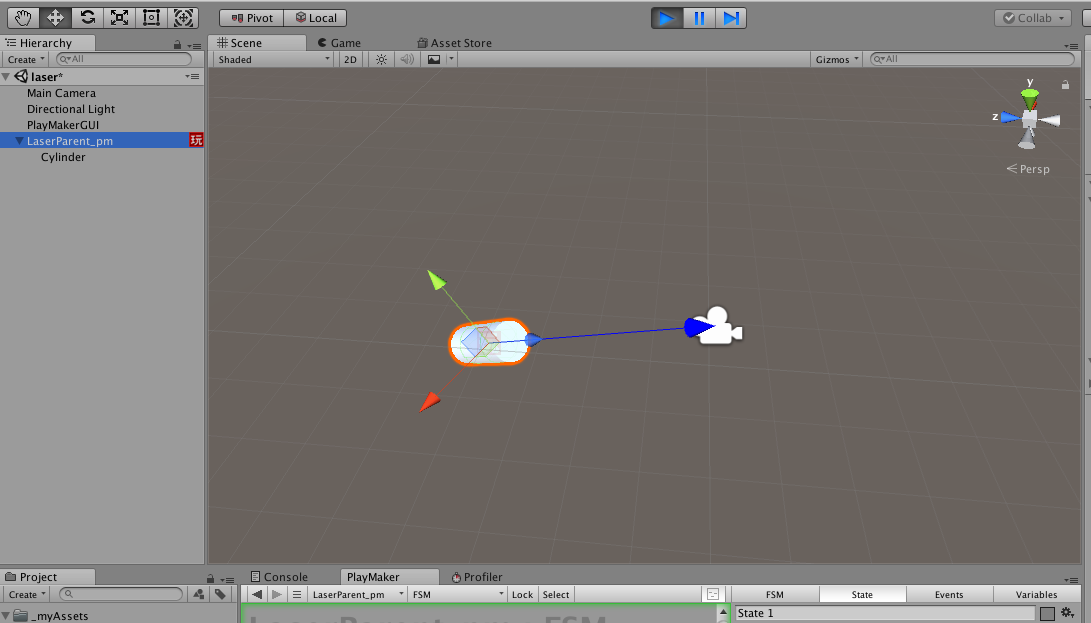
Before we edit the last model, let’s set these up: left click on the Hierarchy window and create an empty object with Create Empty. Change the name to “LaserParent_pm” so that you can create a “GameObject”. Left click on the side hierarchy window and select 3D Object > Cylinder. This cylinder should be created as a child object of LaserParent_pm. Then select “LaserParent_pm” to open the Playmaker editor and add State 1 from the add state. This state has two additional actions “Get Main Camera” and “Look at”.
The first thing to do is to get the camera information. See the article below on how to get it.
![[Unity/Playmaker] How to implement camera acquisition and interaction with camera](https://styly.cc/wp-content/uploads/2020/01/GIF2-4-160x160.gif)
Select “Find Game Object”, enter “[VRTK]_VIVE” in the Object Name field, click on Store, click on New variables, type “mainCamera” and click on Create Variable. Next, select the “Look at” action and click on the “=” icon to the left of the Target Object. Make sure that ”Every Frame” option is selected, then select mainCamera and turn off “Keep Vertical”.

You can easily review the scene by clicking on the Play button and opening the Scene tab. While the scene is playing, you can move the Main Camera to check the movement. Don’t forget that your location will be reset when you finish playing. At this point, you may notice that the direction is wrong. Stop playback, select the Cylinder in the Hierarchy window, and change Rotation X to 90 in the Inspector window. Press play again so as to make sure the cylinder is pointing at the camera.
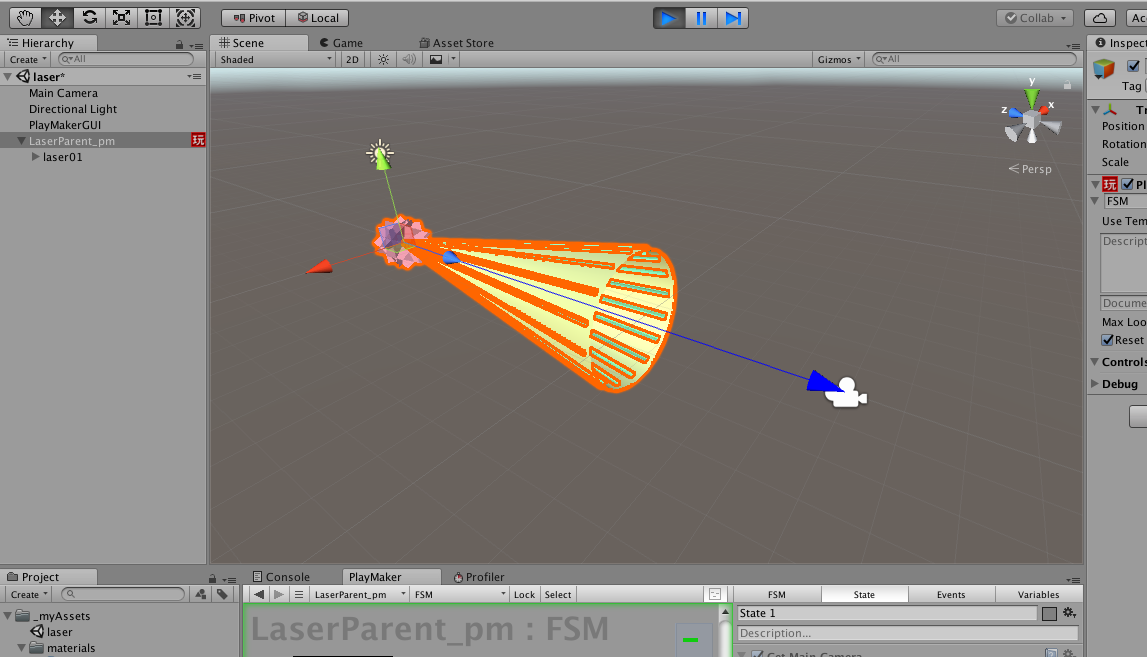
Let’s apply these settings to the Laser: remove the Cylinder and add Laser01 under LaserParent_pm. If the direction is wrong, it can be corrected by changing the value of the Rotation, as before.
Create a simple texture animation using ShaderForge
This chapter shows you how to use ShaderForge to create materials and shaders. For this scene, we need two shaders- a simple emissive shader and a simple animated shader. In this article, we will only explain the latter simple animated shader. See my previous article for more information about the former one.
First, in Unity, open the ShaderForge window and click New Shader. Select the leftmost Unlit and name it “laserCone”, add a 2D texture property and connect R to Opacity, rename the 2D texture node to “alphaTexture” and add the smoke texture. Click on the yellow triangle in the Console area on the left side of the window. Apply this shader to the cone material check in the scene view.
Go back to the ShaderForge window. The next step is to set the animation. In other words, you can set this texture to slide over time. To do so, we need five additional nodes.
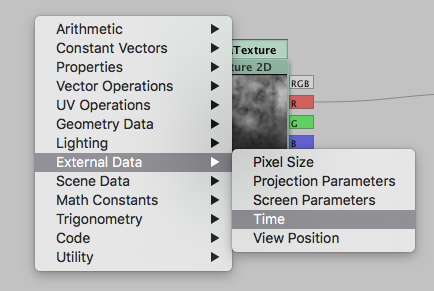
- External Data > Time
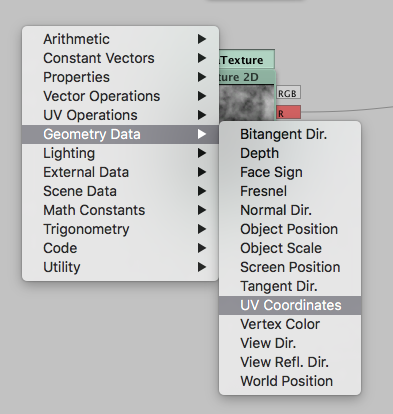
- Geometry Data > UV Coordinates
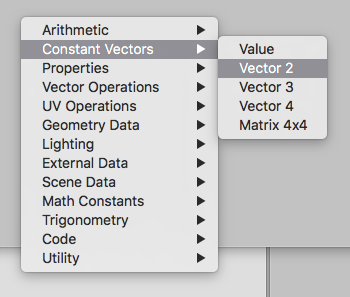
- Constant vectors > Vector 2
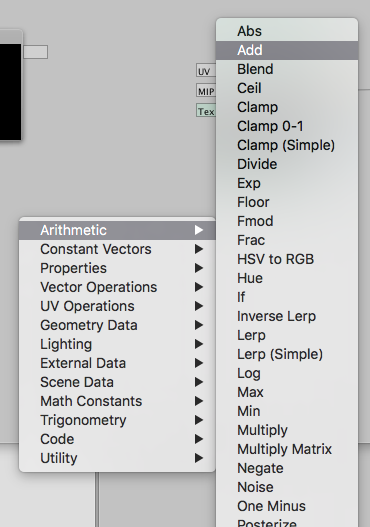
- Arithmetic > Add
- Arithmetic > Multiply
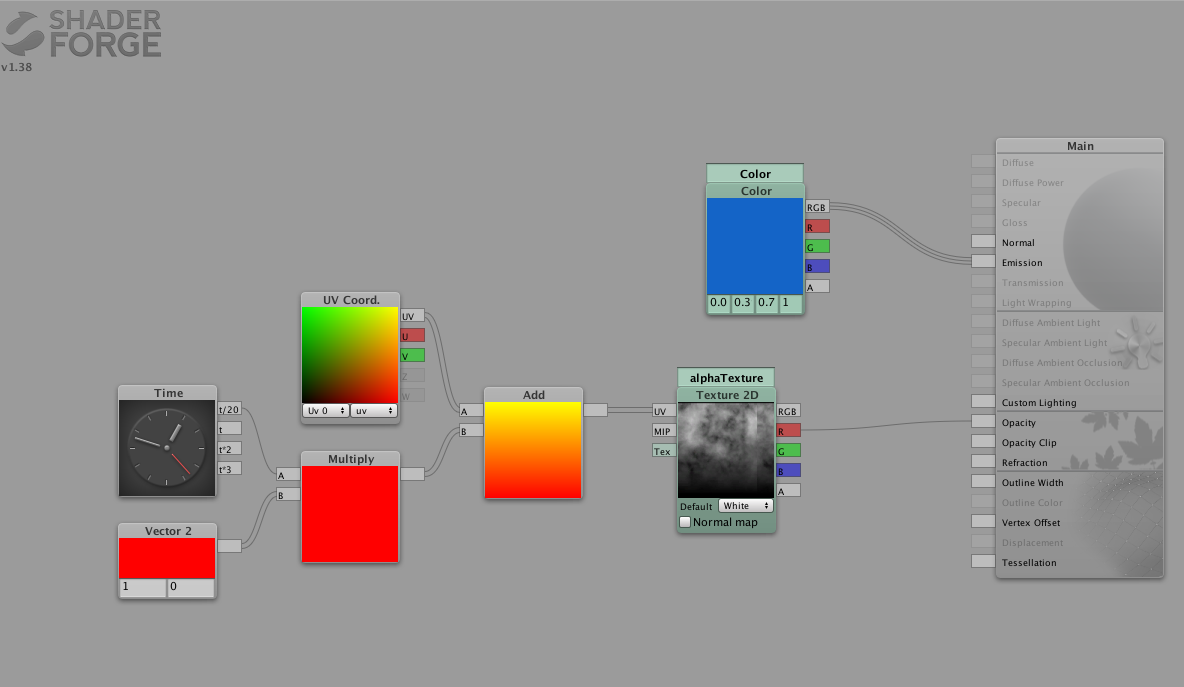
Check out the following screenshot to see how these nodes are connected. The point is that the UV value has been changed in Time. If you want to increase the speed of the animation, change the value of Vector 2. For example, setting it to “2.0” doubles the speed of the animation. Alternatively, you can connect t to Multiply instead of t/20 in Time. In this case, the speed is 20 times faster than the Laser by SensitiveCube.
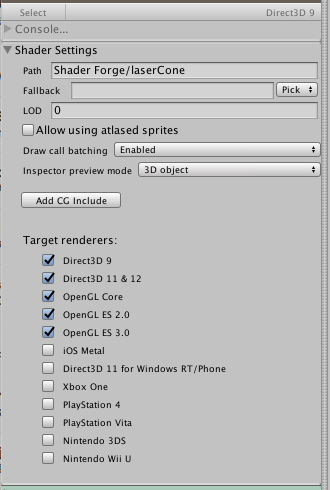
Finally, before closing the ShaderForge window, make sure that the OpenGL ES 3.X in the shader settings is checked.
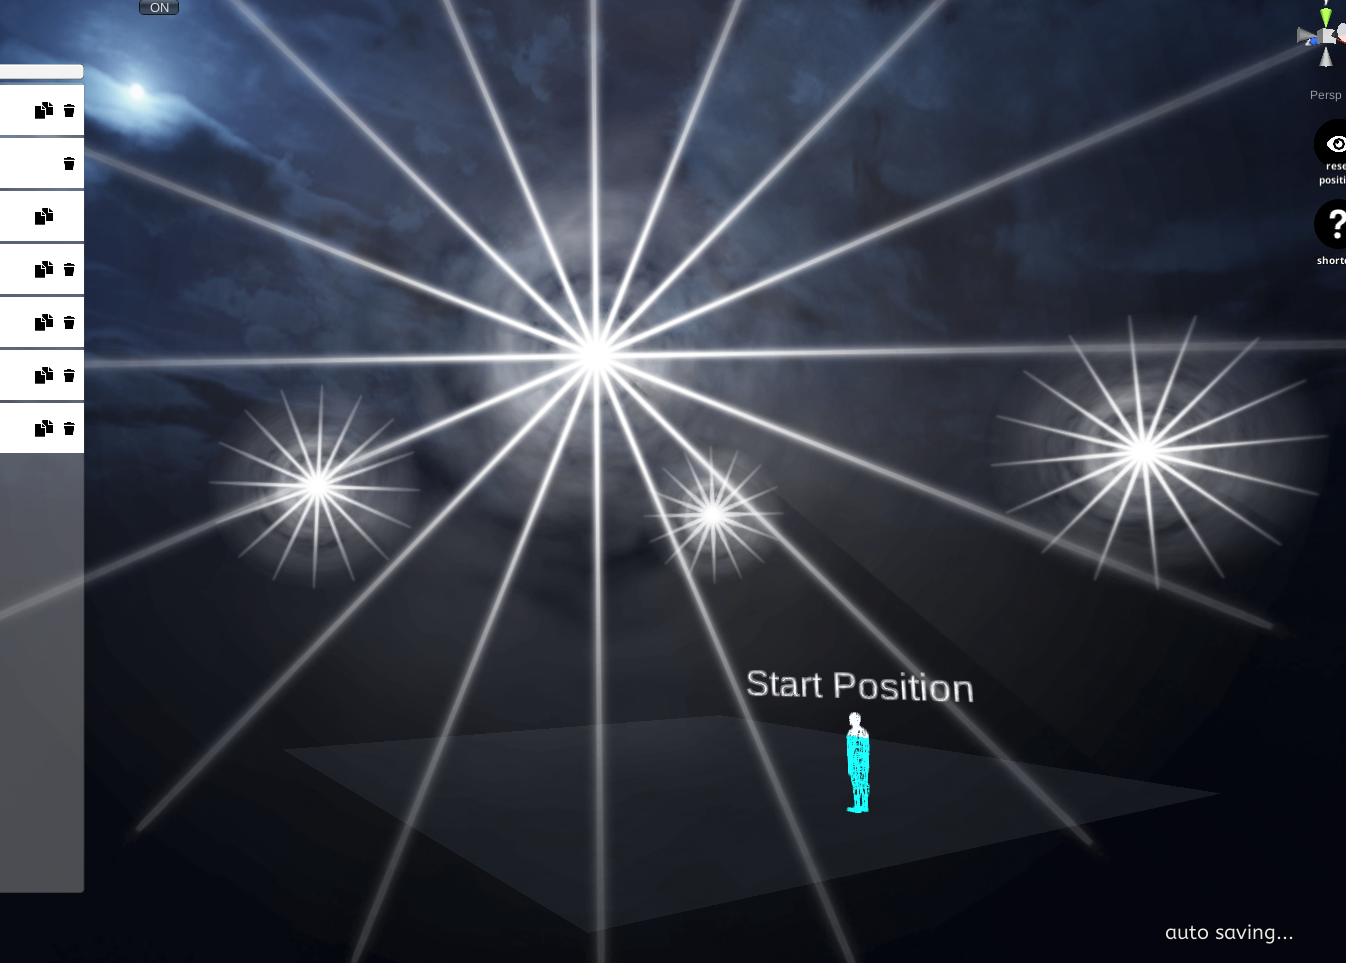
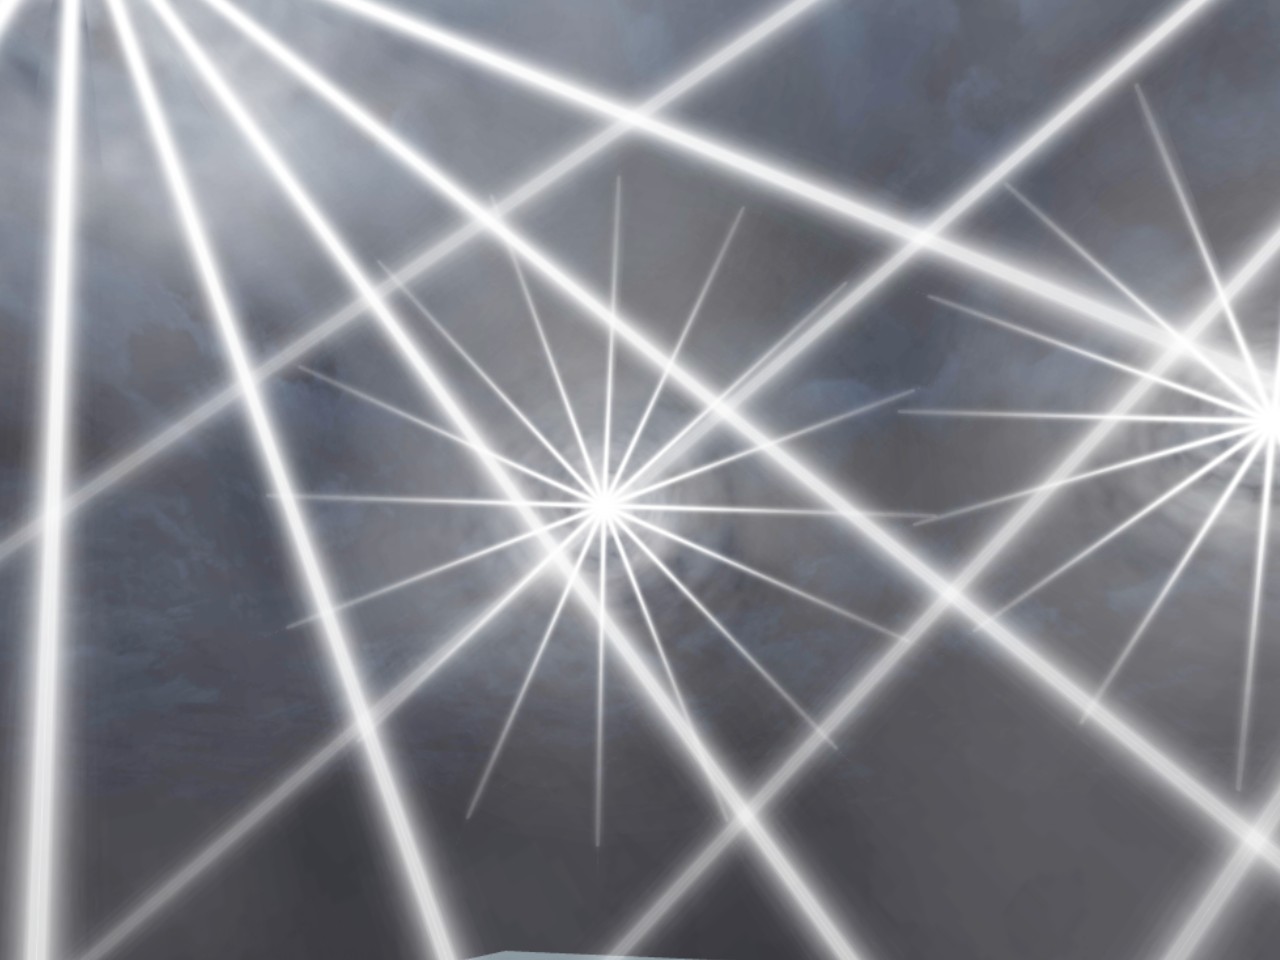
Check the movement with STYLY
So, let’s upload to STYLY. Drag and drop “LaserParent_pm” to the Project window to make it Prefab. Right click on the “LaserParent_pm” prefab and select “Upload prefab to STYLY”. Wait a moment and then open the STYLY editor. The prefab you uploaded should be in ‘My Models’ (Asset > 3D Models > My Models). In the editor, the asset may be heading to “Start Position”. This is because the laser is pointing at the “Main Camera” of the editor view, which is, thus, not a problem at all.