In this article, I am going to introduce 3 picture/video edit tools, and how to import a image file to STYLY.
Illustrator、Photoshop、aftereffects
Illustrator
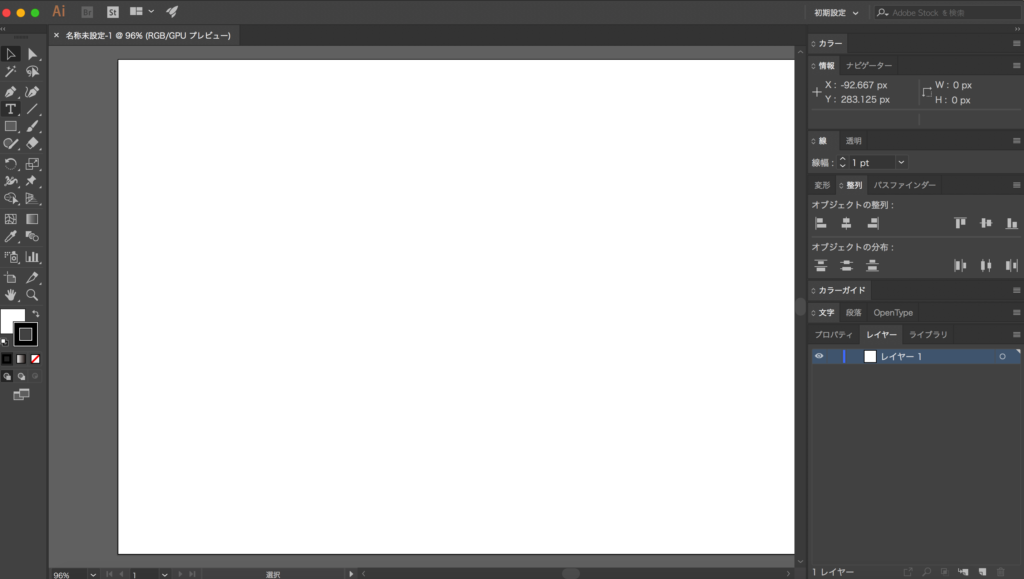
Illustrator screen
Illustrator is a tool that is used to create and edit illustrations and posters, and web materials. I personally am not too used to it, but I still use this tool for business cards, internet page layouts, and creating web materials.
Photoshop
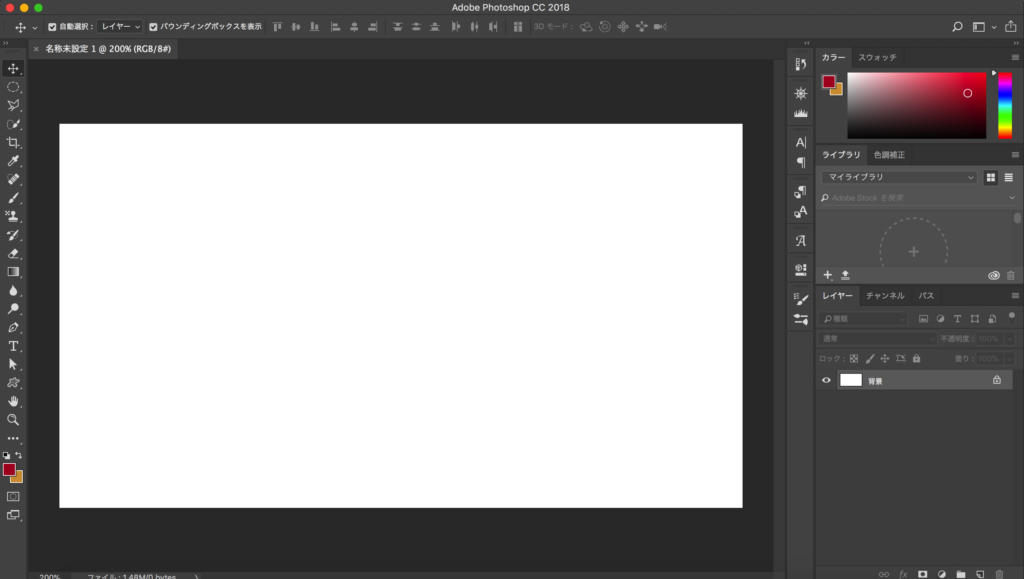
Photoshop screen
Photoshop has it’s strengths in editing and composing photos and pictures. I use it to edit pictures of models, backgrounds, and making textures. I also use it for posters and editing photos.
AfterEffects
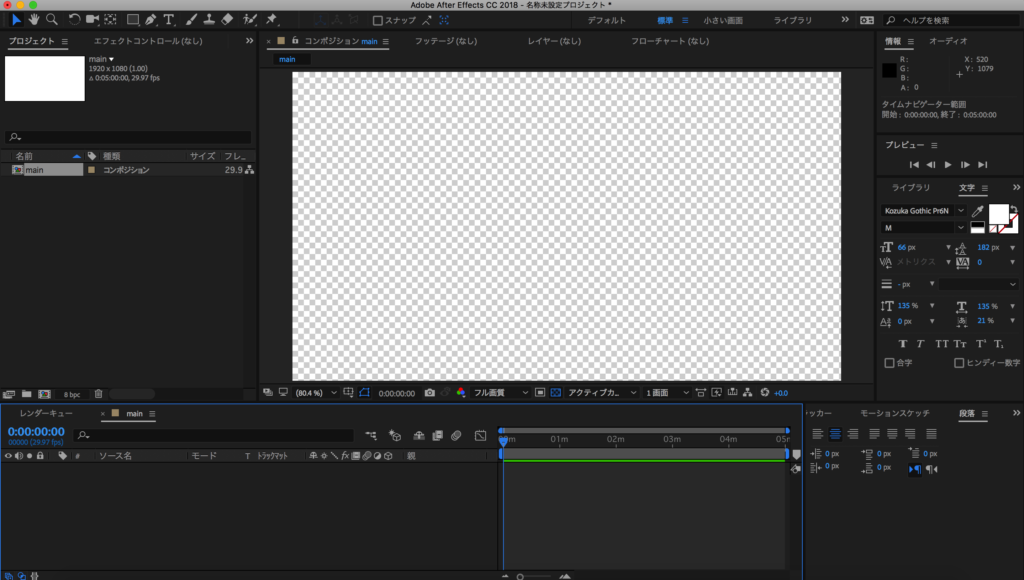
AfterEffects screen
AfterEffects is used for motion graphics, and for editing and composing videos and pictures. I use it for exporting materials to composite 3D software, and creating videos. You can also use this tool to create particles and effects, so it is very useful.
Since these are all Adobe products, the UI’s are similar, and you can use layers for all of them, so you can use the same techniques.
Creating and exporting 2D pictures
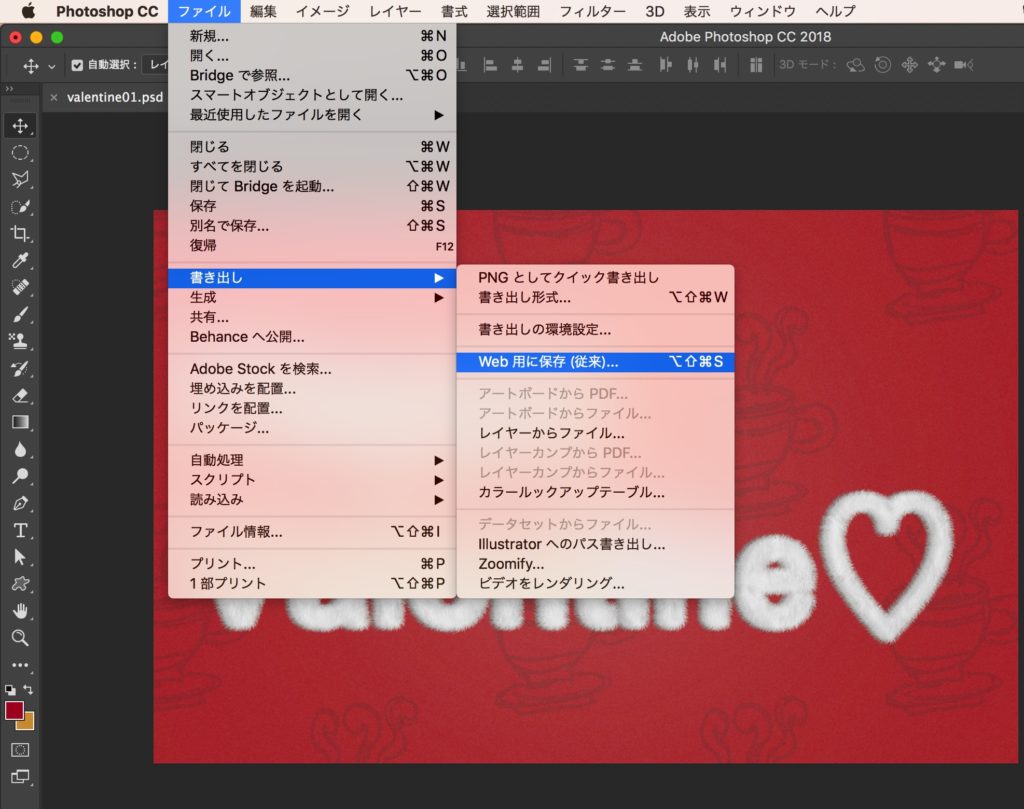
Creating and Exporting with Photoshop 1
So, let’s export a picture created with Photoshop, and export it. If you are already familiar with this operation, please skip to the next chapter.
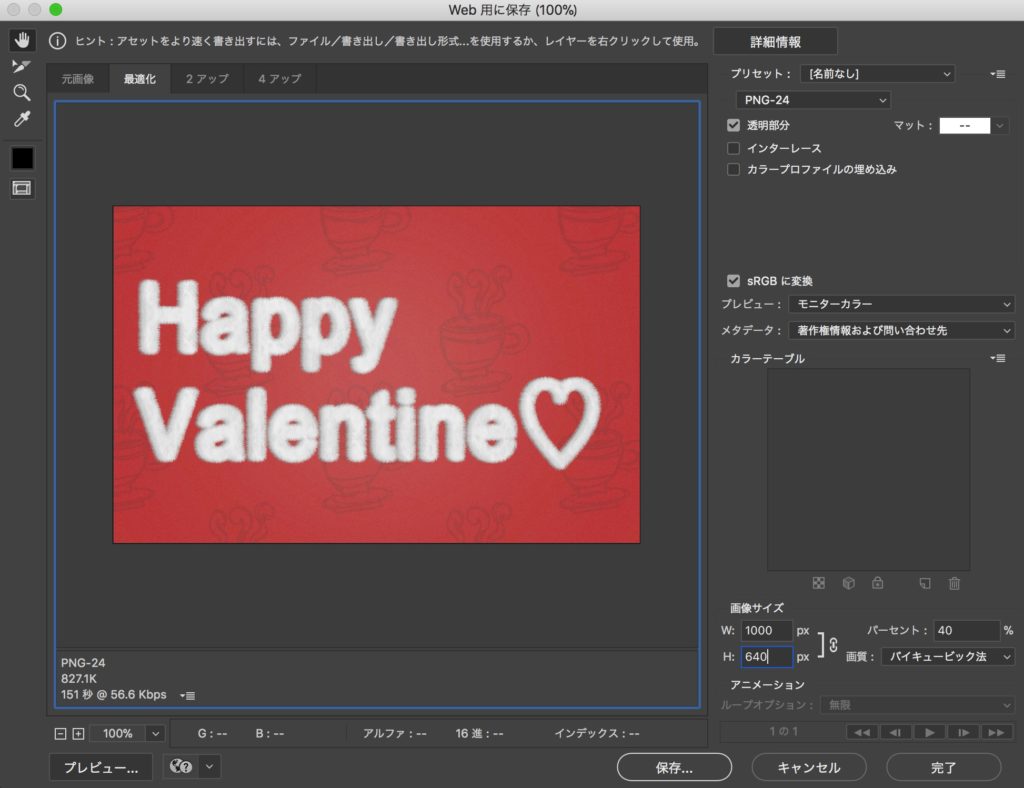
Photoshop Menu Tab>Export>Save for a Web
Creating and Exporting with Photoshop 2
You can change the size after exporting, but since I like to do it beforehand, I set the size as I select Save for a Web. For this tutorial, I chose 1000px X 640px.

Creating and Exporting with Photoshop 3
I exported as a png this time, but you can choose different data types too.
Upload the 2D picture to STYLY
Next, let’s upload the 2D picture to STYLY.
First, we need to login to STYLY.
Uploading a 2D Picture to STYLY 1
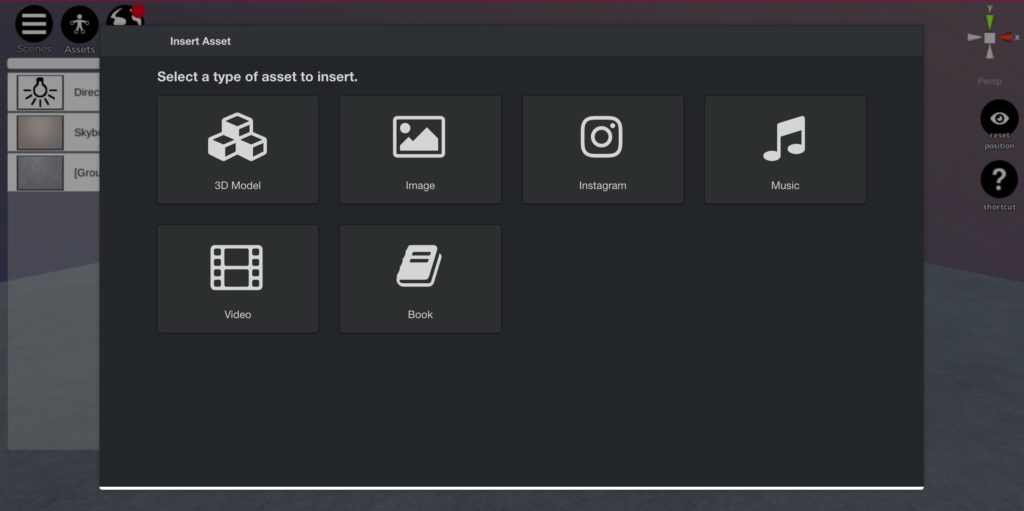
Click “Assets” located at the upper left of your screen. We are going to upload a picture file, so select “Image”.
Uploading a 2D Picture to STYLY 2
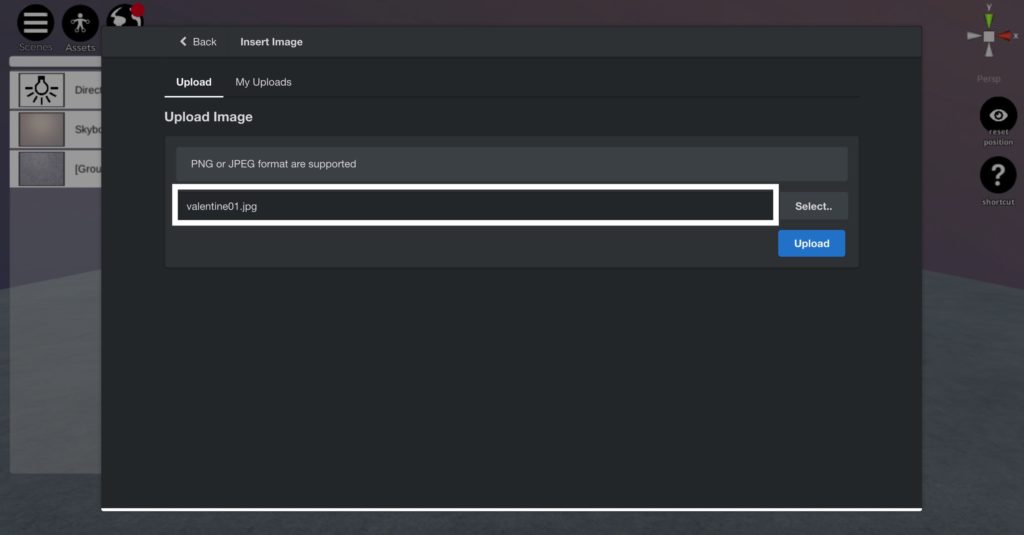
Select png or jpeg. Once you have attached your file, click “Upload”.
Uploading a 2D Picture to STYLY 3
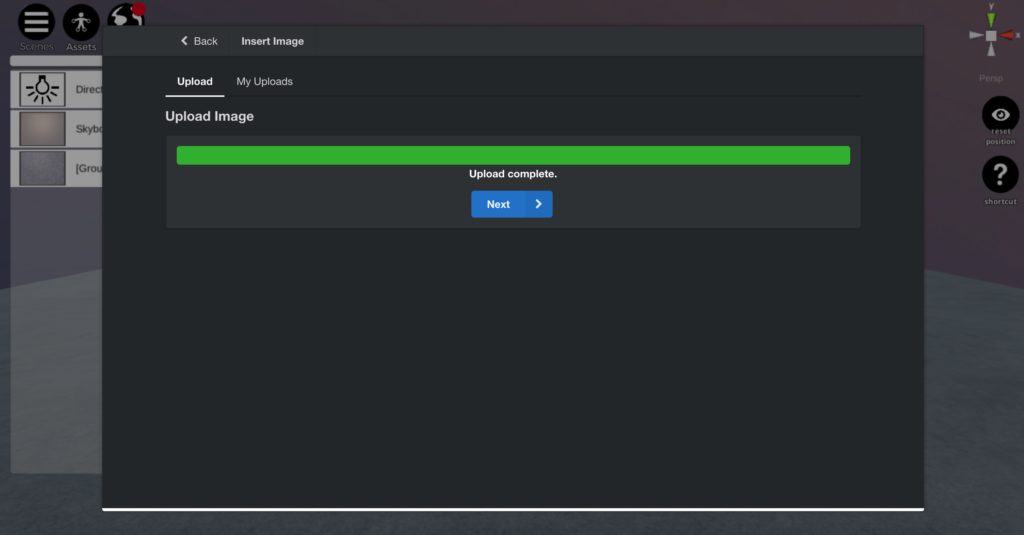
Once the upload is complete, an “Upload complete” message will show up. Then, select the style of your picture.
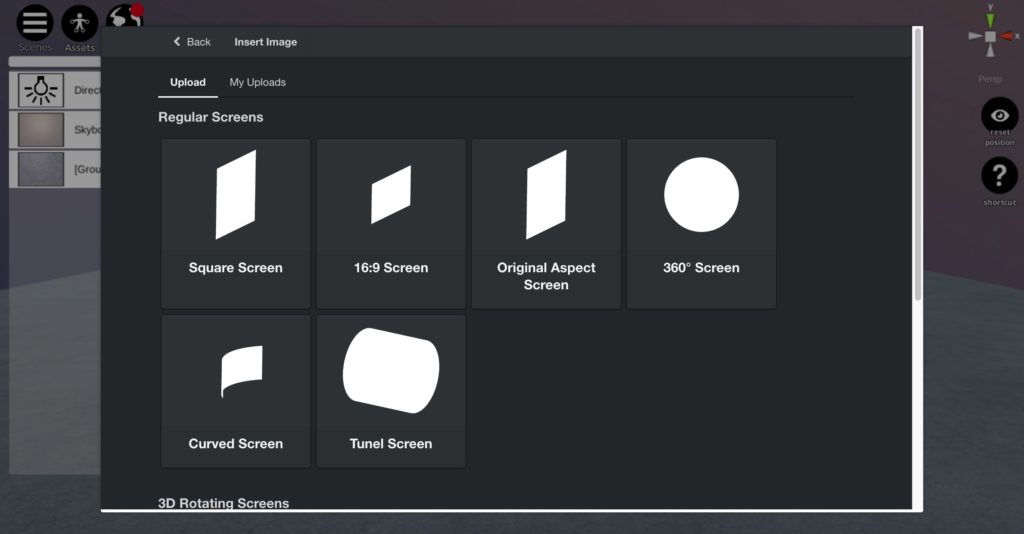
Uploading a 2D Picture to STYLY 4
I chose “Original Aspect Screen” for this tutorial, but if you scroll down, there are a lot of other styles, so please choose the one you like. Select the screen, and the picture will be displayed with the style you chose.
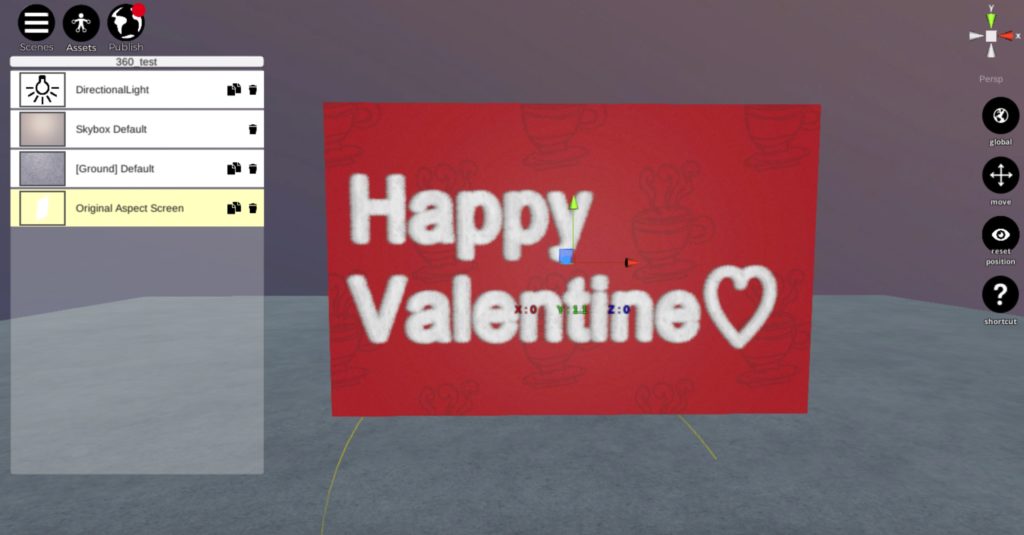
Uploading a 2D Picture to STYLY 5
It will show up on STYLY like this. I don’t think there is a large difference in the picture quality.
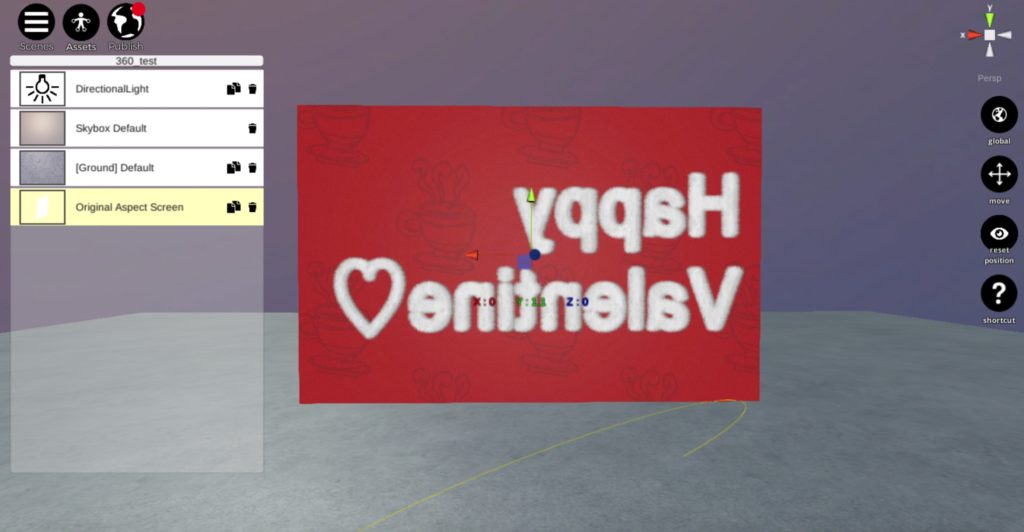
Uploading a 2D Picture to STYLY 6
The back of the picture will show up like this. The picture is displayed in reverse.
The importing steps isn’t hard, right? But note that only png and jpeg files are supported.