In this article, I upload the scanned data by ‘Qlone’, a free scanning mobile application.
About Qlone
About Qlone
This application allows you to scan an object for free. After scanning, you can export it as 3D object data. By placing the object you want to scan on the AR maker provided, the application can scan it.
Scan an object with Qlone
Preparations
1, Download ‘Qlone’ App

Qlone App
2, Print the AR maker
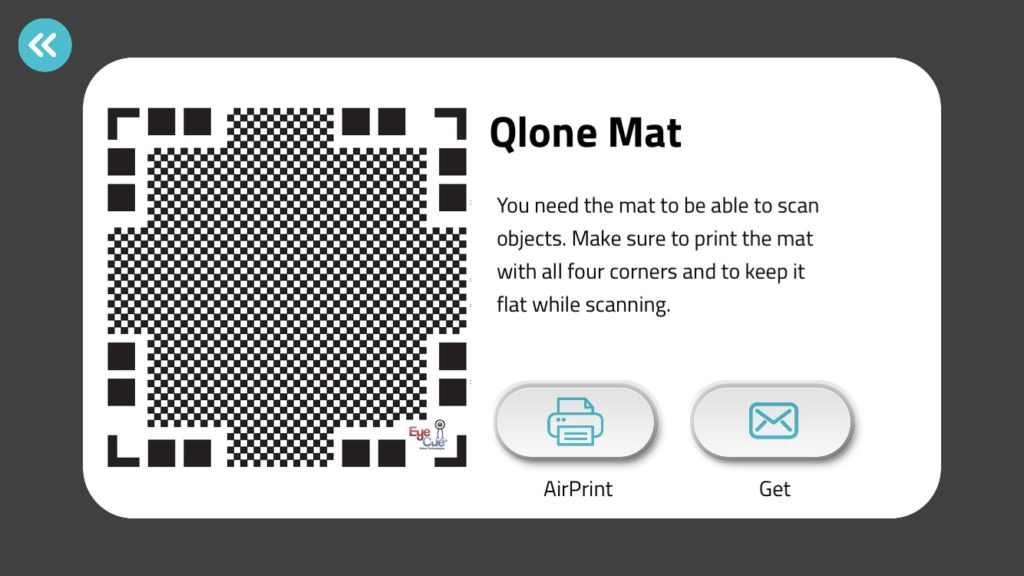
AR maker for Qlone App
When launching the App, it brings up the screen as shown above. Print it. I printed it in A4 size in this tutorial.
Scan with Qlone
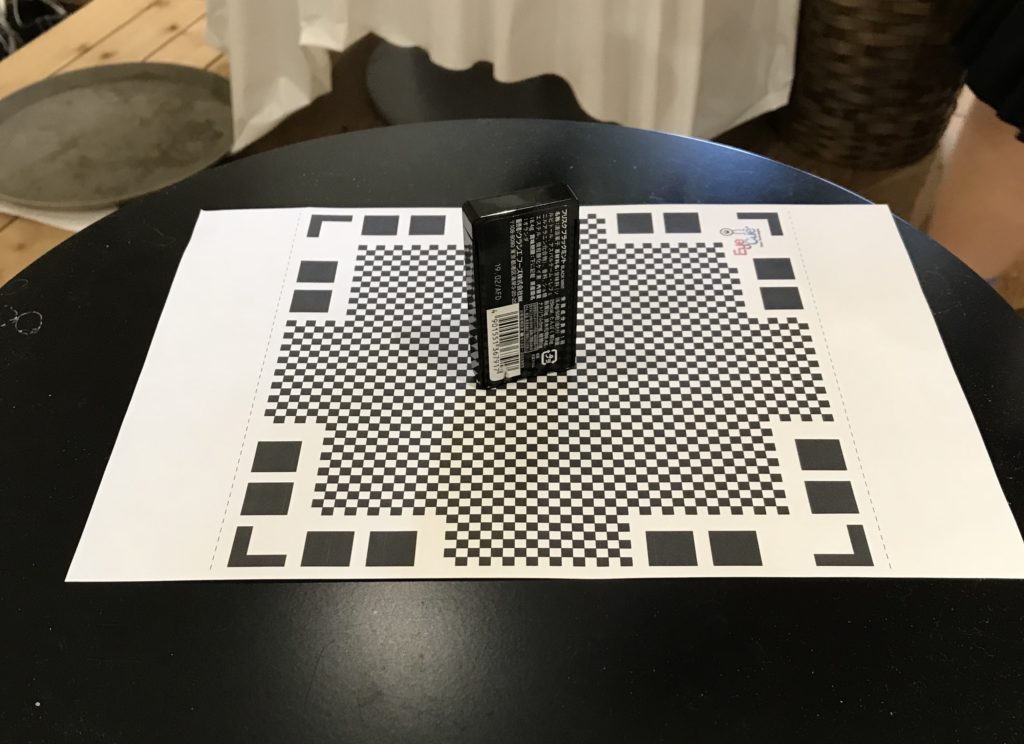
Set the object to scan and the AR maker.
Place the object within the AR maker (A4). The object with a less complicated shape can be scanned more clearly.
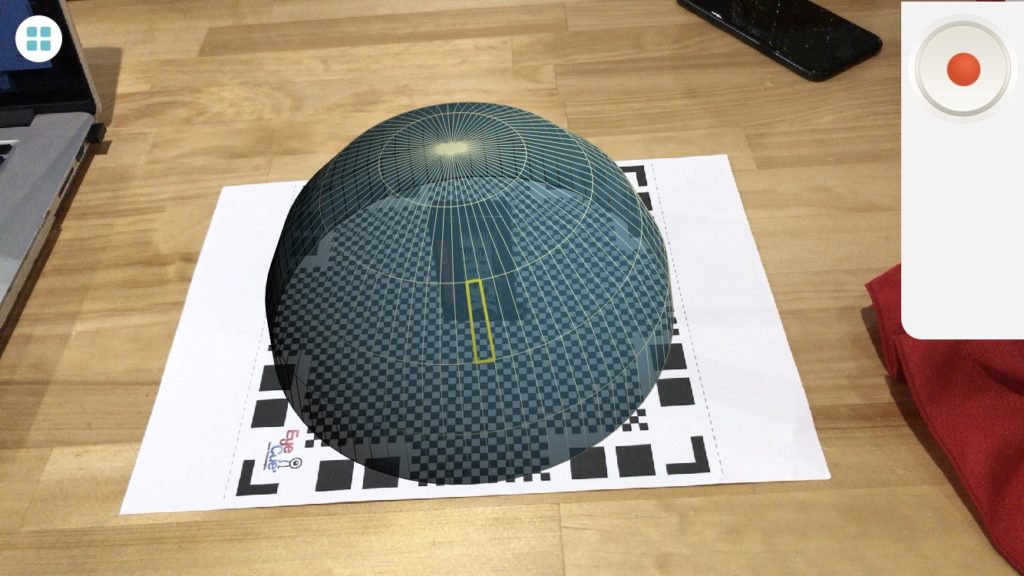
How it looks on iPhone’s screen
When it bought up the camera view, press the red circular button in the top-right corner of the screen. It starts scanning.
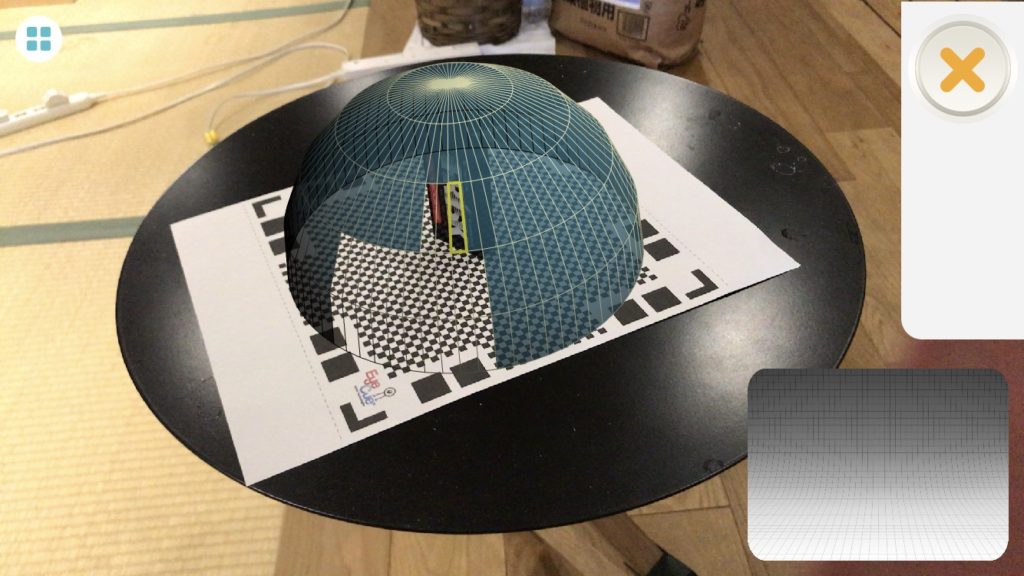
Scanning the object on a round table
I moved everything on a round table since I need to move around the object to take photos. Scan by moving the camera so that it’s kept parallel to the surface of the dome displayed on the screen.
As shown in the photo above, the blue face disappears when it’s scanned. The small window in the bottom-right corner displays the scanned data in real time.
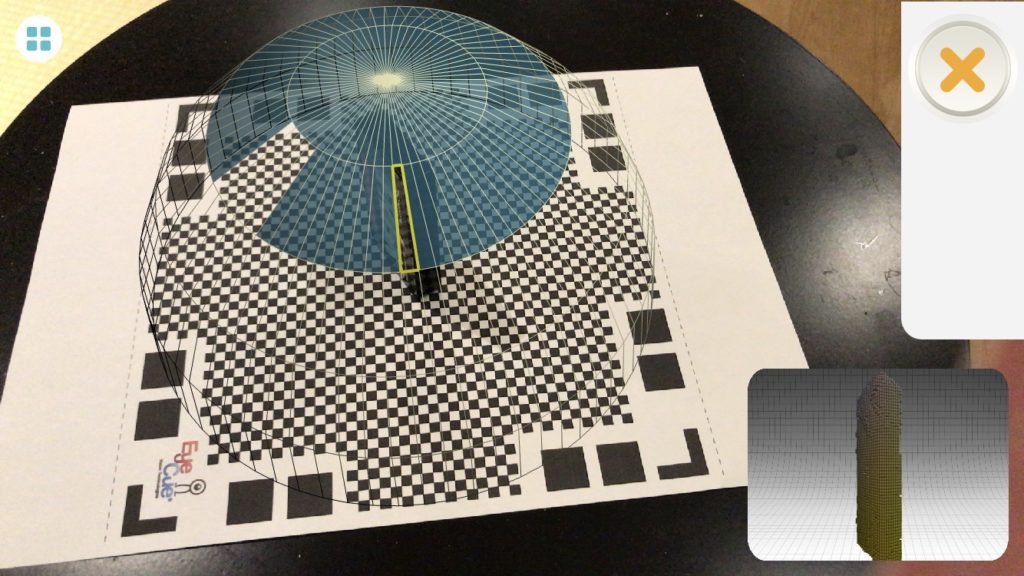
Scanning in progress…
More blue faces disappeared more scanned data the window in the bottom-right corner displays.
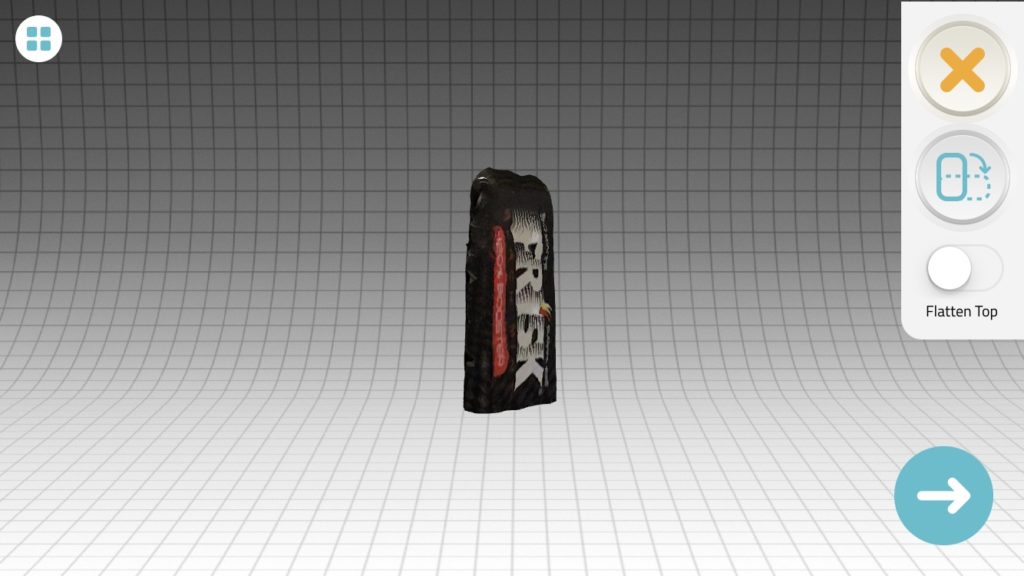
The object data scanned
Let’s export the scanned data without any adjustment. Although it’s scanned without any visual problems, you could correct the colours and the defects of the polygons if needed. It would be difficult to restore the polygons broken completely, but you could correct some irregularity.
By the way, you could scan a large object if you scaled up the AR maker. You could scan even a human body or a human-size model although I can’t guarantee how correctly the polygons are generated. I think it’s worth trying if you are interested in.
How to export as OBJ file
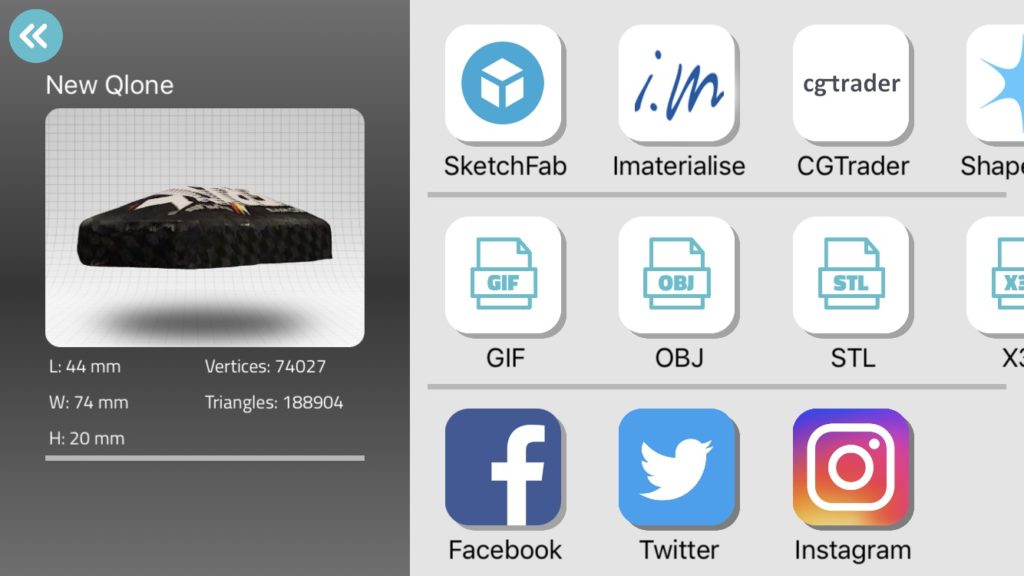
Select file the type of 3D data
Export the 3D data scanned. In addition to exporting data, it has many ways to share the data, for example, sharing via SNSs. This time, I will export as OBJ file to upload to STYLY.
Screenshot – Export the file from Qlone
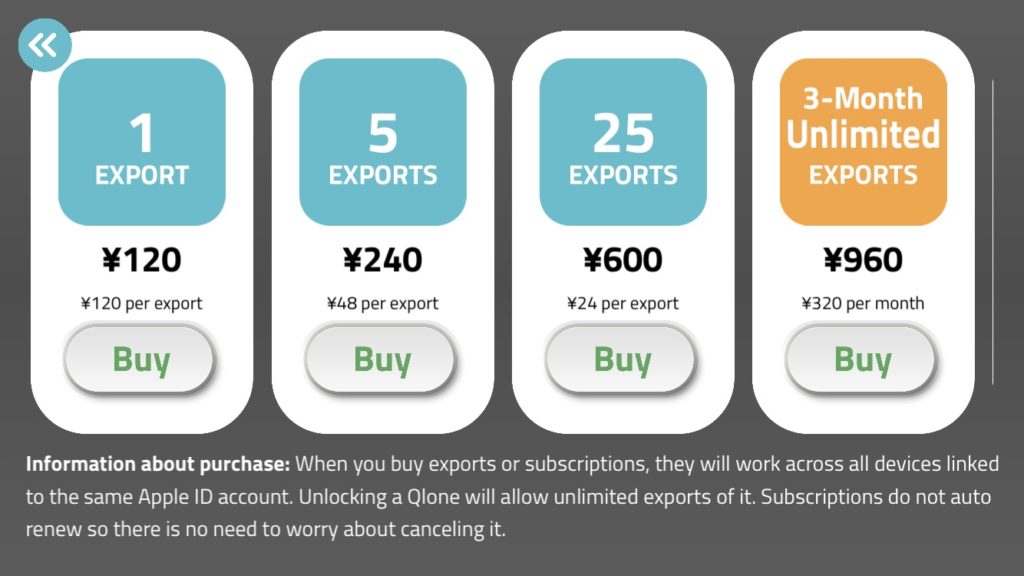
Note that exporting as OBJ file is not free. By the way, you can link it to SNSs for free. The price list is shown below:
- Export one object ¥120
- Export 5 objects ¥240
- Export 25 objects ¥600
- Unlimited export for 3 months ¥960(¥320 per month)
- Unlimited export for one year ¥3,000(¥250 per month)
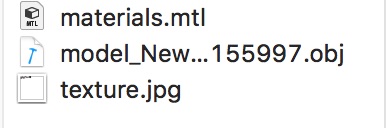
The files exported
Checking the OBJ file exported, I found an OBJ file, MTL file and JPG file correctly. Next, upload this object to STYLY.
Upload the object scanned with Qlone to STYLY
Select Assets > 3D Models
When you logged in to STYLY, select ‘Asset > 3D Models’.
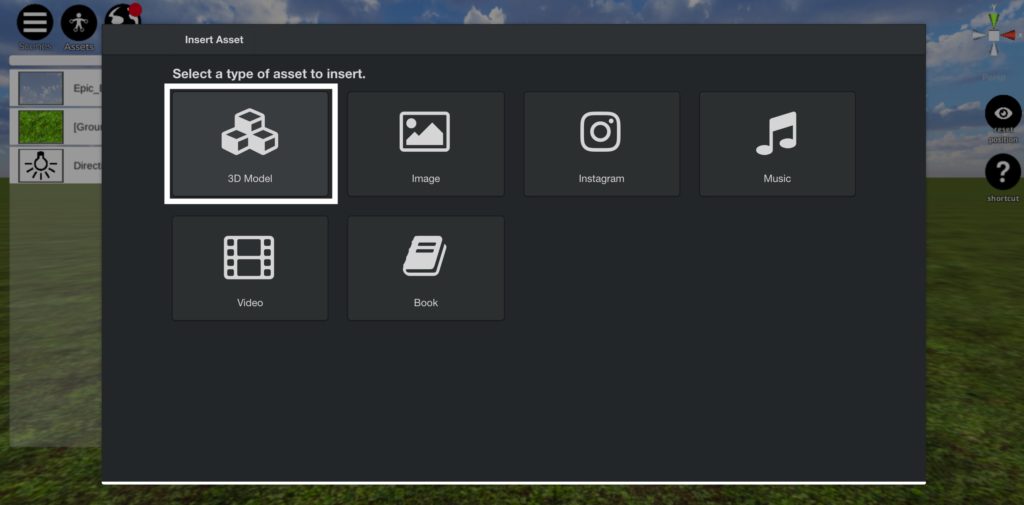
Insert3D Model > the ‘Upload’ tab
Select the ‘Upload’ tab right-most to upload the 3D model.
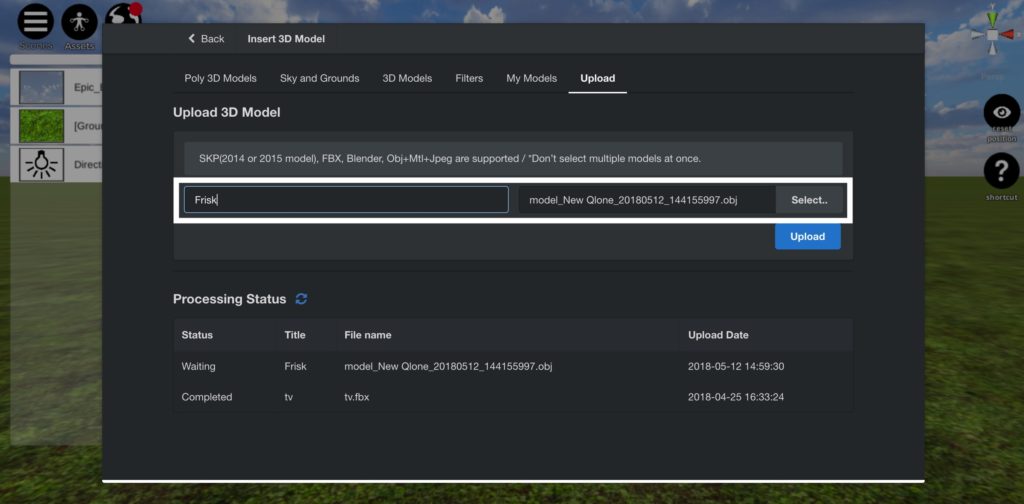
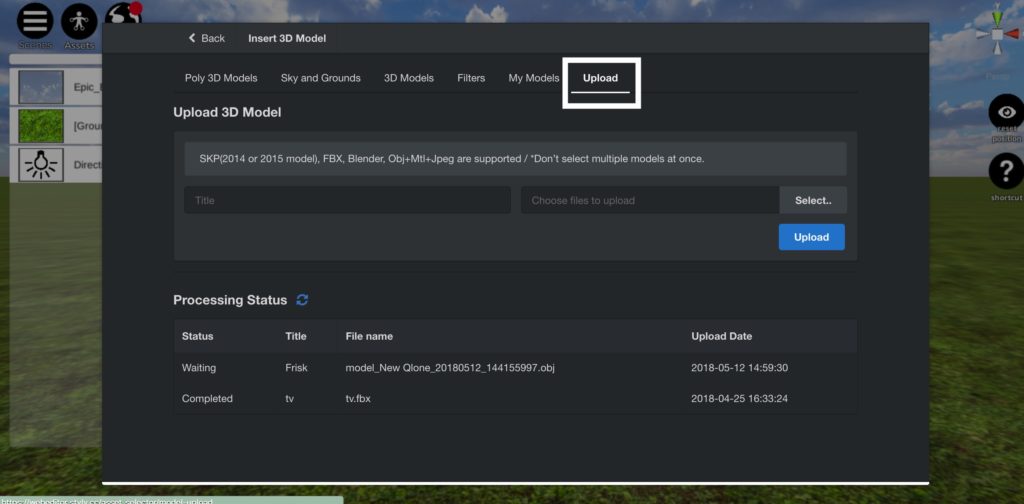
Upload 3D model with STYLY
In the highlighted by a white box above, enter the title of the object to upload in the left box, and specify the file in the right box. Note that you need to select the OBJ, MTL and JPG file altogether.
Press the Select button when you select the files. When all is set, press the Upload button.
The converting status of the object to upload is shown under ‘Processing Status’. When completed, go to the ‘My Models’ tab.
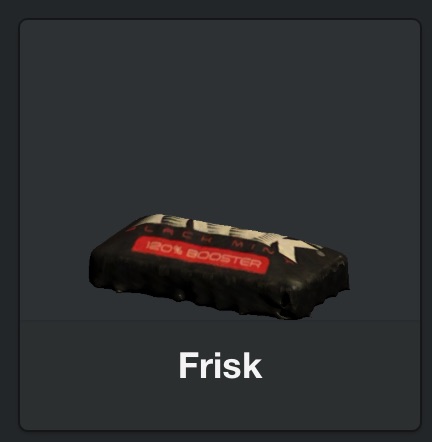
The object uploaded
It’s been uploaded as shown above.
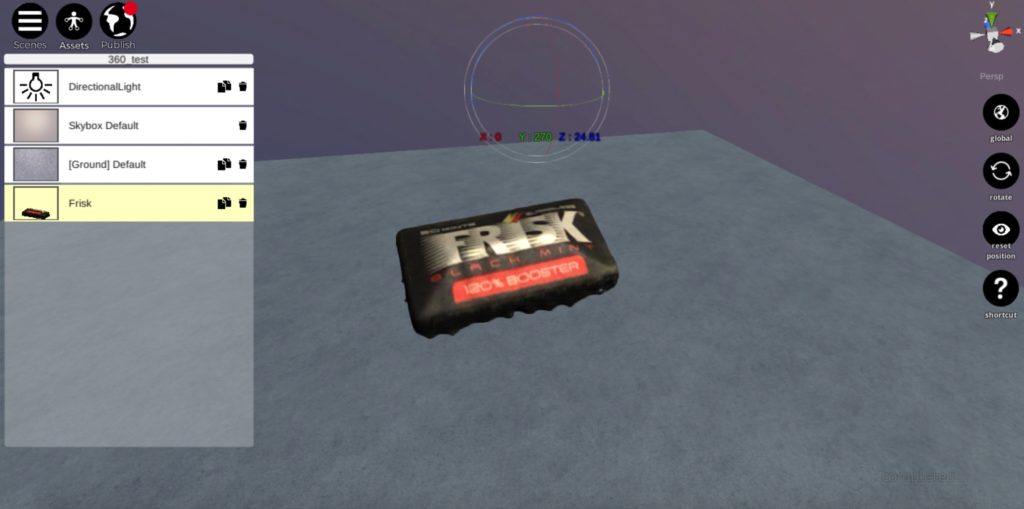
How the object looks in STYLY
The colours look all right but there is some major irregularity on the surface. What you can see here is the state after adjusting the size. In fact, it’s painful to adjust it since it’s larger by far than the ground plane when it’s imported, and the pivot point is totally out of place.
Please try to use Qlone, which allows you to scan objects easily. It’s fun!