Summary
I explain how to render a masked rotating image.
Masked rotating image
Samples
The sample project – GitHub
The sample project – STYLY GALLERY
Masked rotating image
Rotate a texture
Firstly, create a rotating image as shown below.
Rotate an image
Mask a texture
The ‘Mask’ effect is to show the part of the texture where the mask image is white, while it hides where the mask image is black.
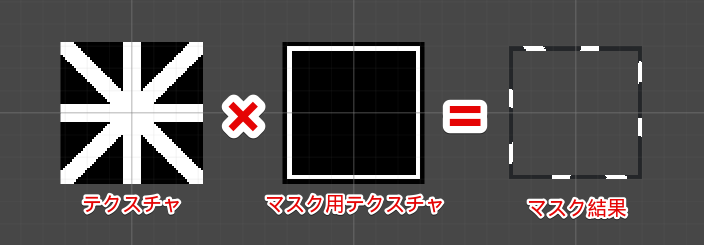
Schematic chart – Masked rotating texture
The result – A masked rotating image
It gives the result shown below.
The rotating texture with ‘Mask’ applied.
You can make various expressions by replacing the texture.
Various combinations of textures
I picked up those textures from the sample project in GitHub.
Create a masked rotating image
Let’s create a masked rotating image with Unity.
Textures used
The following two textures are used in this tutorial. Download them and add them to the project file.

ベーステクスチャ
マスク用テクスチャ
Create a board
Crate a board by selecting ‘Create > 3D Object > Plane’ in the Hierarchy window.
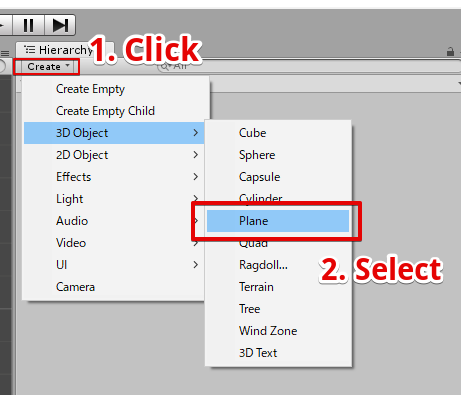
Create a Plane object.
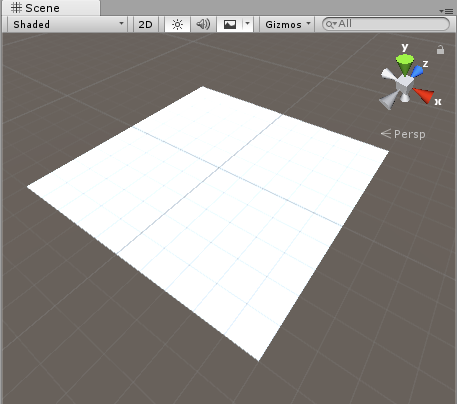
The Plane object created
Create a Shader
To mask the texture, we use a shader available in Unity. Click the Create button on the project tab and select ‘Shader/Unlit Shader’ to create a shader file.
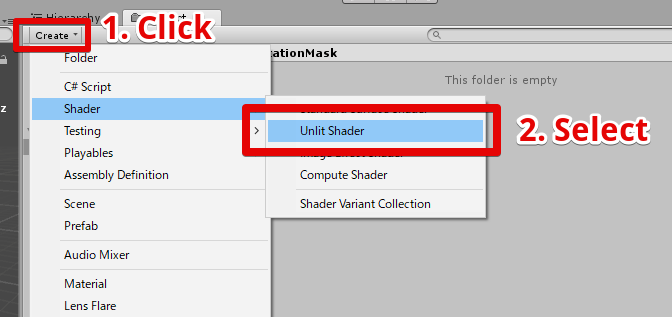
Create a shader file
The shader file created
Open the shader file created and paste the code shown below and save the file.
Shader "STYLY/Examples/RotationMask" {
	Properties{
		_Color("Color", Color) = (1,1,1,1)
		_OverTex("Base Texture (RGB)", 2D) = "white" {}
		_MaskTex("Mask Texture (RGB)", 2D) = "white" {}
		_RotationSpeed("Rotation Speed", Float) = 1.0
	}
		SubShader{
			Tags { "RenderType" = "Opaque" }
			LOD 200

			CGPROGRAM
			#pragma surface surf Standard fullforwardshadows
			#pragma target 3.0

			sampler2D _MaskTex;
			sampler2D _OverTex;

			struct Input {
				float2 uv_MaskTex;
				float2 uv_OverTex;
			};

			float _RotationSpeed;
			fixed4 _Color;

			#define ANGLE (_Time.z * _RotationSpeed)

			void surf(Input IN, inout SurfaceOutputStandard o) {
				fixed4 mask = tex2D(_MaskTex, IN.uv_MaskTex);
				clip(mask.r - 0.5); // do not draw if mask.r is less than 0.5

				fixed2 center = fixed2(0.5, 0.5);

				float2x2 rotate = float2x2(cos(ANGLE), -sin(ANGLE), sin(ANGLE), cos(ANGLE));
				fixed2 uv_OverTex = mul(rotate, IN.uv_OverTex - center) + center;
				fixed4 over = tex2D(_OverTex, uv_OverTex);
				fixed4 c = mask * over * _Color;
				o.Emission = c.rgb;
			}
			ENDCG
		}
		FallBack "Diffuse"
}
Create a material
Right-click the shader and select ‘Create/Material’ to create a material.
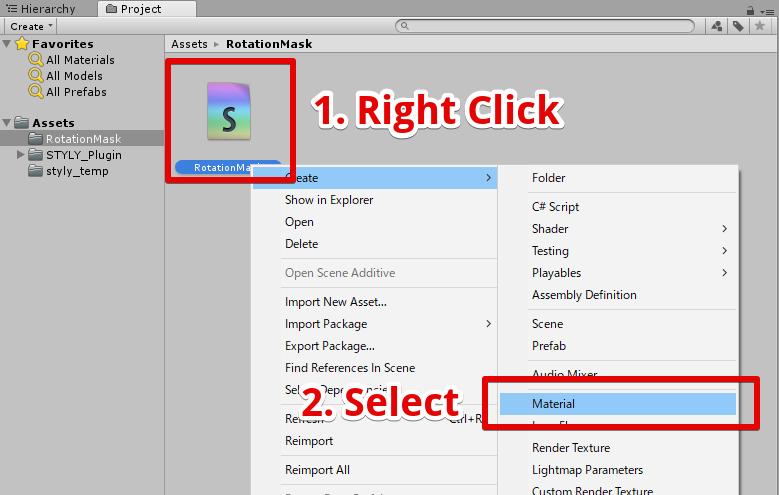
Create a material
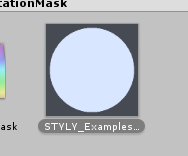
The material created
Assign textures to the material
Assign the base texture and the mask texture to the material created. Select the material created earlier.
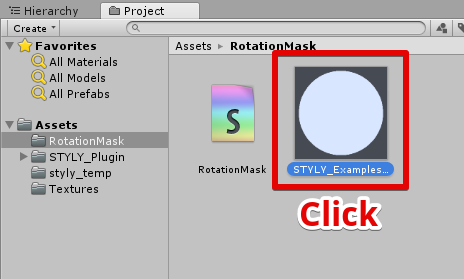
Click on the material.
To prevent the Inspector from changing when selecting another asset, lock it by clicking the key icon in the top-right corner.
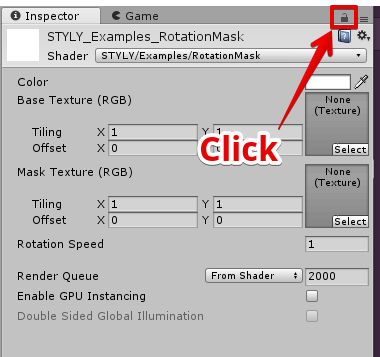
Lock by clicking the key icon.
The state with the Inspector tab locked
Drag the textures onto the Inspector to assign them to the material.

Assign the textures to the material.
That’s all for the setting of the material.
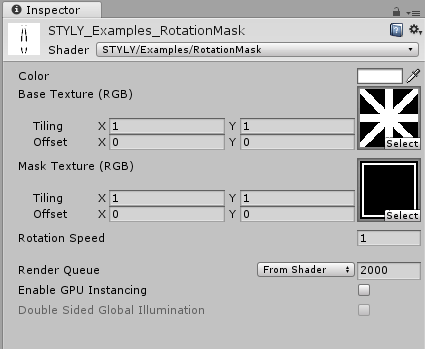
The material with the textures assigned
Assign the material to the Plane object
Drag the material into the board created earlier (the Plane object) to assign.
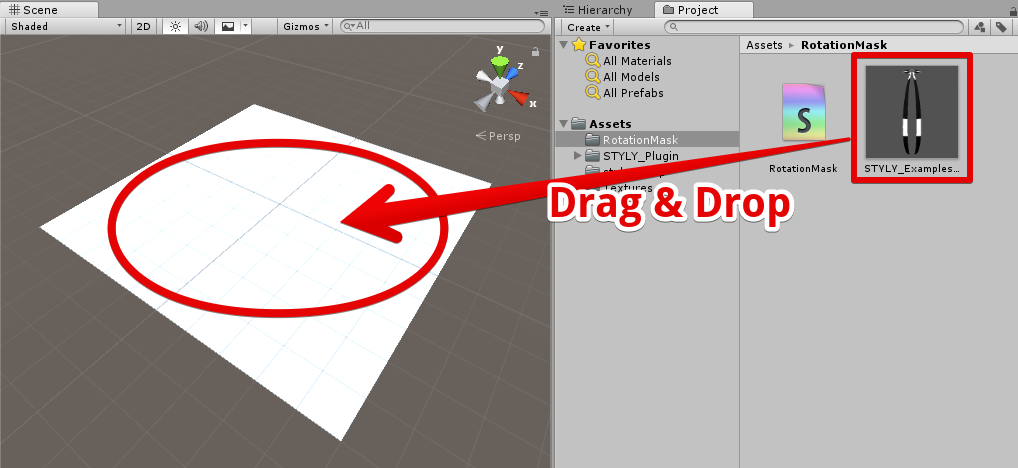
Assign the material to the Plane object.
Completion
It completes the masked rotating image.
The appearance after applying the material.
Edit the rotating mask
Change the colour
Let’s change the colour of the rotating mask. Select the colour of the material to change the colour.
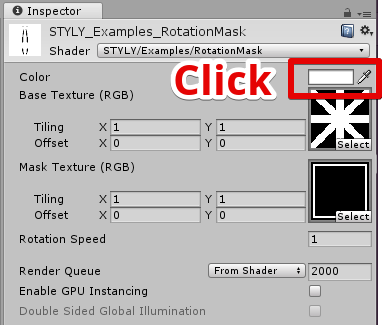
Click the colour box.
Set it to yellow as shown below.
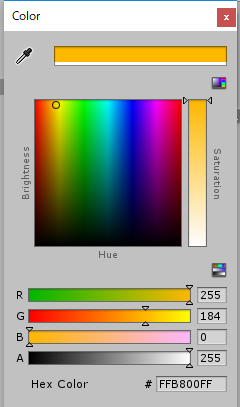
Set the colour to yellow.
The whole board has been coloured in yellow.
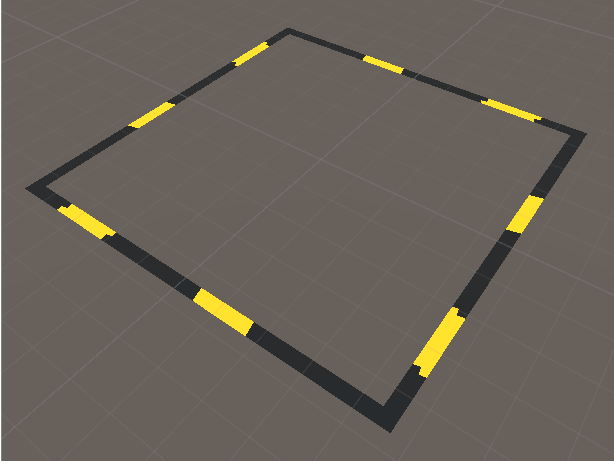
The result – the colour has been changed.
Upload it from Unity to STYLY
Please read the article below to learn how to upload the object created in Unity to STYLY. https://styly.cc/ja/manual/unity-asset-uploader/