This article is the third installment of the Introduction to Visual Scripting series.
This time, we will use what we have learned in the first, second sessions to create a rapid tapping game.
The rapid tapping game tutorial is divided into two parts, and this article is the first part.
Previous articles can be found at the following links
Overview of the Rapid Tapping Game
The game challenges you to see how many times you can click a button within 10 seconds.
Installing a Package in Unity
Please download the sample with only the UI layout done.
https://github.com/Manufuki/ClickGameUISample.git
Click the green “Code” button and select Download ZIP. Extract the downloaded ZIP file.
If you get stuck,
download the example created by the author.
https://github.com/Manufuki/ClickGame.git
Click Asset→Import Package→Custom Package.
Select ClickGameUpdate and click “Open”.
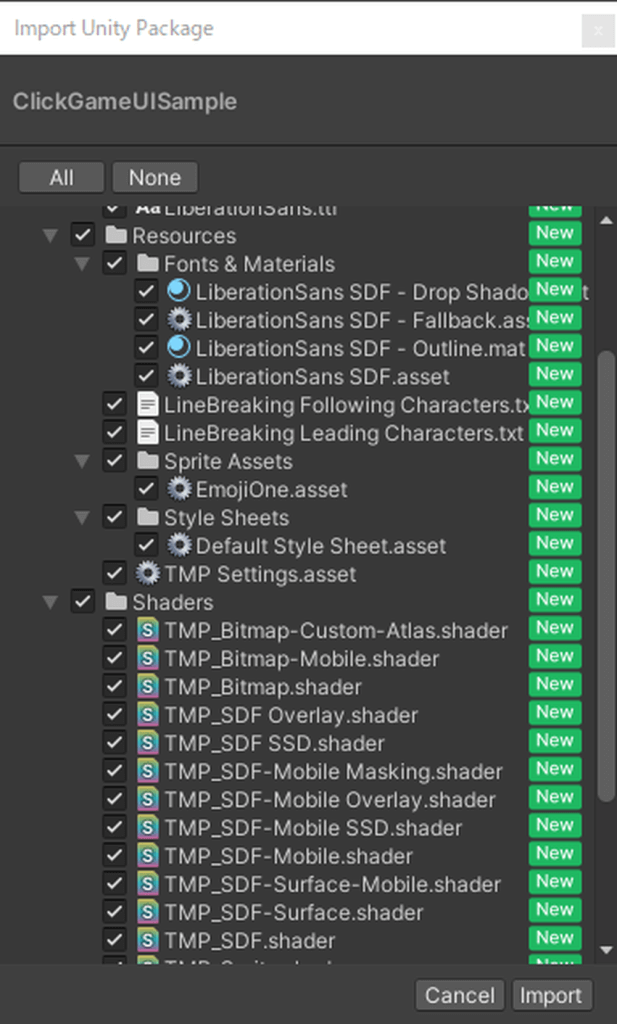
Click Import.
Click Import TMP Essentials.
It may not be displayed depending on your environment, but there is no problem.
Button Input with Visual Scripting
Open the “ClickGameSample” scene from the imported package.
Add a GameObject to the Hierarchy by clicking CreateEmpty, and rename it to [GameController].
Attach a Script Machine to [GameController] from AddComponent.
Click New on the Script Machine to create a graph.
Create a folder named Macros, and save it as [GameManager] within that folder.
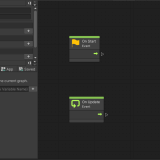
Add On Pointer Click to the GraphEditor.
Add a GameObject type variable to Variables.
Name the variable [Button] and set the Value to the Button in the Canvas.
Drag and drop the Button into the GraphEditor and connect the nodes as shown below. This completes the button functionality.
By connecting the object that acts as the button to the left port of On Pointer Click, you can make it execute when that object is clicked.
Calculations with Visual Scripting
Next, we will perform score and time calculations for the rapid tapping game.
The basic calculation nodes are as follows:
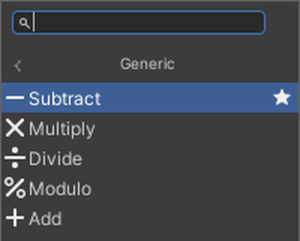
This time, we will use the Add node. There are different types of Add, and the variables to be used are in parentheses.
Since Generic supports all variables, it is generally recommended to choose the Add node labeled Generic.
The same applies to other calculation nodes.
Add Int type and Float type variables to Variables.
Name the Int type variable [Score] and set the Value to 0.
Name the Float type variable [Time] and set the Value to 10.
Add the [Time] and [Score] variables to the Graph Editor.
Score Function
Let’s start by creating the Score function.
Add an Integer Literal.
Enter 1 into the variable.
Add a Set Object Variable.
By using Set Variable, you can assign a value to a variable. Set the variable part to Score in the second port from the top.
Connect the object storing the variable to the next port down, and connect the value to be assigned to the bottom port.
The node should look like this:
Time Limit
Next, let’s add the time limit feature.
Add Subtract, Get Delta Time, and If nodes to the Graph Editor.
Get Delta Time can retrieve the time between the previous frame and the current frame.
Add a Set Object Variable. Set the variable to be assigned to Time.
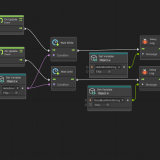
Then connect the nodes as shown below.
Run the program and focus on the Variables.
When you click the button, the Score variable will increase by 1 each time.
The Time variable decreases in accordance with the passage of time.
This time, we covered score calculation and time calculation.
In the next second part, we will learn about displaying text, using SetActive, and scene transitions.
You can check the second part of the article from the link below.


![Introduction to Unity Visual Scripting Part 4: Switching screens and displaying scores [Part 2 of the continuous hit game]](https://styly.cc/wp-content/uploads/2024/08/11-1-160x160.png)