In this article, I will introduce how to use ShaderForge to create a flowing clouds animation. 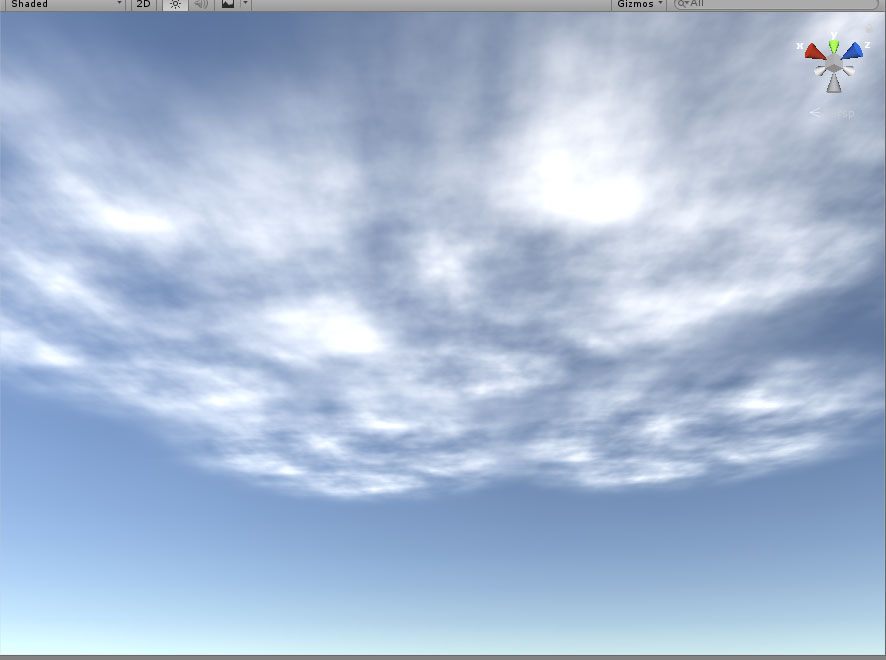 The completed animation will become like this.
  Let’s start creating this animation and set it so that we can change the direction and speed of the clouds.
Sample
There is a sample scene of this animation in the STYLY GALLERY.
The UnityProject used this in this article can be downloaded from here. FlowingCloud_Sample
Creating cloud textures
First of all, we will create the cloud texture we we will be using in the scene with Photoshop. Set the resolution to 2048×2048. By setting the resolution to a power of two, the cloud texture will become seamless. When you’re going to use it for an animation, it is better and useful to make the texture seamless. 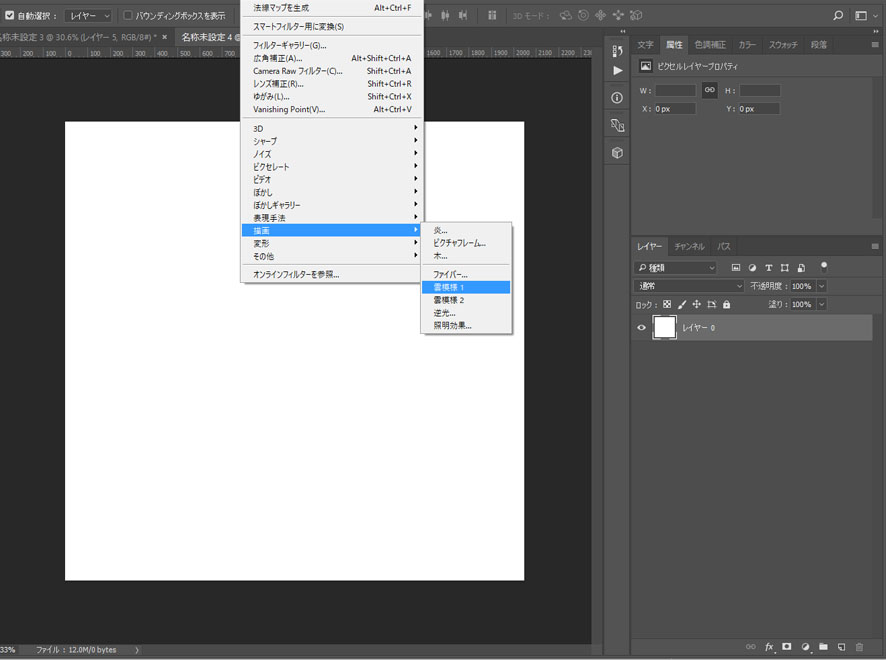 Go to the menu bar and click on Filter. Select Render from the list, and choose Clouds. A white and black cloud texture layer is created.
 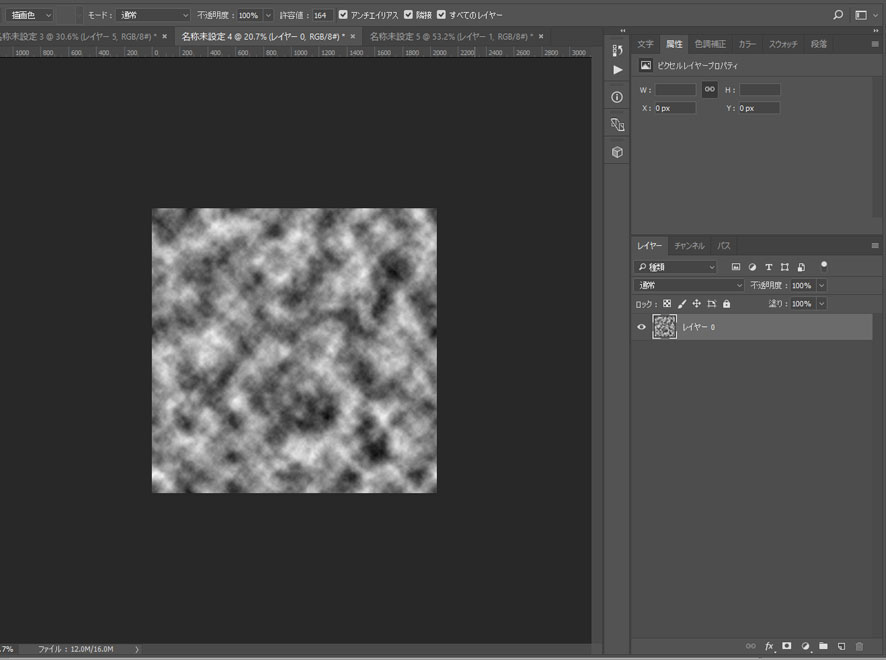 We will only need the white parts, so make a layer for just for the white parts. Click “create a new channel” located at the bottom right.
 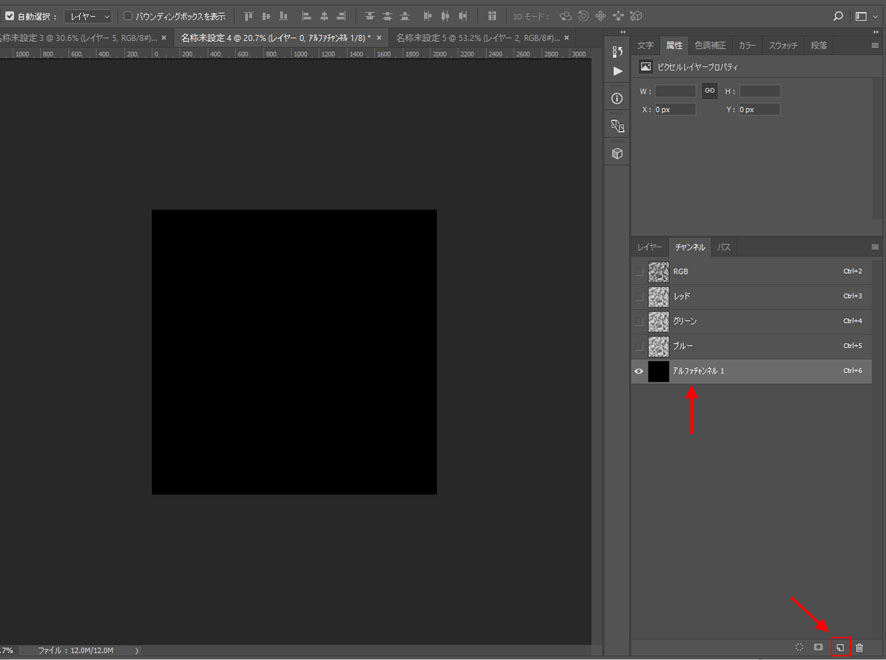 Create a new channel named Alpha Channel. Copy and paste the cloud layer you created from the previous step.
 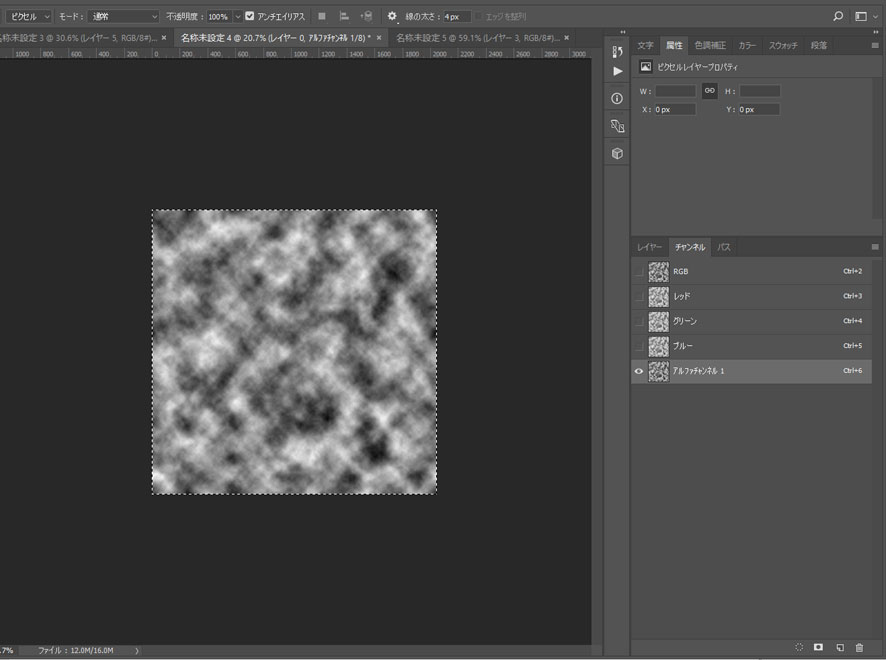 From here, we select and load just the white parts into the channel.
 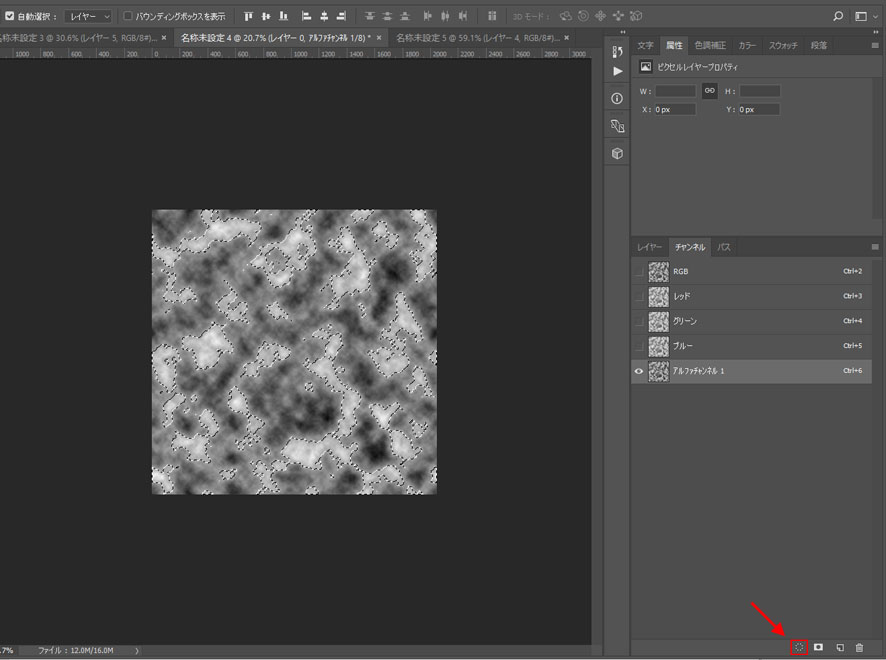 Click “load channel as selection” at the right bottom. After you load the selected parts, create a new layer and fill it with white.
 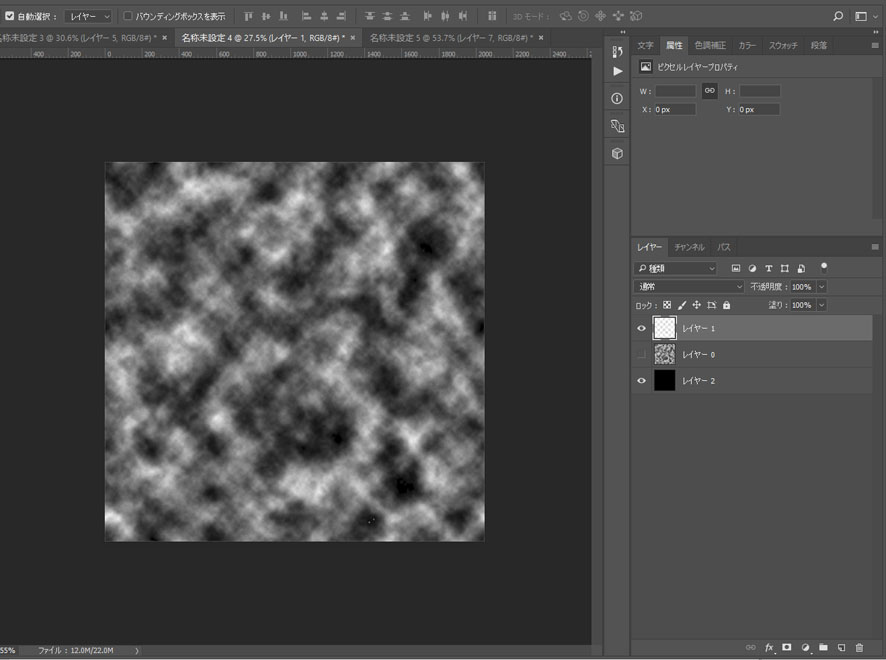 Now, you have finished creating a white cloud texture. Export this cloud texture setting the background to transparent.
Creating a cloud material using ShaderForge
Next, open ShaderForge to create a new shader. 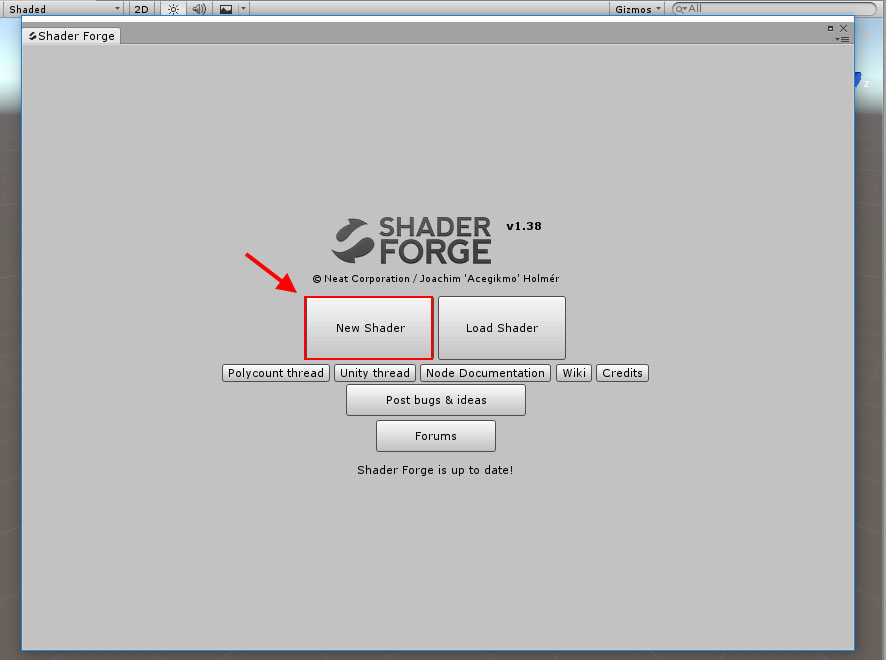 Click New Shader.
 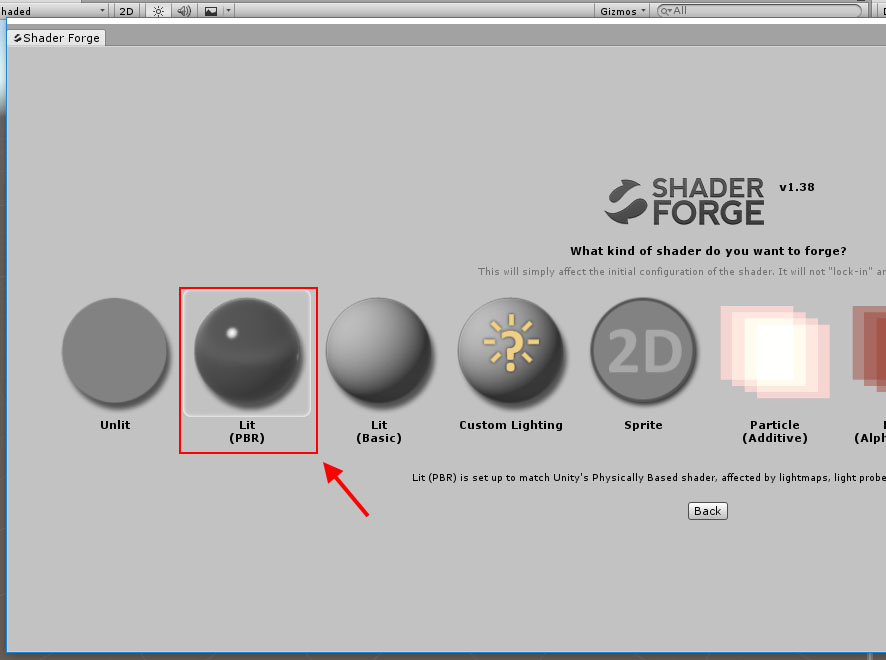 Select Lit(PBR). Next, change the Blend Mode option.
 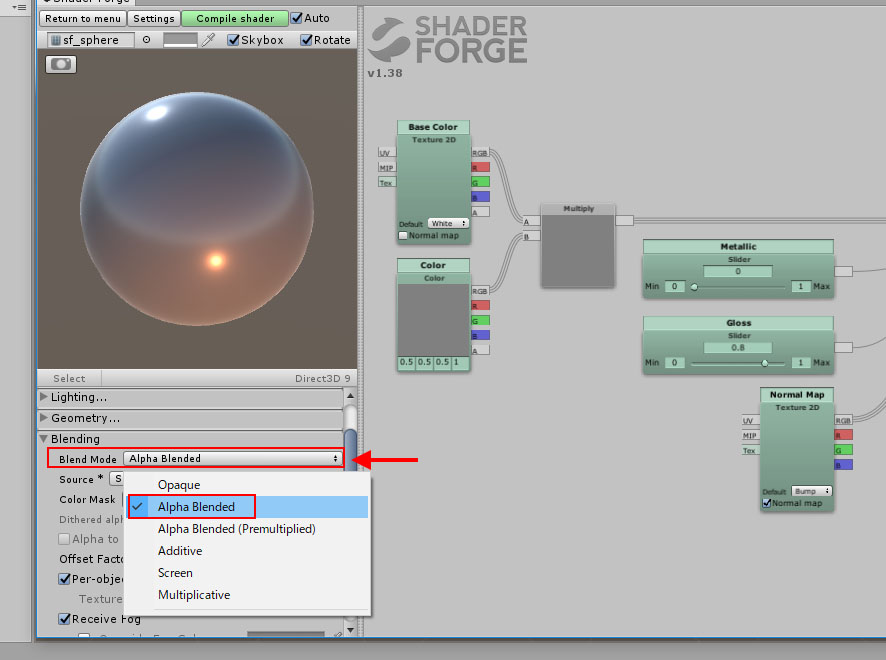 Set the Blend Mode to Alpha Blended. We will not be using normal map for this project, so delete it.
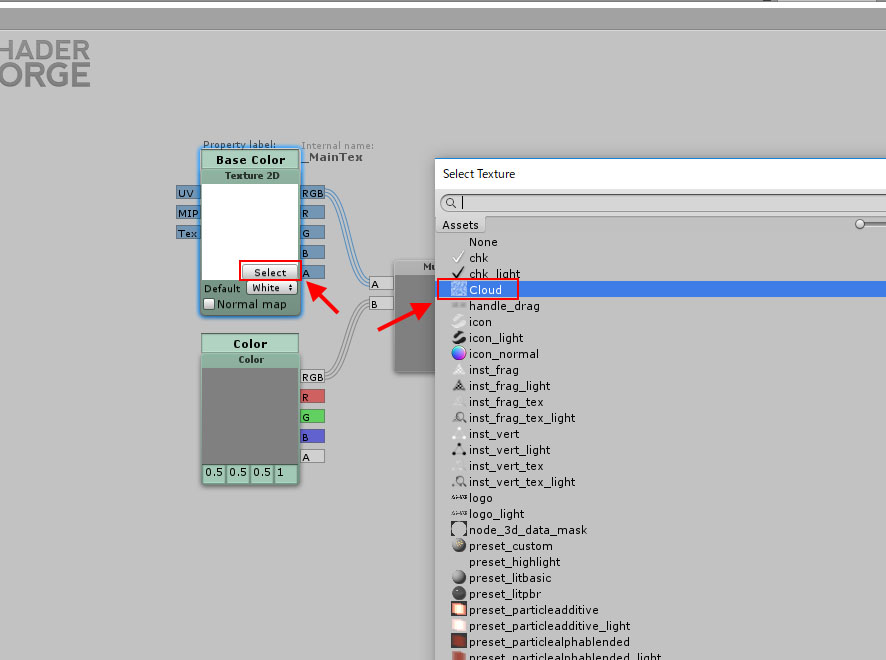
  For the Base Color node, select the Cloud texture you created.
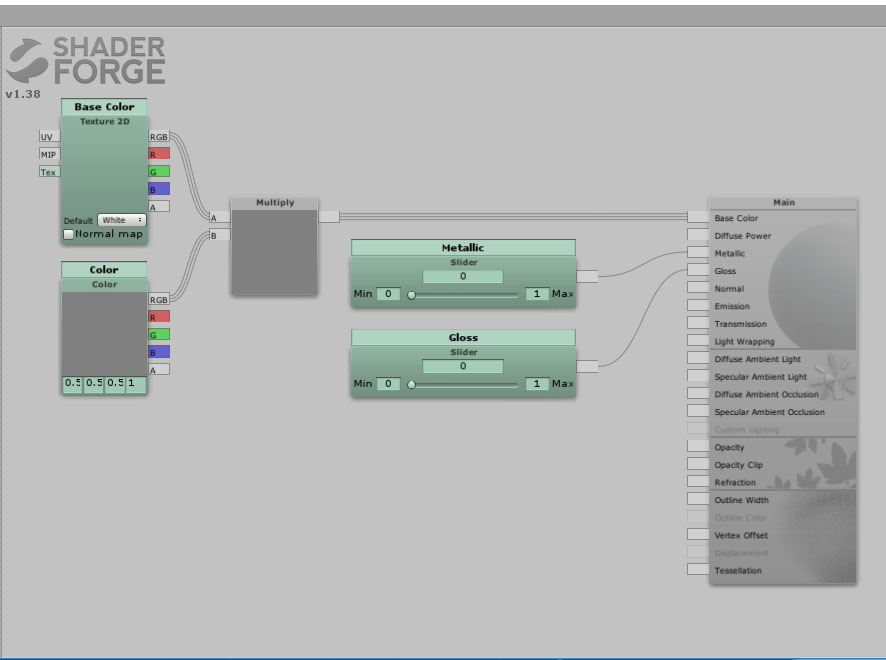
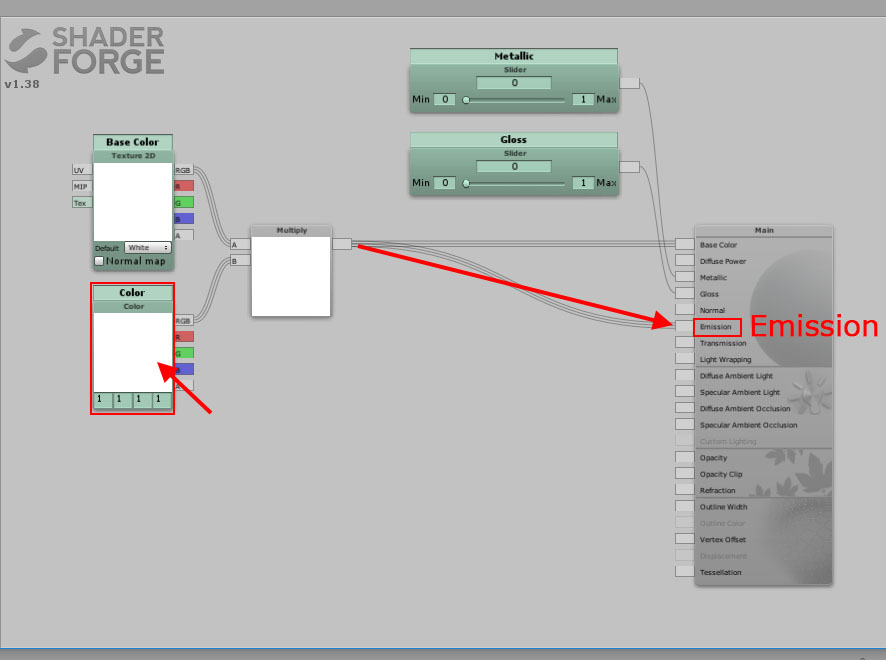
  Set the Color node to white, and connect from Multiply to Emission.
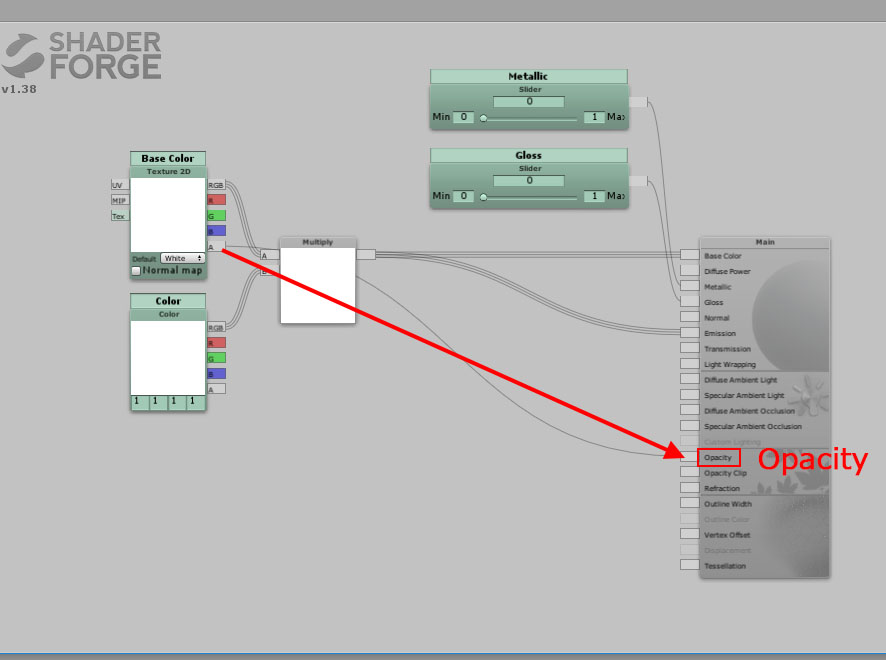
  Connect the Alpha to Opacity, since we will be using the opacity option for the cloud texture.
  After that, we will check our texture by setting it to a material. Create a new material, and change the Shader.
 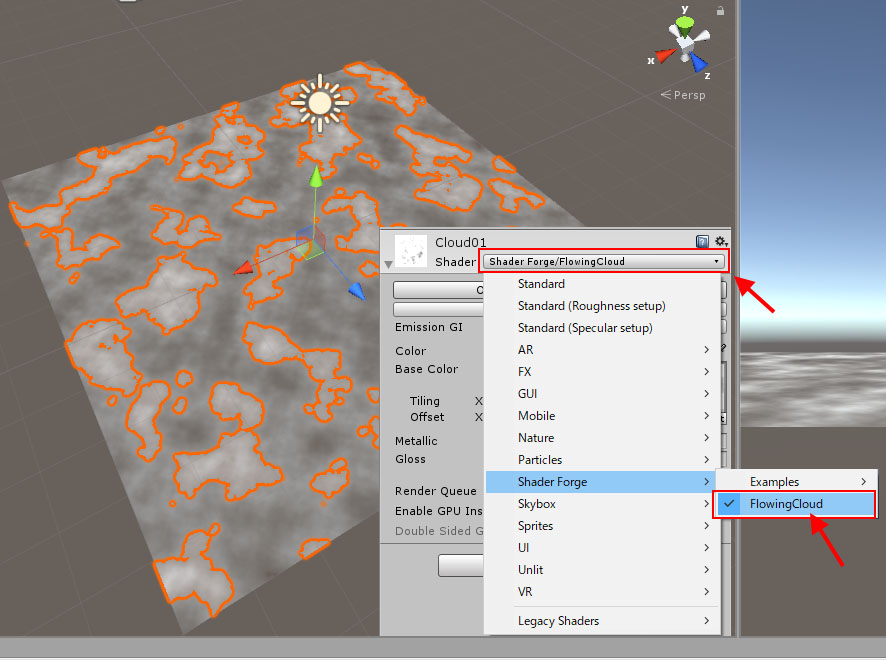 From the Shader menu, select ShaderForge, and the Shader we just created. Create a Plane, and assign the material.
 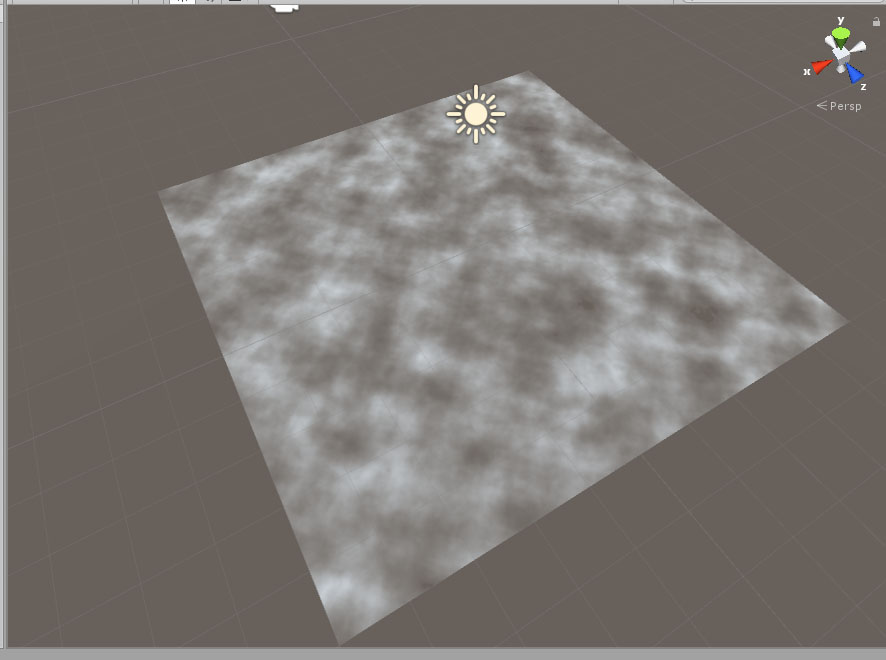 Next, we will set this texture so that it moves.
Using the Panner node and set movement to UV
Return to ShaderForge, and add new nodes. 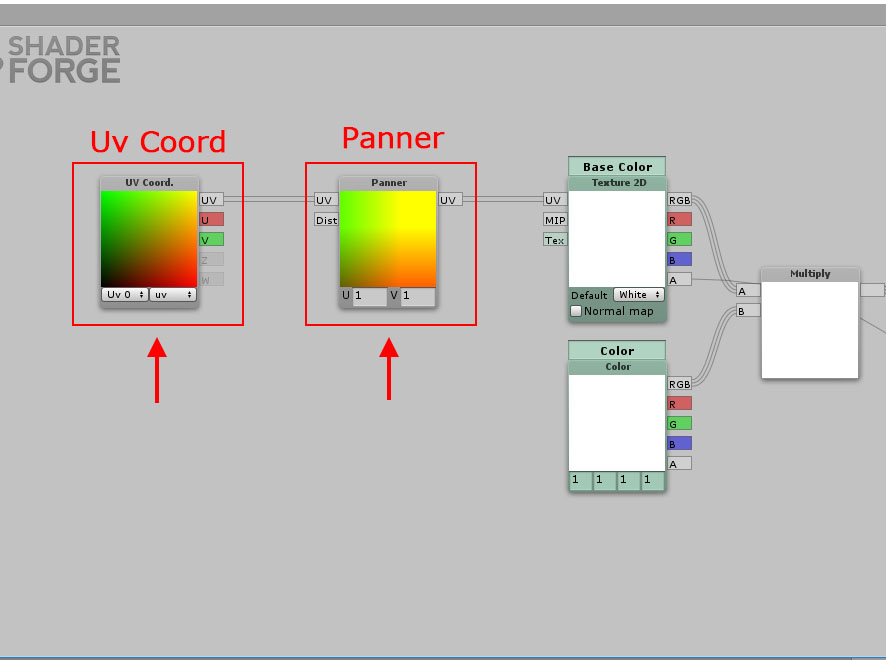 Add Panner and Uv Coordinates from Base Color, and connect them as above. Now, check if the texture moves.
 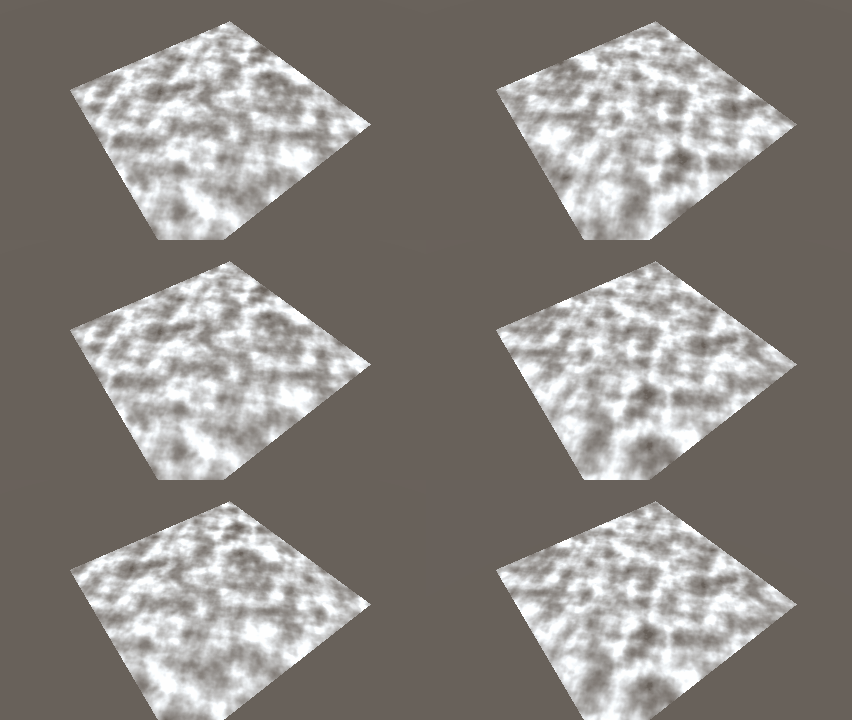 The speed is too fast with the current settings, so we need to slow it down. Change the U value and V value.
 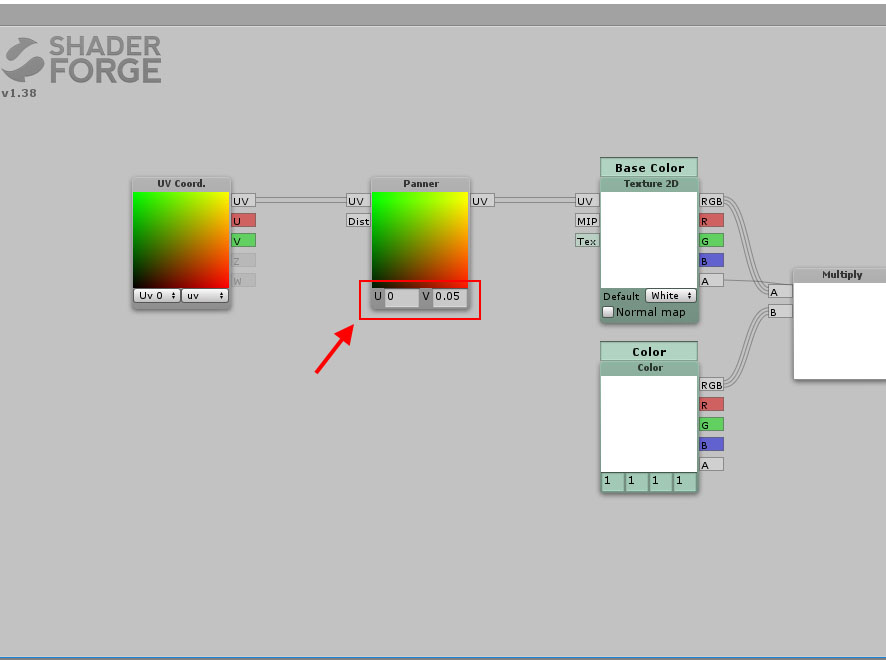 For this example, I set the U to 0, and V to 0.05. The cloud speed has become natural now, but next we will set it so that we can change the speed from the inspector. In ShaderForge, add Slider and Time and connect it with Multiply.
 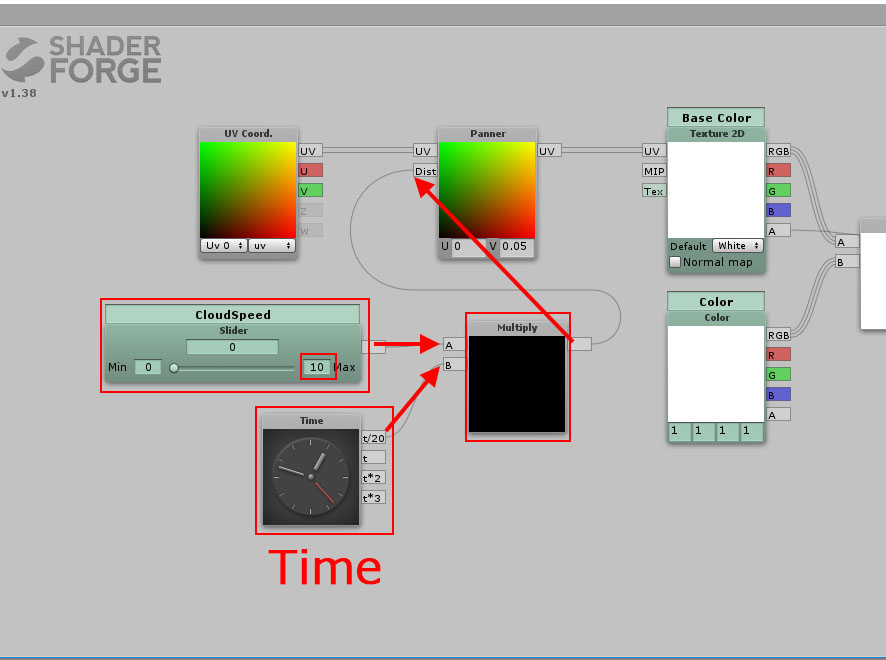 I set the max value to 10 for the Slider, and named it CloudSpeed. This slider will be used to change the speed. For the Time node, connect t/20 to Multiply. Then, connect Multiply to Dist of Panner.
 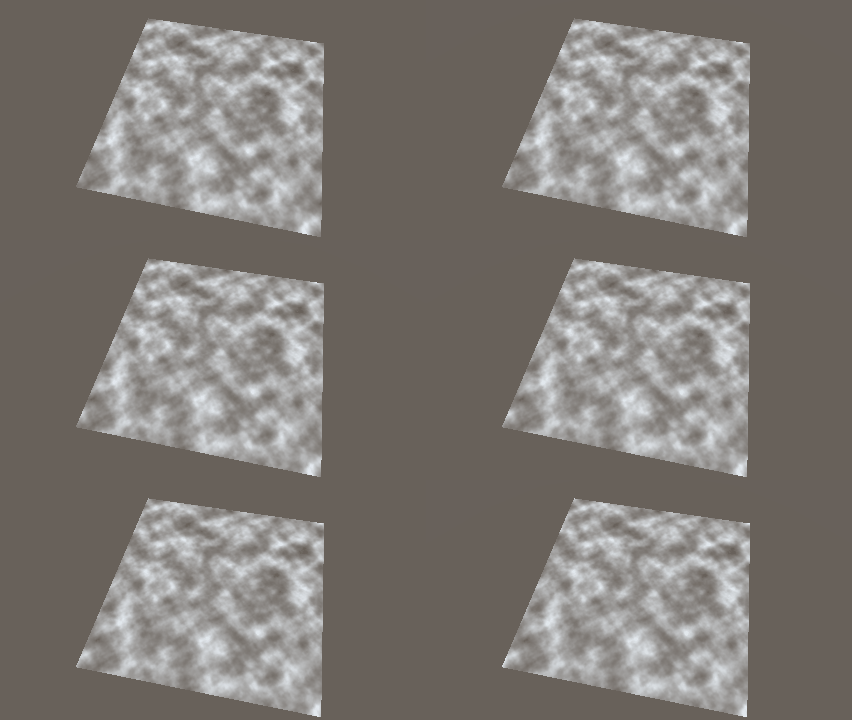 The movement has become natural, so next, we will adjust the plane edges.
Setting the plane edges transparent
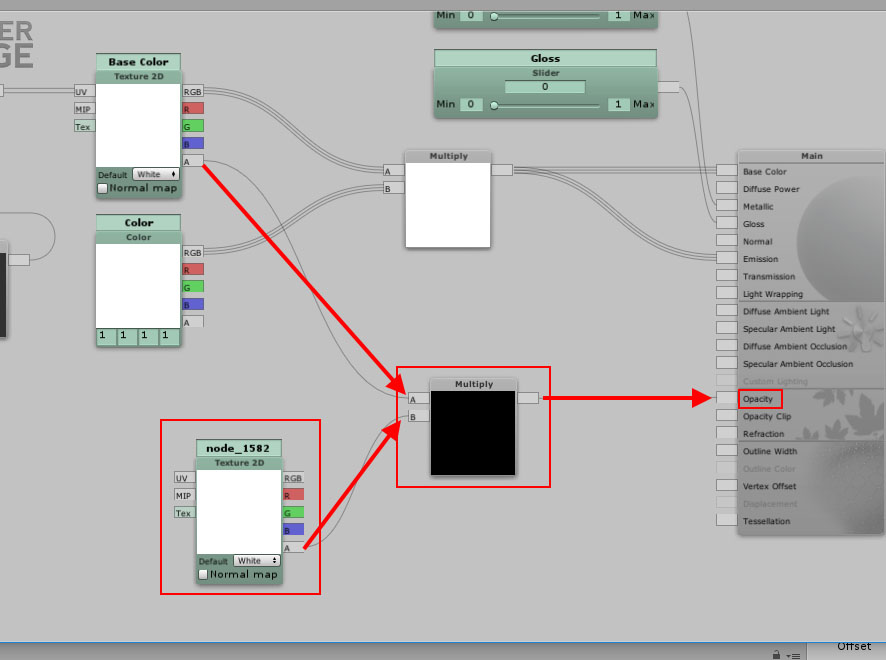
In order to make the edges transparent, firstly we need to create a texture. 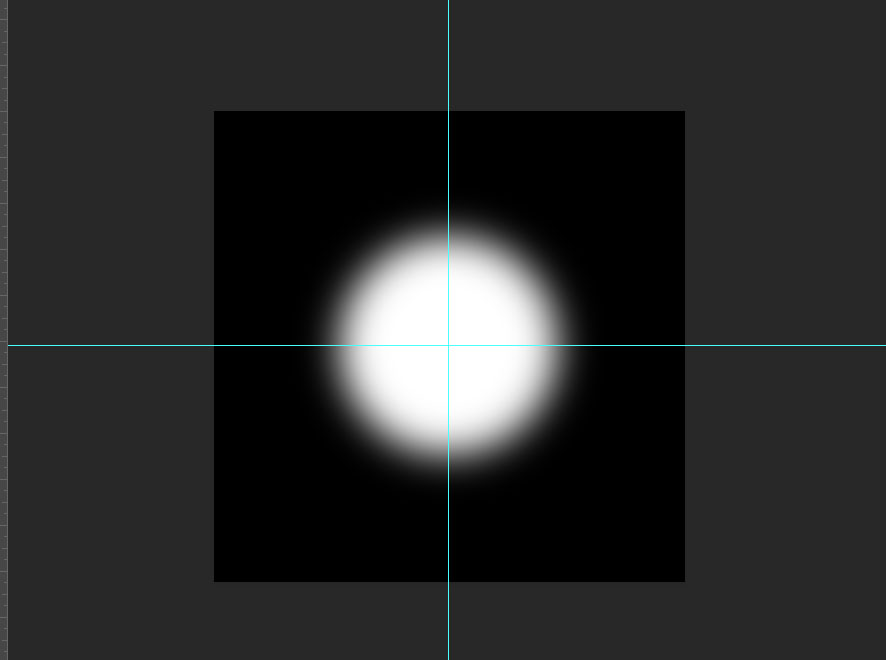 The texture needed is set so the center area non-transparent, and the edges transparent. We will use the transparency of this texture. Load this texture into ShaderForge and connect it to the Alpha of the cloud texture, and to Opacity from Multiply.
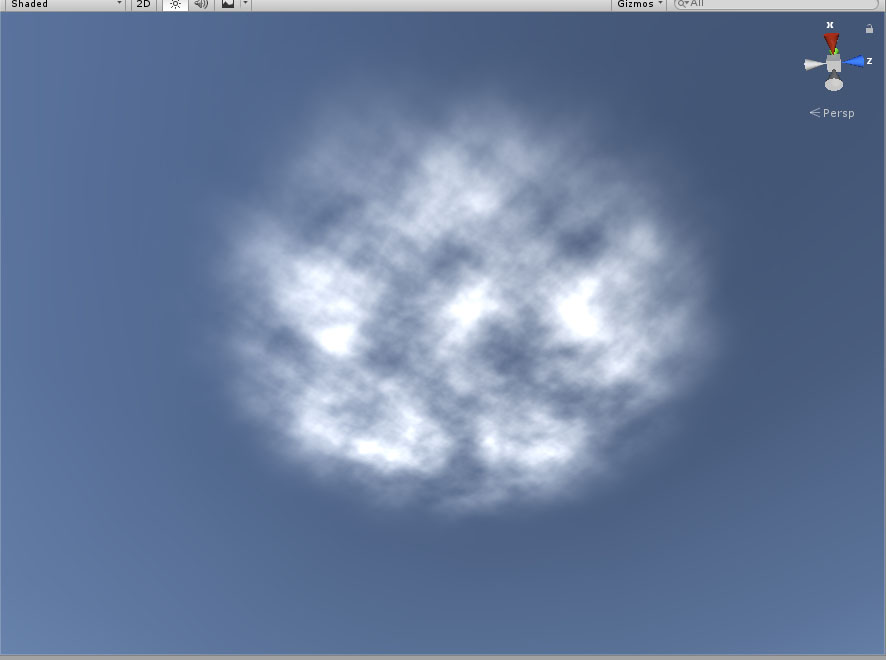
  By setting the cloud edges transparent, the cloud has become very cloud-likely.
  Copy and arrange the clouds to create a skyscape.
 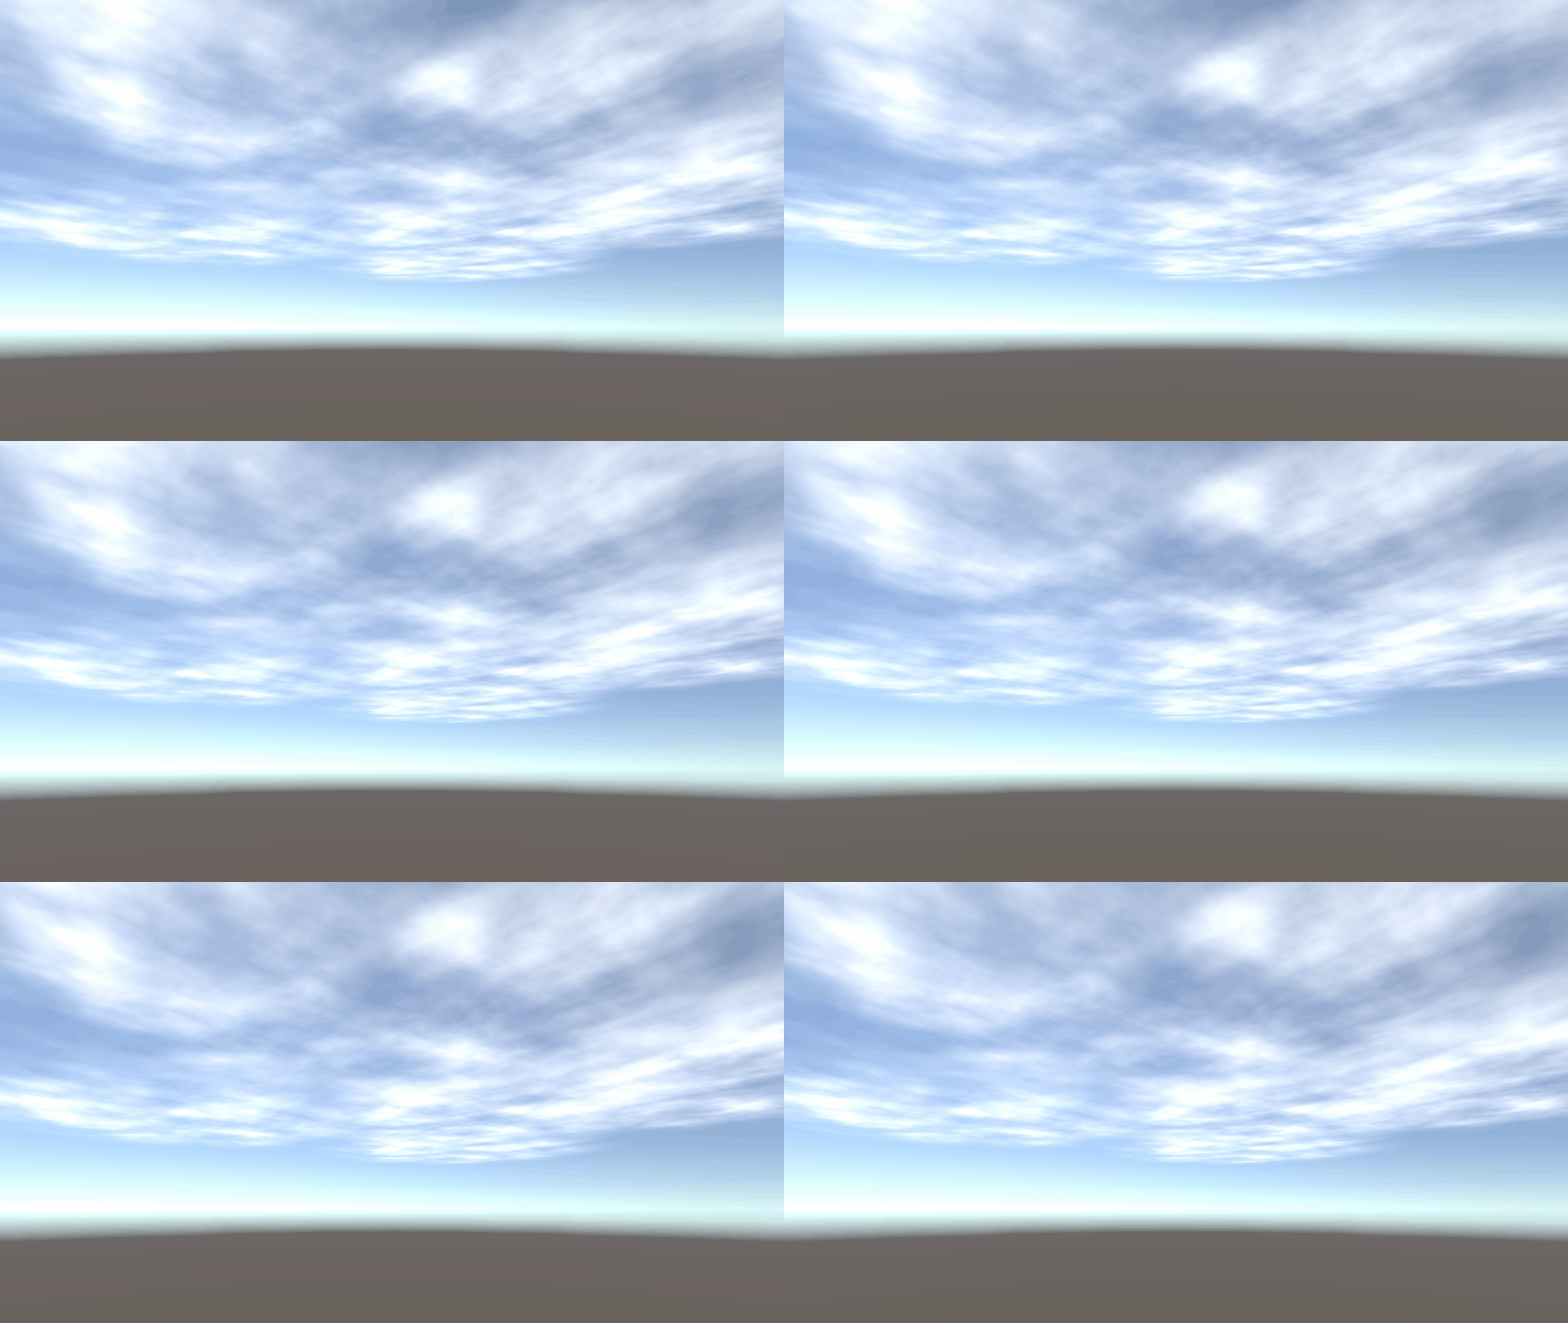 You can also change the color settings to use the clouds in various scenes.
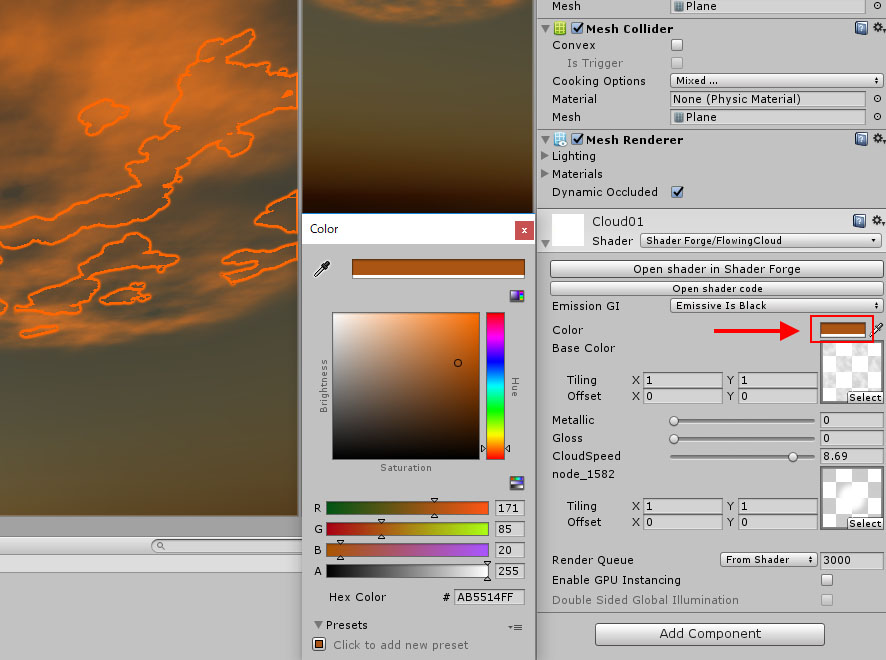
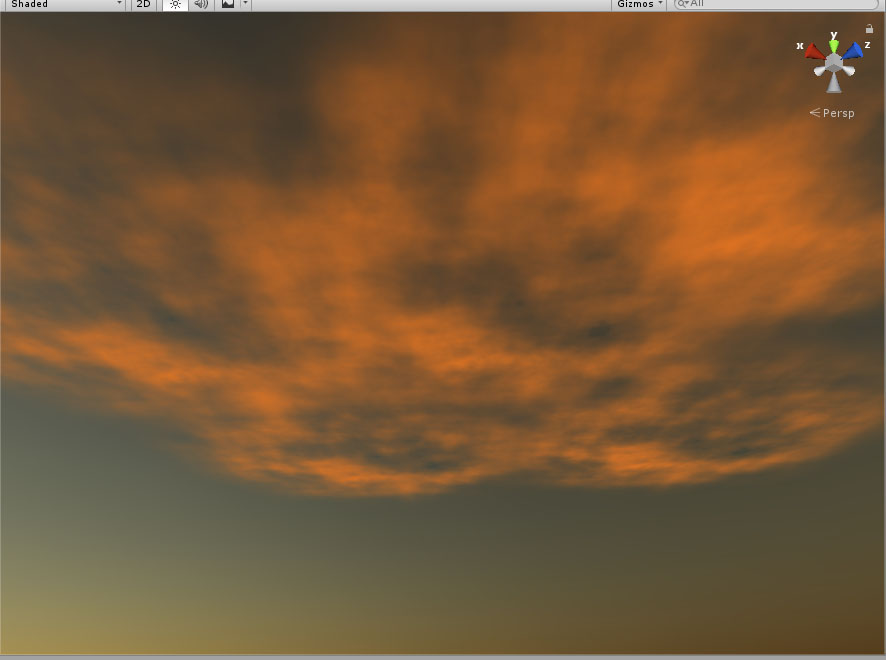 For example, I created a sunset scene. In this article, I introduced how to create a drifting cloud material using Unity’s ShaderForge. There is also a way to use particles and set cloud textures to easily create clouds, but in VR, the Billboard effect is too effective sometimes and you might not be able to do what you want in the scene. You can avoid such problems if you use the settings I introduced today. How to upload assets to STYLY from Unity Read this article