In this article, which is the first in a two-part series, we will introduce the basics of the Kinetix service.
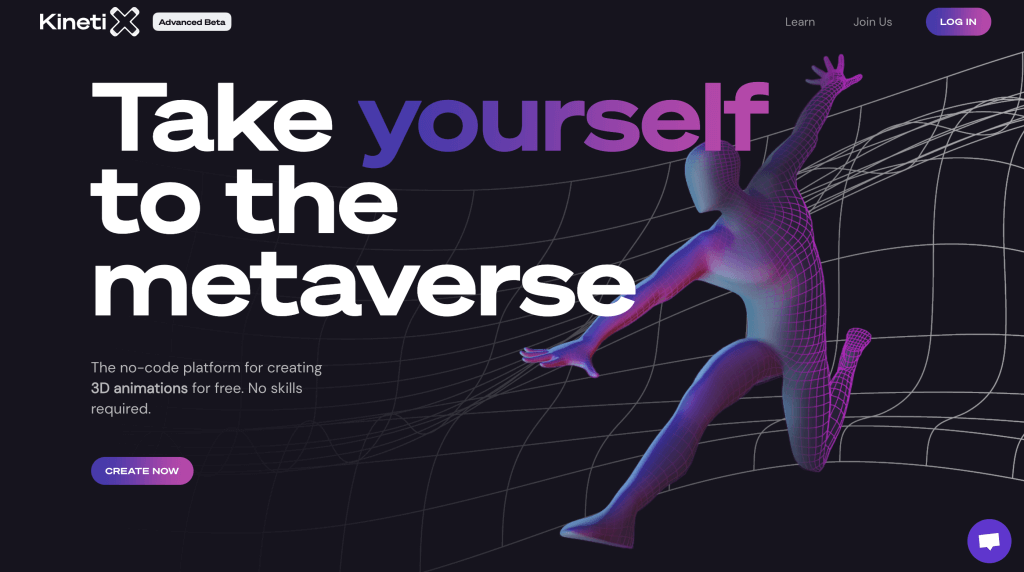
What is Kinetix?
Kinetix is a platform that allows users to extract animation from dance and other videos and add movement to three-dimensional (3D) models. The entire process can be completed on the web, without the need to write any code, and is free of charge. Take advantage of this free service and incorporate various movements, such as dance, into your work at STYLY!
Click the link below to begin.
Kinetix:https://www.kinetix.tech/
Kinetix
How to Register
Registration is required to use all Kinetix features.
Click on LOG IN in the upper right-hand corner of the Kinetix website’s top page.

LOG IN
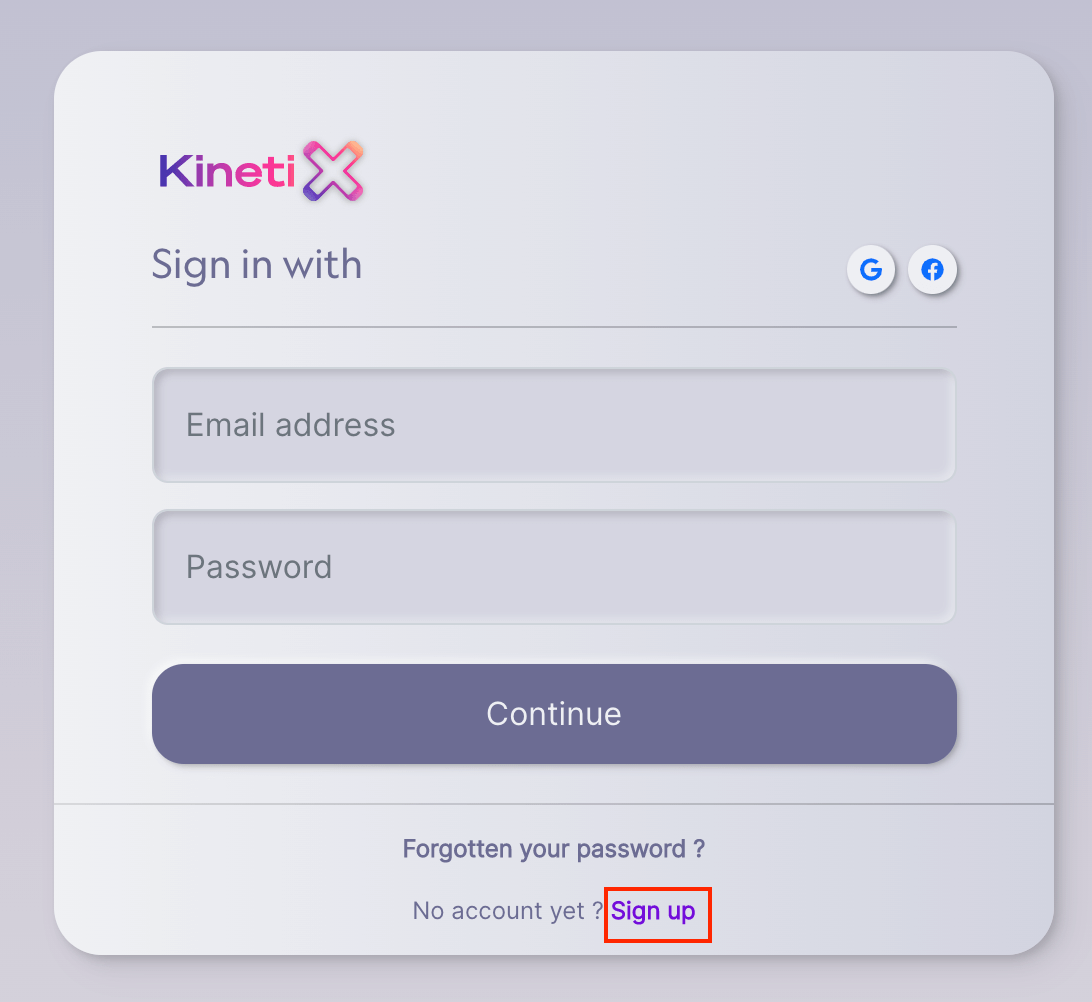
Sign up
Then, to register a new account, click on SIGN UP at the bottom of the screen.
Click the icon to the right of SIGN UP to log in through your respective social media (G→ Google account, F→ Facebook account).

Sign up
| First name | |
| Last name | |
| Email address | |
| Password | At least 8 characters, including upper- and lowercase letters, symbols, and numbers |
| □ I would like to receive… | Check if you want to subscribe to the newsletter |
| □ I have read and accept… | Check if you agree to the terms and conditions |
Click “Continue” when you have entered all the sign-up information.
A confirmation email will be sent to you immediately.
If you want to resend your email address, click “Resend Email” below.
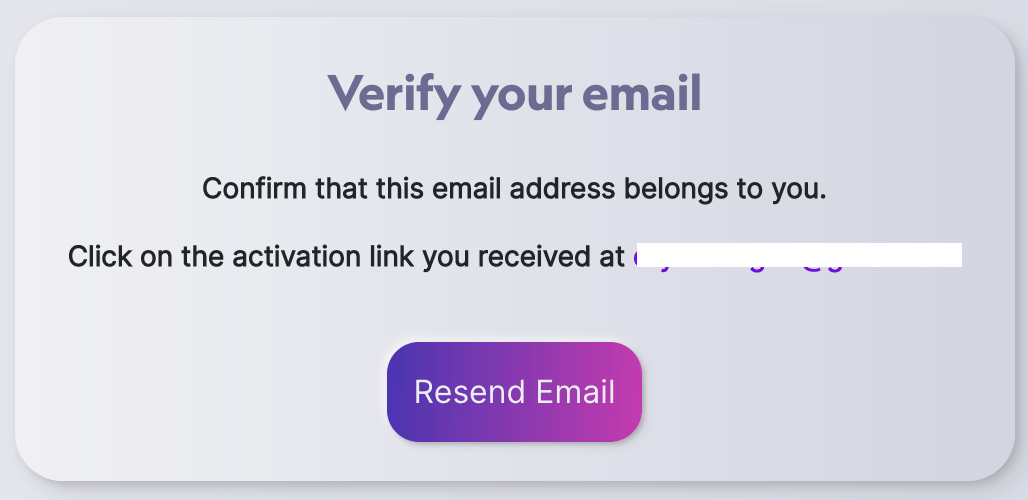
Resend Email
Open the email and Click on ACTIVATE ACCOUNT.
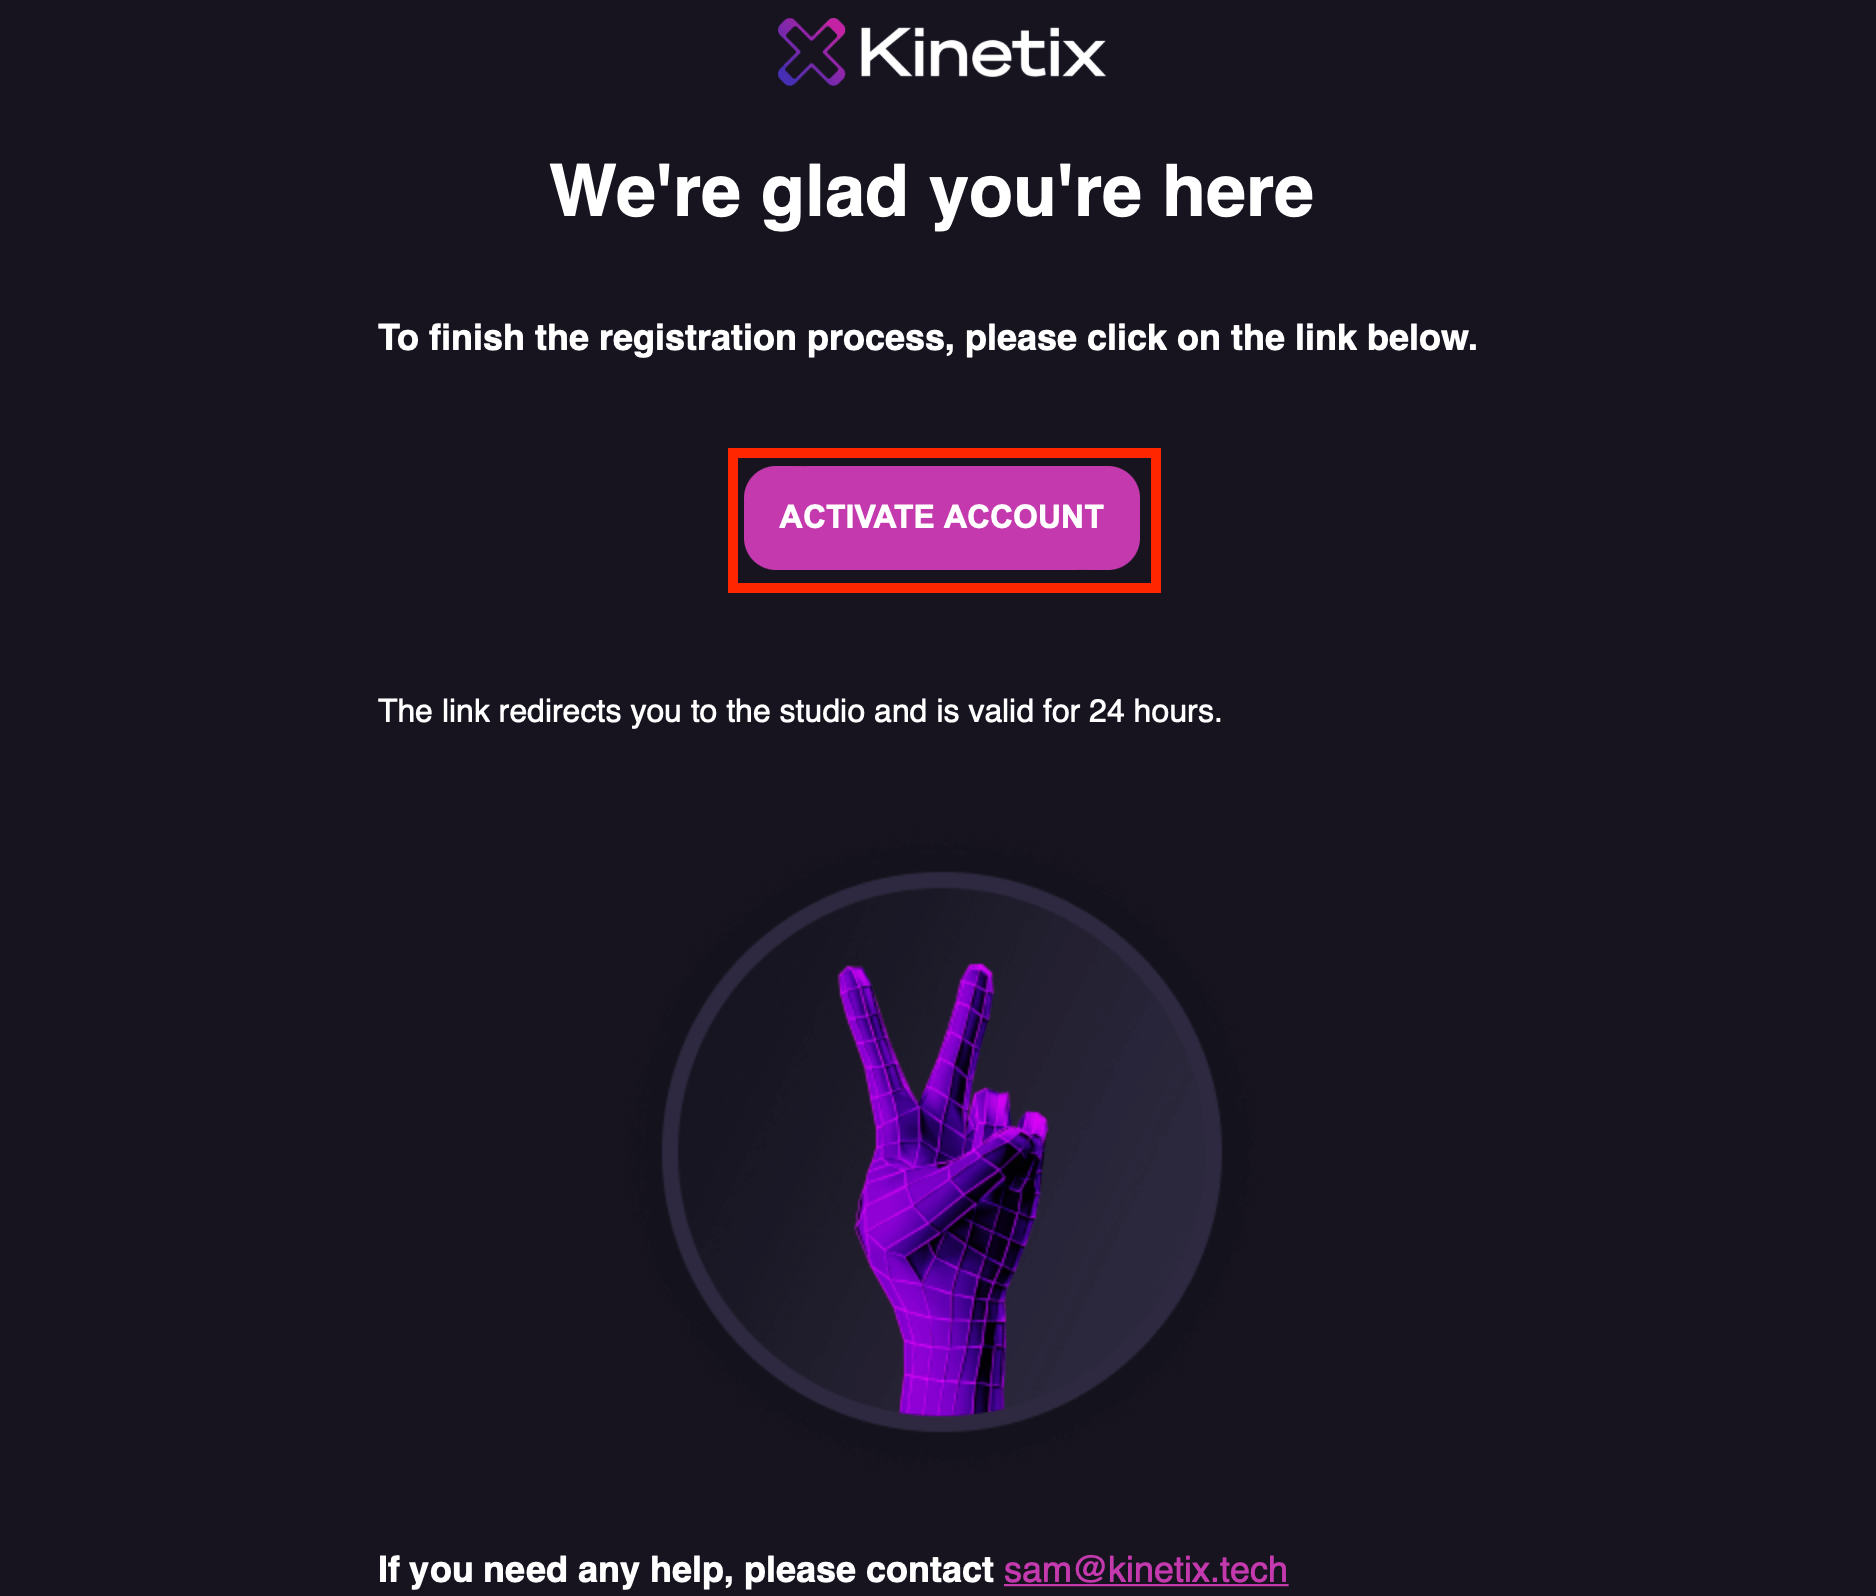
ACTIVATE ACCOUNT
Your email address will be verified, and you will be automatically redirected to the site.
Next, the Kinetix Terms of Use will be displayed; click on “Accept” Terms of Use in the lower right-hand corner.

Once you have verified your email address and agreed to the Terms of Use, you will be taken to the profile selection screen.
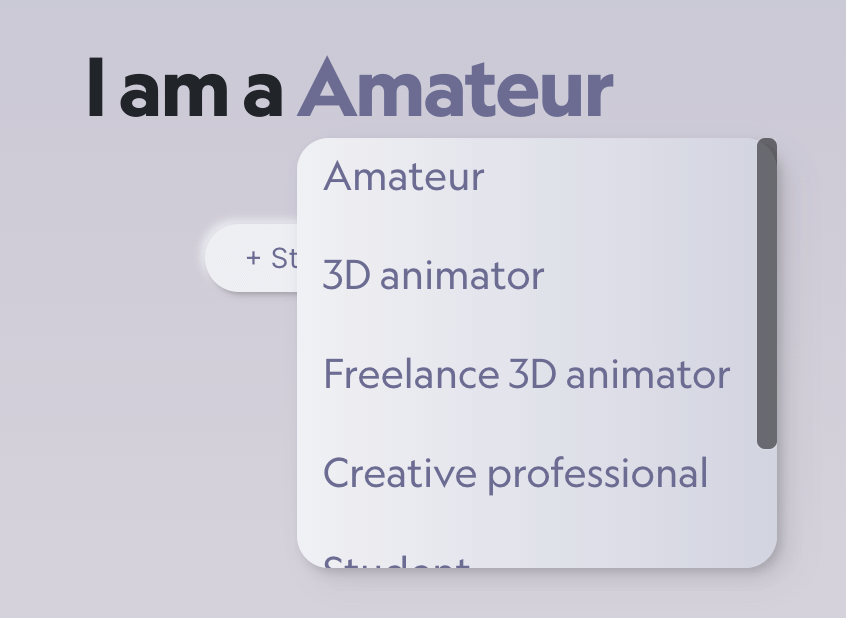
Select Profile
I am a …
| Amateur |
| 3D animator |
| Freelance 3D animator |
| Creative professional |
| Student |
| Other |
I will use Kinetix to…
| quickly create 3D animations |
| easily create 3D animations |
| create more 3D animation |
| optimize my production workflow |
| eliminate tedious tasks and focus on creativity |
| eliminate tedious tasks and focus on quality |
| learn how to animate |
| make easy prototypes |
| see what the future of animation will look like |
and I work for a…
| a video game studio |
| a cinema studio |
| a VFX studio |
| a media agency |
| a communication agency |
| an AR/VR/XR agency |
| Other |
When you are finished filling out your profile, click “+Start Creating.”

+Start creating
About Kinetix’s User Interface (UI)
Now that you have completed your registration, you are ready to use Kinetix.

Kinetix Dashboard
| ①Dashboard |
This is the first page that comes up when you log in. |
| ②Projects | A list of past projects is displayed. |
| ③Create a new project | |
| ④Samples | A list of sample videos is displayed. |
| ⑤Add clip | Add the video from which you want to extract the motion. |
| ⑥Log out |
Try Kinetix
First, create a new project by clicking on one of the three.
After entering a project name, click “+Confirm.”
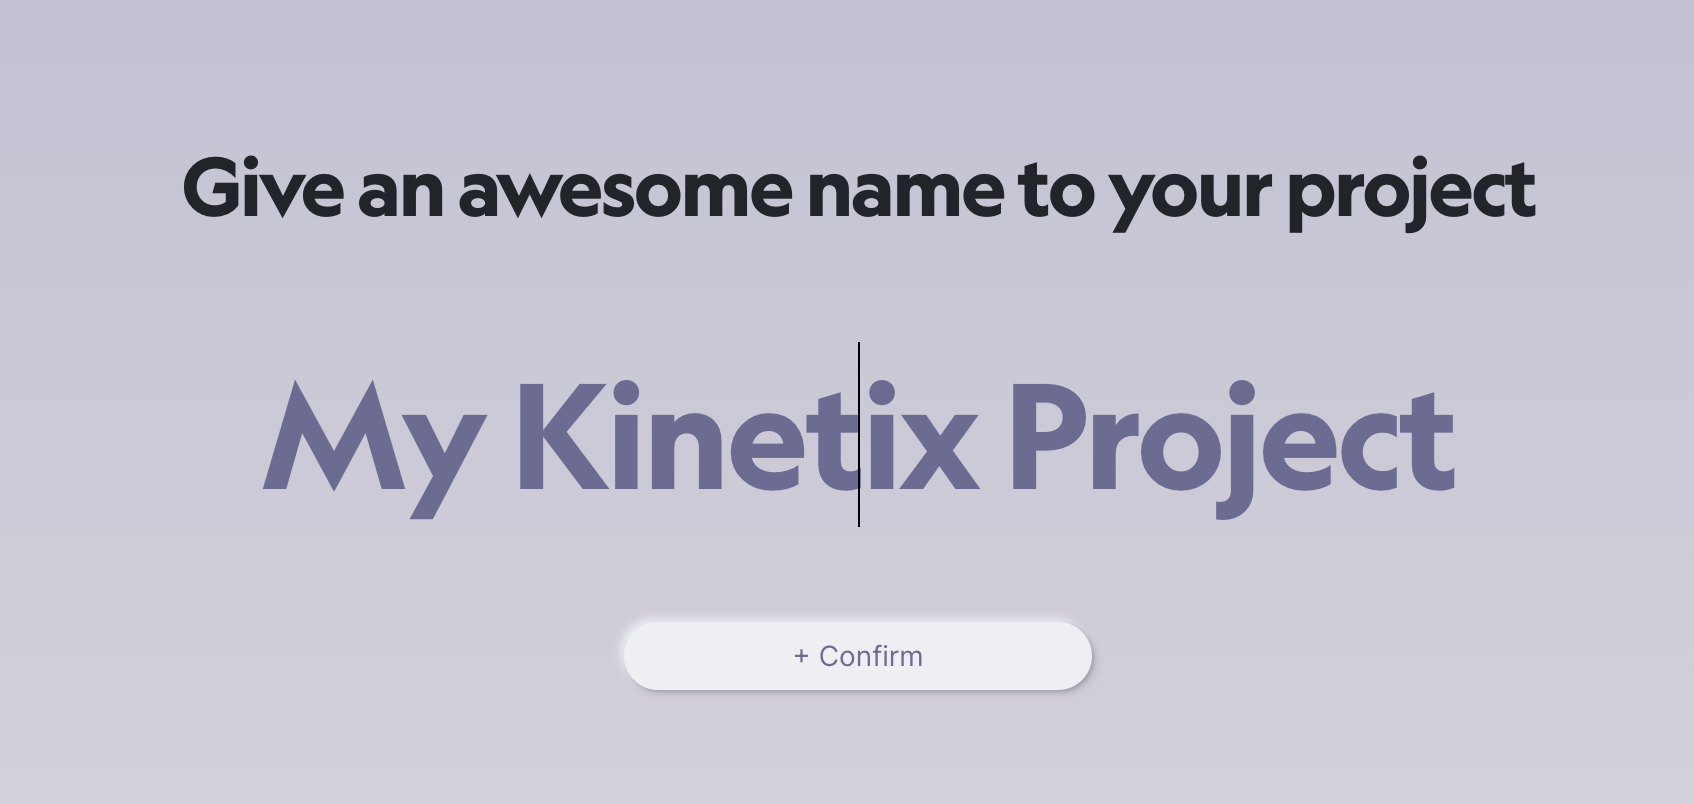
Enter a Project Name and Click +Confirm
This step creates a new project. Now, click on “Add Clip” and add the videos you wish to use.
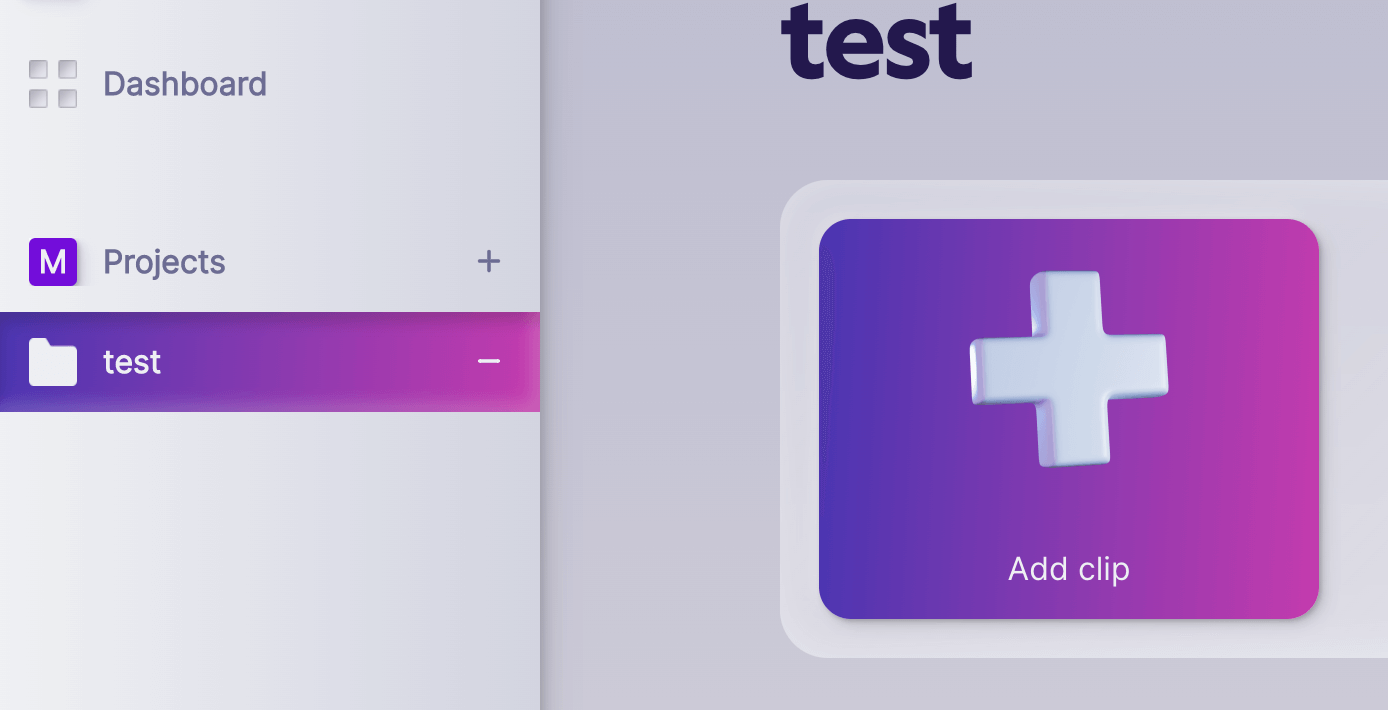
A New Project is Created
Use Your Own Videos
The next step is to upload a video directly to Kinetix. You can drag and drop a video from your PC or Mac, or enter the URL of a video from a website, such as YouTube.
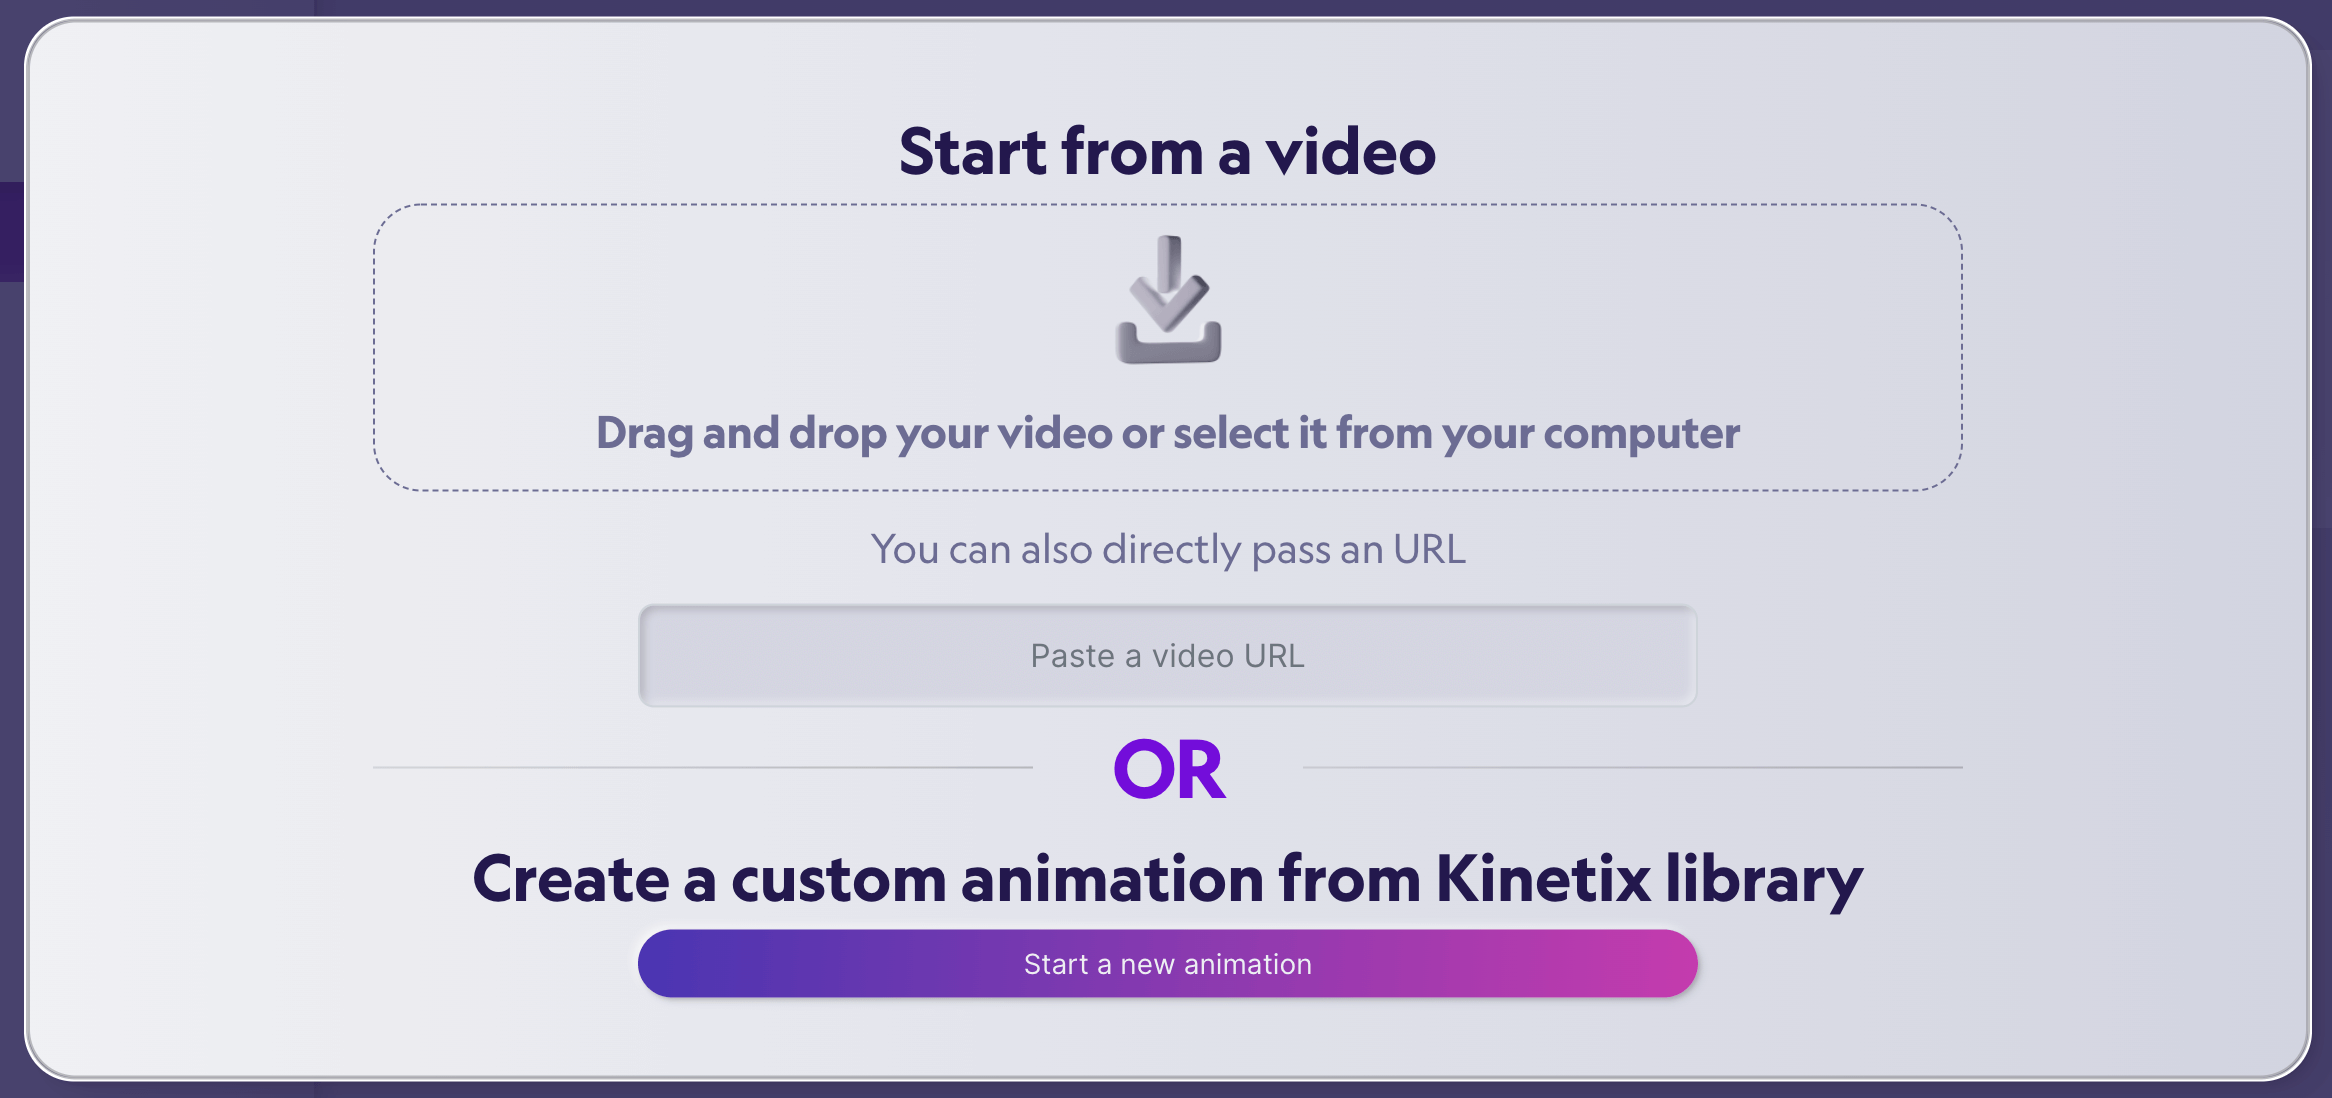
Start a new animation
In this case, we downloaded the following video from Pexels, a free image and video website, and used it as a clip.
We used this video:https://www.pexels.com/video/a-man-dancing-ballet-in-a-room-8462221/

Now, drag and drop the video and you will see the file name, time, and size.
Click “Import” to import your video.
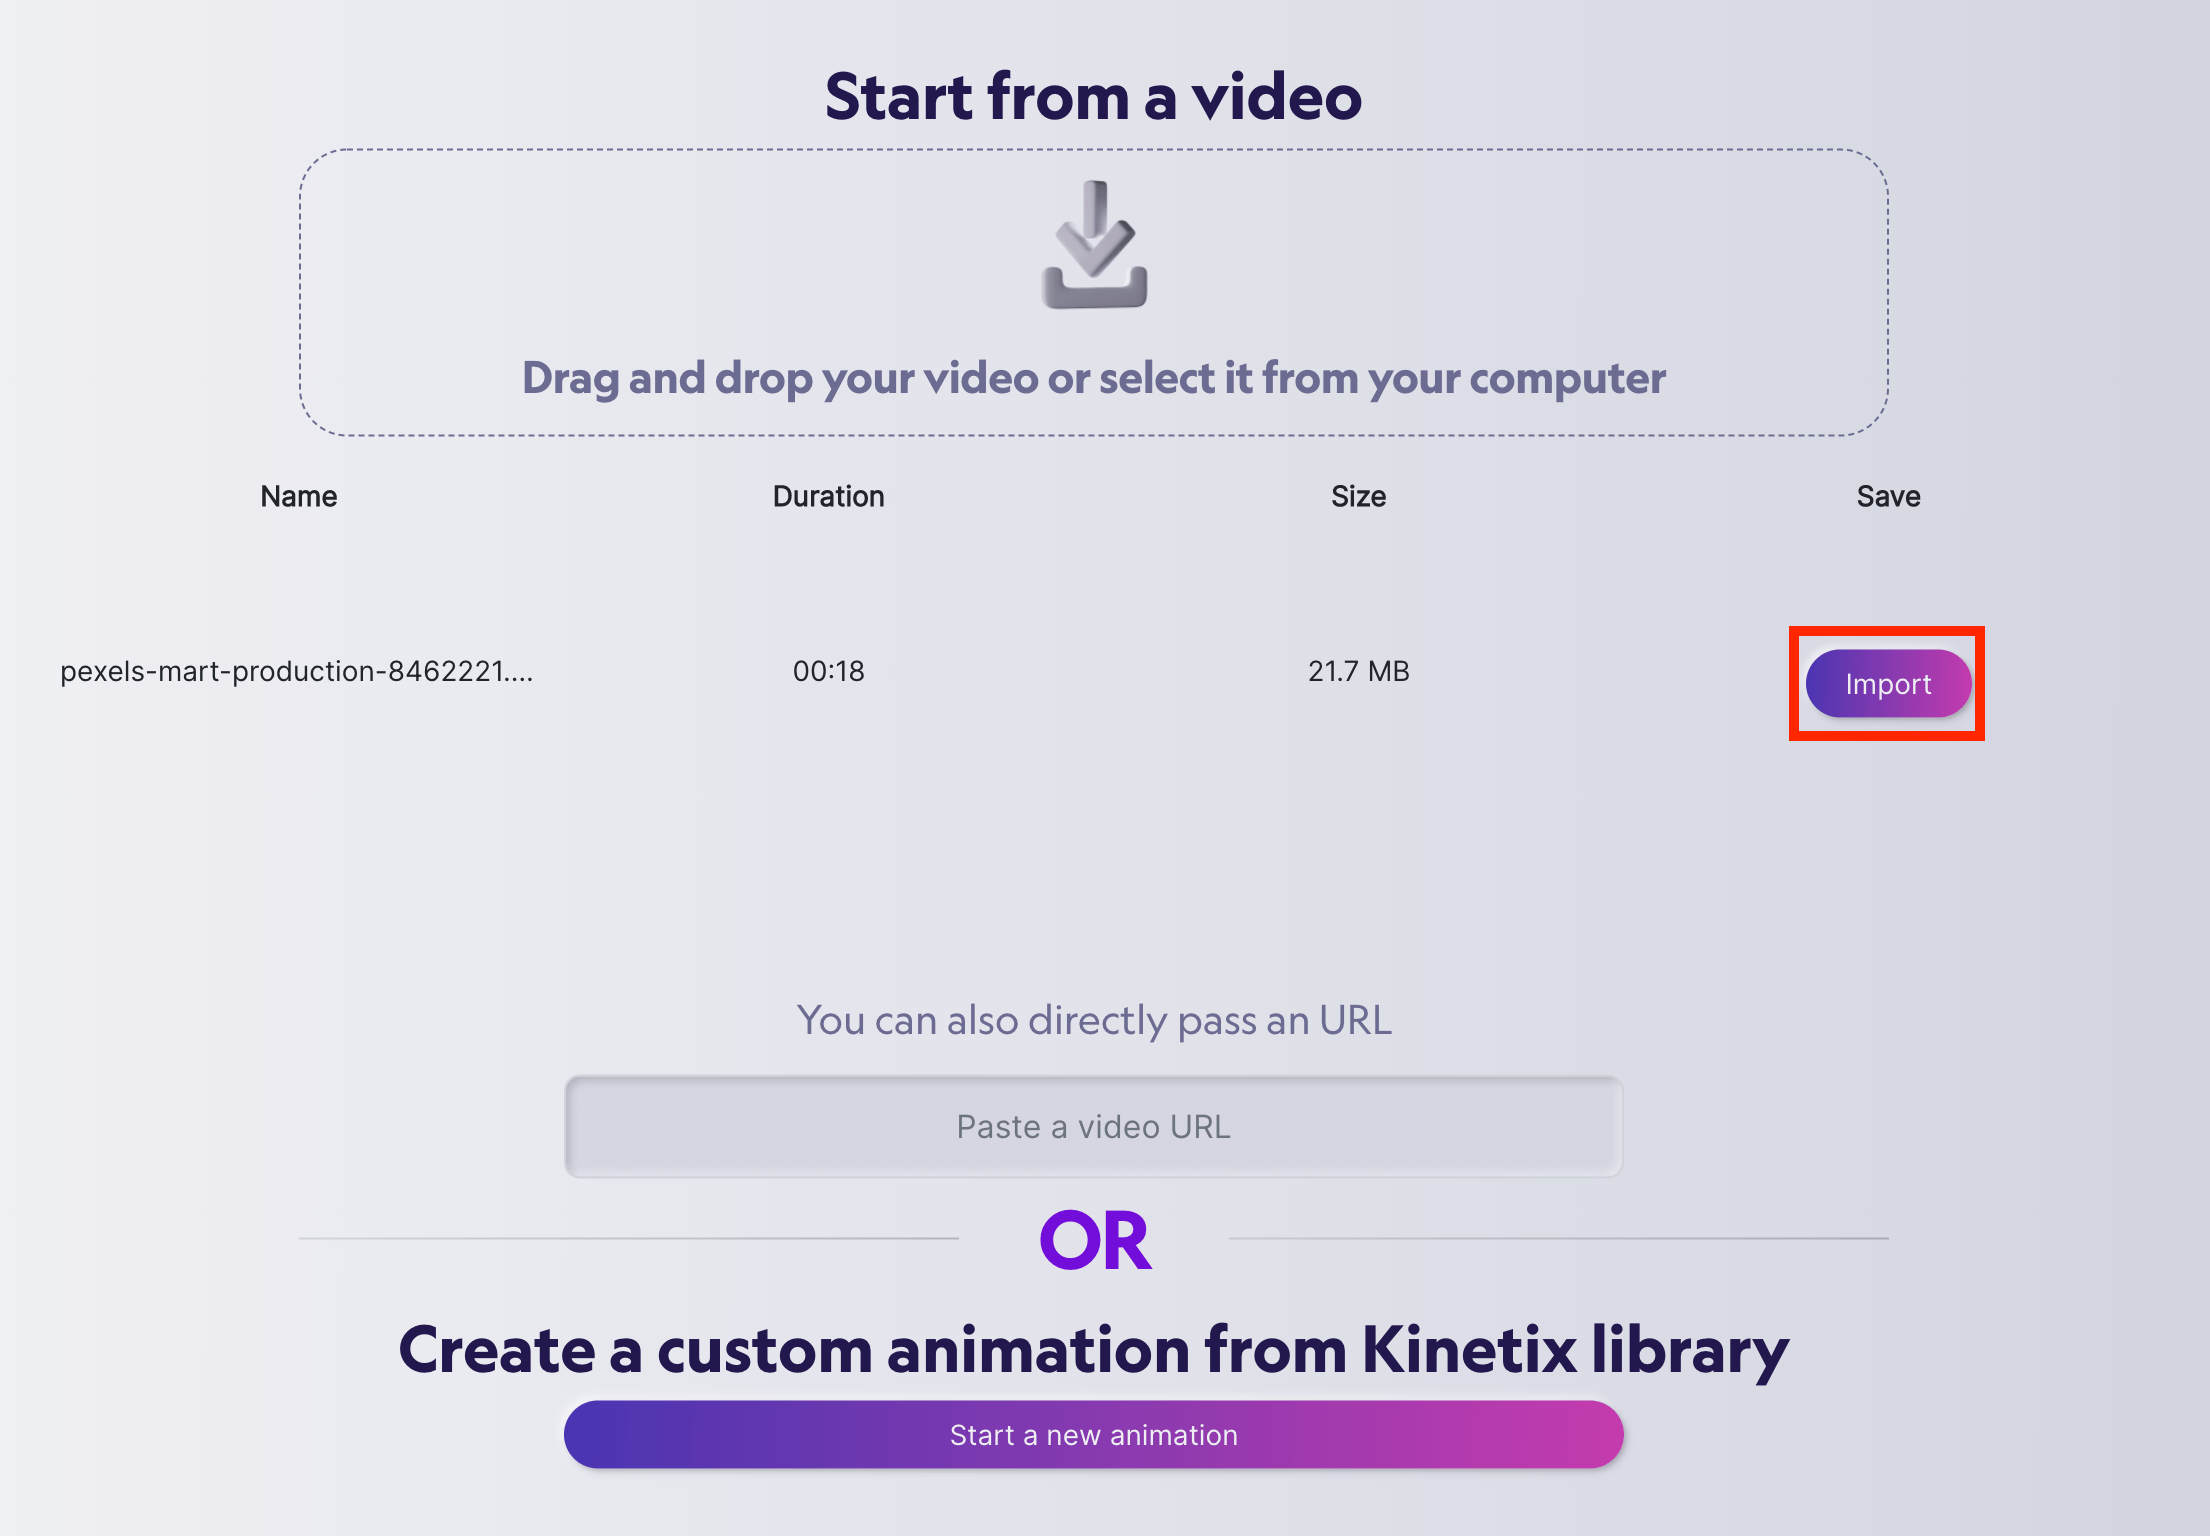
Start from a video
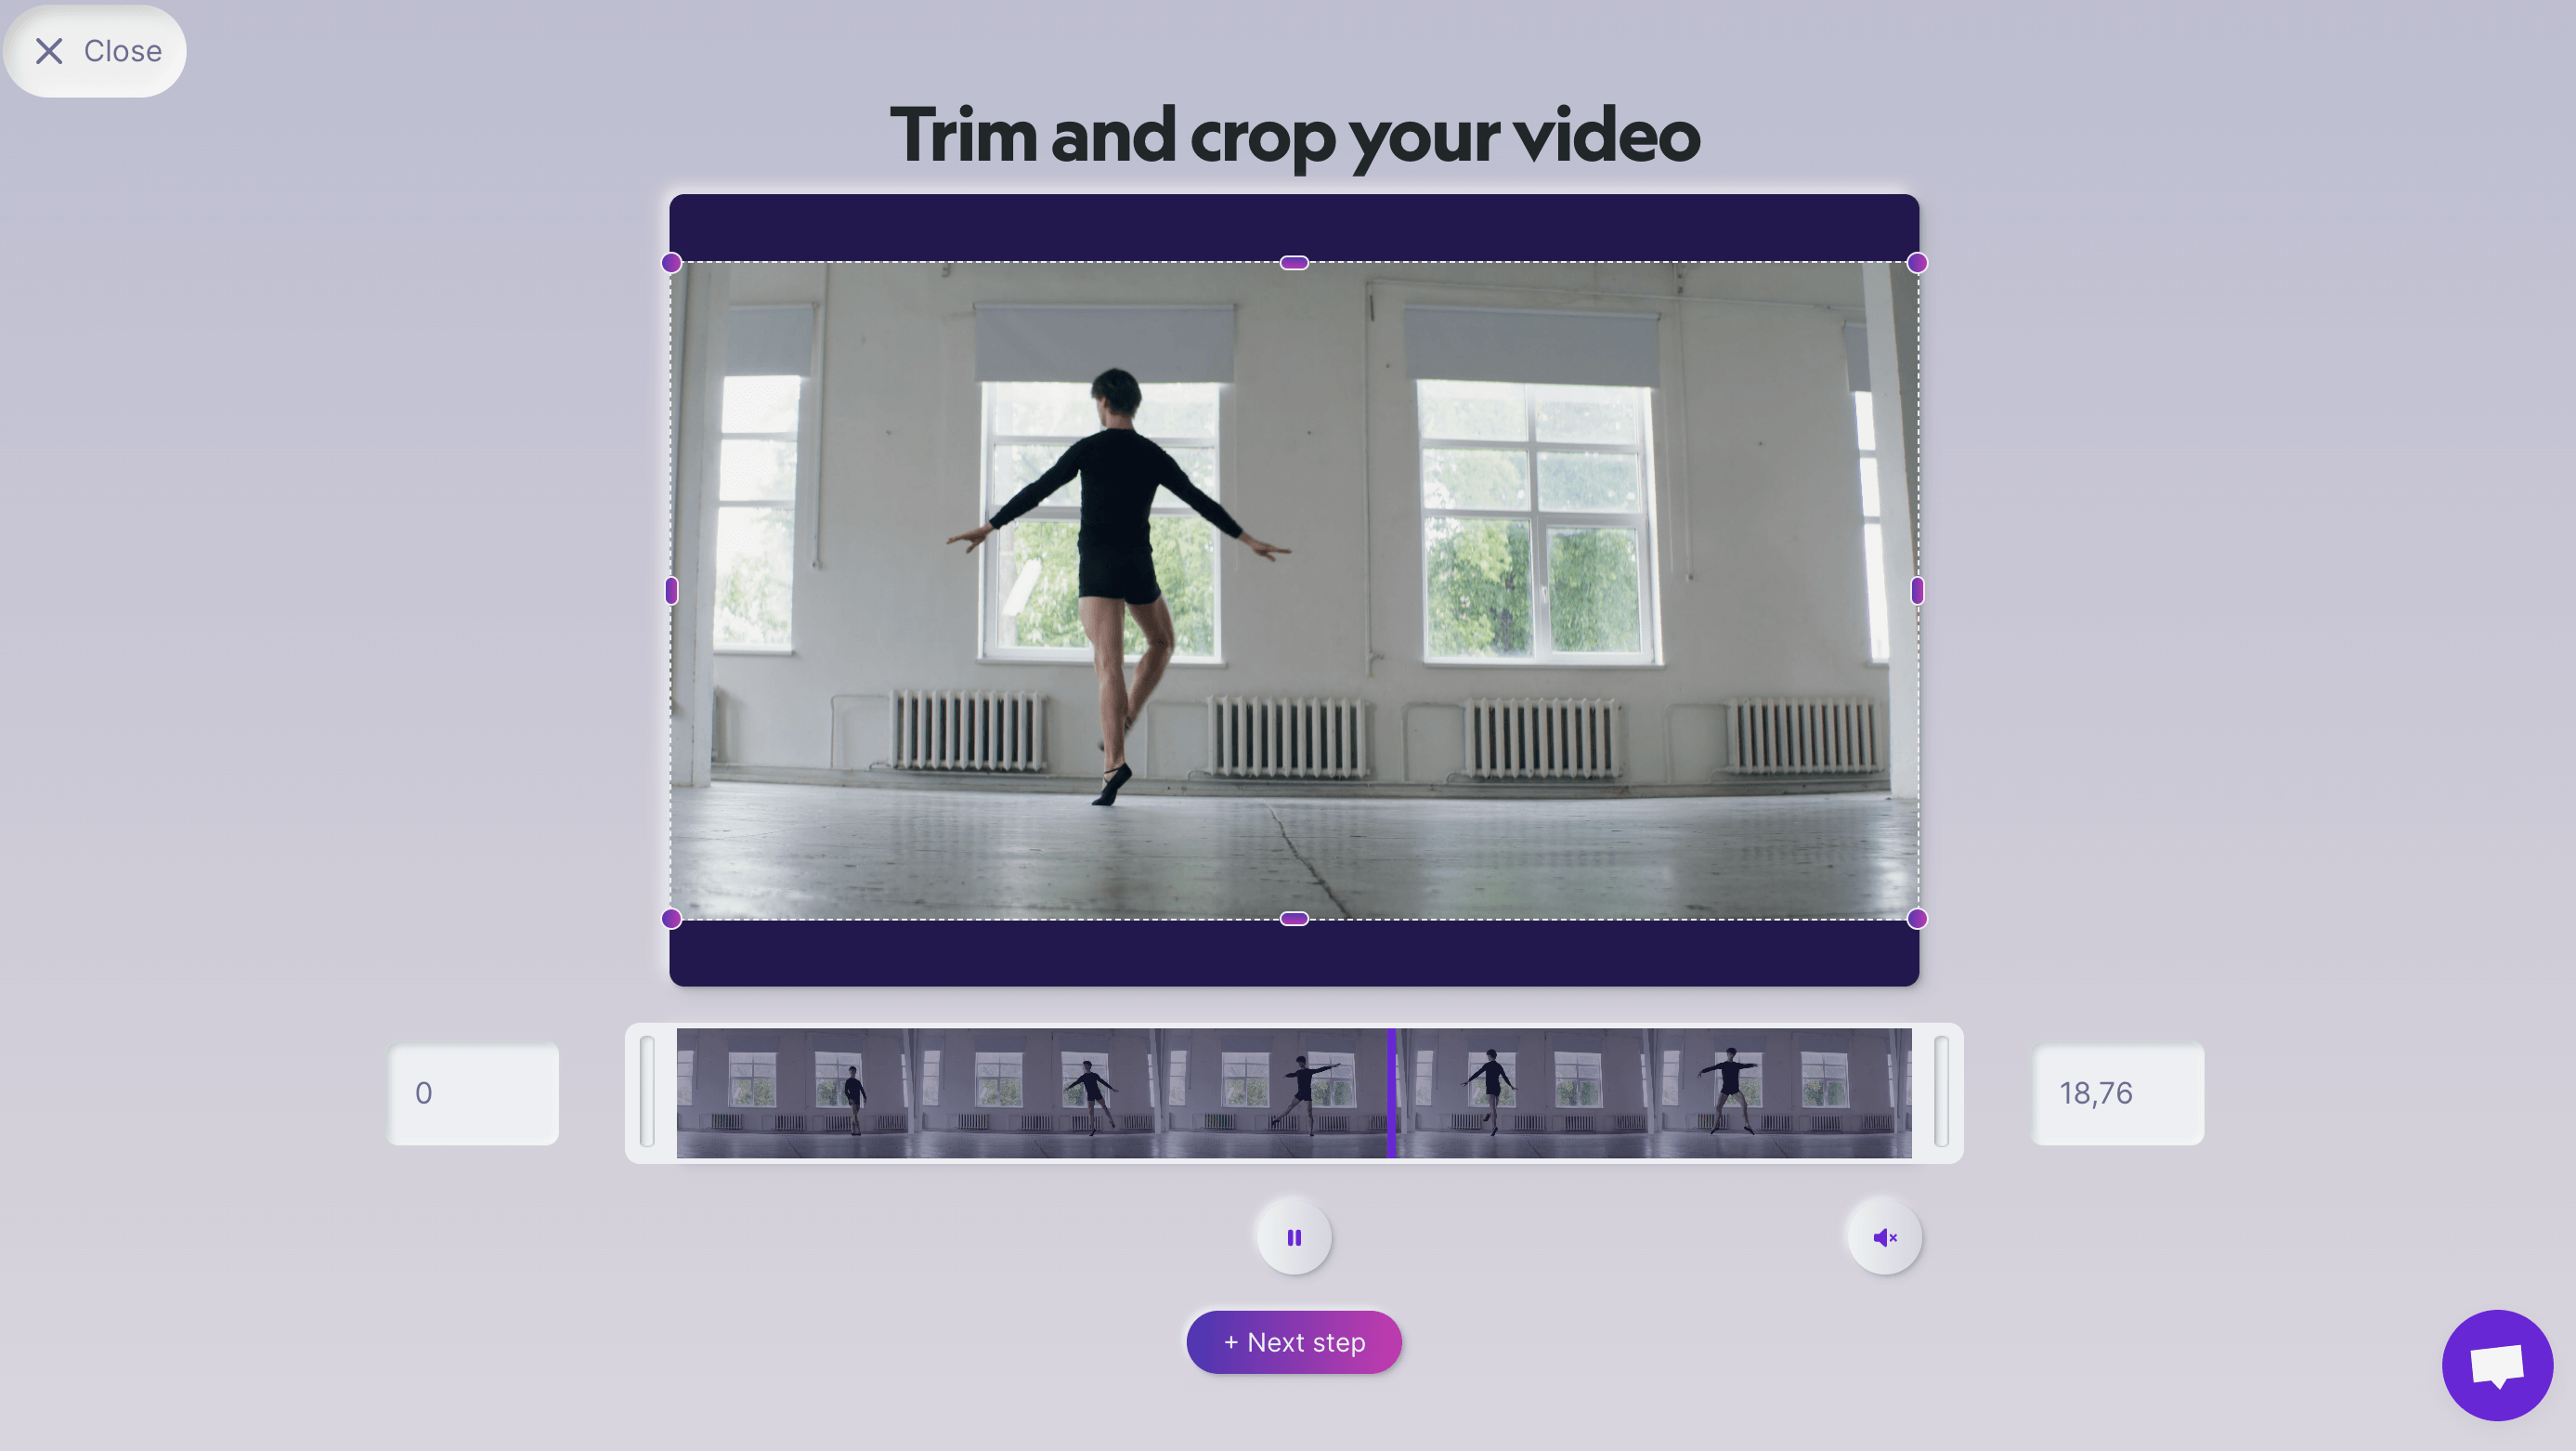
Once the import is complete, you can edit the video by trimming and cropping its length. When you are done editing, click “+Next step.”
Trim and crop your video
Next, rename your edited video.
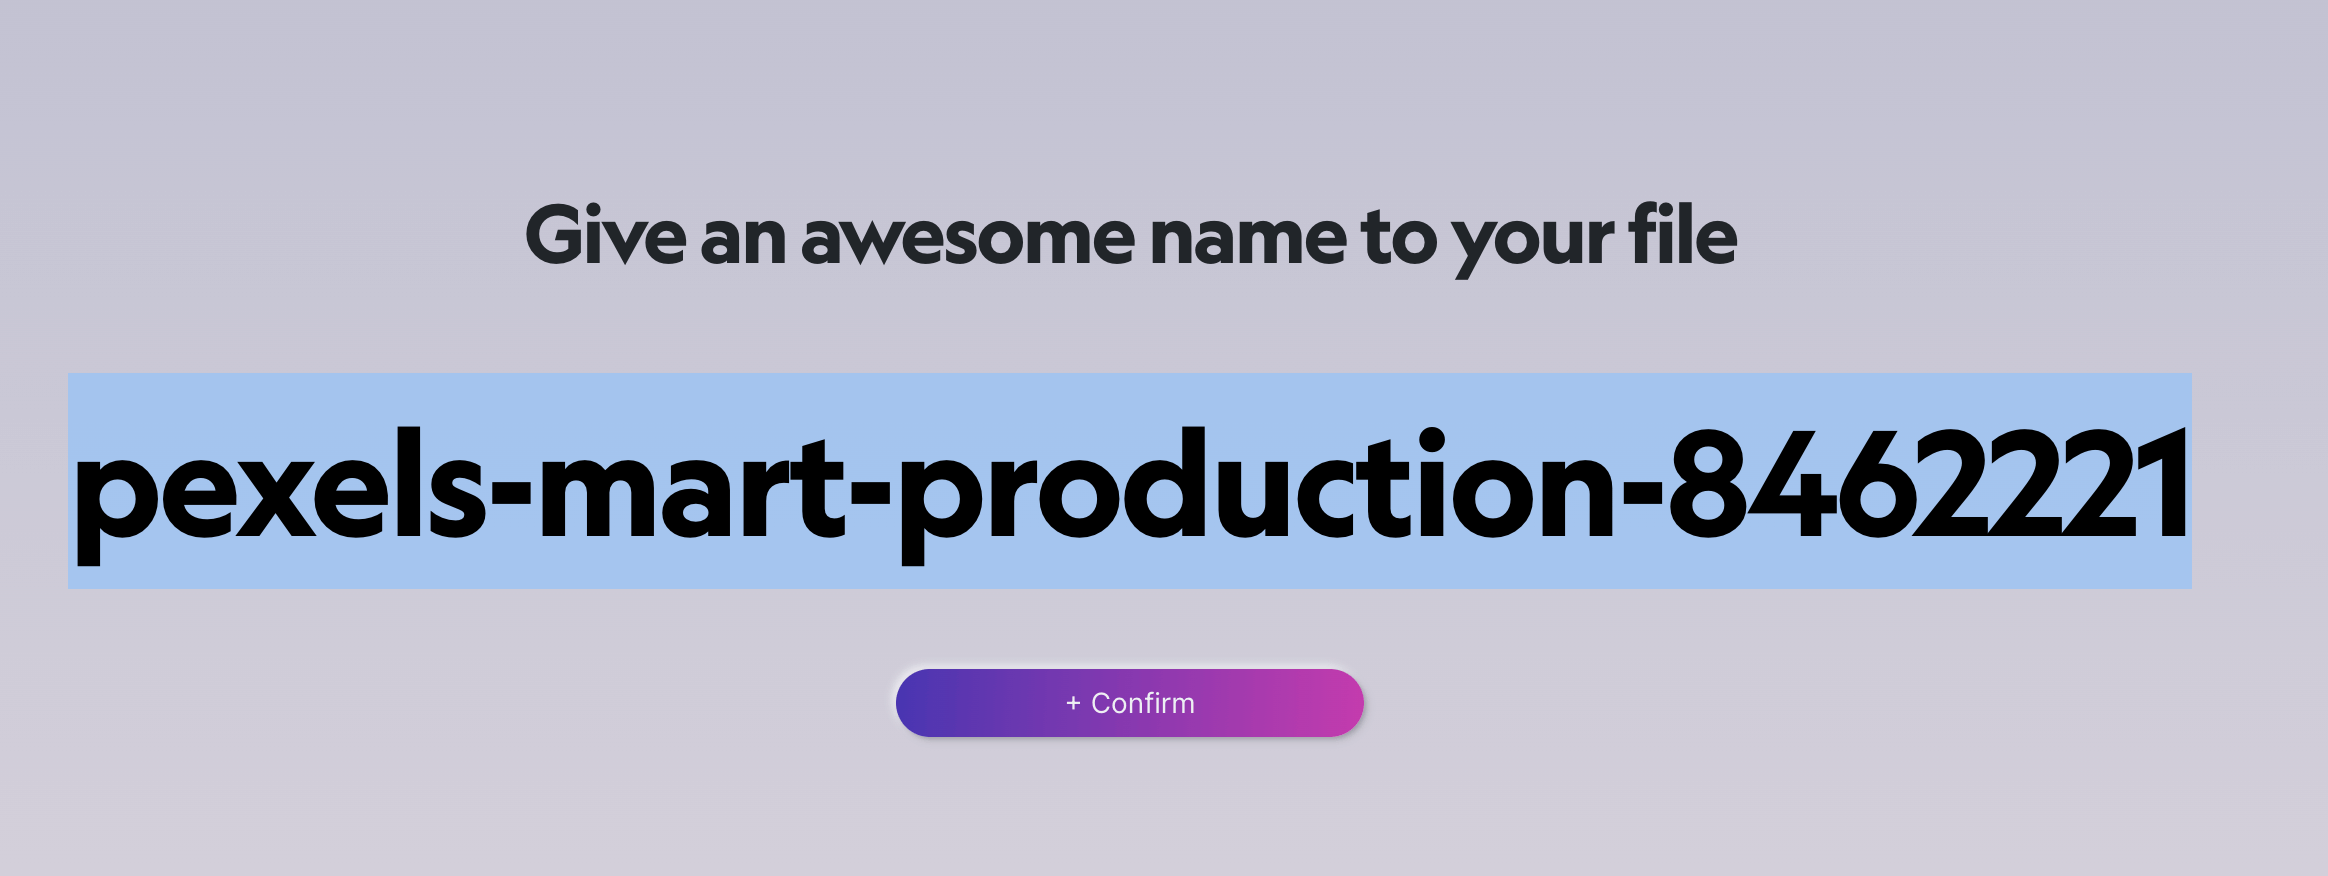
After Entering a File Name, Click +Confirm
Then, wait for a while until the video is fully uploaded and ready to use. If the video does not change after a long time, click the refresh button on your browser.

Wait for a While Until the Video is Ready
You will be notified by email when the video file is ready.
Next, click “CREATE NOW” to create an animation using the clip you just uploaded.

File Ready Email
Now, you can view animation that has been extracted from the video.

Extracted Animation
In addition, you can select and edit clips from the Dashboard.
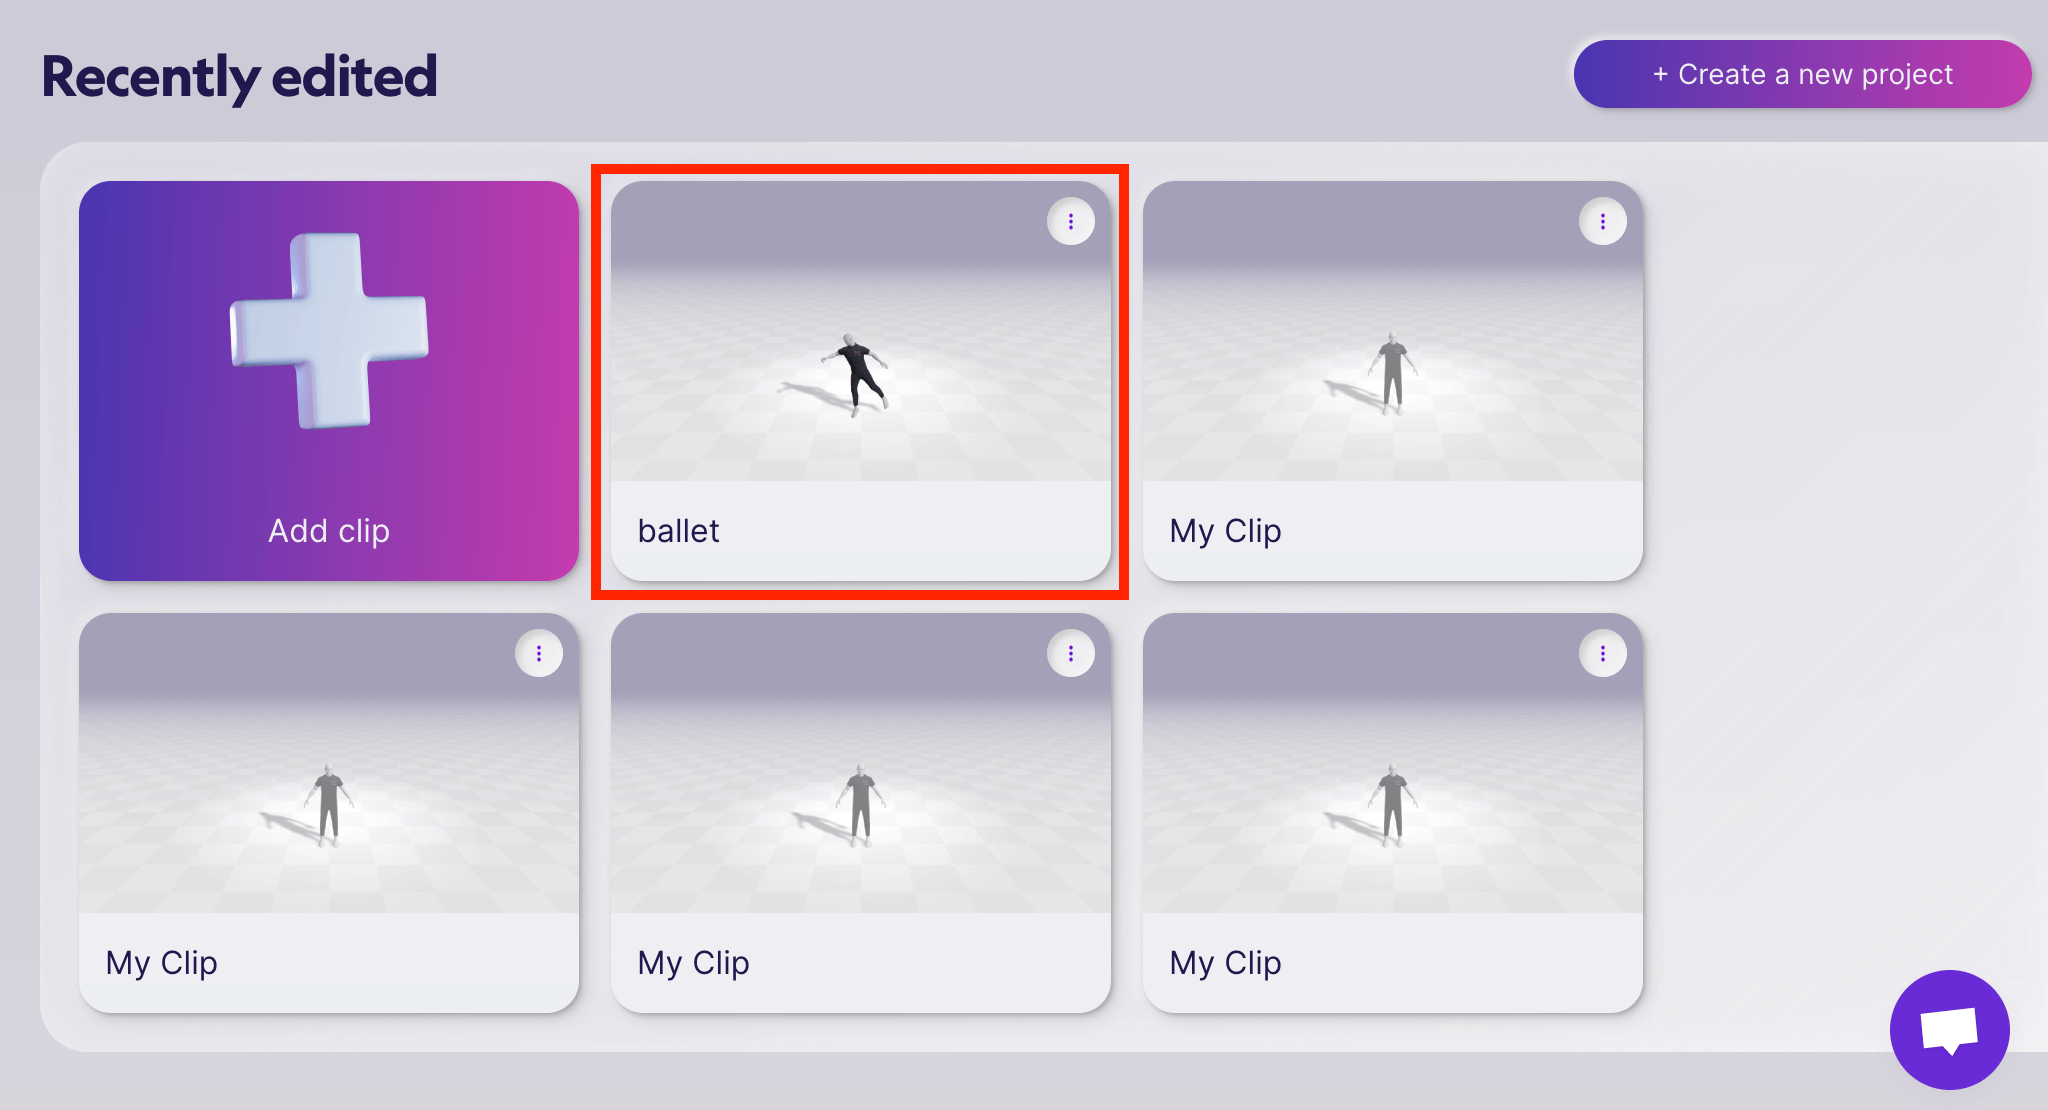
Dashboard
Tips for Extracting Animation from a Video as Accurately as Possible
You can see that the animation we have created shows unstable movements in some places.
What kind of animation should be used to extract accurate animation?
Here is a summary of the recommendations from the Kinetix official website.
Use a MP4 Video
Kinetix supports MP4, AVI, and MOV, but recommends MP4 for fast and accurate extraction.
Always Capture the Entire Body of the Target Person on Camera
It is very important that every frame of the clip shows the whole person.
Do not obscure full body parts and movement with obstructions or cluttered backgrounds.
If necessary, crop the video after uploading.
Use Only One Camera in Stable Condition
When using homemade footage, use a tripod or other stabilizing mechanism as much as possible.
In addition, note the position of the camera, as it is difficult to extract deep forward or backward motion.
Use a Continuous Video
Use one-shot videos as much as possible to create smooth, connected animations.
Wear Clothing that Shows the Lines of the Body
Full body lines of the figure are necessary for the extraction of movement.
The figure should wear tight fitness wear and avoid large shoes, loose clothing, hats, and other accessories.
Lighting and Background Brightness
Set the brightness so that the entire image of the body is clearly visible. A dark or conversely bright background will confuse the algorithm, so natural and uniform lighting is optimal.
Use a Video with a Resolution of 720 Pixels
A high resolution increases the time required to calculate the FBX, while a low resolution makes it impossible for the algorithm to detect the human body. A resolution of 720 pixels is a sufficiently high resolution, which will ensure that the video is not blurry.
Frame Rate
Kinetix supports all frame rates from 20 fps to 120 fps. For lower frame rates, be careful not to run too fast. Frame rates above 120 fps will be supported eventually.
Create Custom Animations Using the Kinetix Library
To create a new animation from a sample animation in the Kinetix library, rather than from a video you have prepared yourself, select “Create a New Project” in the Dashboard. Then, click “Start a New Animation” at the bottom of the page.
Start a new animation
Next, you will be taken to the animation creation screen.
Click on “Animation” in the upper left-hand corner of the screen to see a list of animations in the Kinetix library.

Kinetix Animation

Hover Over the List to Preview the Animation
Then, click on one of the animations in the list and it will be added to the timeline at the bottom of the screen.

Click the Play Button to Playback the Animation
In the next article, we will show you how to edit animations, set up advanced settings, and more to get the most out of Kinetix!