In this article, I’ll show you how to generate a 3D photo, which is a three-dimensional photo, from an RGB-D image, which is an RGB image with depth information added, and upload it to STYLY.
Sample
Here is a sample image of a 3D photo that I actually created.
It is possible to create a space with a sense of newness by using 3D photos when still images are a bit insufficient.

Complete image
Preliminary preparations
First, we need to prepare for the creation of 3D photographs.
We will be using an image interpolation model (machine learning) developed by an overseas research team, so please have the following URL open with your Google account logged in.
3D-Photo-Inpainting.ipynb
https://colab.research.google.com/drive/1706ToQrkIZshRSJSHvZ1RuCiM__YX3Bz#scrollTo=5o-EIMeaghU0
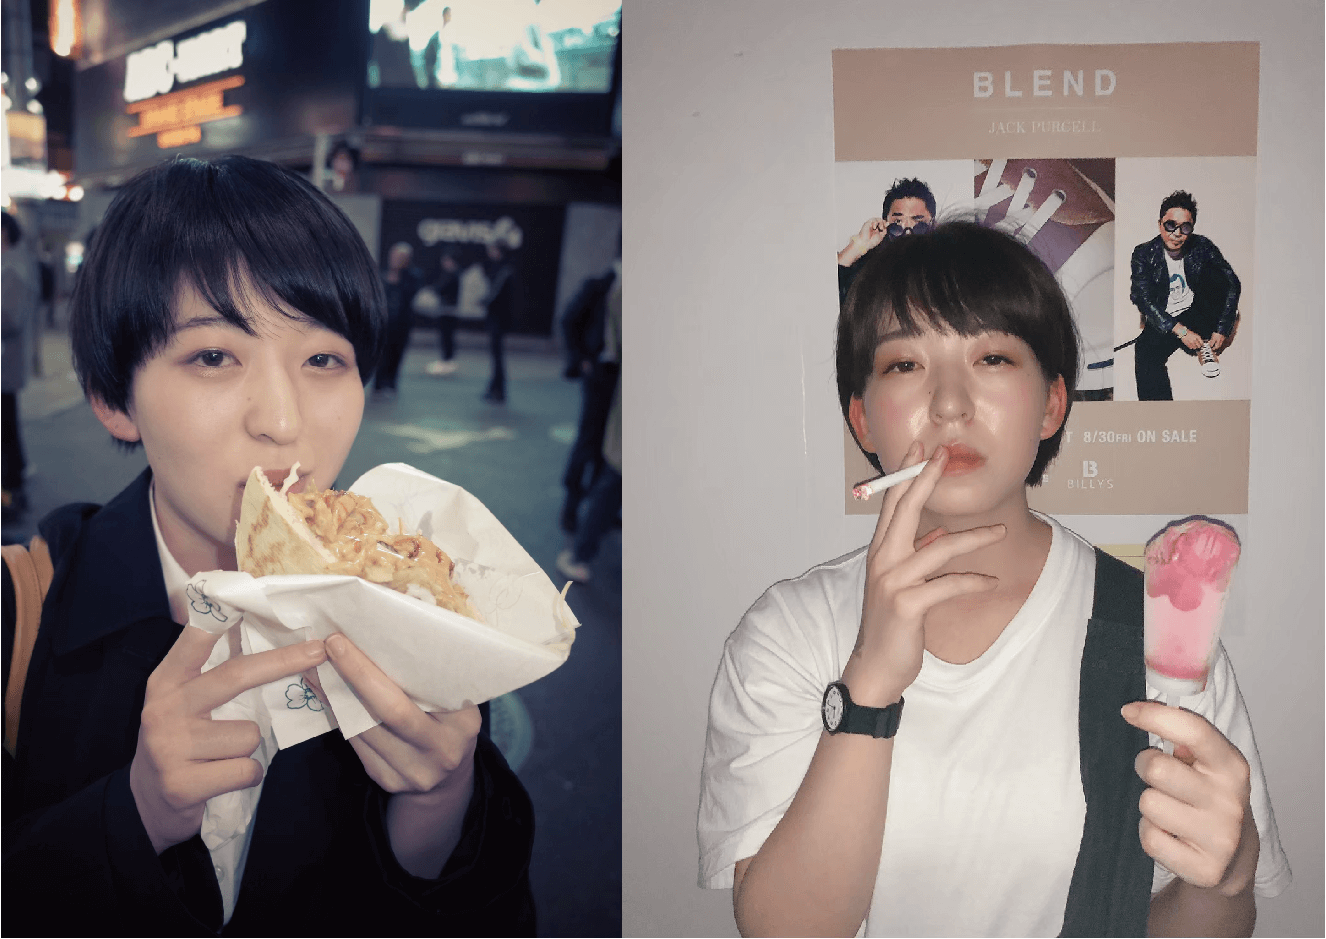
In this case, I’m going to make a 3D photo of these two images.
Be careful to choose a clear image where the person and background are not assimilated, otherwise the image will not be cleanly separated and converted to 3D.
Materials to make a 3D photo
What is 3D photography?
3D photography is a technology developed by Meng-Li Shih, an intern at Virginia Tech, Shih-Yang Su, a graduate student at Virginia Tech, Johannes Kopf, who works at Facebook Research, and Jia-Bin Huang, an assistant professor at Virginia Tech.
According to the paper presented by the four, the technology combines a Layered Depth Image (LDI) consisting of foreground (texture) and background (depth) layers with an image interpolation model (machine learning) that can iteratively combine color and depth information pixel by pixel to fill in the blanks as the camera moves. It was stated that by combining LDI with an image interpolation model (machine learning) that can repeatedly combine color and depth information pixel by pixel to fill in the blanks when the camera is moving, it is possible to create elaborate 3D photographs. If you’d like to know more about it, you can find a detailed explanation of the system in 3D Photography using Context-aware Layered Depth Inpainting.
https://drive.google.com/file/d/17ki_YAL1k5CaHHP3pIBFWvw-ztF4CCPP/view
It may sound a little bit difficult to explain, but the actual process itself is a system that anyone can do, so let’s start creating 3D photos.
Creating a 3D photography
Now let’s actually create a 3D photo.
When you jump to the URL mentioned in the preparation, you will see a screen like this.
Main screen
First, select “File” and then “Save a copy to drive”.
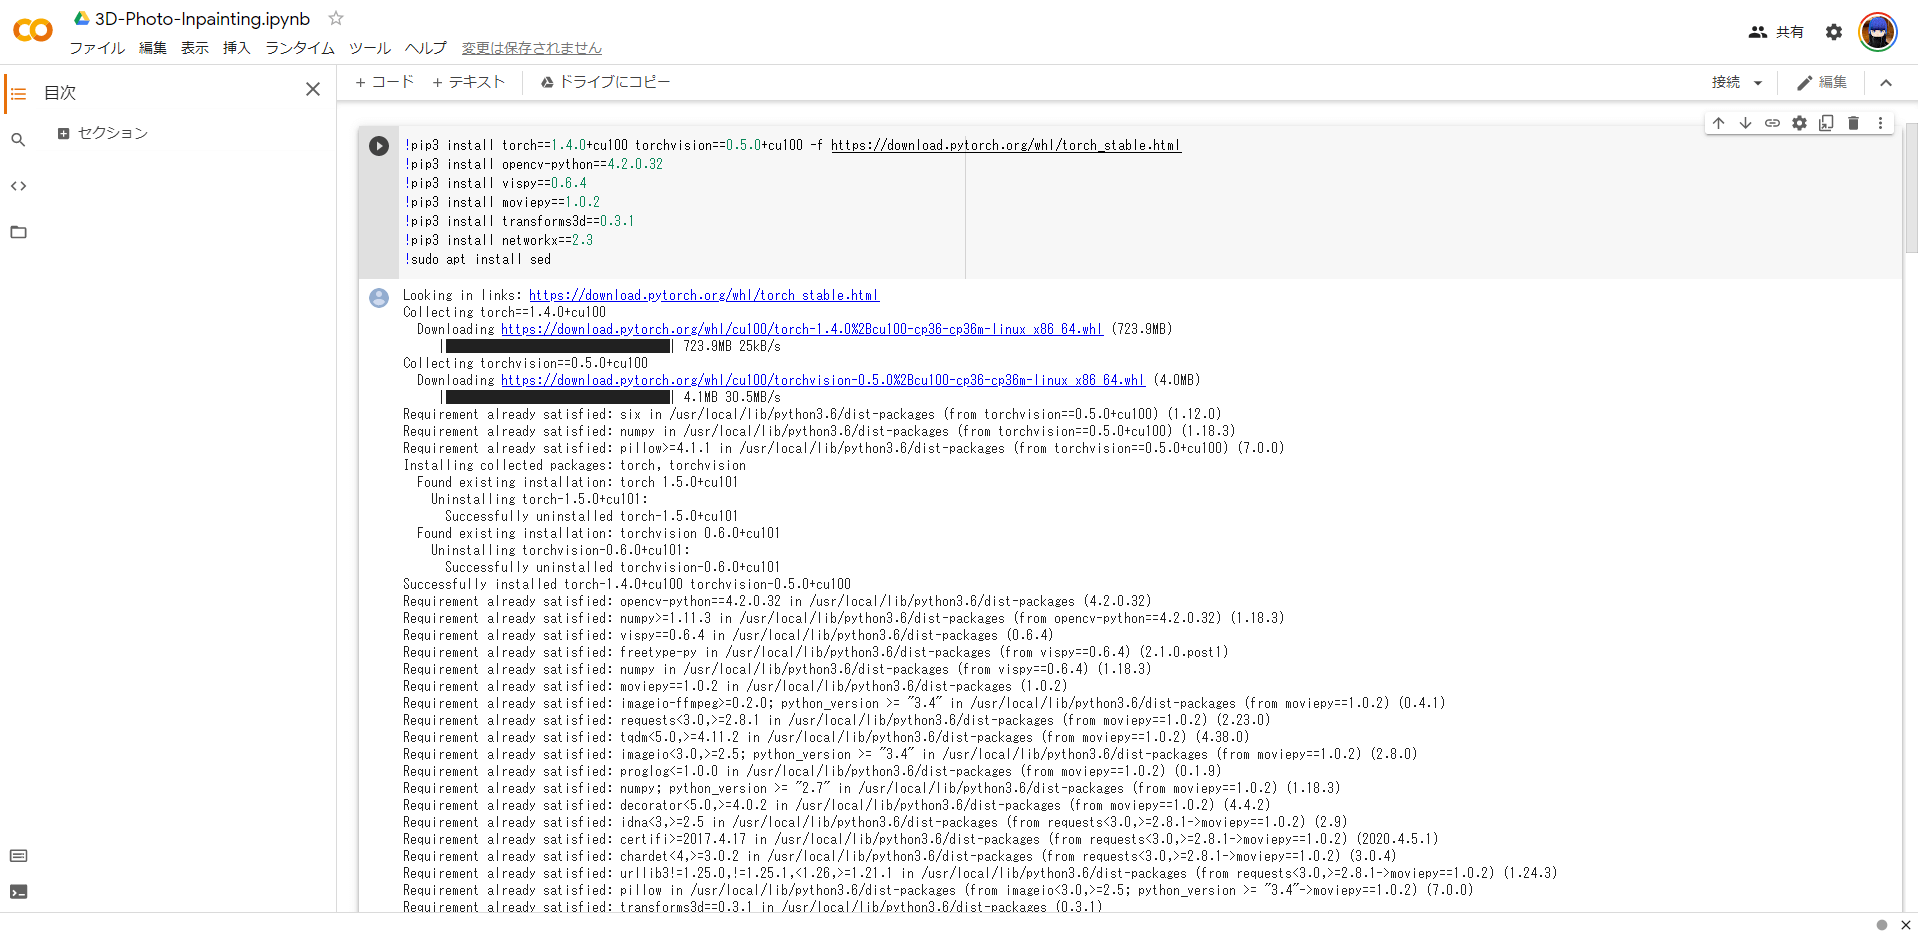
Click the Play button under “Prepare environment” on the copied data.
Click the “Play” button under “Prepare environment”.
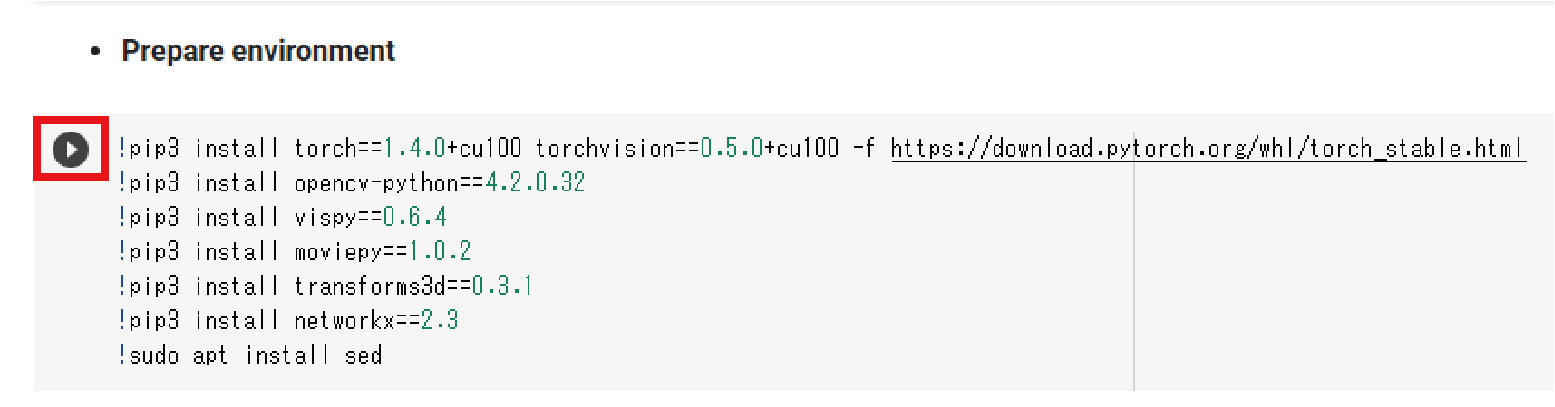
After the above process is complete, click the Play button under “Download script and pretrained model”.
Click the play button under “Download script and pretrained model”.
After the above process is complete, click the Play button under “Switch off off-screen rendering”.

Click the play button under “Switch off off-screen rendering”.
Once the process is complete, click on “Select File” and select the image you want to convert into a 3D photo.
Then click the play button under “Please upload”.

Click on “Select File” and select the image you want to convert into a 3D photo. Click the play button under “Please upload”.
After the above process is complete, click the play button under “Execute the 3D Photo Inpainting”.

Click the play button under “Execute the 3D Photo Inpainting”.
When the process is complete, click “Reload” on the left menu.
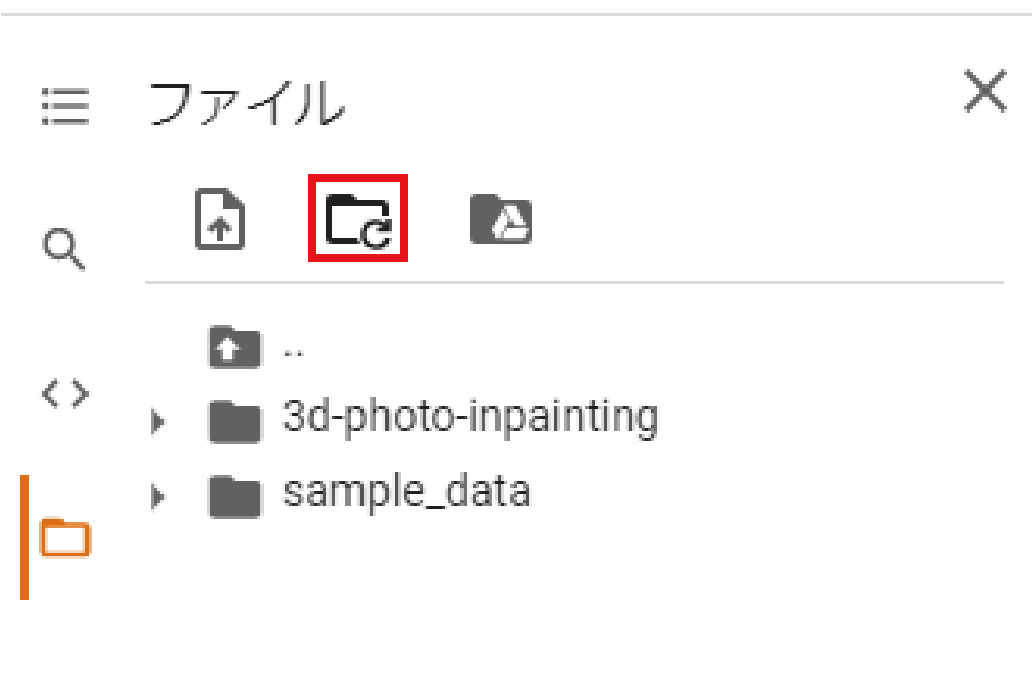
Click the “Reload” button.
In the “video” folder in the “3d-photo-inpainting” folder, you will find four types of output 3D photos in MP4 format.
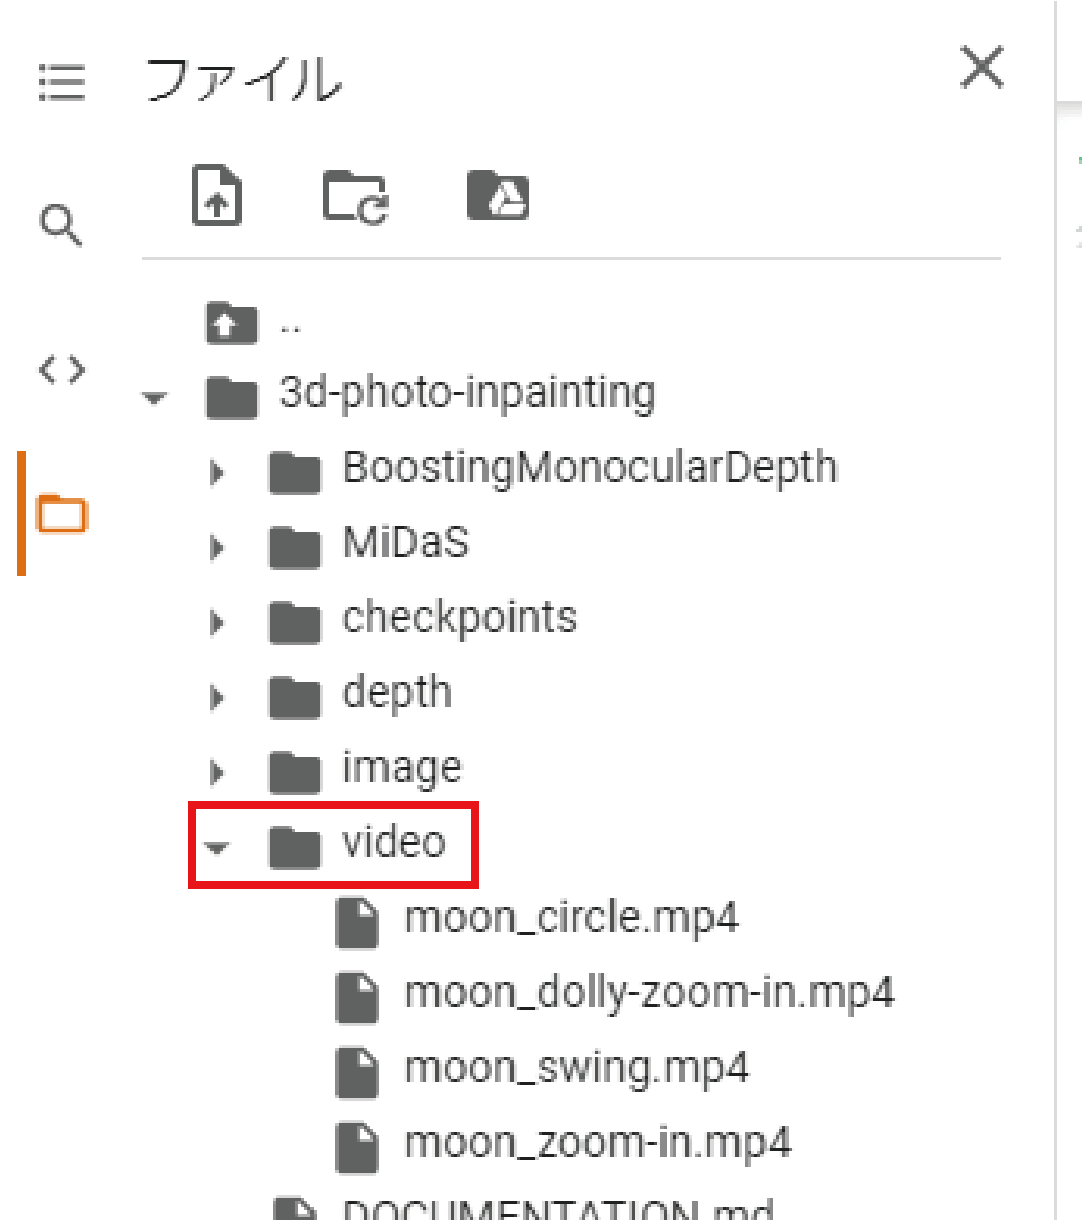
The generated 3D photos are stored in the “video” folder.
Create a GIF image
STYLY allows you to upload videos from Youtube, but this time I will show you how to convert the generated 3D photos into GIF images and upload them to STYLY.
First of all, let’s divide the mp4 format 3D photos that you want to place in STYLY STUDIO into easy-to-understand folders.

Separate them into easy to understand folders.
Next, go to the following URL
GIFMAGAZINE
https://gifmagazine.net/converters/movie_to_gif
After jumping to the URL, select Video→GIF.

Select Video→GIF
Next, you will see a screen for specifying the number of seconds, so please set it to 6 seconds.
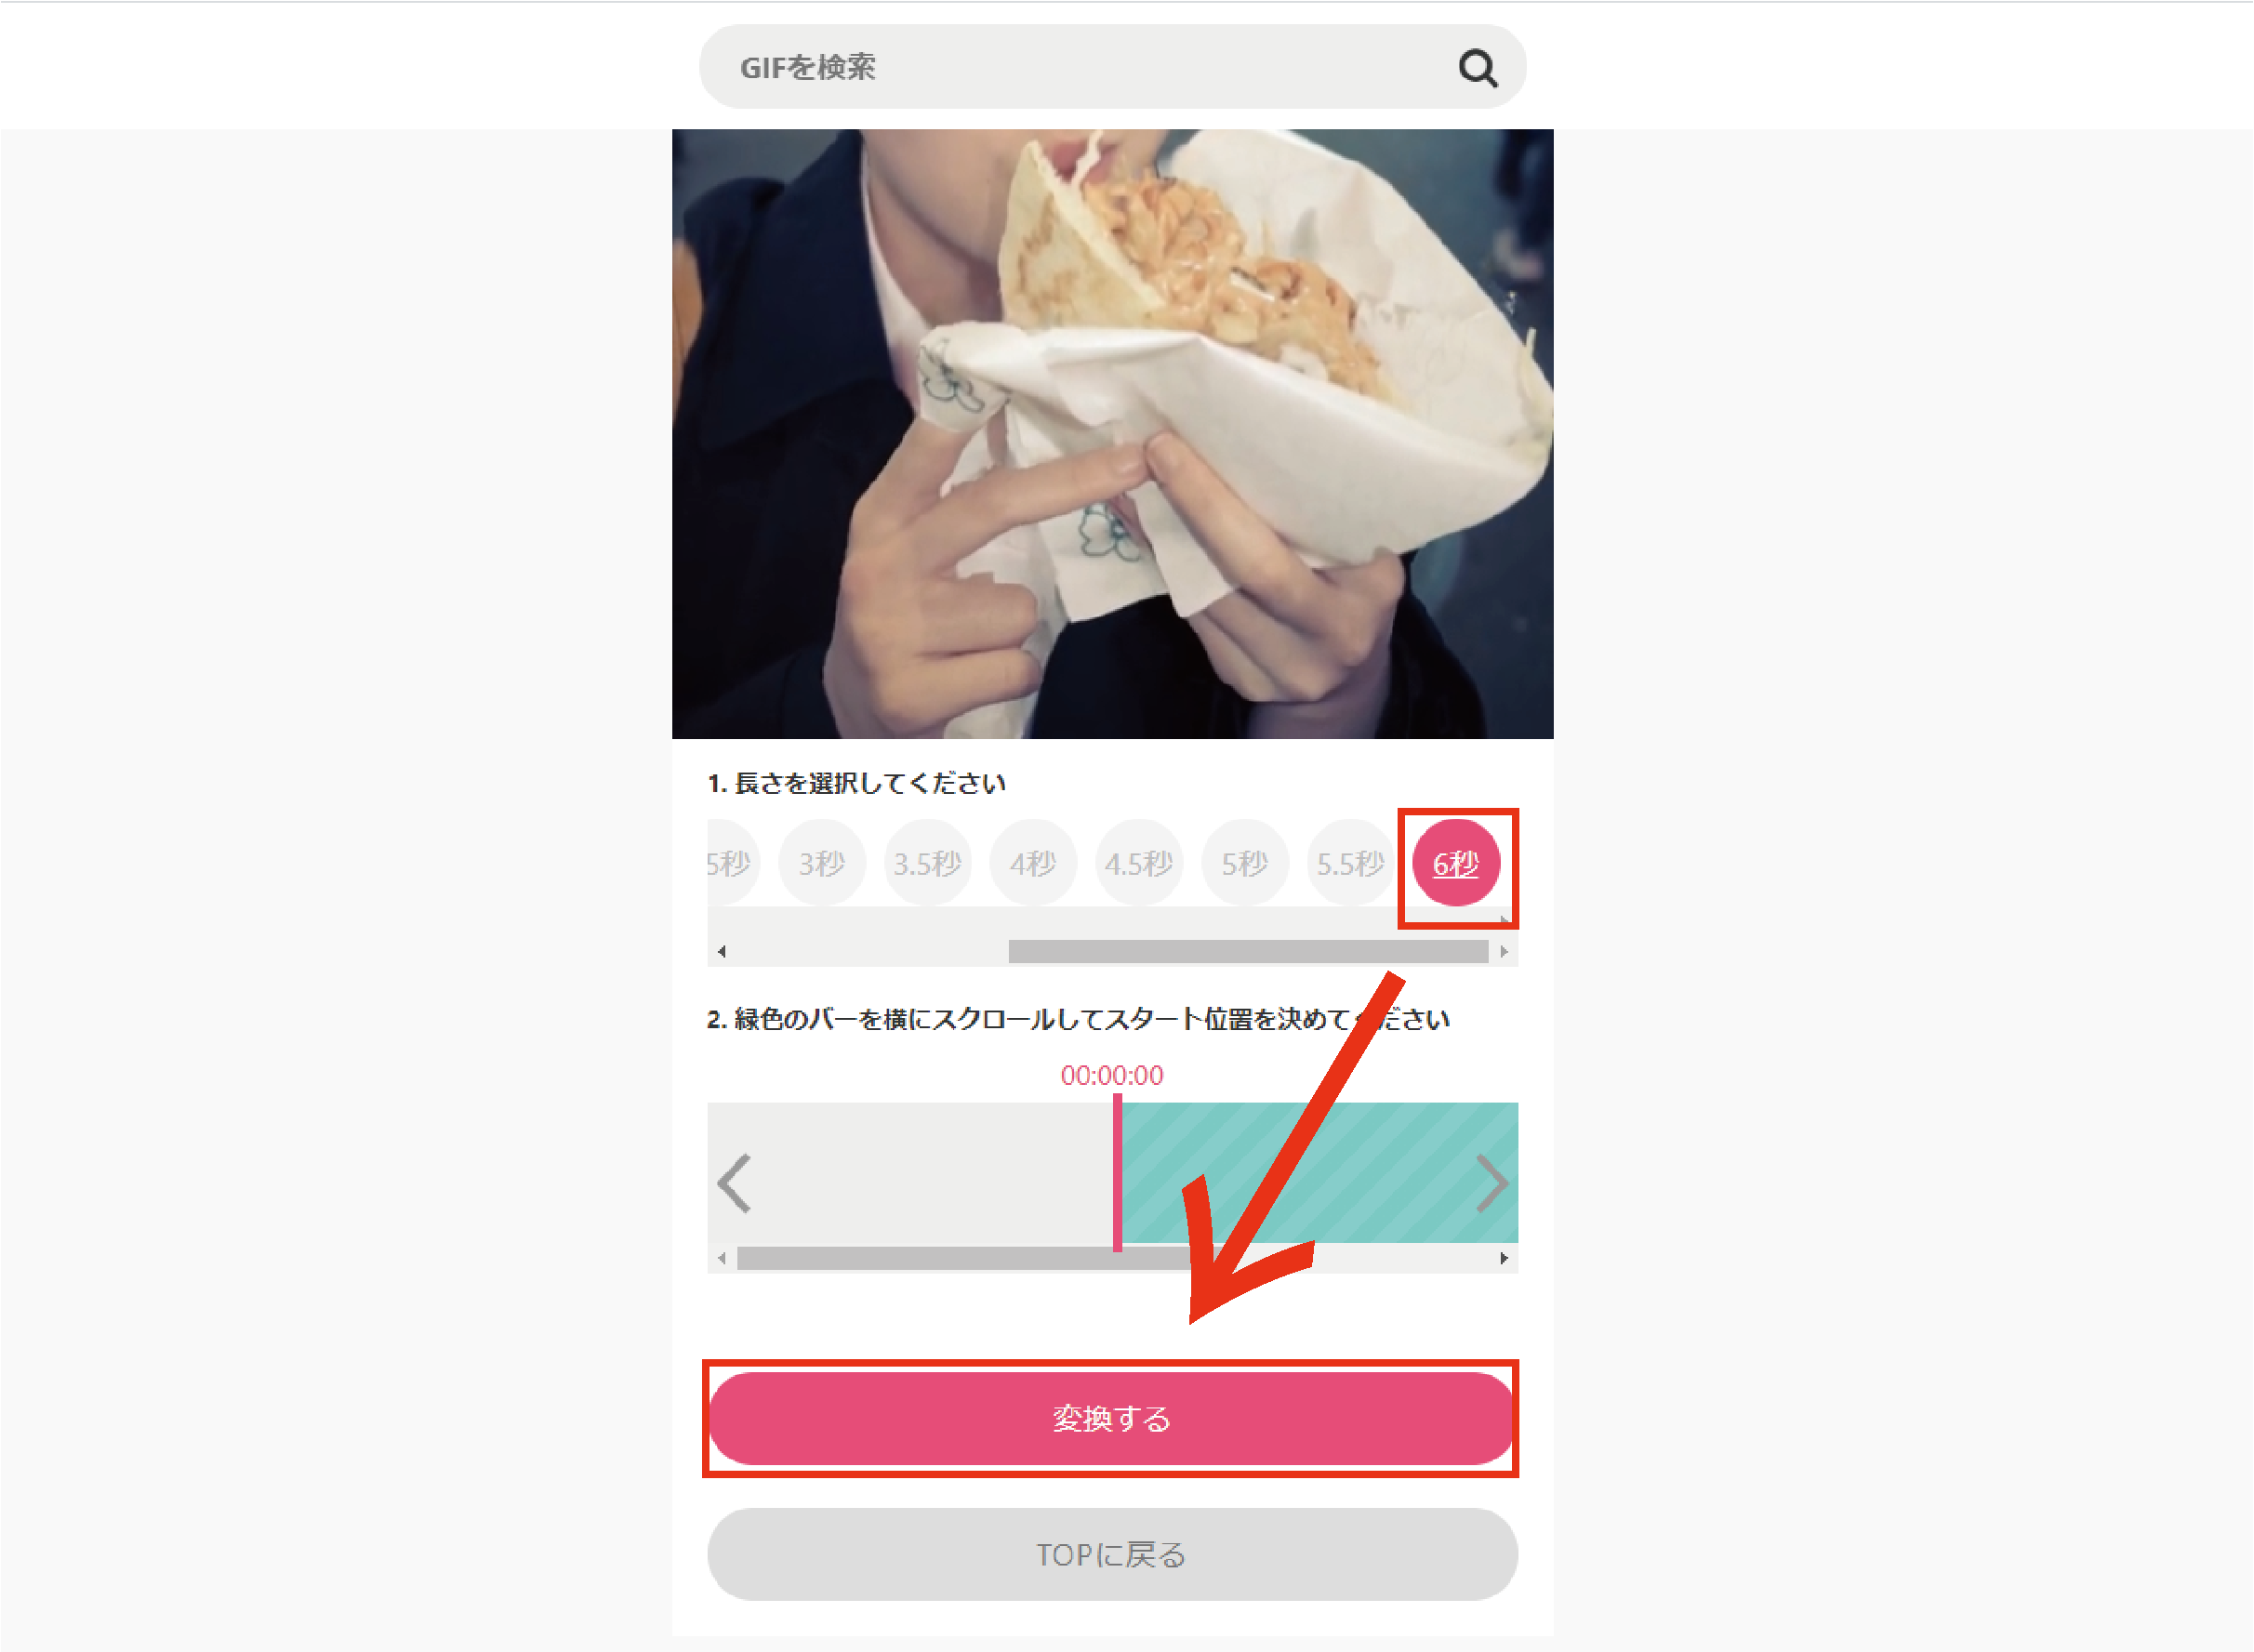
After setting the length to 6 seconds, select “Convert”.
You have now created a looping GIF image.
Upload it to STYLY
The last step is to upload the file to STYLY.
First, open Assets.

Select “Assets”.
Select “image” since this is a photo data.

Select “image”.
Next, select “select” and select the photos you want to place, then select the blue “Upload” button.
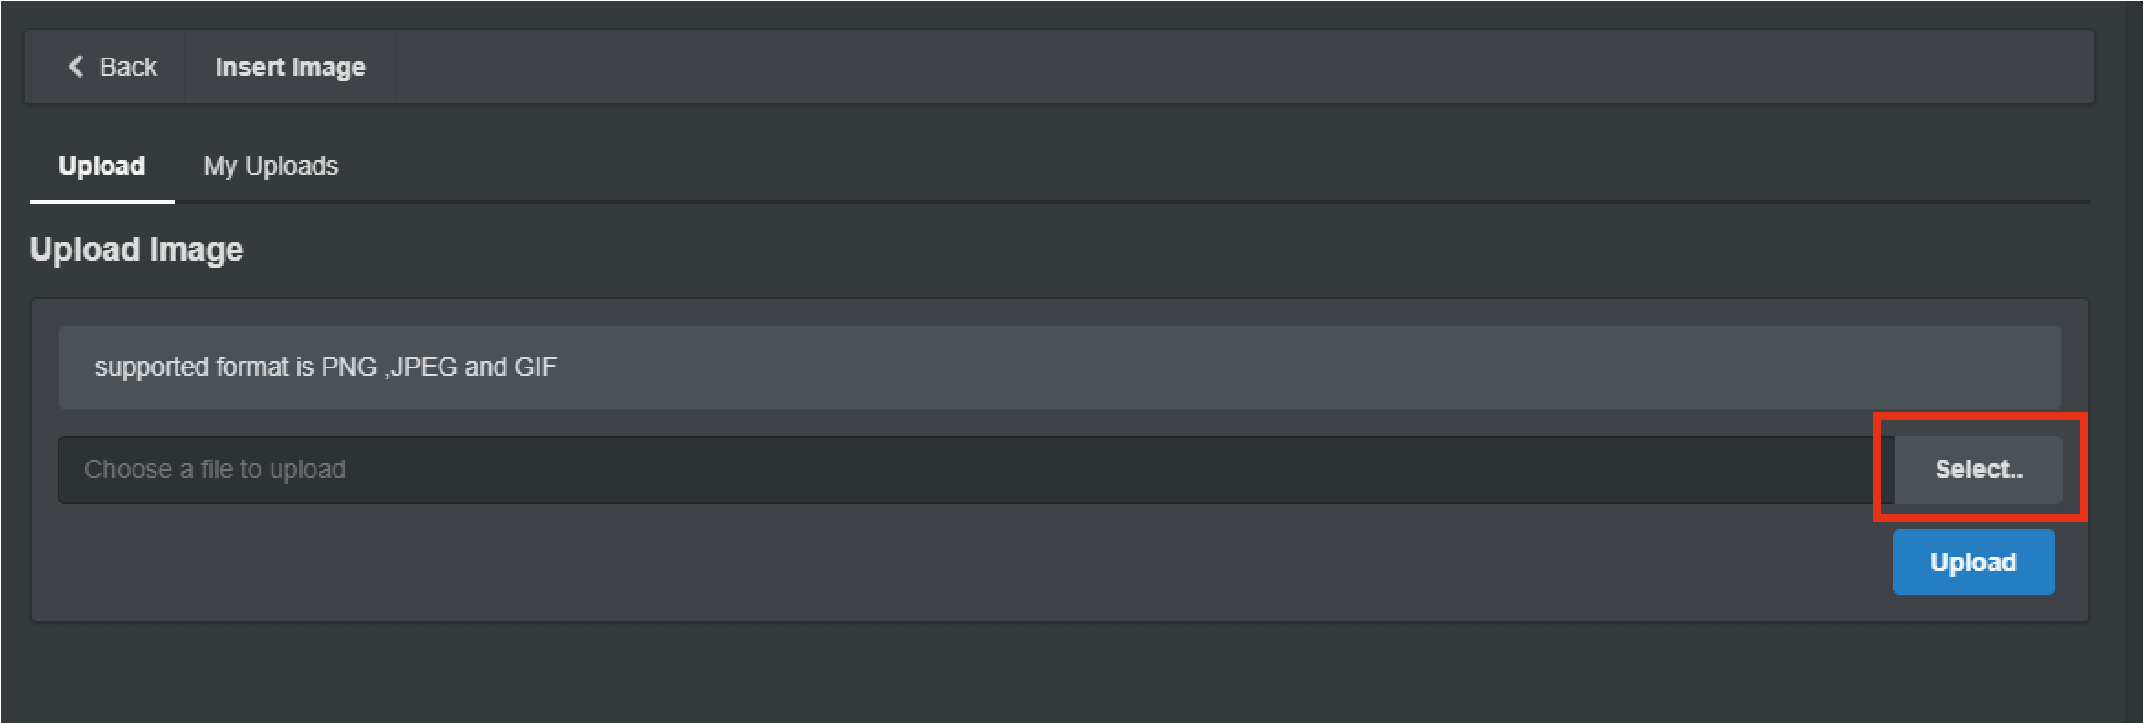
Select “select”, select the photos you want to place, and then select “Upload”.
You will then be prompted to select the ratio of the screen you want to place the photo on. Select “16:9 Screen”.

Select “16:9 Screen”.
Select “Scale” to adjust the size of the object.
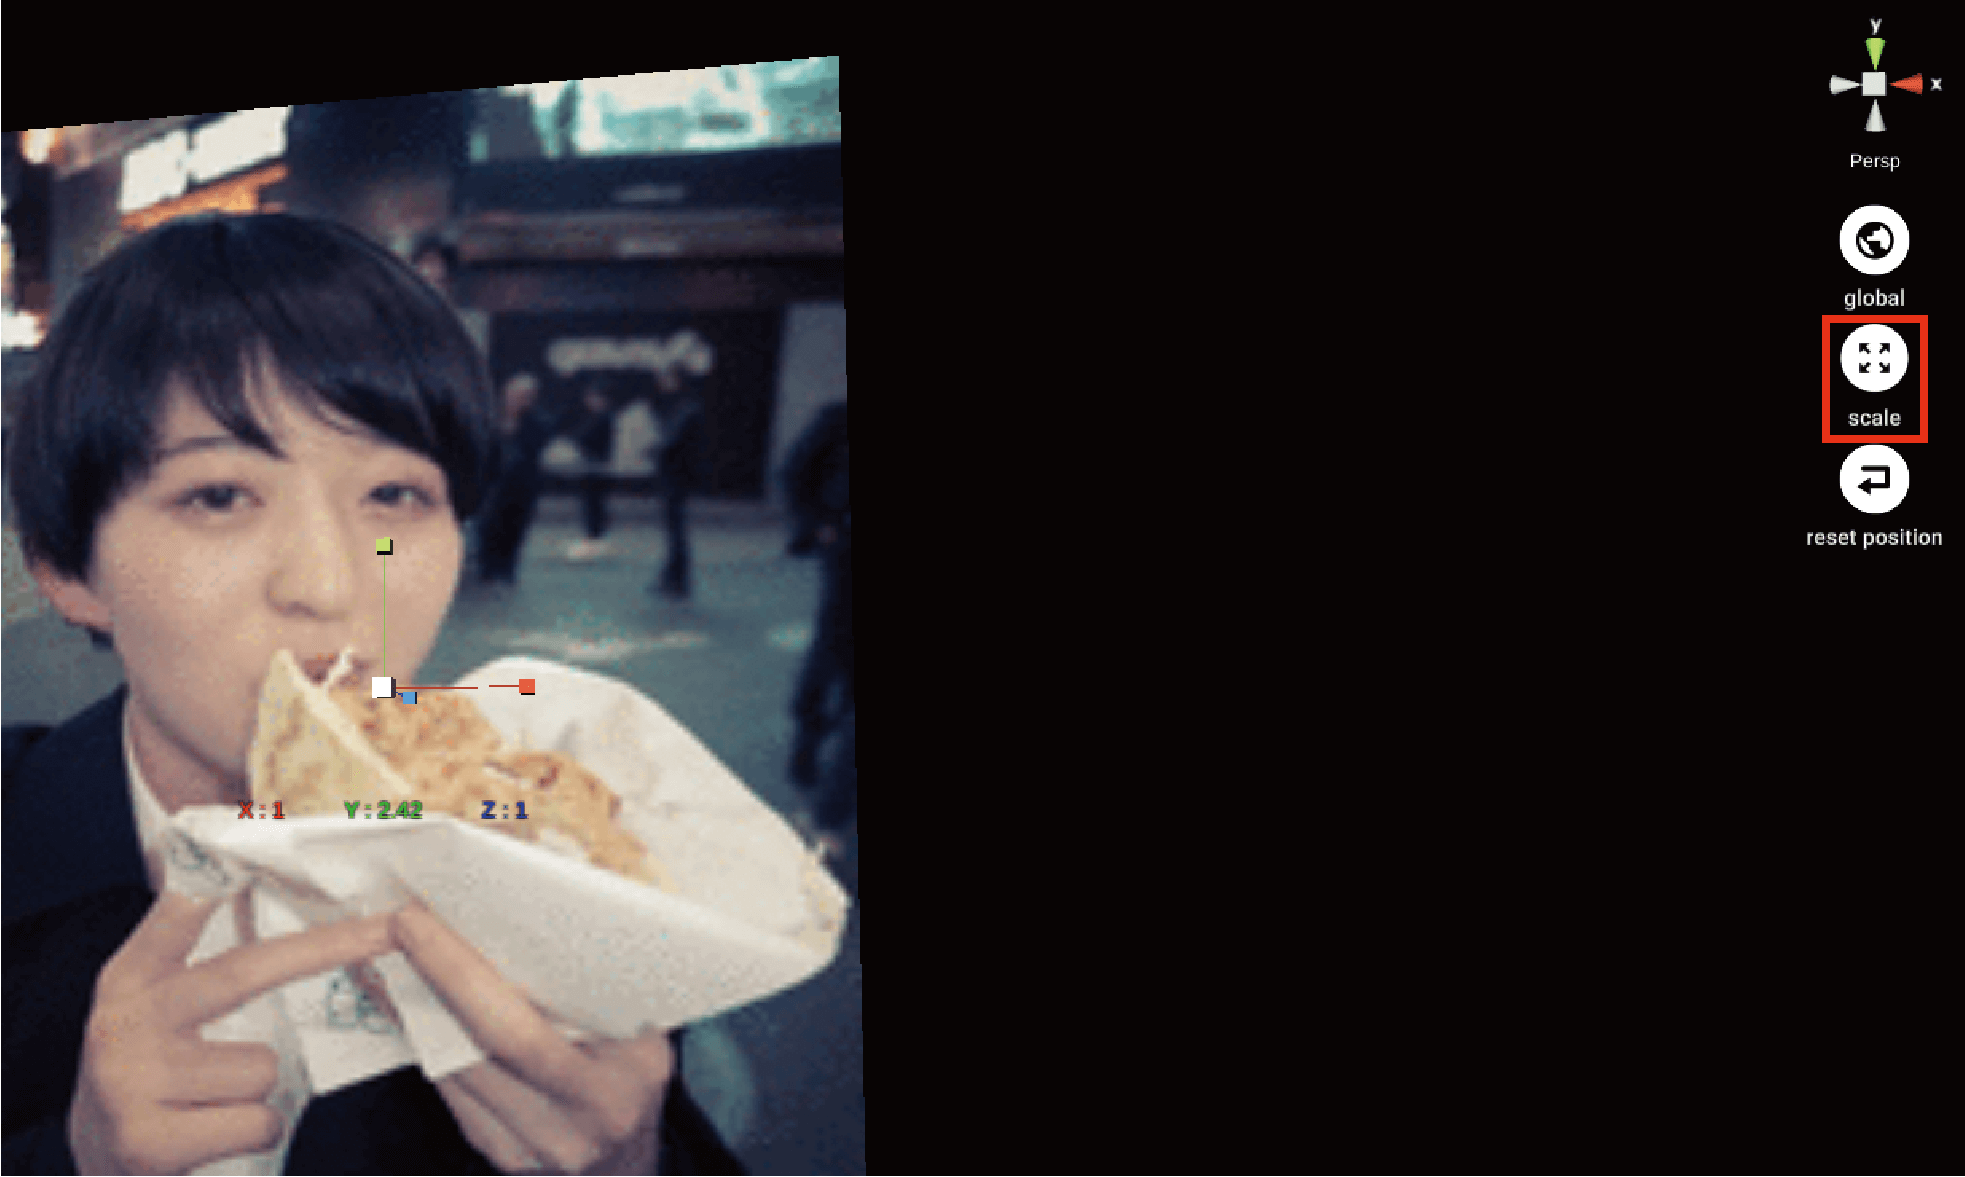
Select “Scale” to adjust the size.
Finally, place the photo where you want it and you’re done.

Finished!
Machine learning may seem difficult to understand, but if you follow the steps described above, you will be able to create a 3D photo in about 30 minutes.
Please take this opportunity to try your hand at 3D photography.