In today’s article, I will introduce how to create 3D models using the 3D scan application “TrueDepth Camera” of iPhoneX, and how to upload it to STYLY.
You can create 3D models easily, and freely, so it will help you to create VR scenes with more originality.
NOTE: TrueDepth Camera is only available for iPhone X, iPhone XS, iPhone XS Max, and iPhone XR currently for 2019/03/28.
How to take pictures
You can download the application from the link below.
https://itunes.apple.com/app/capture-3d-scan-anything/id1444183458?mt=8&ref=producthunt
Once you install the application, there is no need to setup, and you can immediately start taking photos.
For this tutorial, I am going to use and create a 3D model from a Daruma I found at home.
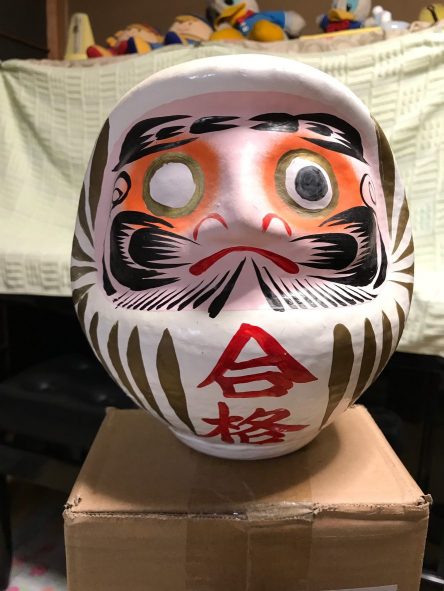
The Daruma subject
You need to use the front camera, not the rear camera, for taking the photo.
When you take the photo, you can either turn the subject around, or move the iPhone around the subject.
The shooting will start once you tap the record button, and stop when you tap it again. The 3D model will be created automatically.
↓You can read about how to take the photo efficiently from the link below.
https://twitter.com/ji10me/status/1076709496385236992
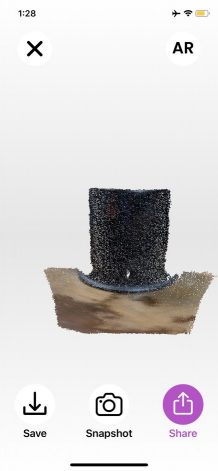
I will not go to details on this article, but you can also display the 3D model in AR, or share the photo with LINE or Facebook.
Modelling complete
Download the 3D model
Next, we will download the 3D model, but you can only export as a usdz file from iPhone applications, so we will upload the data to a cloud service and export it as a obj and ply file from the web. (STYLY does not work with usdz files)
First, we need to create an account from the application.
Checking the model from the application
Access to the Capture Web site.(https://www.standardcyborg.com/)
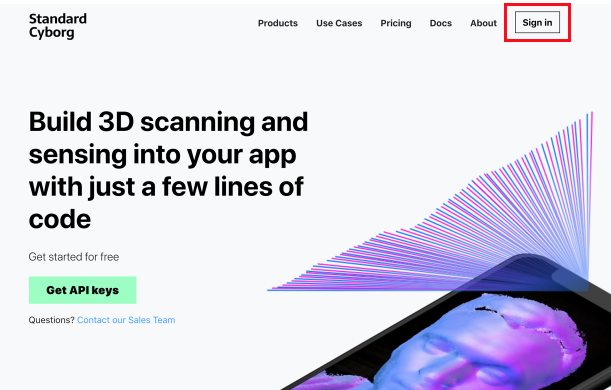
Top page
Click “Sign in”, and type in your mail address and password.
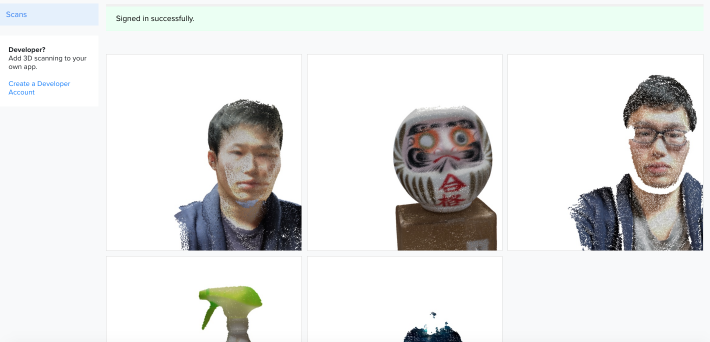
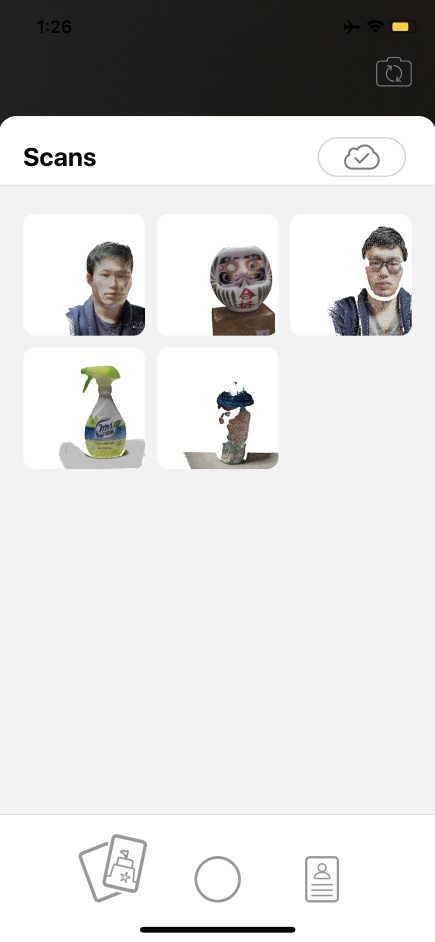
3D model list
Once you login successfully, you can see a list of the 3D models you have created.
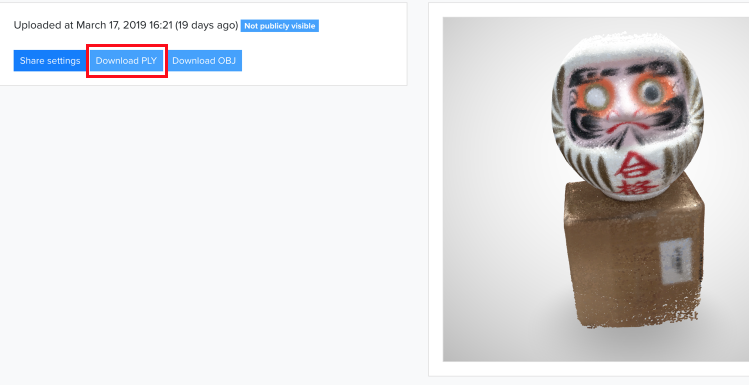
Select ply
Click the object you want to download, and choose “Download PLY”.
A zip file will be downloaded, and the ply file will be included.
Generate mesh using the 3D model with MeshLab
The downloaded 3D model is point cloud data, so we need to generate a mesh to upload it to STYLY.
I used a 3D data conversion software called MeshLab(http://www.meshlab.net/)for this.
Please access the URL above, and download the version fit to your OS.
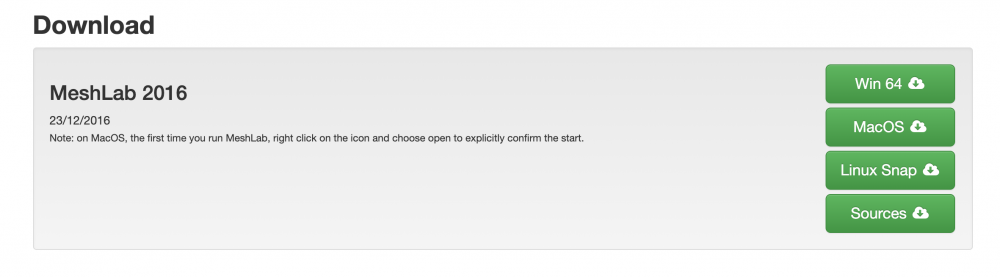
Download according to your OS
After the download is complete, launch MeshLab.
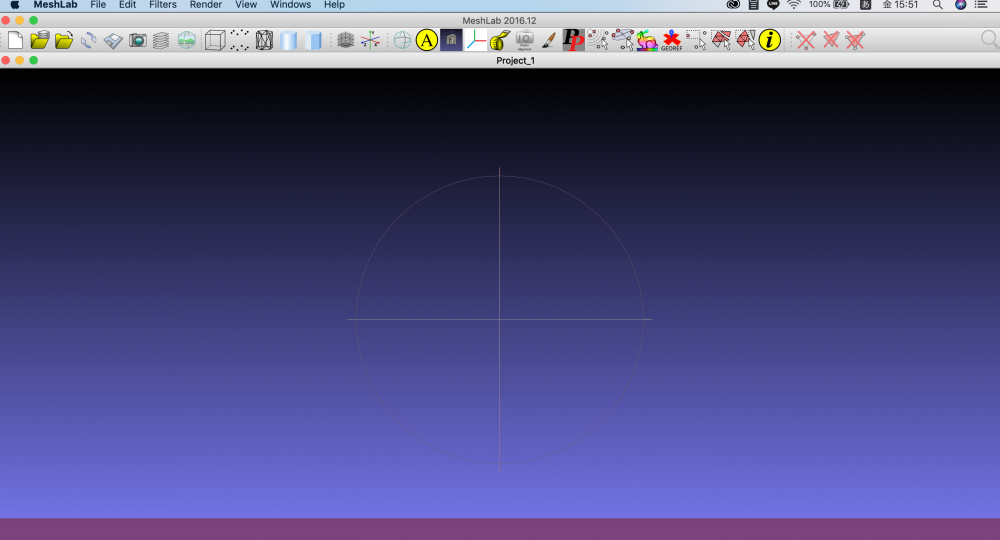
MeshLab home screen
-
Import the PLY file
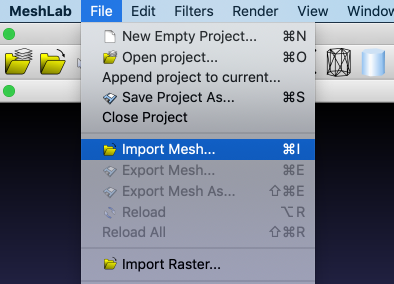
Import the ply file
Select ”File” → “Import Mesh”, and choose the ply file you downloaded.
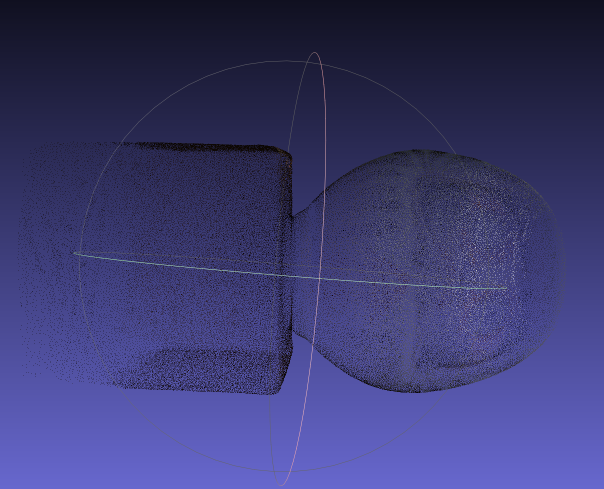
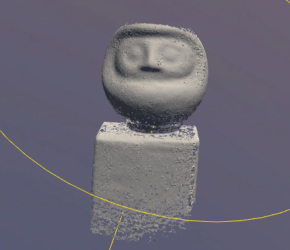
Check the data
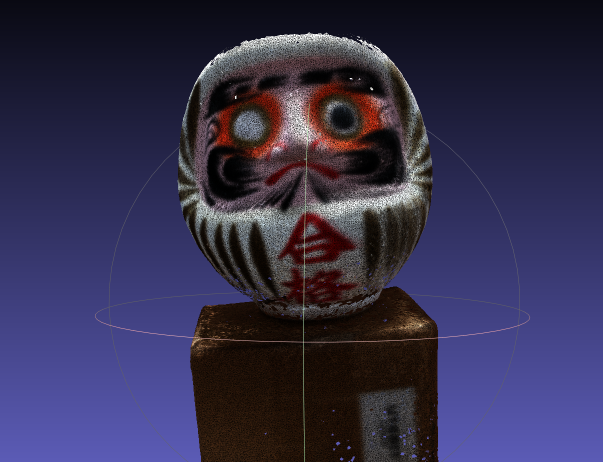
It is blurry, but you can see the Daruma displayed,
2. Recalculate the normals
Next, we will generate a mesh from the point cloud data.
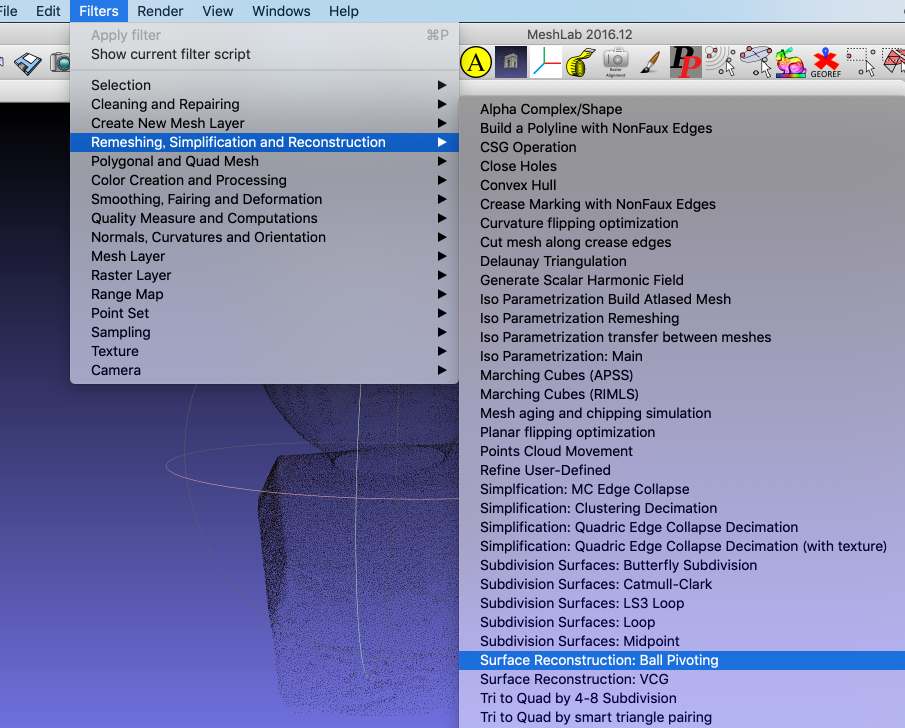
Generate mesh from the point cloud data
Select “Filters” → “Remeshing, Simplification and Reconstruction” → “Surface Reconstruction: Ball Pivoting”
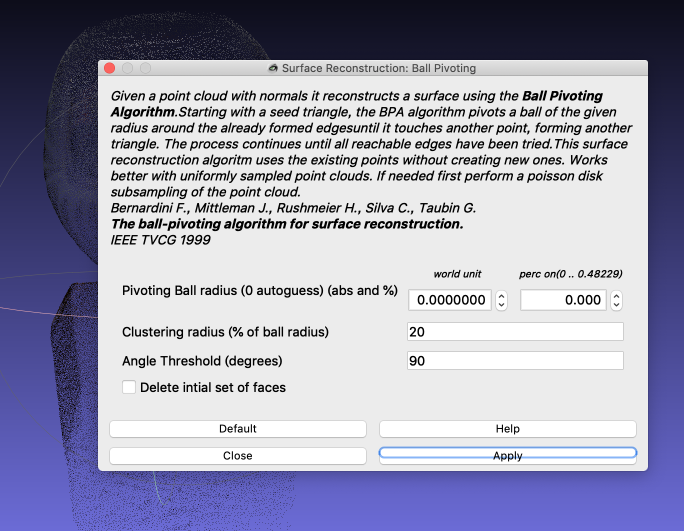
Remesh settings
A setting window will popup, but you can just keep it as default and select “Apply”.
Apply the Mesh
The model became more clear, right?
3. Per-Triangle parameter settings
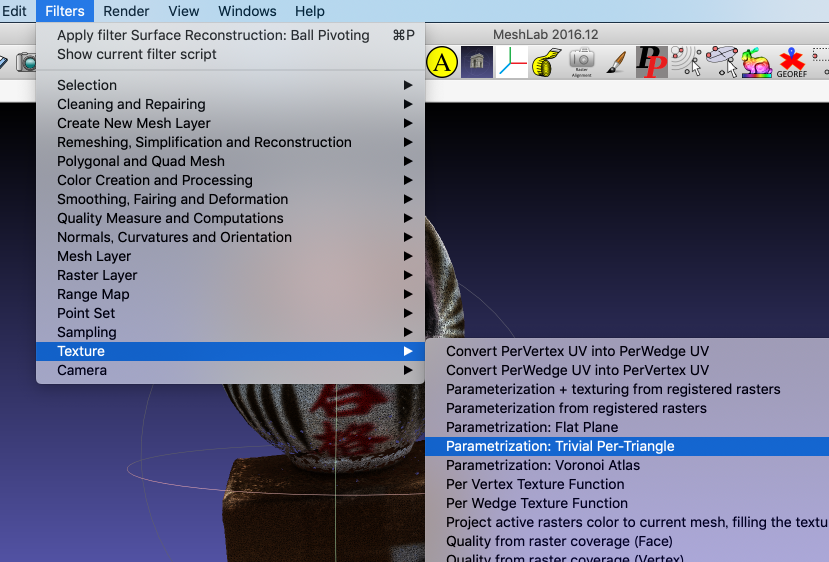
Per-Triangle parameter settings
Select ”Filters” → “Texture” → “Parametrization: Trivial Per-Triangle”.
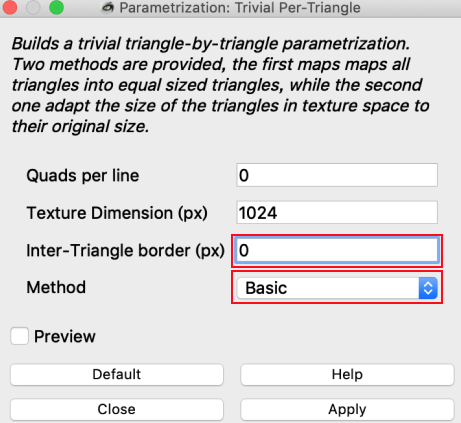
Per-Triangle parameter settings
Next, you need to change advanced settings.
Set ”Inter-Triangle border(px)” to 0, change ”Method” to Basic and select ”Apply”, then select ”Close”.
4. Exporting texture
Next, we will export the 3D data and the texture file, then combine it in Unity, but first we will export the texture file.
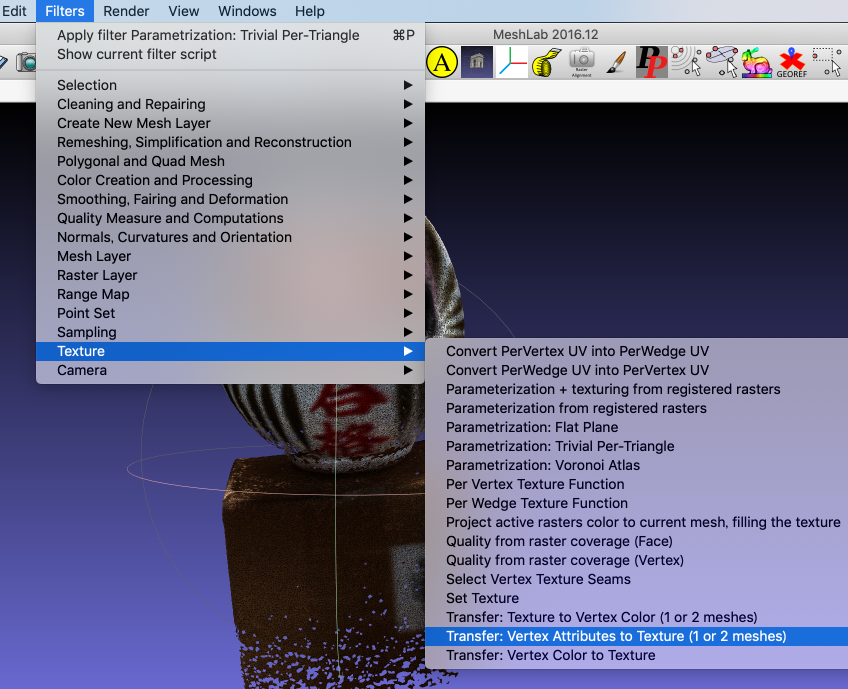
Texture settings 1
Select “Filters” → ”Texture” → ”Transfer: Vertex Attributes to Texture(1 or 2 meshes)”
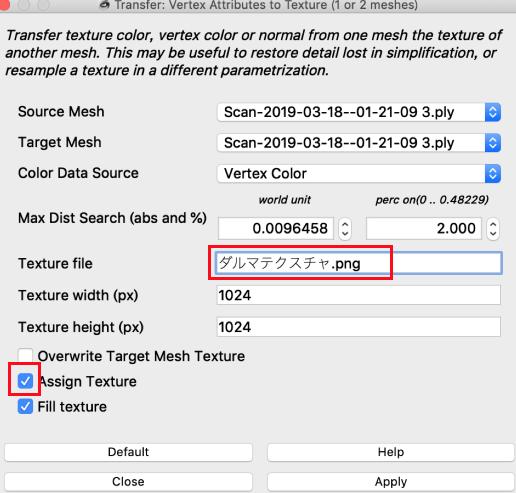
Texture settings 2
Next, you need to change advanced settings.
Choose the texture file name you want to export, and check the “Assign Texture” option and click “Apply”.
After you select “Close”, confirm that the texture has been exported as a png file.
5. Save the Mesh data
Once the texture file is done, the next step is to export the mesh data.
Mesh Export 1
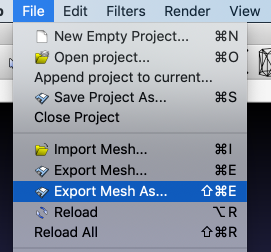
Select ”File” → ”Export Mesh As”,
Mesh Export 2
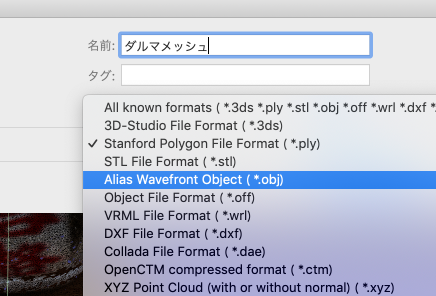
choose where and what name you want to save it as, and select to save as obj.
Mesh Export 3
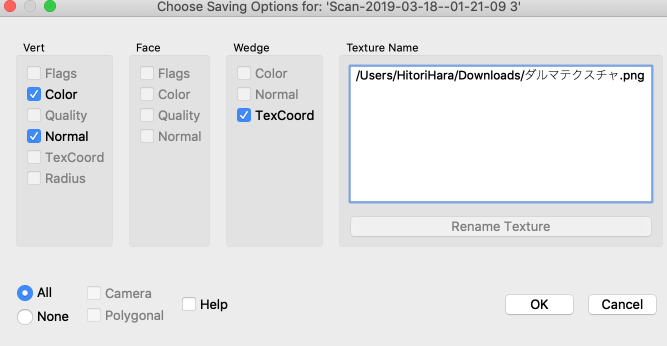
A export option setting window will pop up, but keep it as default and select “OK”.
The 3D data export is complete.
Upload to STYLY
If you directly upload file to STYLY
If you directly upload the OBJ/MTL/PNG file to STYLY, the texture will not be applied. So, we need to combine the files in Unity, and upload the model from Unity.
You can check how to upload models from Unity to STYLY in this article.

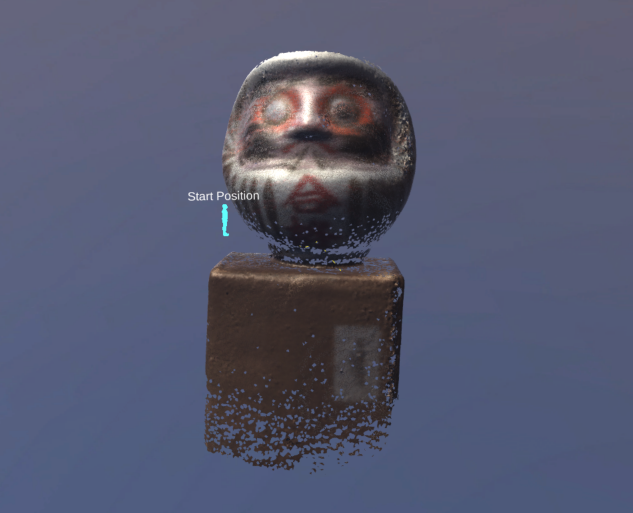
Check in the STYLY WebEditor
We were able to upload a 3D model made by TrueDepth Camera to STYLY.
Good job!
That will be all for this article.
You can easily create original 3D models freely, so I hope you can use them to create original VR scenes.