In this article, I will introduce how to create a scene where objects appear in the sky, drop down, and keep on piling up on each other.
I will use Unity PlayMaker to create this scene.
- 1 Sample
- 2 Preparation
- 3 Create a Floor
- 4 Create the Objects That You are Going to Drop
- 5 Creating a Vending Machine
- 6 Dropping an Object
- 7 Looping the Drop Action
- 8 Randomizing the Spawn Position
- 9 Prevent the Vending Machine from Passing Through the Floor
- 10 Set a Parent to the Vending Machine
- 11 Upload to STYLY
Sample
Preparation
Download a FBX file from Google Poly
Download a FBX file from Google Poly. In this tutorial, I downloaded a FBX file of a vending machine.
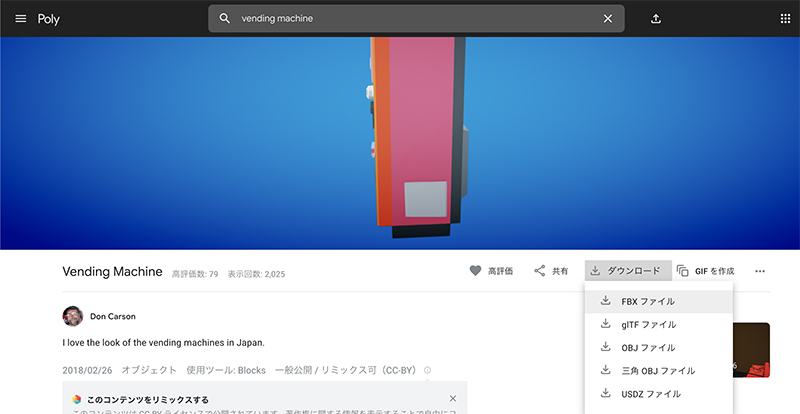
Downloading a FBX file from Google Poly
Import the Downloaded FBX File to Unity
Next, we need to import the downloaded FBX file to Unity.
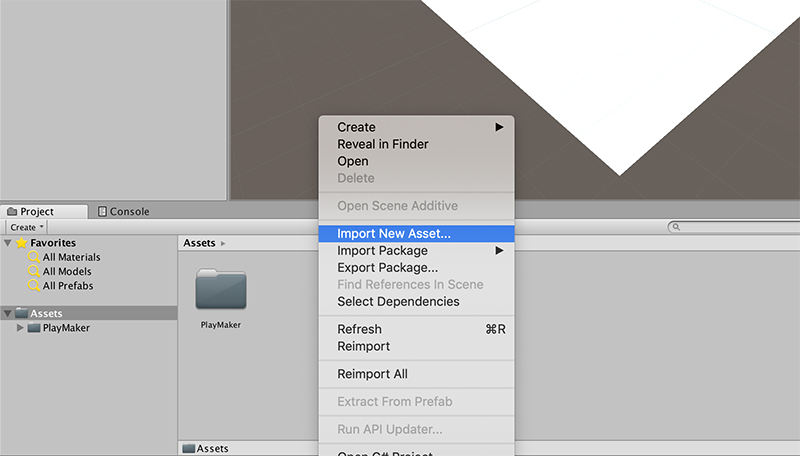
Importing the downloaded FBX file
Create a Floor
We need to create a floor, that the objects will drop on to.
Creating a floor
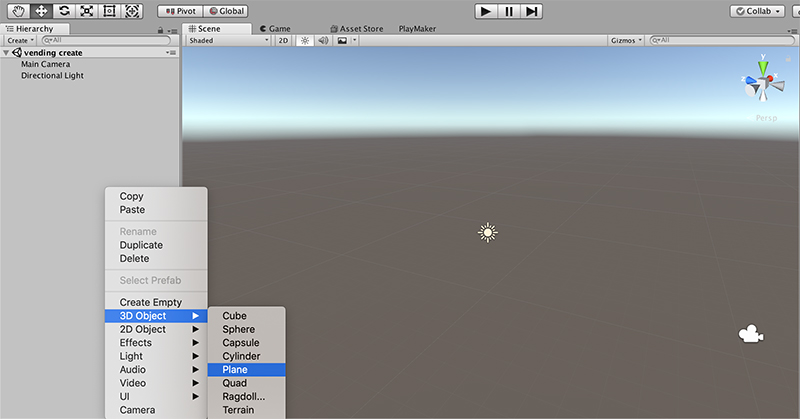
Create the Objects That You are Going to Drop
Next, we want to set the scene so that the vending machines drop from the sky. In order to do so, we need to create a manager which will control the dropping motion.
Let’s create that manager.
Use Create Empty to create an object, and set the name to ‘vending create’.This vending create will act as the manager for the movements.
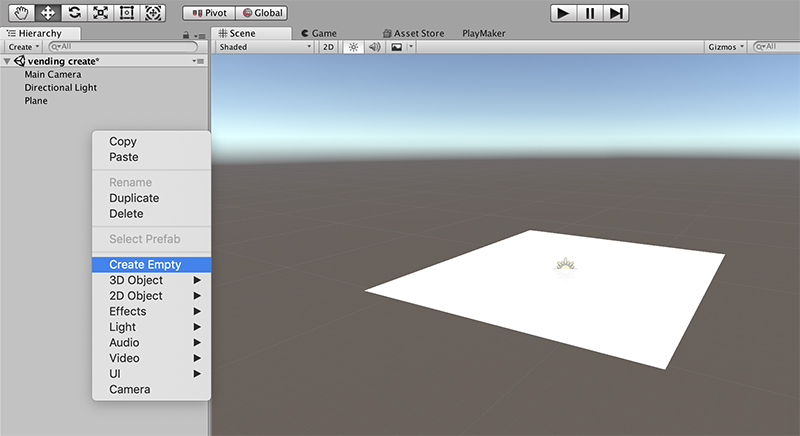
Click Create Empty
Creating a Vending Machine
Create a Vending Machine Prefab
Let’s create a vending machine. First, we need to change it into a prefab.
Drag and drop the vending machine (model) into the Hierarchy, then return it to the Project tab again.
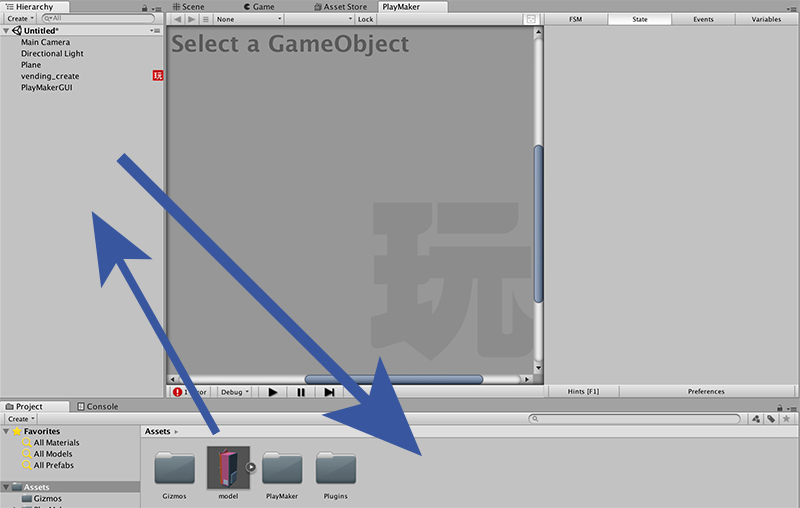
Create a prefab
This time, change the vending machine (model) name to ‘vending_machine’.
Do not delete the original imported vending machine. You will still need it.
The result should be as shown in the image below.
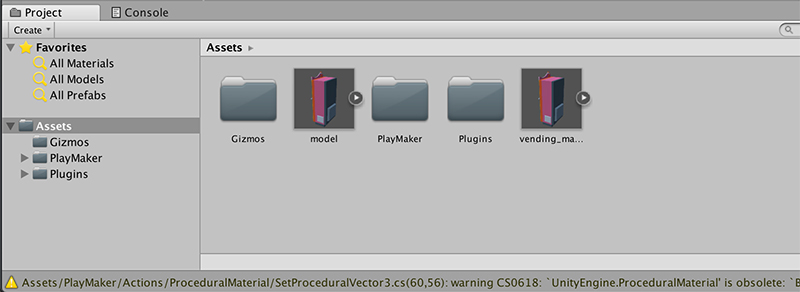
Final Project view
Create an Event with PlayMaker
Select vending_create, then choose add state from the PlayMaker window.
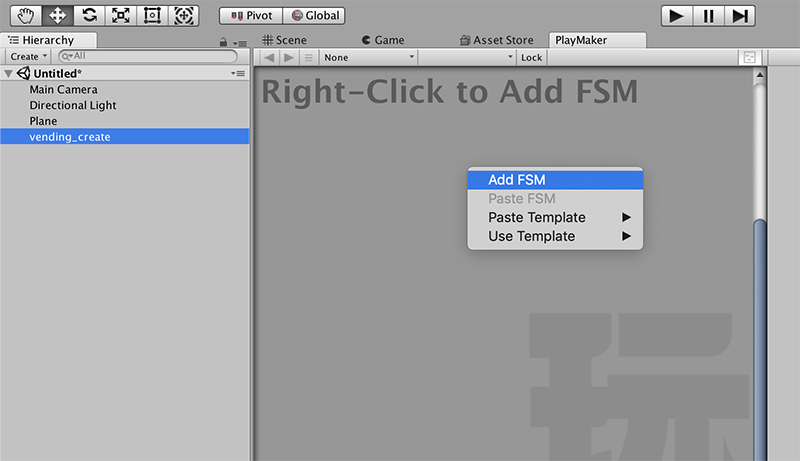
Add a State
Click add state, and the screen will look like this. Select the Events tab and create a ‘create vending machine’ event.
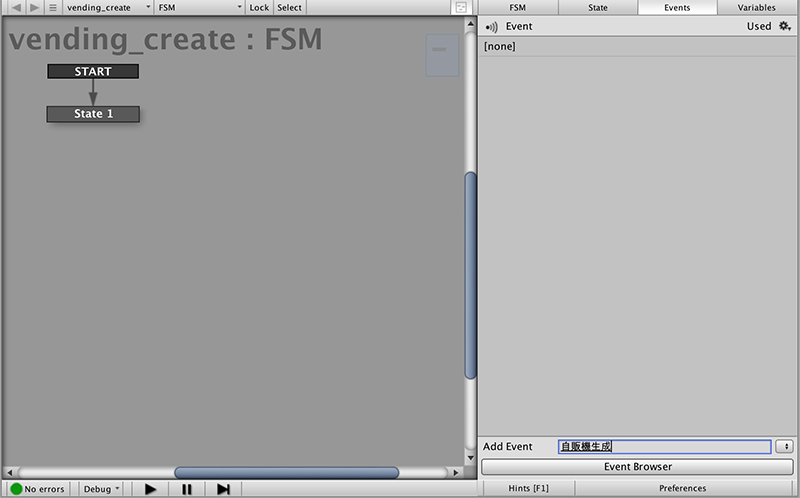
Create a create vending machine event
Add a Create Object action.
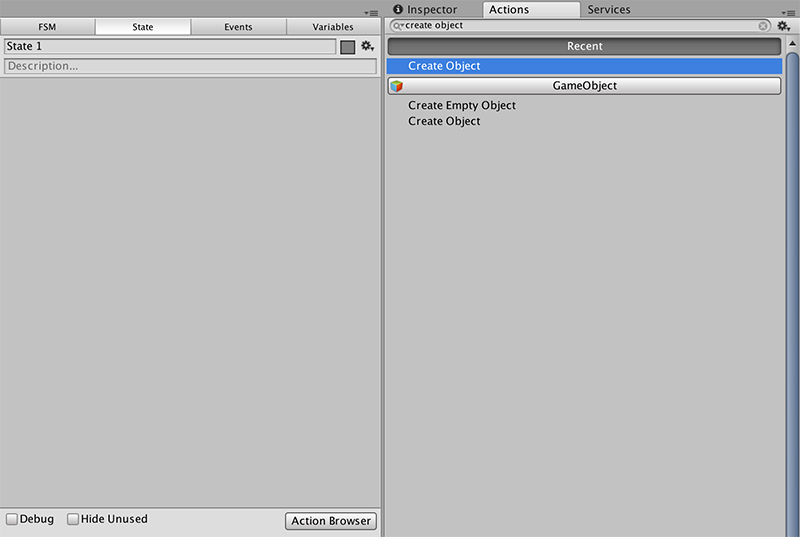
Add a Create Object action
Then, add the vending machine prefab to the Create Object action.
Drag and drop the vending_machine to the Game Object column.
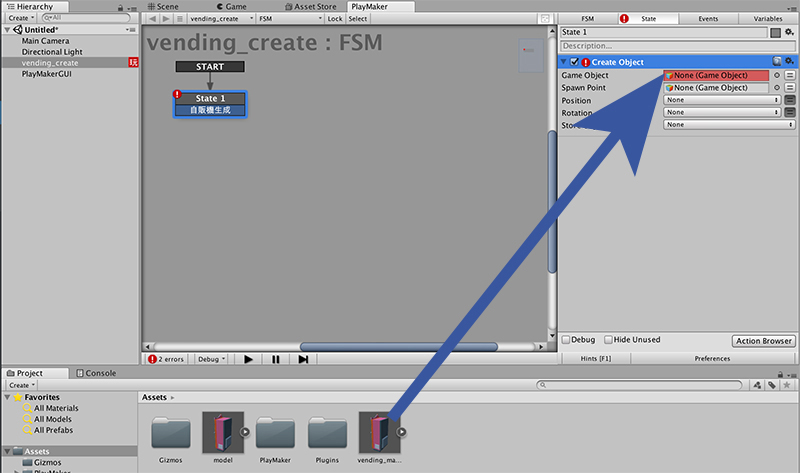
Add vending_machine to Game Object
We want the vending machine to spawn slightly above the ground, so set the Position to (0, 2, 0).
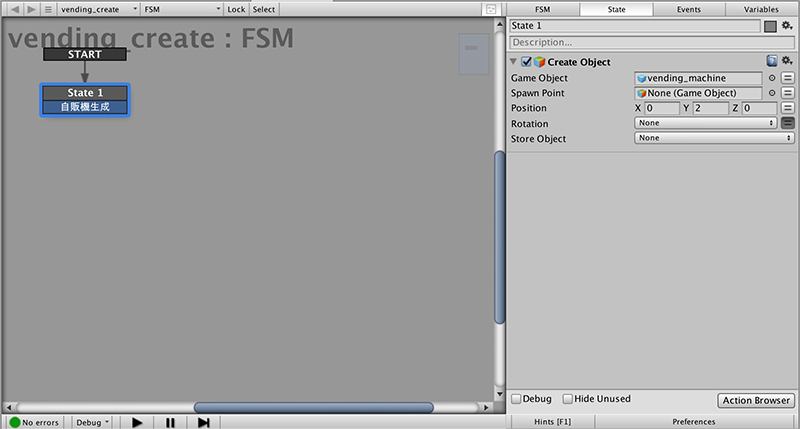
Change the Position of the Create Object
Click the Play button and you will see a floating vending machine appear.
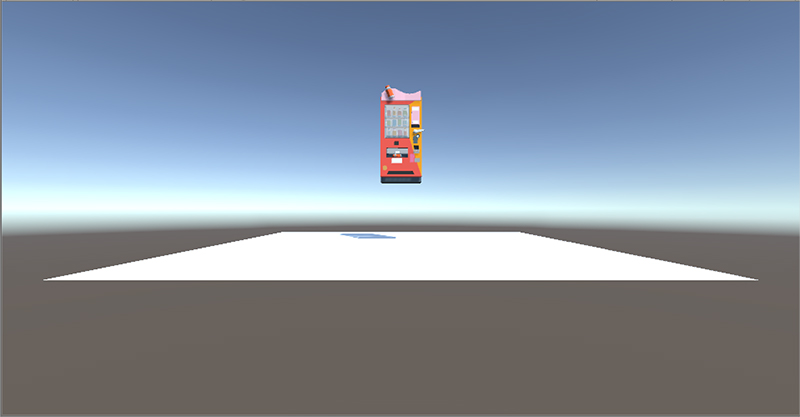
Check if the vending machine spawns
Dropping an Object
We were able to create a vending machine in the air.
But it is currently just floating, so we need to change settings so it will drop to the ground.
Click vending_machine, and choose the Add Component in the Inspector tab, then add a Rigidbody component to the vending machine prefab.
Click the Play button, and the vending machine will drop from the sky.
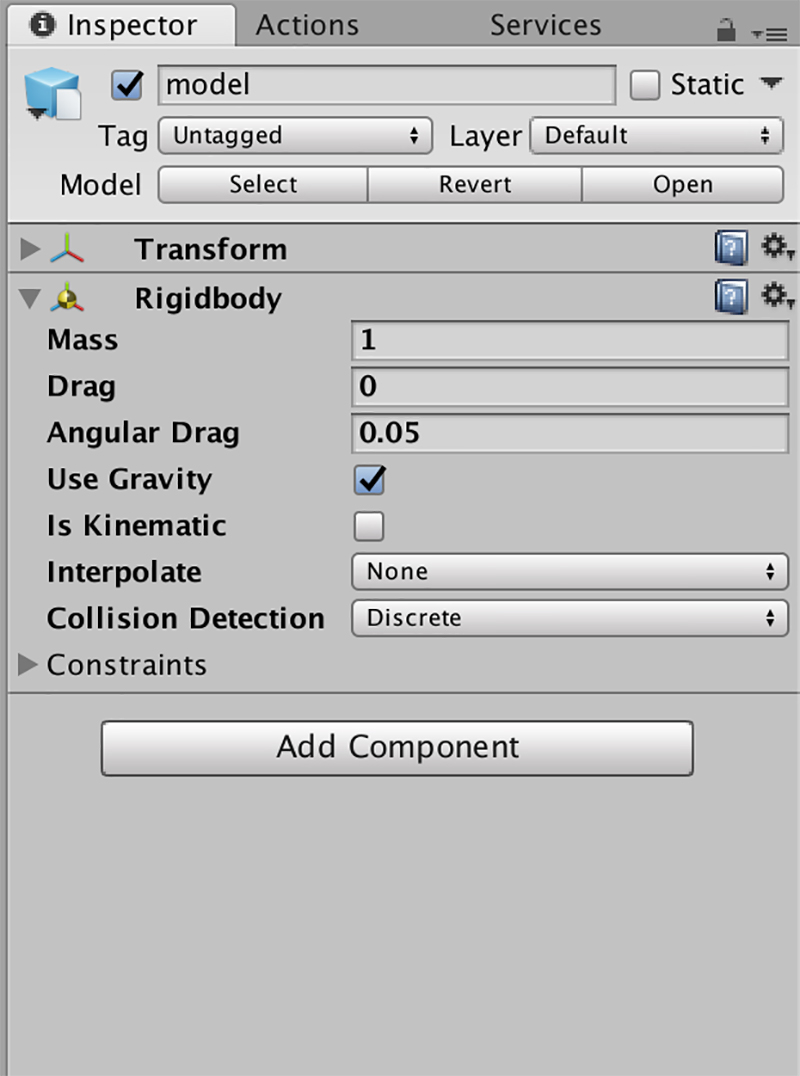
Add a Rigidbody component
Looping the Drop Action
All we need to do now is to loop the vending machine drop action.
Let’s set it so that the drop action will take place every 2 seconds.
In order to loop the create vending machine event, create an arrow starting from State 1 and returning to State 1, as in the image below.
Then, create a Wait action, and set the Time to 2. Set the Finish Event to ‘Create Vending Machine’.
This setting will loop the create vending machine event every 2 seconds.
A vending machine will appear in the air and drop to the ground every 2 seconds now.
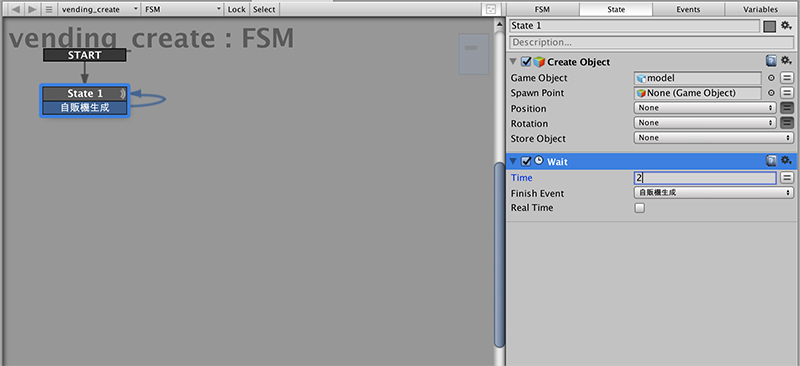
Add a Wait action
Randomizing the Spawn Position
Since the spawn position is the same, the vending machines will be created on top of each other, and will become some sort of tower. We need to use Random Float and Set Vector3 XYZ to randomize the spawn position.
Create Random Float and Set Vector3 XYZ, and then set the following values to them.
Random Float will create a random value between -2 and 2, and store that value in the ‘random_pos’ variable.
Setting Vector3 XYZ will set the X-axis, Y-axis, and Z-axis.
In the image below, random_pos is applied to X, 5 is applied to Y, and random_pos is applied to Z. The XYZ-axis will get stored in the variable pos.
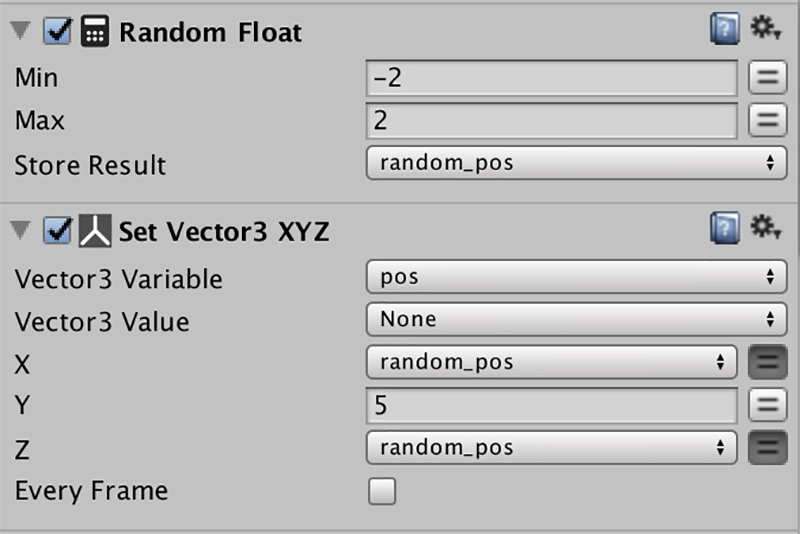
Add Random Float and Set Vector3 XYZ action
With these settings, the vending machine spawn position is now randomized.
Prevent the Vending Machine from Passing Through the Floor
Currently, the vending machine will just pass through the floor, so we need to use Physic Material to prevent that.
First, we need to create a Physic Material. Name it ‘plane_physic_material’.
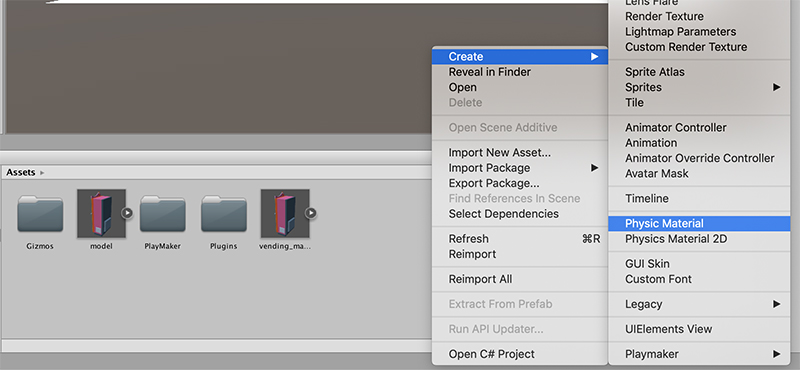
Create Physic Material
Set the values as in the image below.
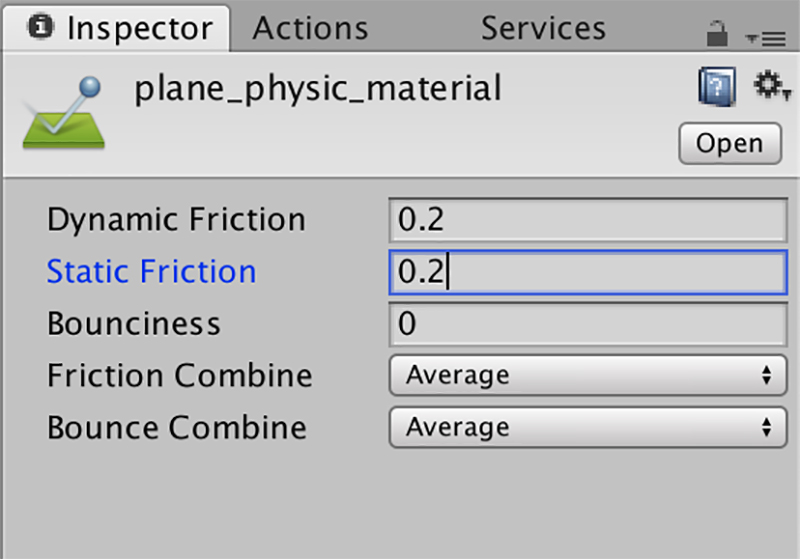
Changing the Inspector values for Physic Material
Set it to the Material of the Plane Mesh Collider.
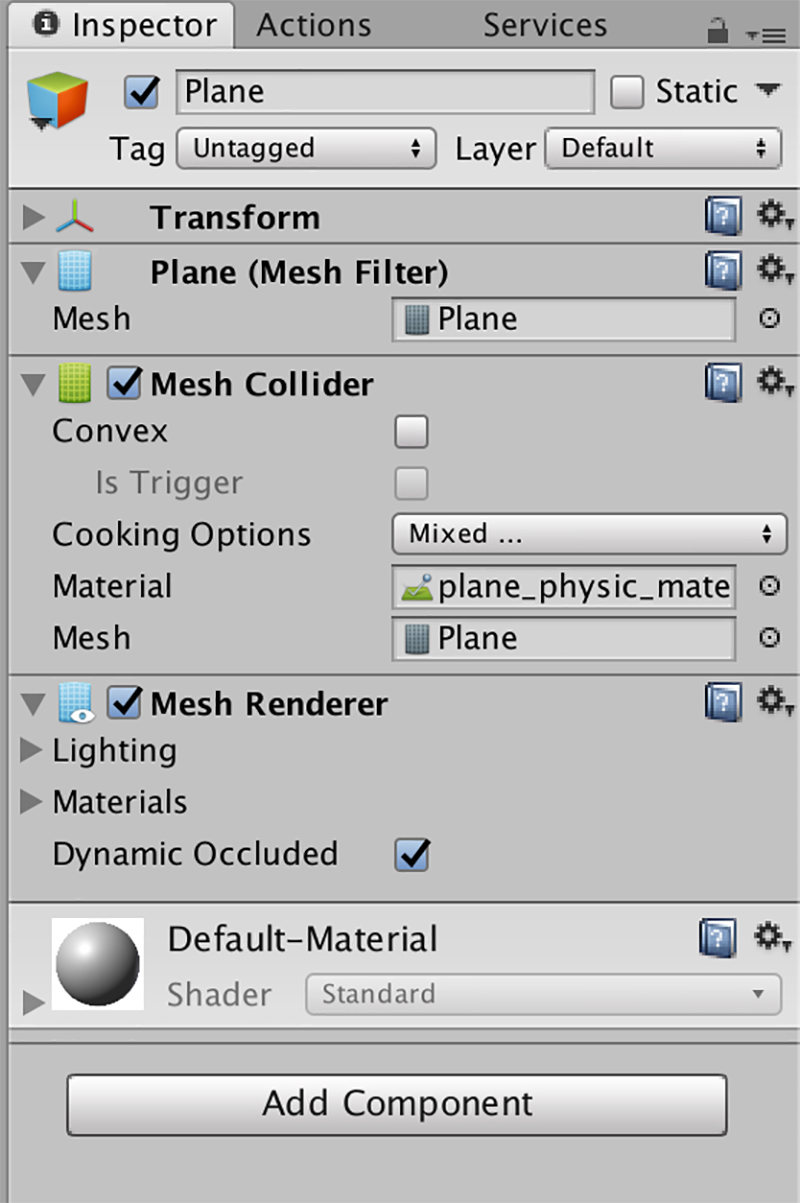
Add plane_physic_material to the Plane
Then add a Box Collider component to the vending_machine, and add plane_physic_material to the Box Collider material.
With these settings, the vending machine will not pass through the ground anymore.
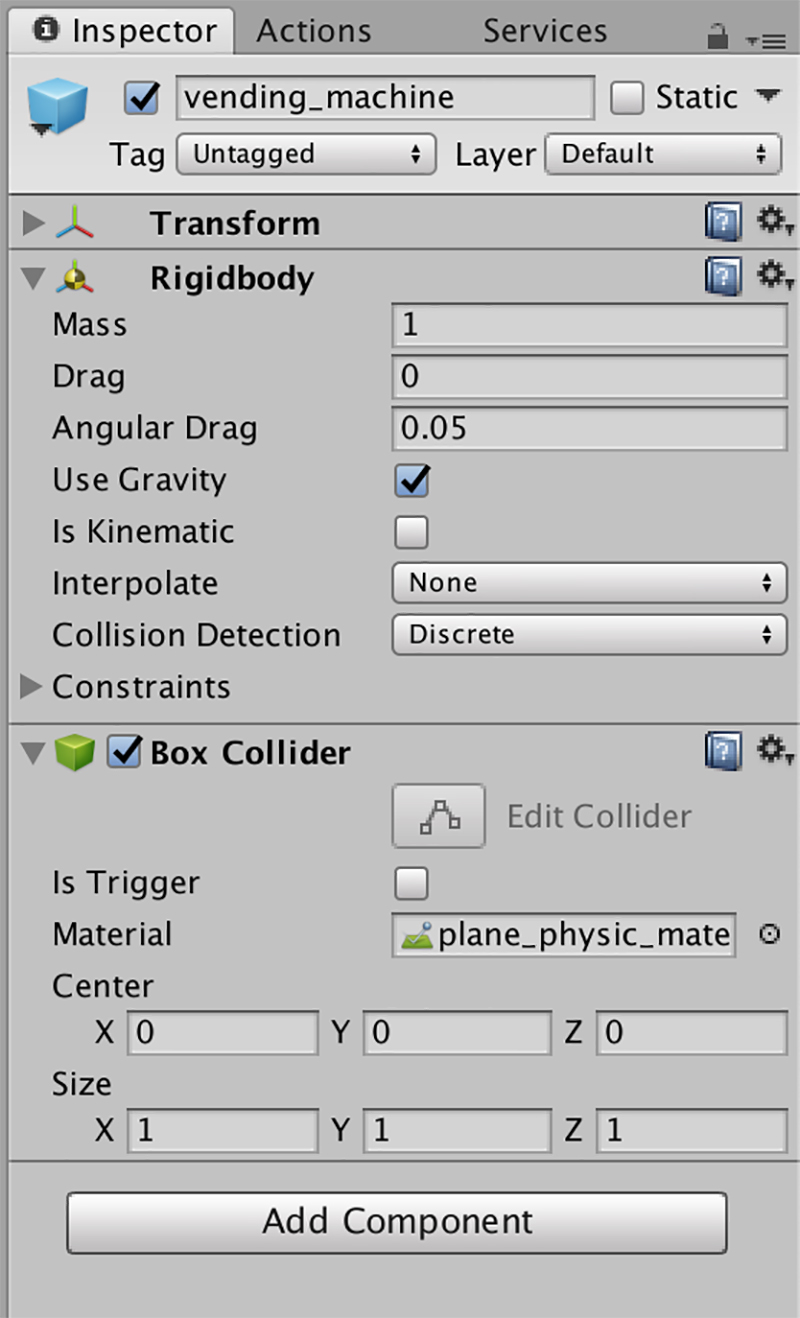
Add plane_physic_material to the Box Collider
Set a Parent to the Vending Machine
It isn’t neat or clean for vending machines to be created right under Hierarchy, so use the Set Parent action to set a parent.
With this setting, the created vending machines will be created under vending_create, and will look more organized.
Create a Set Parent action under the Create Object action.
Set the values as in the image below.
Add the object created by the Create Object action to the ‘created_obj’ variable.
We will use that variable in Set Parent.
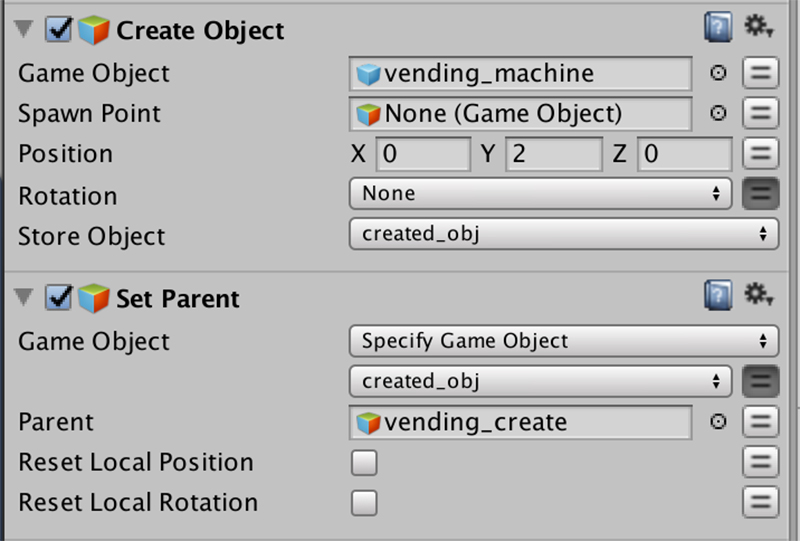
Add a Set Parent action
Click the Play button, and you will see that the created vending machines will be created under vending_create.

Checking Set Parent settings
Upload to STYLY
How to upload an asset from Unity to STYLY

In this article, we created a scene where objects are continuously created and piled up on each other.
You can change the object, or how many objects spawn at once, or change the loop time to create a scene that you want.
I hope you use this technique for your future creations.