In this article, I will show you how to reduce the file size of an asset before uploading it to STYLY in case the asset is too large to upload to STYLY.
How to check the size of an asset
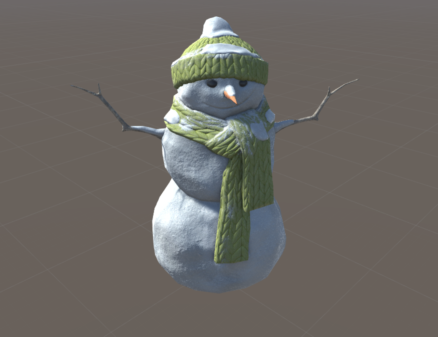
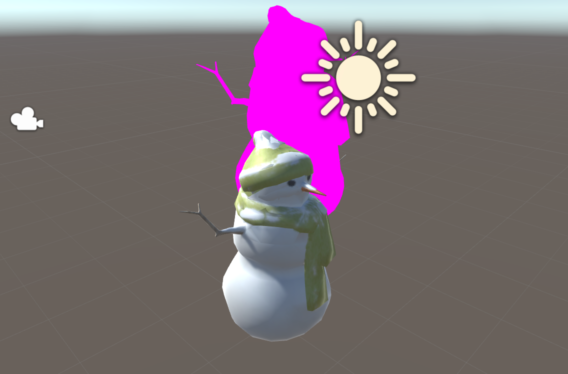
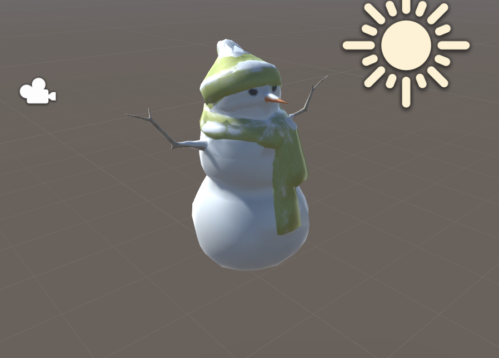
Snowman object (available for free from the UnityAssetStore)
STYLY recommends less than 20MB for prefabs and 100MB for scenes to be uploaded. As of November 2021
For the latest information on file sizes for uploading to STYLY, please refer to the following

If you try to upload an asset that exceeds the file size that can be uploaded to STYLY, the following error message may appear.
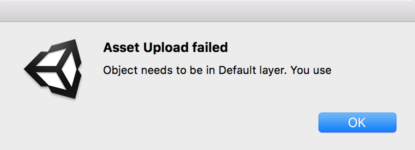
Alert screen
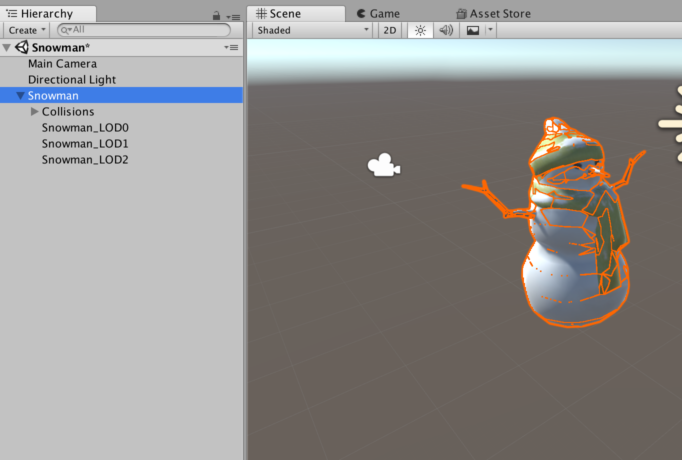
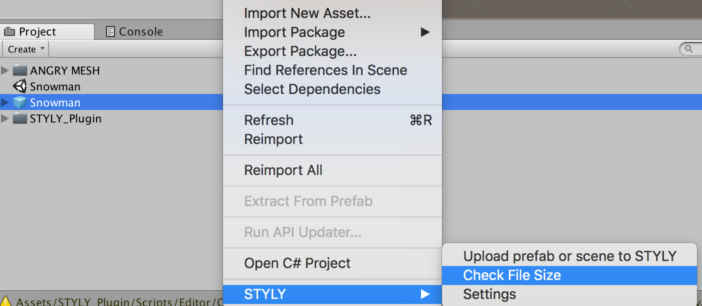
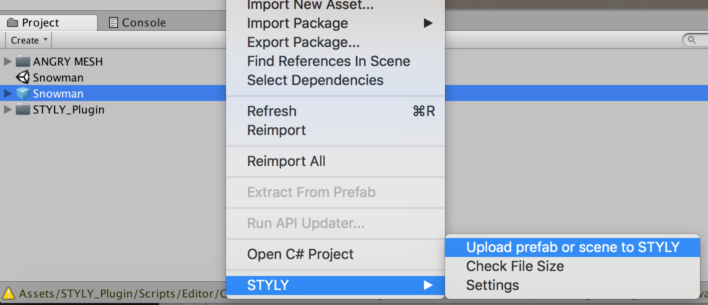
When you see this error, first check the size of the Prefab you tried to upload. Right-click on the relevant Prefab and select “STYLY” -> “Check File Size”.
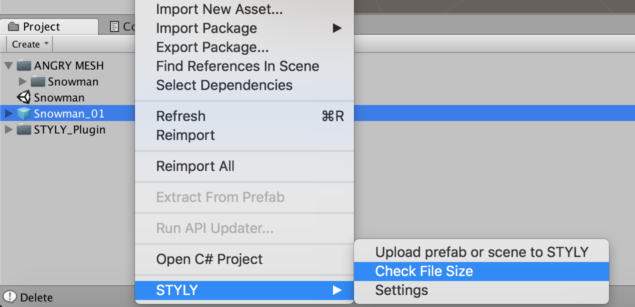
Check File Size Screen 2
16MB” is displayed. We will reduce the size of the file.
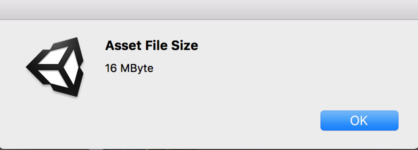
Size confirmation screen 2
Reducing the size of an asset
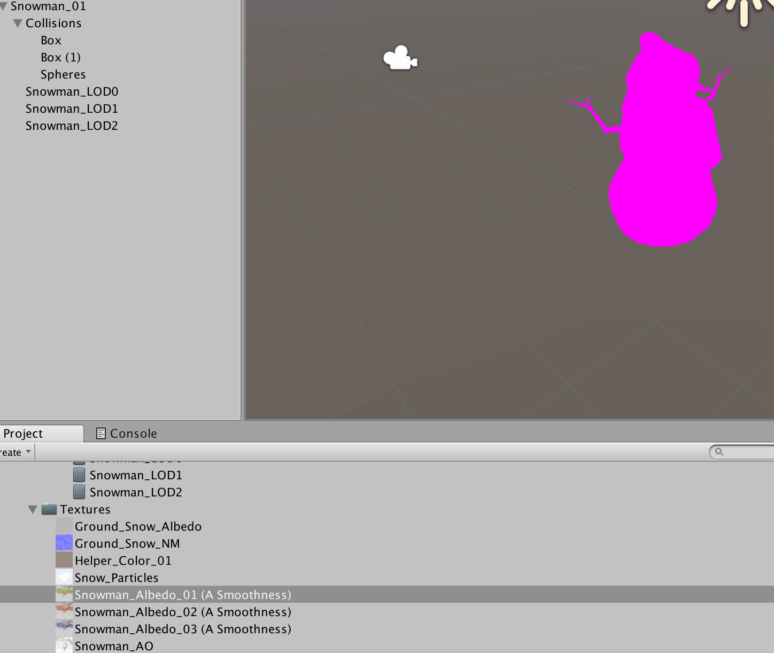
In 3D objects, textures take up most of the size. In order to reduce the file size, it is necessary to coarsen the texture. From the Project window, find the “texture” folder. When you expand the texture folder, you will see a list of the textures used in the project.
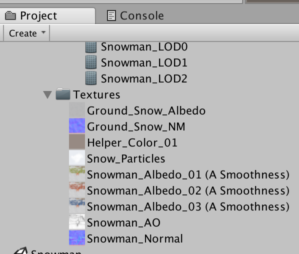
Texture list
Determine which of these textures is being used by the corresponding object. If you look at the files one by one in the Hierarchy window, you will see the textures as shown in the following image (circled in red on the right). This is the texture used by the corresponding object.

Texture confirmation screen
This time, we found that “Snowman_Albedo_01(A Smoothness)” is the texture of the corresponding object, so we will coarsen this texture. Select the “Snowman_Albedo_01(A Smoothness)” texture in the Project window. The texture information will then be displayed in the Inspector window.
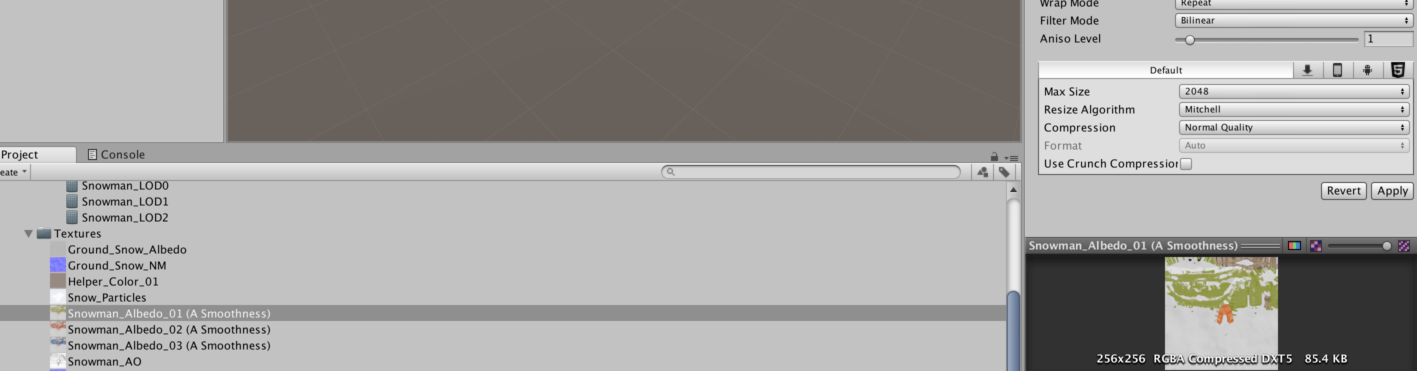
Texture selection screen
If you look at the “Default” section below, you will see that the “Max Size” is set to 2048. If you click on this number, a button type selection button will appear, so this time select 256 and click “Apply” at the bottom right. By doing this, you will be able to reduce the size of the texture.

Resize screen
Copy the mesh and texture to the Scene
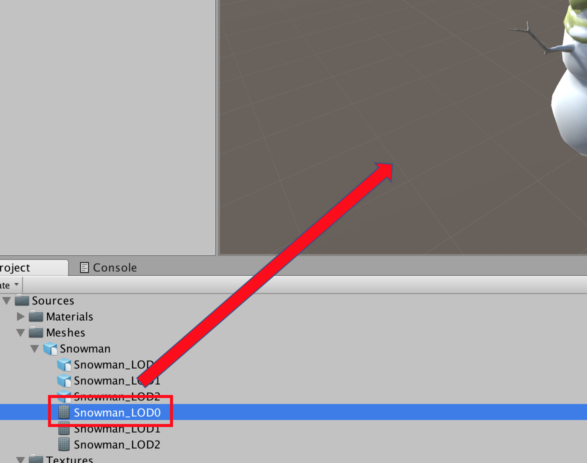
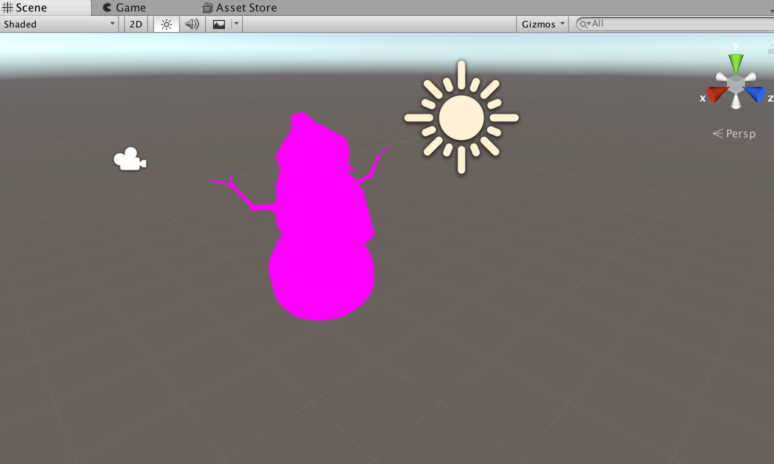
Next, paste the mesh, which is the shape of the object, and the texture that you just reduced in size into the Scene. Make sure you know where to find the mesh of the object in question. We just identified the file containing the texture, and in the same Inspector window, the mesh of the object in question is labeled “Mesh”. If you select the “Snowman_LOD0” mesh, the corresponding mesh in the Project window will pop up in color, as shown in the image below.
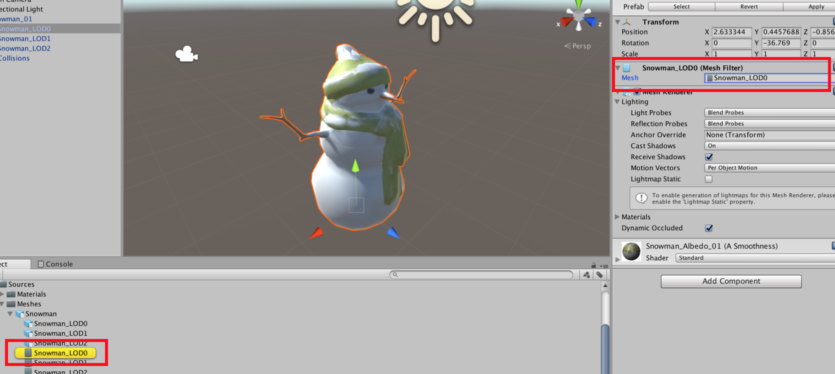
Mesh confirmation screen
Drag and drop the pop-up mesh to add it to the Scene.
Adding a mesh to a scene
Similarly, add “Snowman_LOD1” and “Snowman_LOD2” to the Scene.同様に、「Snowman_LOD1」と「Snowman_LOD2」もSceneに追加します。
Meshes have now been added to the Scene
To avoid confusion, let’s delete the original object. Delete the files that make up the objects in the Hierarchy window.
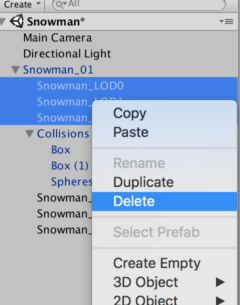
Original object deletion screen
The original object has been deleted.
Next, we will reflect the texture on the mesh we just added. There are three meshes (it’s hard to see in the attached image, but if you look at the Hierarchy window you can see that there are three), and all of them have the texture “Snowman_Albedo_01(A Smoothness)”. Smoothness)” to the three meshes by dragging and dropping them.
Adding textures screen
The reduced size texture is now reflected in the meshes.
Texture reflection screen
Checking the file size and uploading to STYLY
Unify the objects that reflect the coarsened texture. In the Hierarchy window, create a new Game Object using “Create Empty” and store the object that reflects the texture.
Unifying Objects
Drag and drop the object to the Project window to copy it to the Prefab, then right-click on the Prefab and select “STYLY” -> “Check File Size” to check the size.
Size confirmation screen
5MB is displayed. The original was 16MB, so it’s a success!
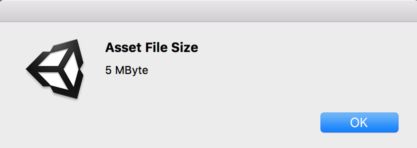
We were able to reduce the size of the file.
Now all you have to do is upload the file to STYLY.
STYLY upload screen
This is the end of the introduction of how to reduce the size of a large asset by coarsening the texture, and upload it to STYLY.