This article explains how to “insert a link” in a STYLY scene object.
To set up links, use Unity’s PlayMaker custom action Application Open Url.
This tutorial explains how to create and insert objects in STYLY scenes.
By setting up links in your STYLY scene, you can join other sites!

Sample Scene
Here is a sample scene showing linked objects.
The following explains how you can insert a link.
Basic Concept
Preparation
STYLY does not allow inserting links directly into your scene objects, but this action is enabled through Unity’s PlayMaker.
![[Unity] Starting Playmaker from Scratch](https://styly.cc/wp-content/uploads/2019/09/PlaymaerCoreConcept-160x160.png)
PlayMaker’s Application Open Url is a custom action stored in the Unity Plugin for STYLY.
To use Application Open Url, you must download the Unity Plugin for STYLY.

About Application Open Url
To open Application Open Url, go to the STYLY column of PlayMaker’s Action window.

When the action is triggered, the action moves to your set URL.
However, do NOT set the action transition directly from START to State1. Setting the action like this will trigger an error.
Creating a Link Object
To create the object with your custom link, follow these steps:
1. Set up the action in PlayMaker and add the link
2. Create event transitions in EventTrigger
3. Trigger the action.
Preparing Objects
Prepare the objects. You can use any object. As an example, we will use a Unity 3D object to create a cube.
1. Open the Hierarchy tab.
2. Select Create > 3D Object > Cube.

Setting up PlayMaker
Set up PlayMaker.
1. In Cube, right-click on the PlayMaker tab and select Add FSM.
2. Adding FSM also adds State 1 in PlayMaker.

Adding a State
Add a State by right-clicking on Editor. Then click State 2.

Add Application Open Url to State 2.
In the Action browser, search for Application Open Url, and add it.

Set Up Actions
1. In the Application Open Url, State 2, copy and paste your object link in the URL field (red frame).
2. In this example, use STYLY’s website as the link: https://styly.cc/.
3. Check the Direct Open box to open the link on the tab of the open scene. If unchecked, the link will open in a new tab. Leave the box unchecked.

We won’t be setting up any other items this time, so we are now ready for action.
Event Settings
Add an Event Trigger
In our example, we will combine an Event Trigger and set up a transition to State 2.
Add an Event Trigger to the Cube through the Add Component section of the Inspector.
Add an Event
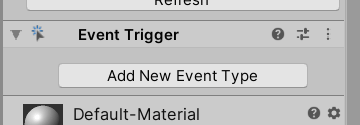
Add an event using the Add New Event Type.

1. In the Event Trigger, select Add New Event Type.
2. If using a web browser, use a left mouse click. If using a VR device, click the trigger button on the controller. This action brings up a new menu.
3. From this menu, highlight and select PointerDown.

Add a List
Start with an empty PointerDown list.
1. To add a list, select the + icon in the lower right corner of the window.
2. A new window opens.
3. In this new window, a drop-down field displays for Runtime.

4. Under Runtime, select None.
5. Drag and drop the Cube to the None location.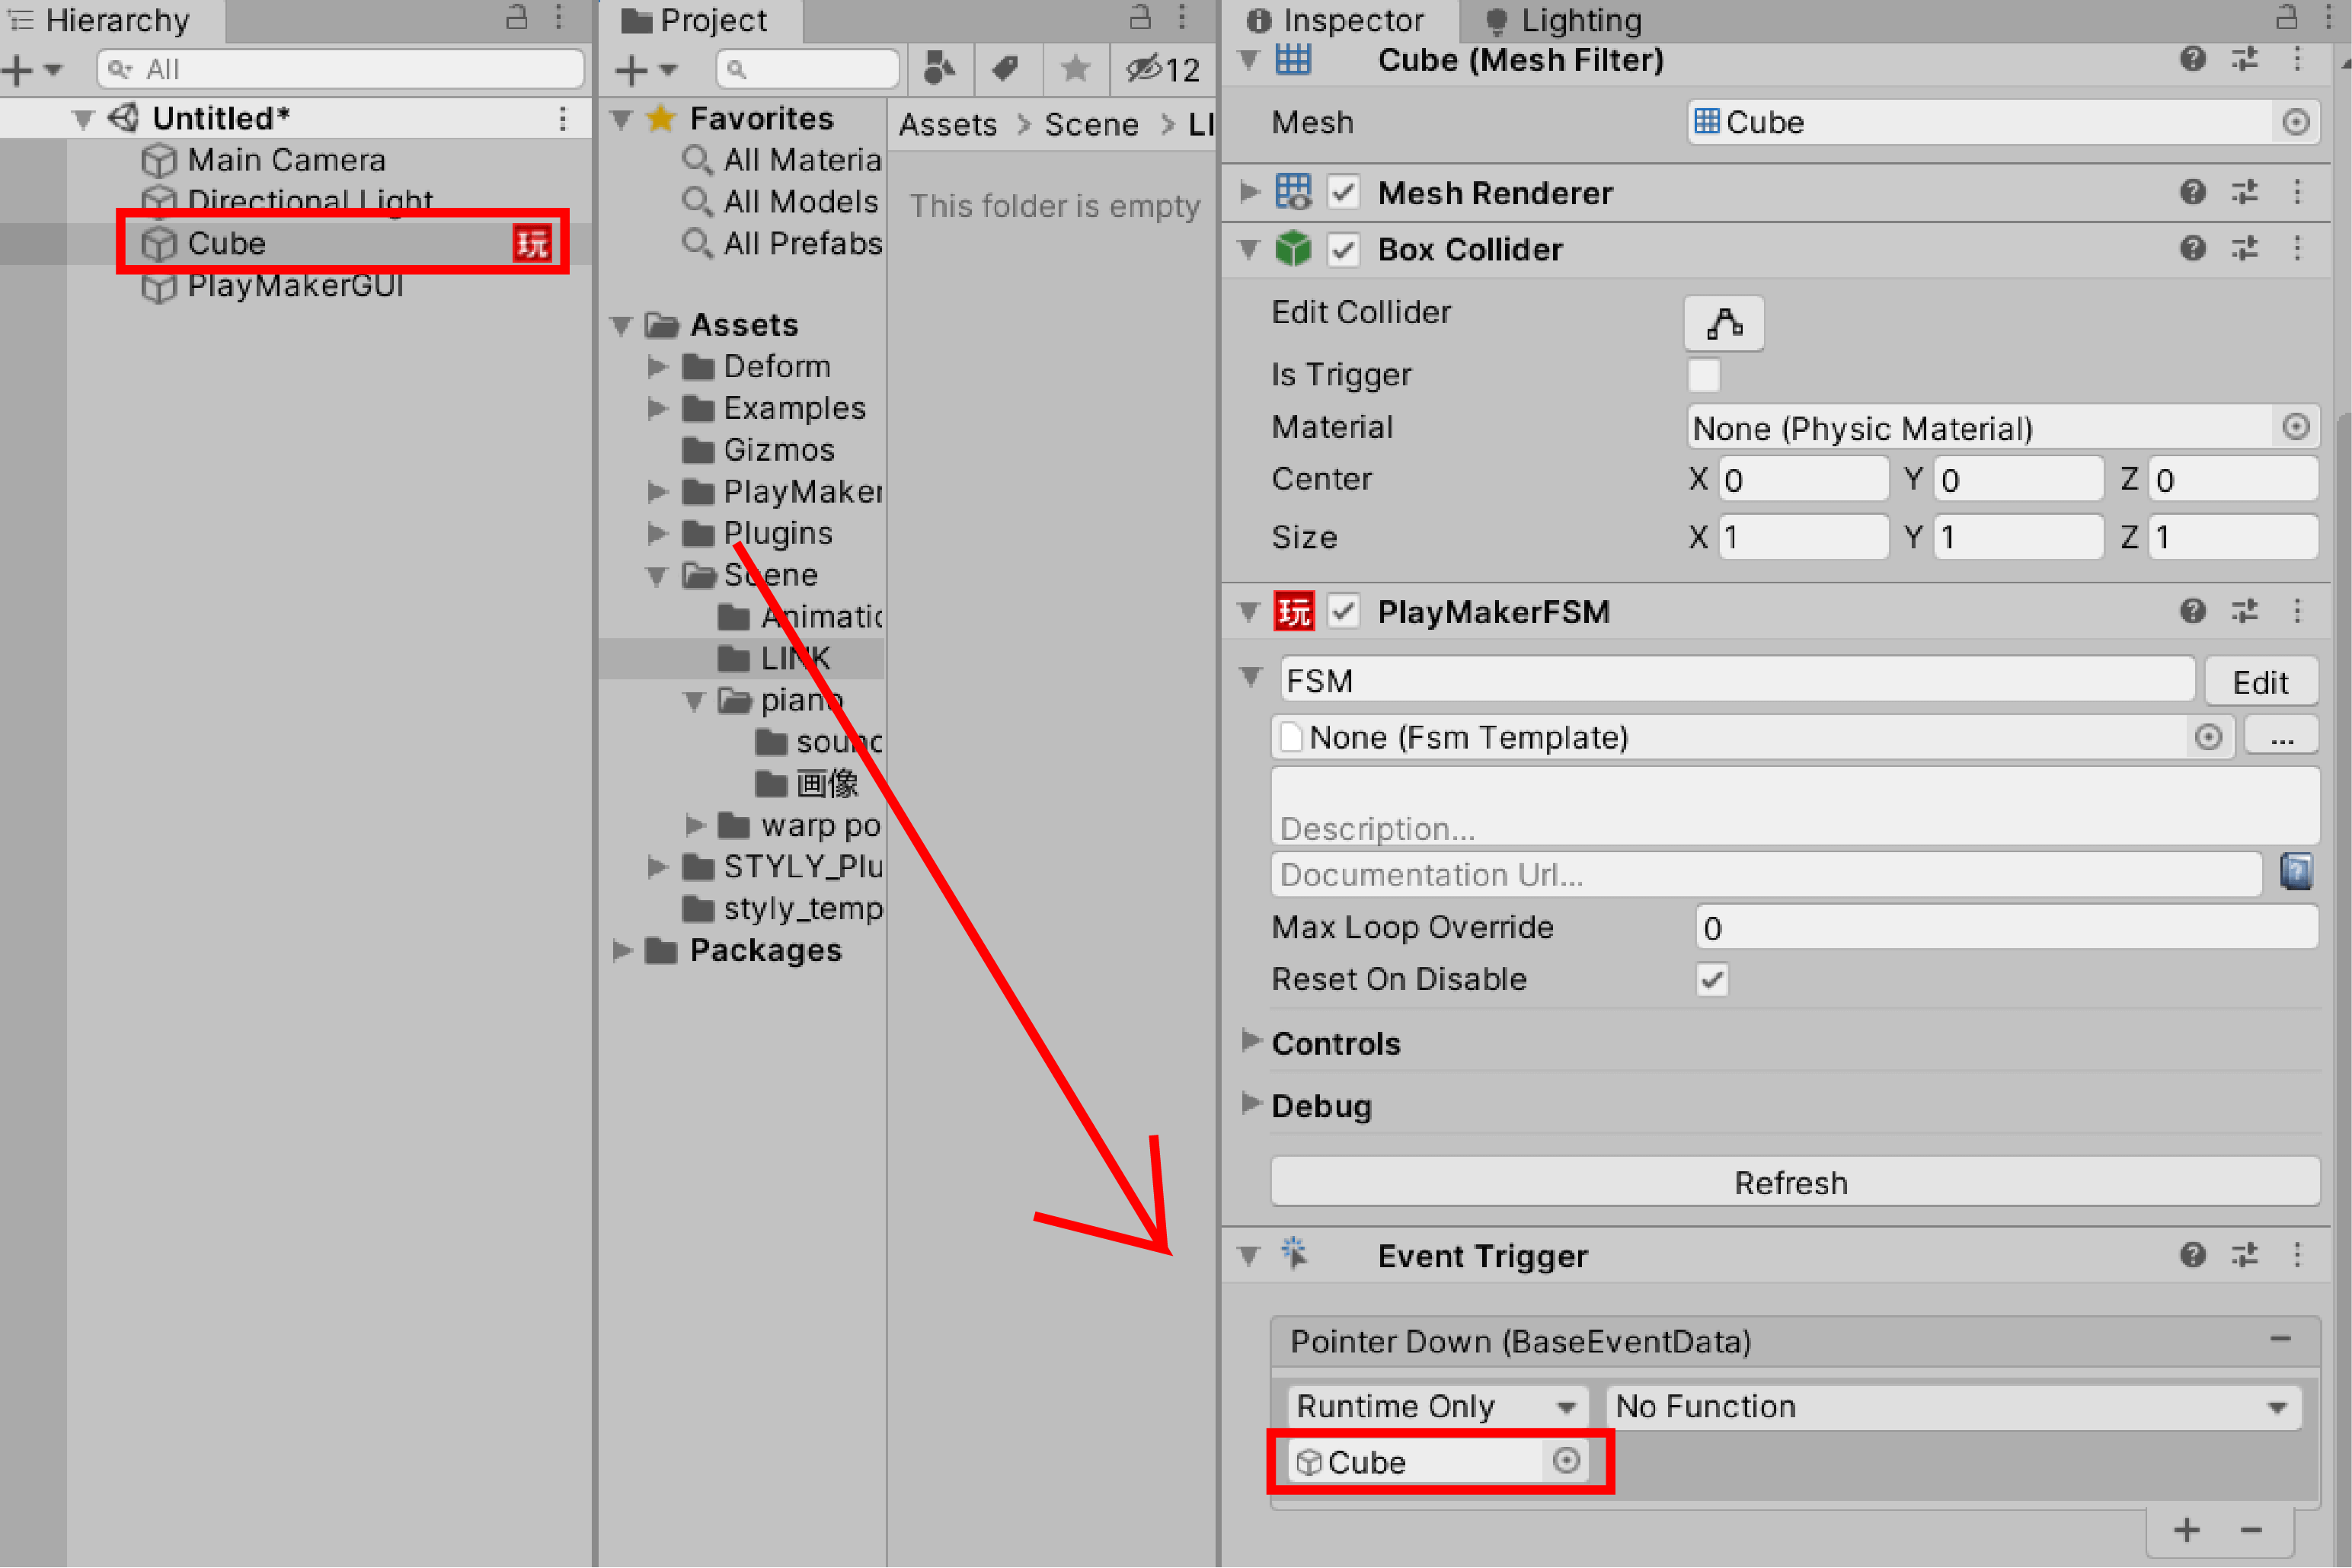
6. From the No Function column (located below the BaseEventData field), choose PlayMakerFSM > SendEvent (string).
Set up the following.

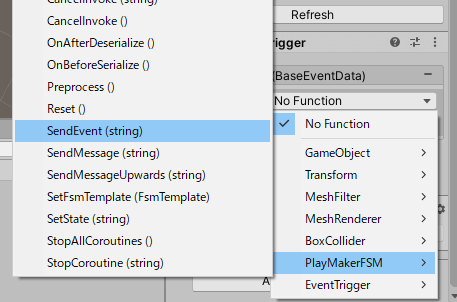
The next step involves setting up the events to transfer to PlayMaker from the Event Trigger.
To do this, invoke PlayMakerSendEvent.
1. In the Pointer Down (BaseEventData) screen, to the right of the Runtime Only field, locate the top blank field.
2. In this blank field, click the down arrow.
3. A drop-down list appears.
4. Select SendEvent (string).

5. Now the Event Trigger is set.
Set up the PlayMaker event
Set up the event in PlayMaker.
1. In the Events column, under Add Events, add PlayMakerSendEvent.

2. Right-click State 2 and select Add Global Transition > PlayMakerSendEvent.

3. You should see the following: You are now set up!

Summary
As shown above, you can insert a link with a single PlayMaker action.
In this case, we were able to set up the Event Trigger’s PointerDown, but depending on how you set up the event, you can use various interactions to open the link.
You might find it interesting to set up creative transitions.
Upload to STYLY
Upload it to STYLY and use it.
How to create an account

How to upload to STYLY from Unity

You can use STYLY FORUM to solve the problem. STYLY FORUM is a place where people can discuss a service or technical issue on STYLY, or provide bug reports on STYLY.
https://en.forum.styly.cc/support/discussions