In this article, we will use Playmaker to attach an object to the controller so that the player can use it.
Finally, we have installed a setting that allows you to play while holding the 3D model, as shown below.

An object is attached to a controller
It may be a little hard to understand, but the 3D model is attached to the controller of STYLY so that it can be operated.
Advance preparation
Download Playmaker here.
You should install PlayMaker, a plugin for Unity, beforehand.
![[Unity Tutorial] Creating a Game Using Playmaker ① From Basic Introduction to Installing](https://styly.cc/wp-content/uploads/2019/06/1200px-160x160.jpg)
If you are new to using PlayMaker, please read the following articles to get a better understanding.
![[Unity] Starting Playmaker from Scratch](https://styly.cc/wp-content/uploads/2019/09/PlaymaerCoreConcept-160x160.png)
Once installed, open the Playmaker Editor and store it on the screen.
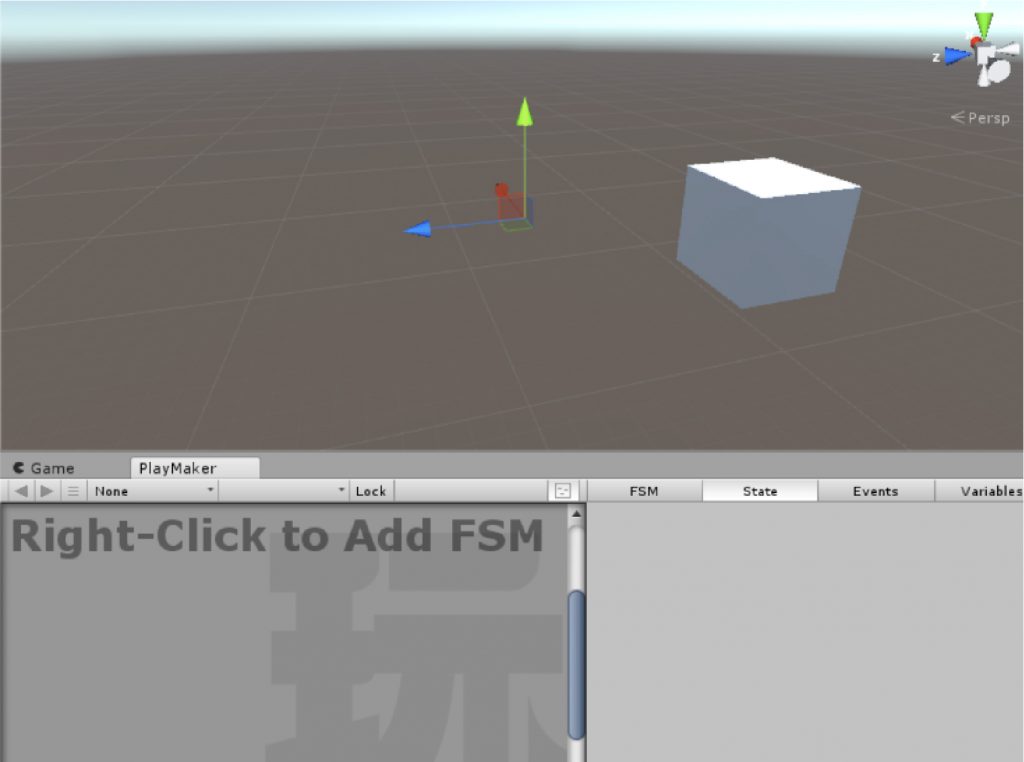
Store the Playmaker Editor
Overview
The procedure for attaching a 3D model to the controller is as follows
- Prepare a 3D model.
- Attaching a 3D model to a STYLY controller
Prepare a 3D model
Right-click in Hierarchy and create a Cube, set the Scale to (0.05, 0.05, 0.05).

Set the Scale of the Cube to 0.05
Attaching a 3D model to a STYLY controller
The same procedure is described in the article below, so please refer to it.
![[Unity / Playmaker]How to Cause an Event to Occur when the Controller Collides with an Object(COLLISION EVENT)](https://styly.cc/wp-content/uploads/2020/03/1-160x160.gif)
Caution
It is recommended that you do not attach an object to both controllers, as attaching an object will prevent Ray from appearing, and you will not be able to return to the Home screen within the STYLY VR APP.
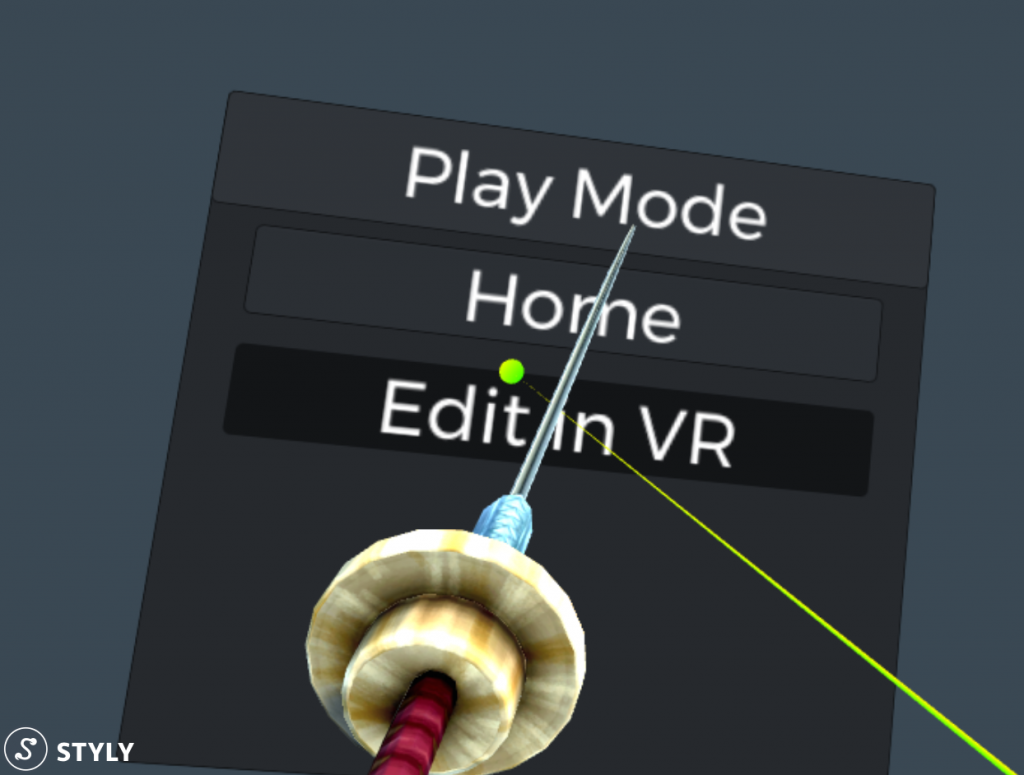
Ray can emit from only one controller
Uploading to STYLY
Let us pre-fabricate your object and upload it to STYLY.
For more information on how to upload, please click here.

Sample Scene
You can check the operation here.