This article explains “Reflection Probe”, one of Unity’s 3D lighting representations.
Reflection Probe is one of the functions that pseudo-represents reflection. By setting up a Reflection Probe, mirror-like metallic reflections can be expressed. It can reflect the surrounding light onto the material.
Reflections of the surrounding light can be shown in the material, creating realistic textures.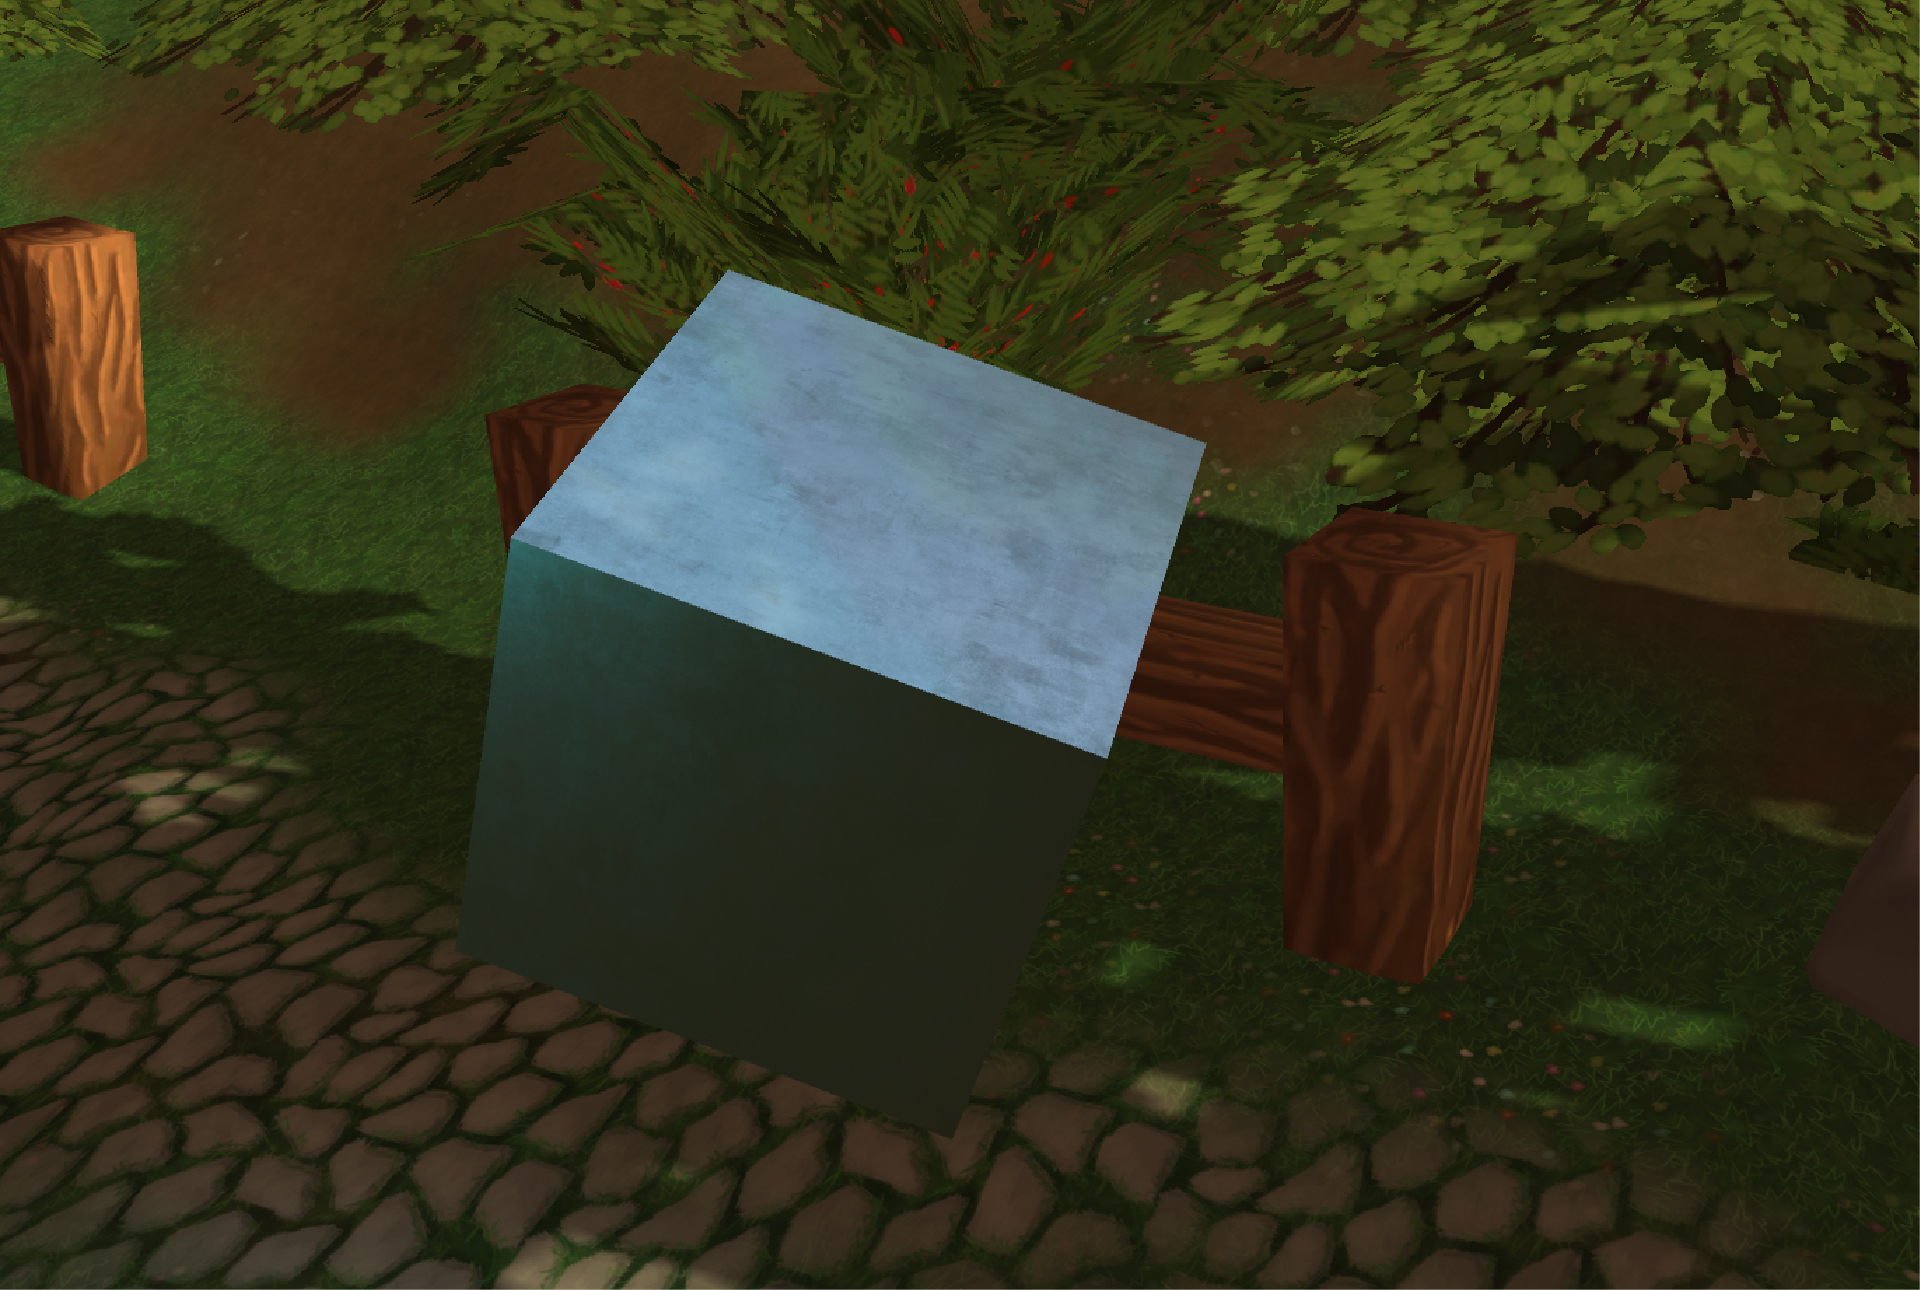
Let’s use Reflection Probe to create realistic spaces!
Sample
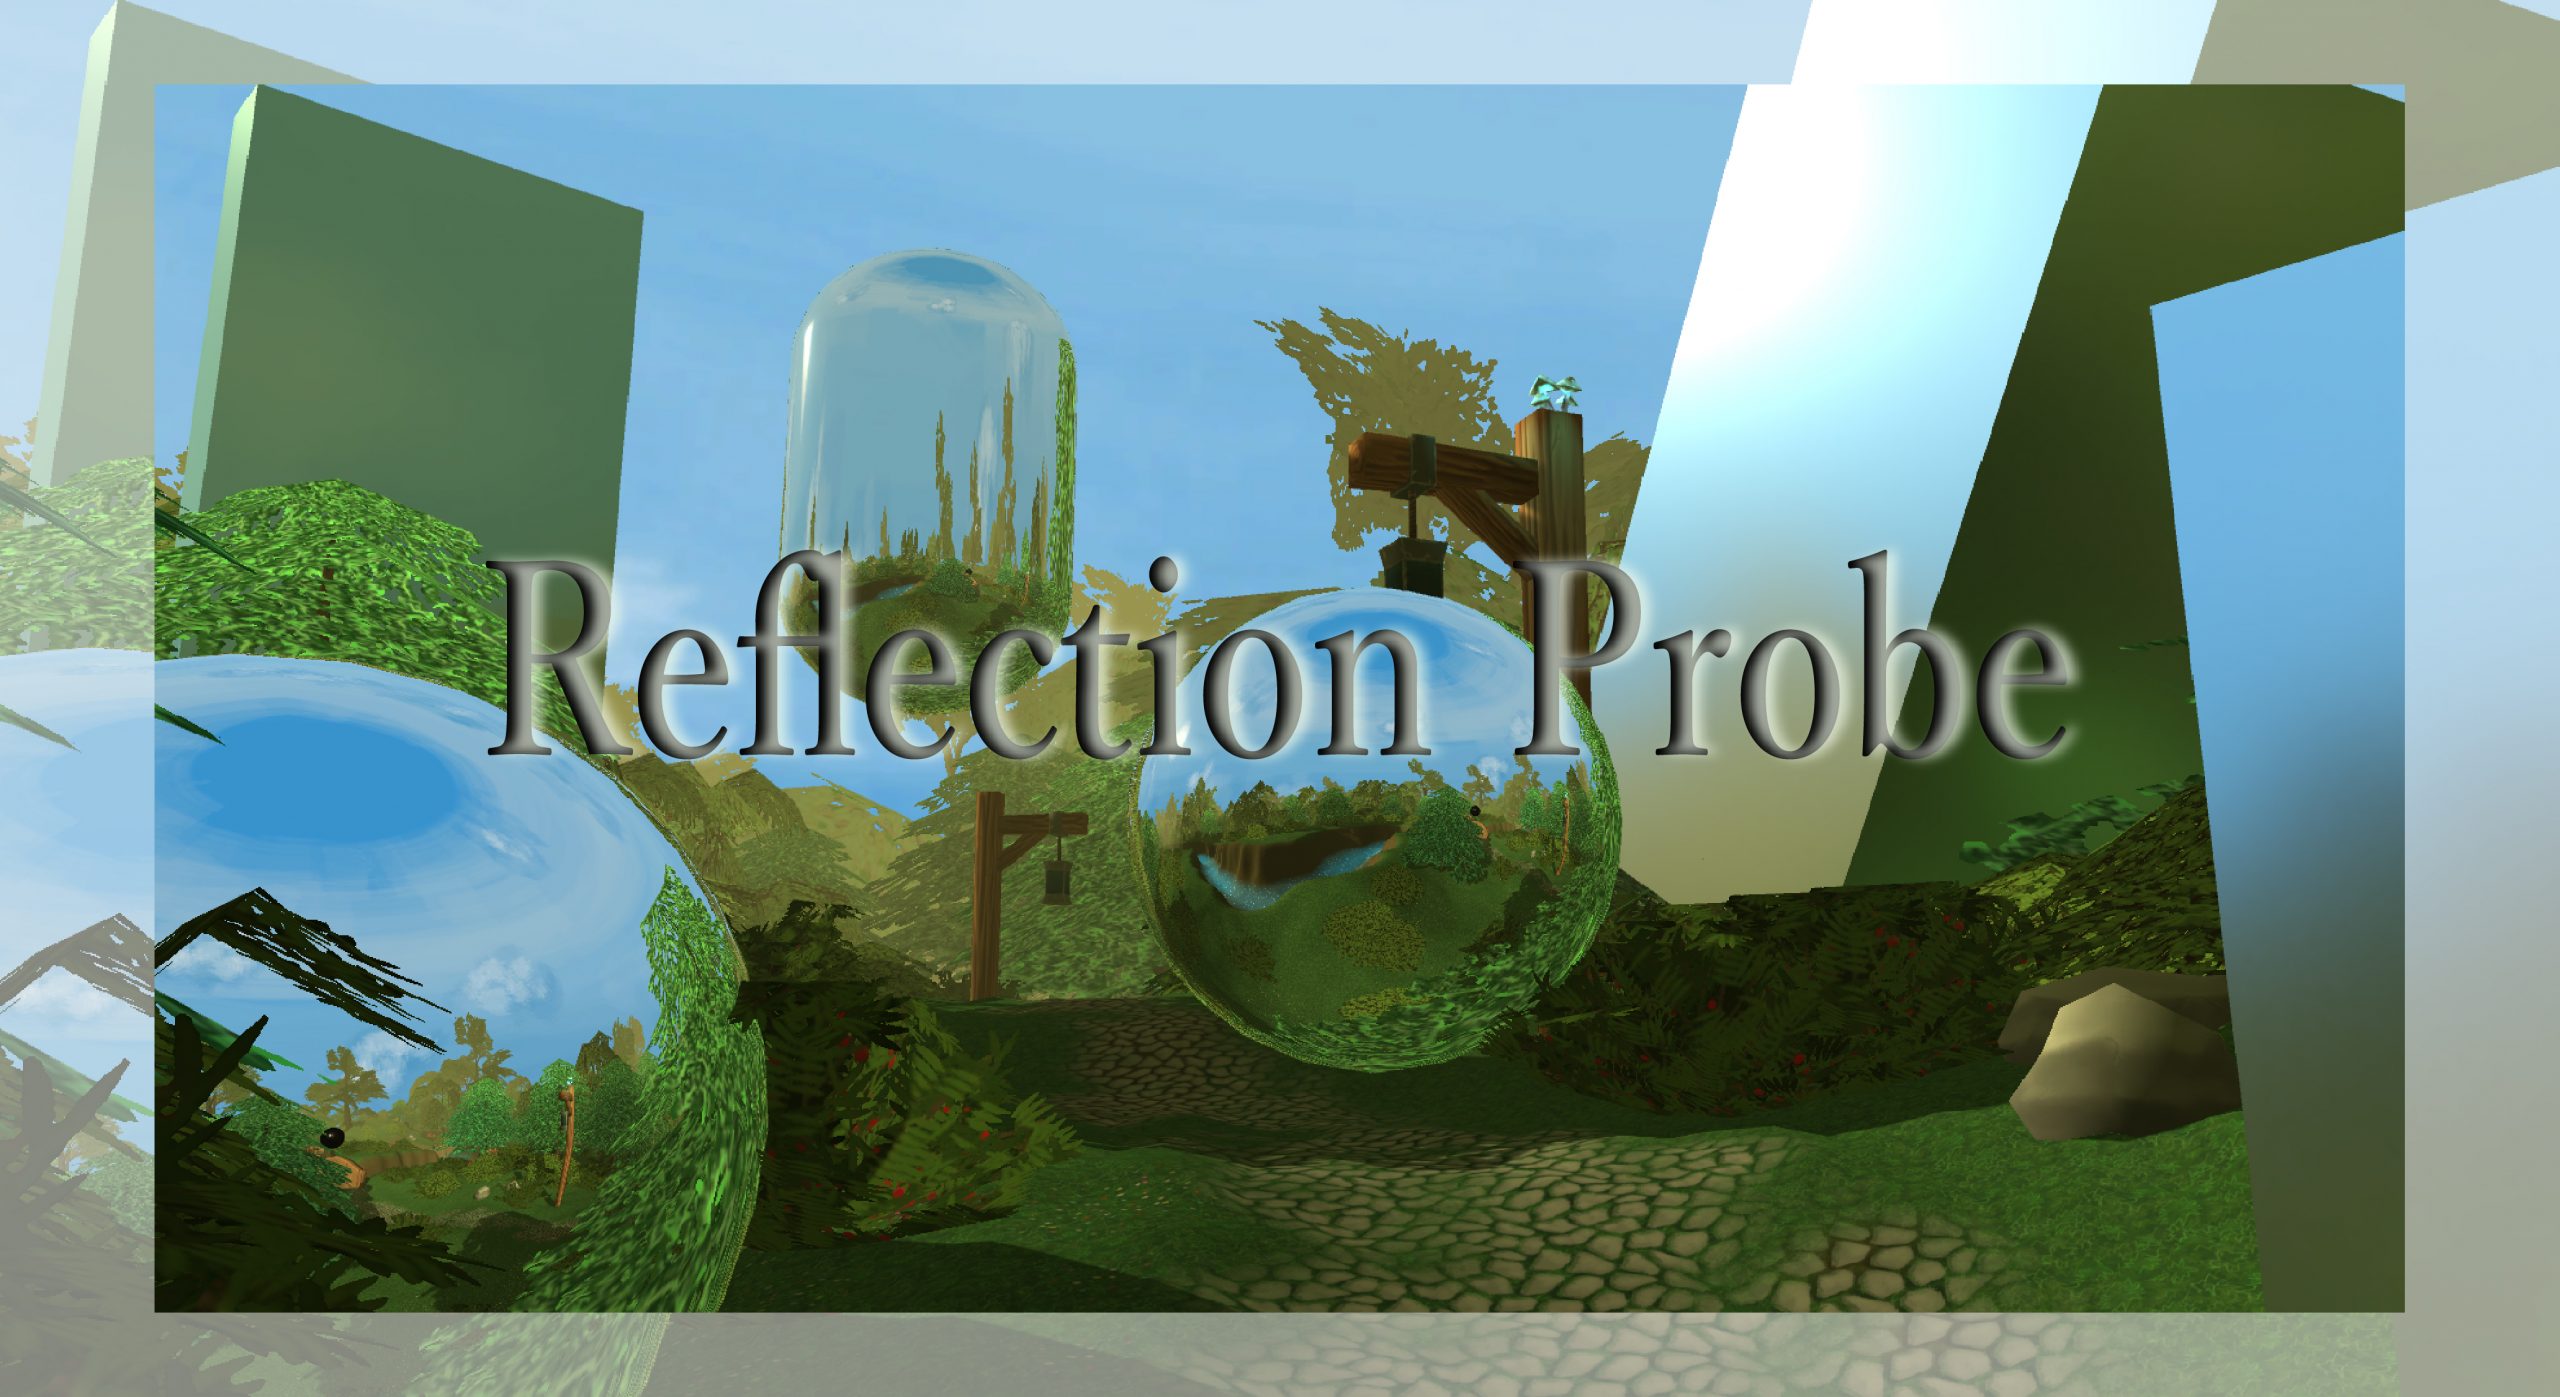
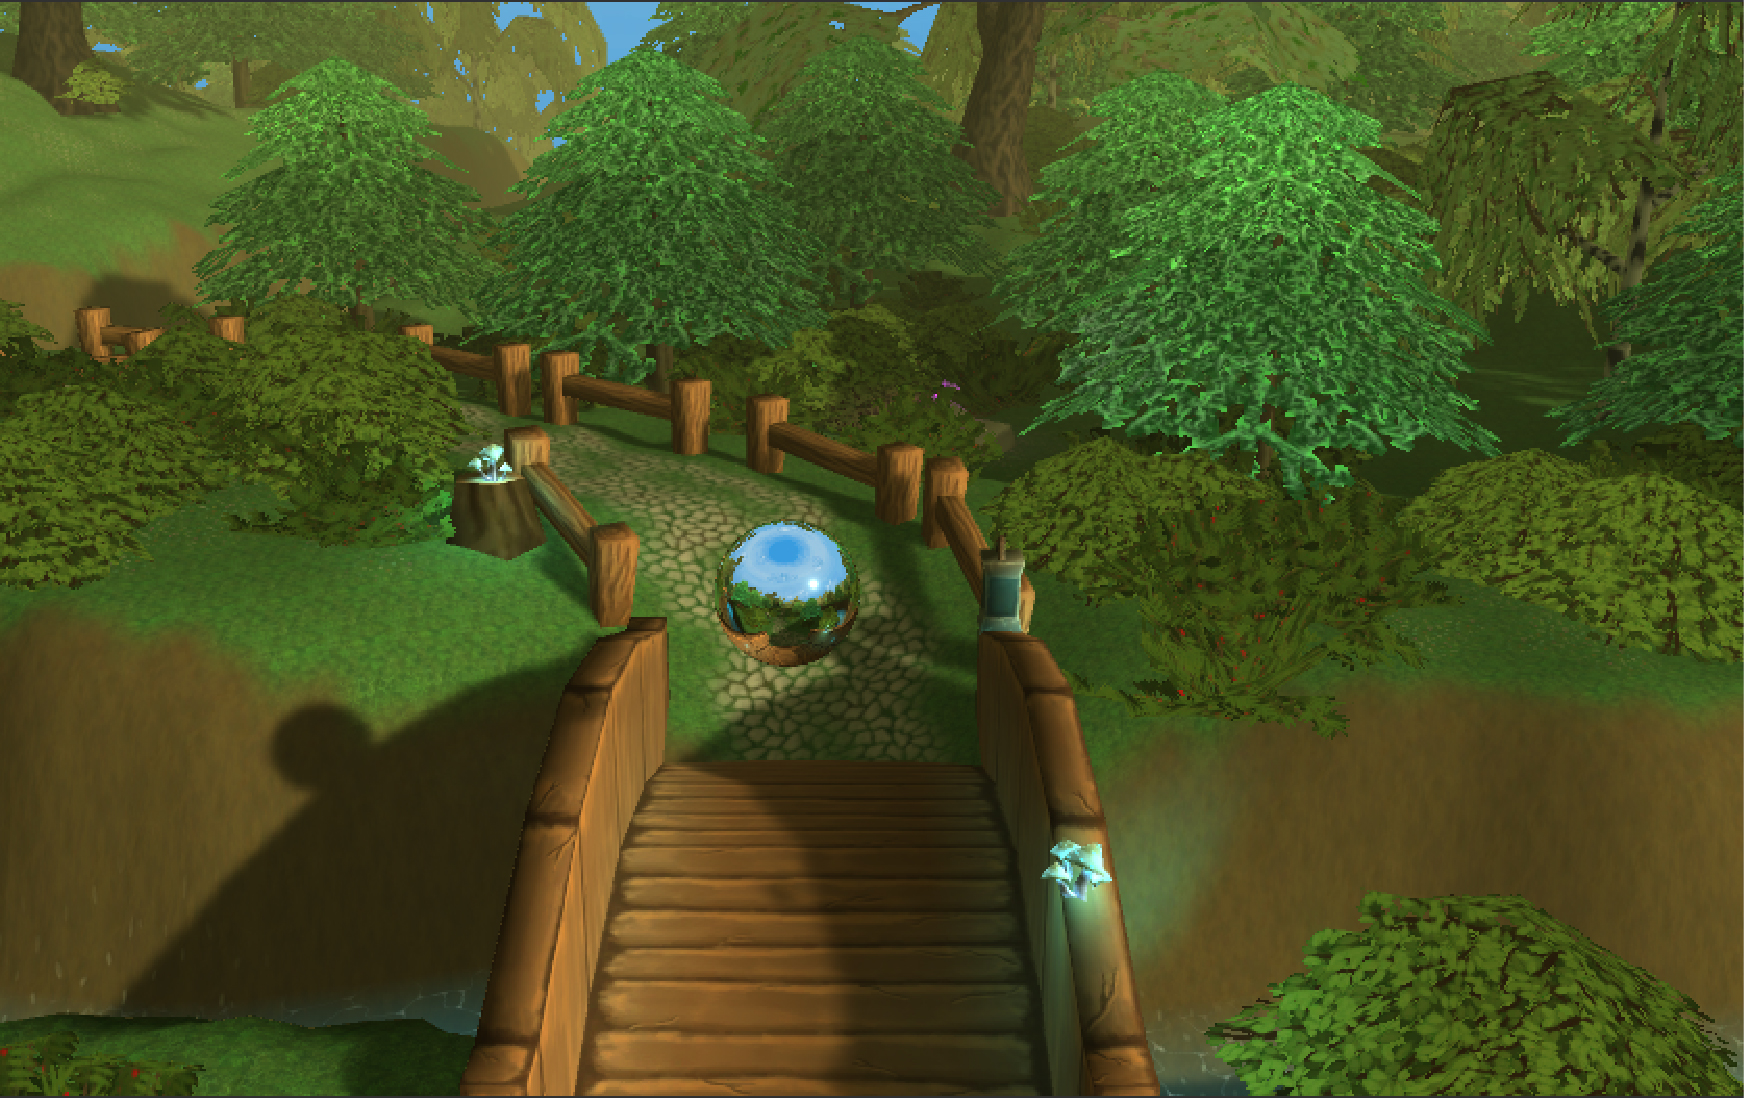
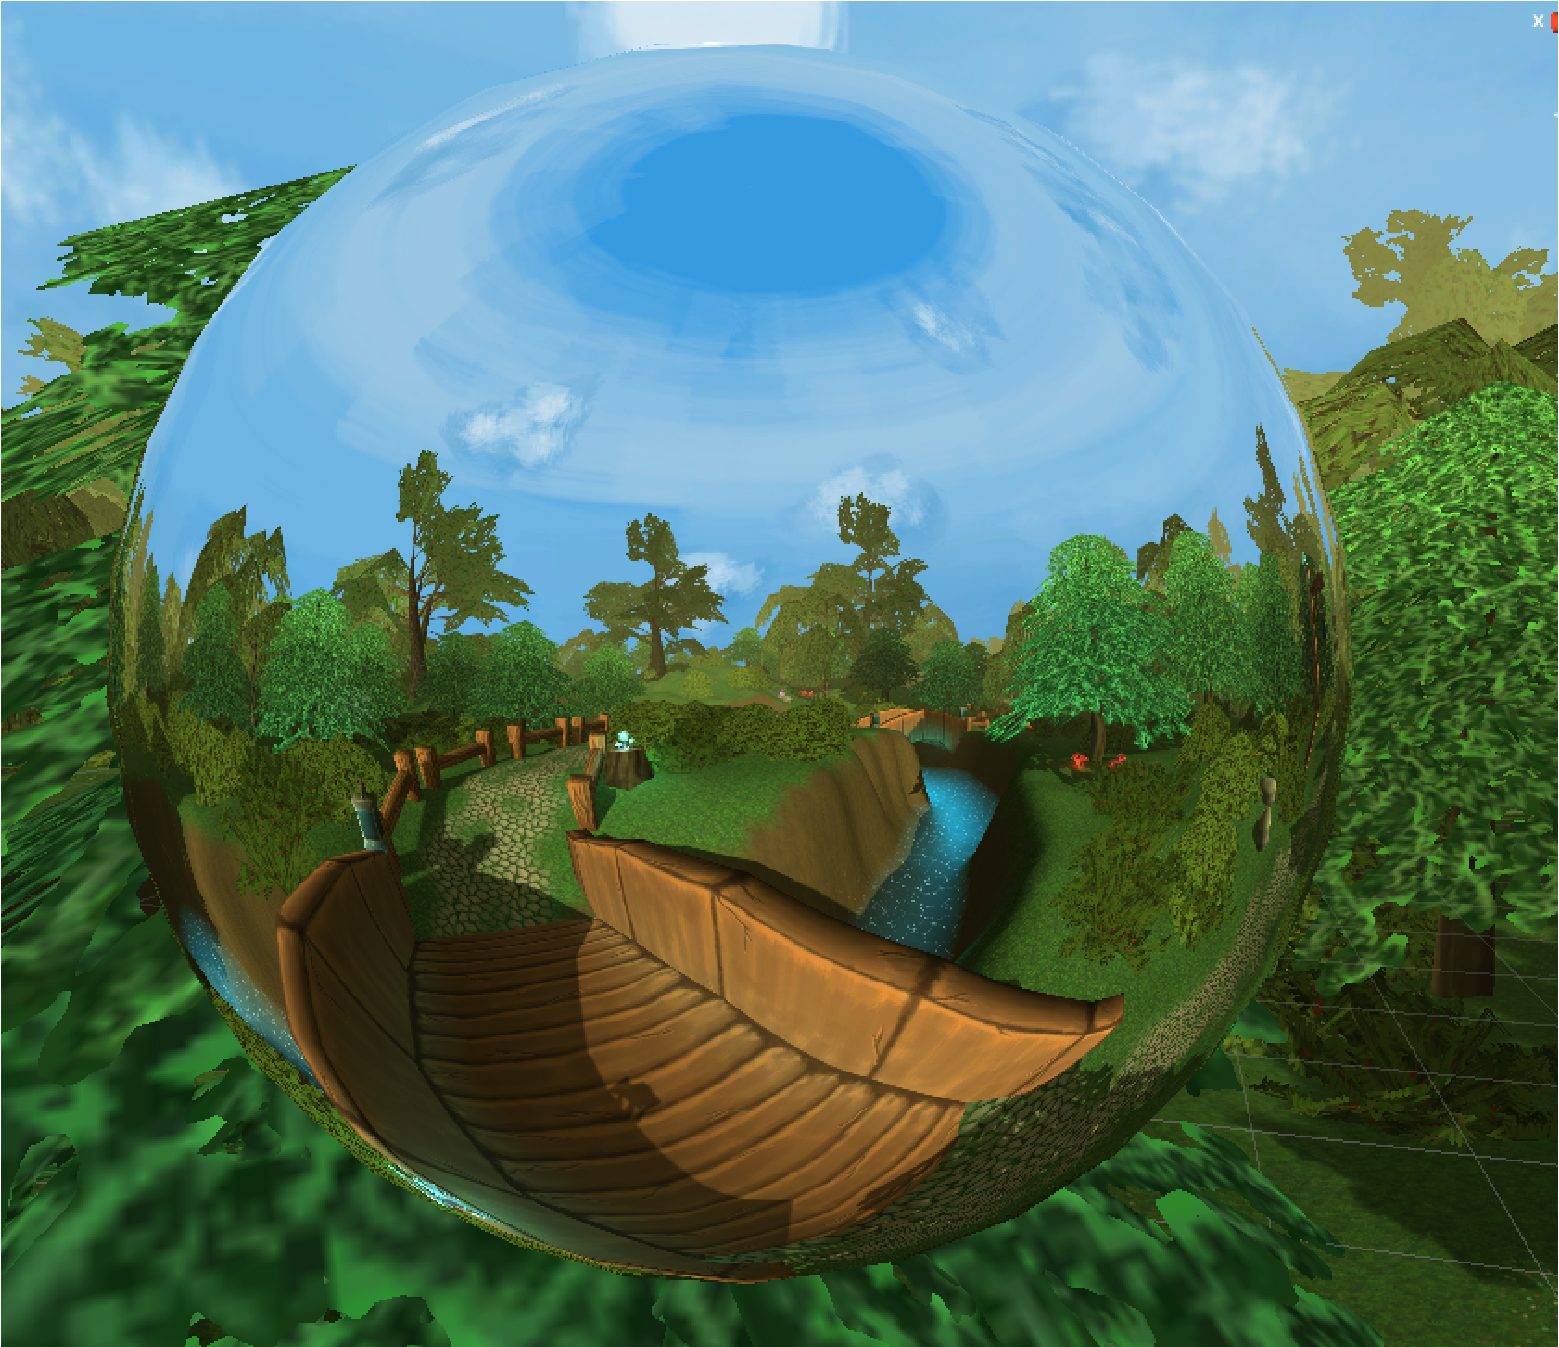
This is a scene in which Reflection Probe objects are placed in the Glowing Forest, a 3D world used for this project.
You can experience what Reflection Probe is all about.
There are objects with a metal texture placed in this scene. The sky (skybox) is reflected in the material causing colors to be blended, and making it look more realistic. The following is a comparison between using and not using Reflection Probe.
Comparing of Use of Reflection Probe
How much does a scene with and without Reflection Probe differ?
When comparing its use on the sample scene “AVYSS GAZE Virtual World”, the differences are as follows.
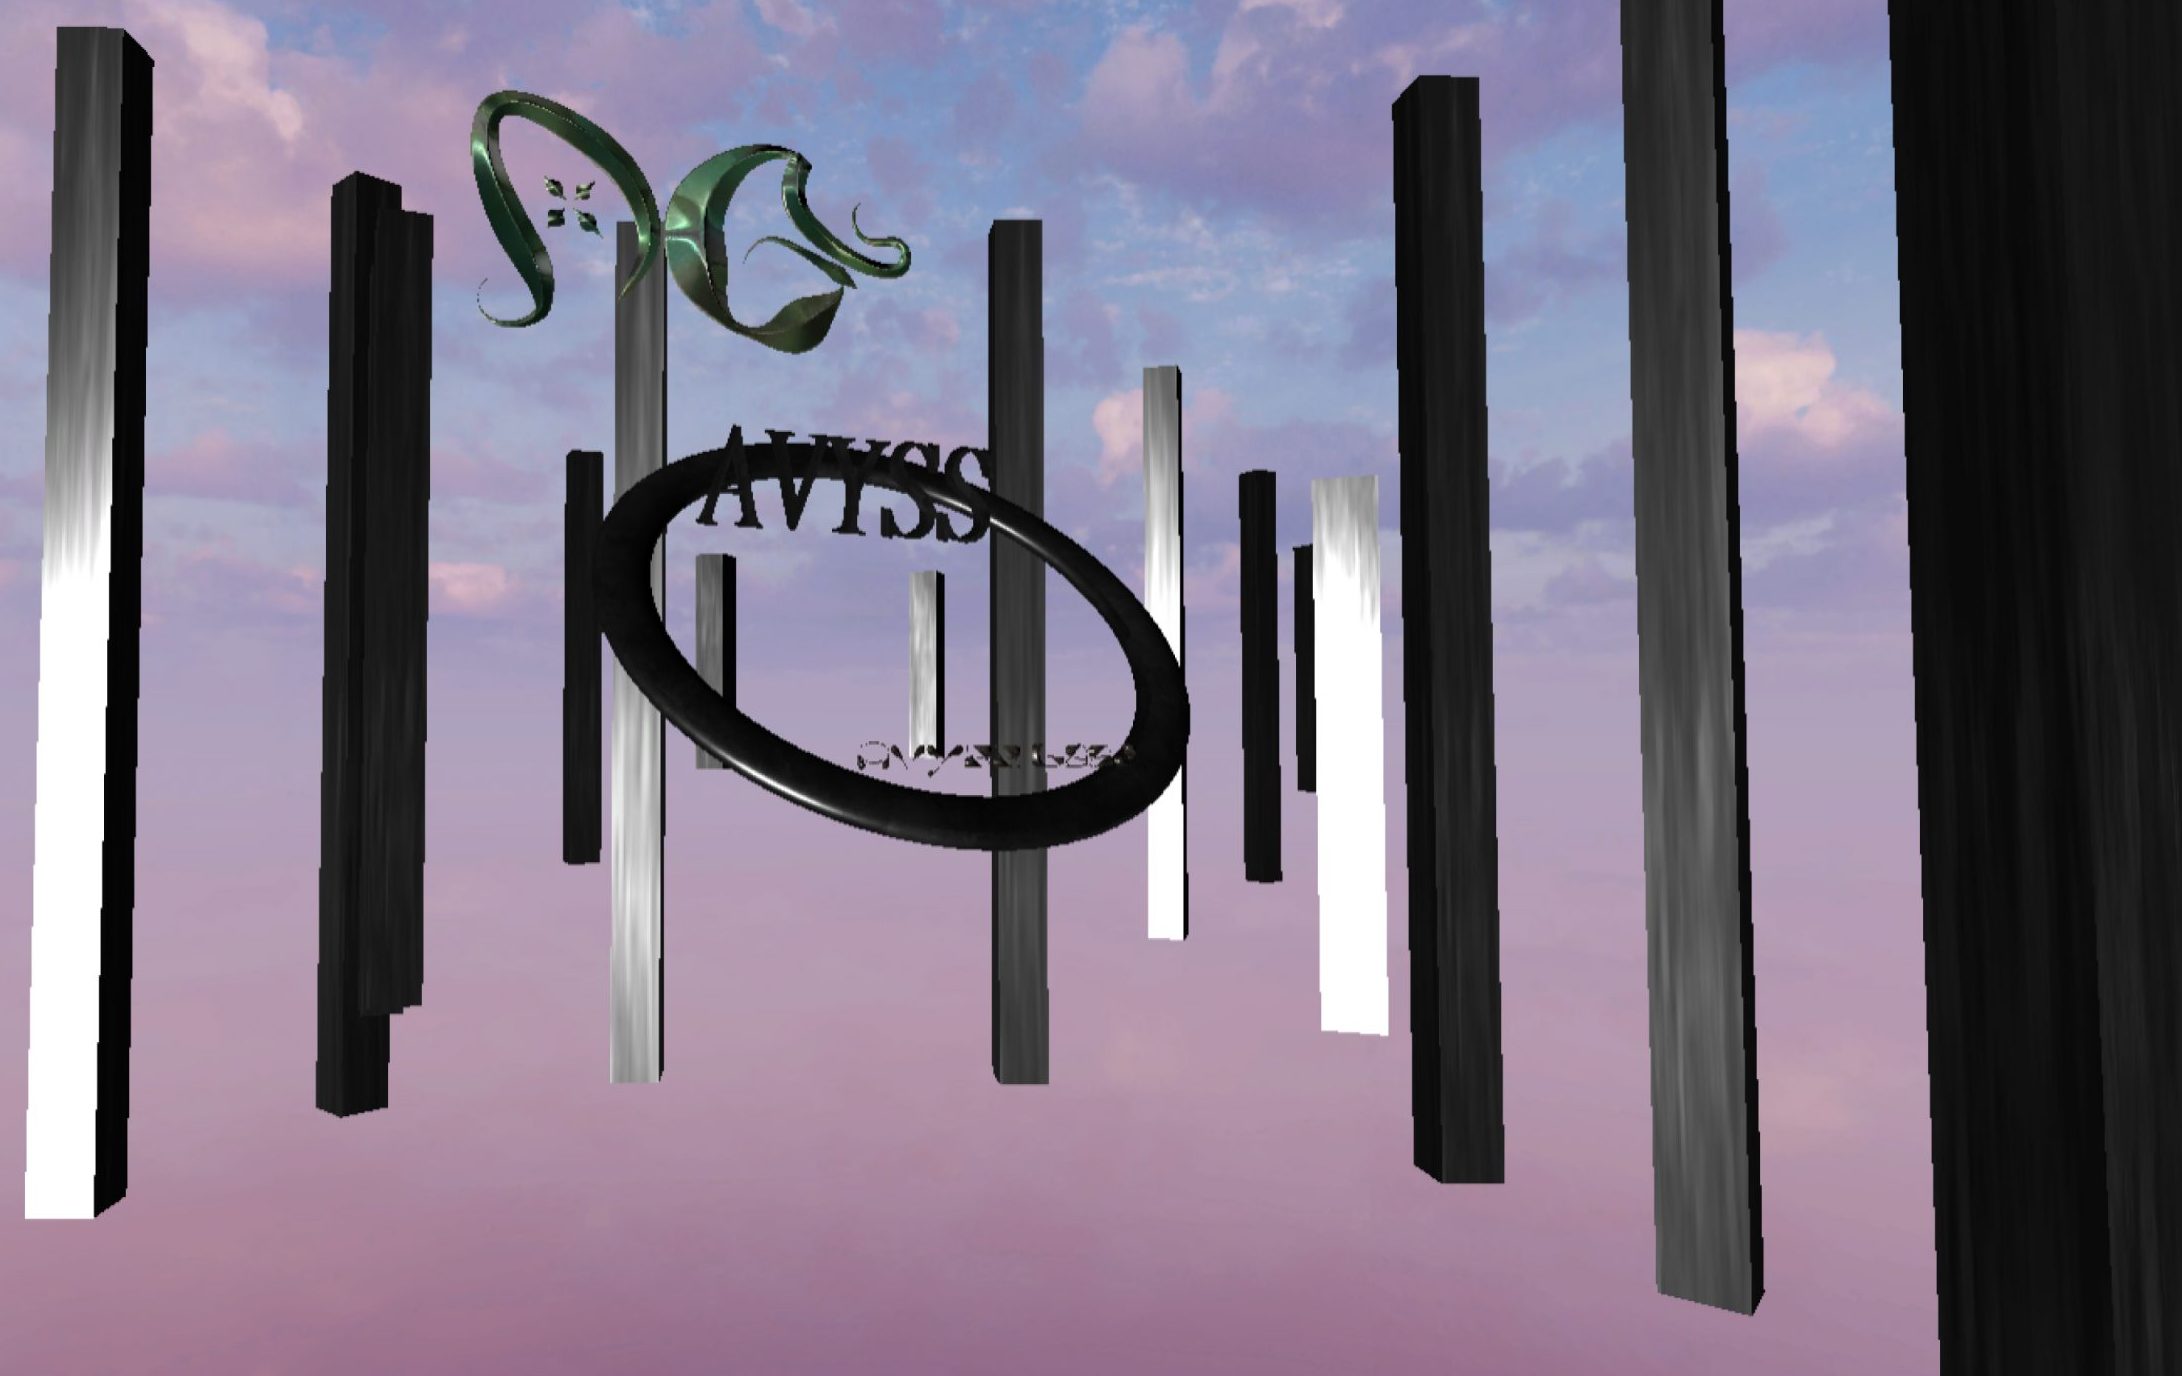
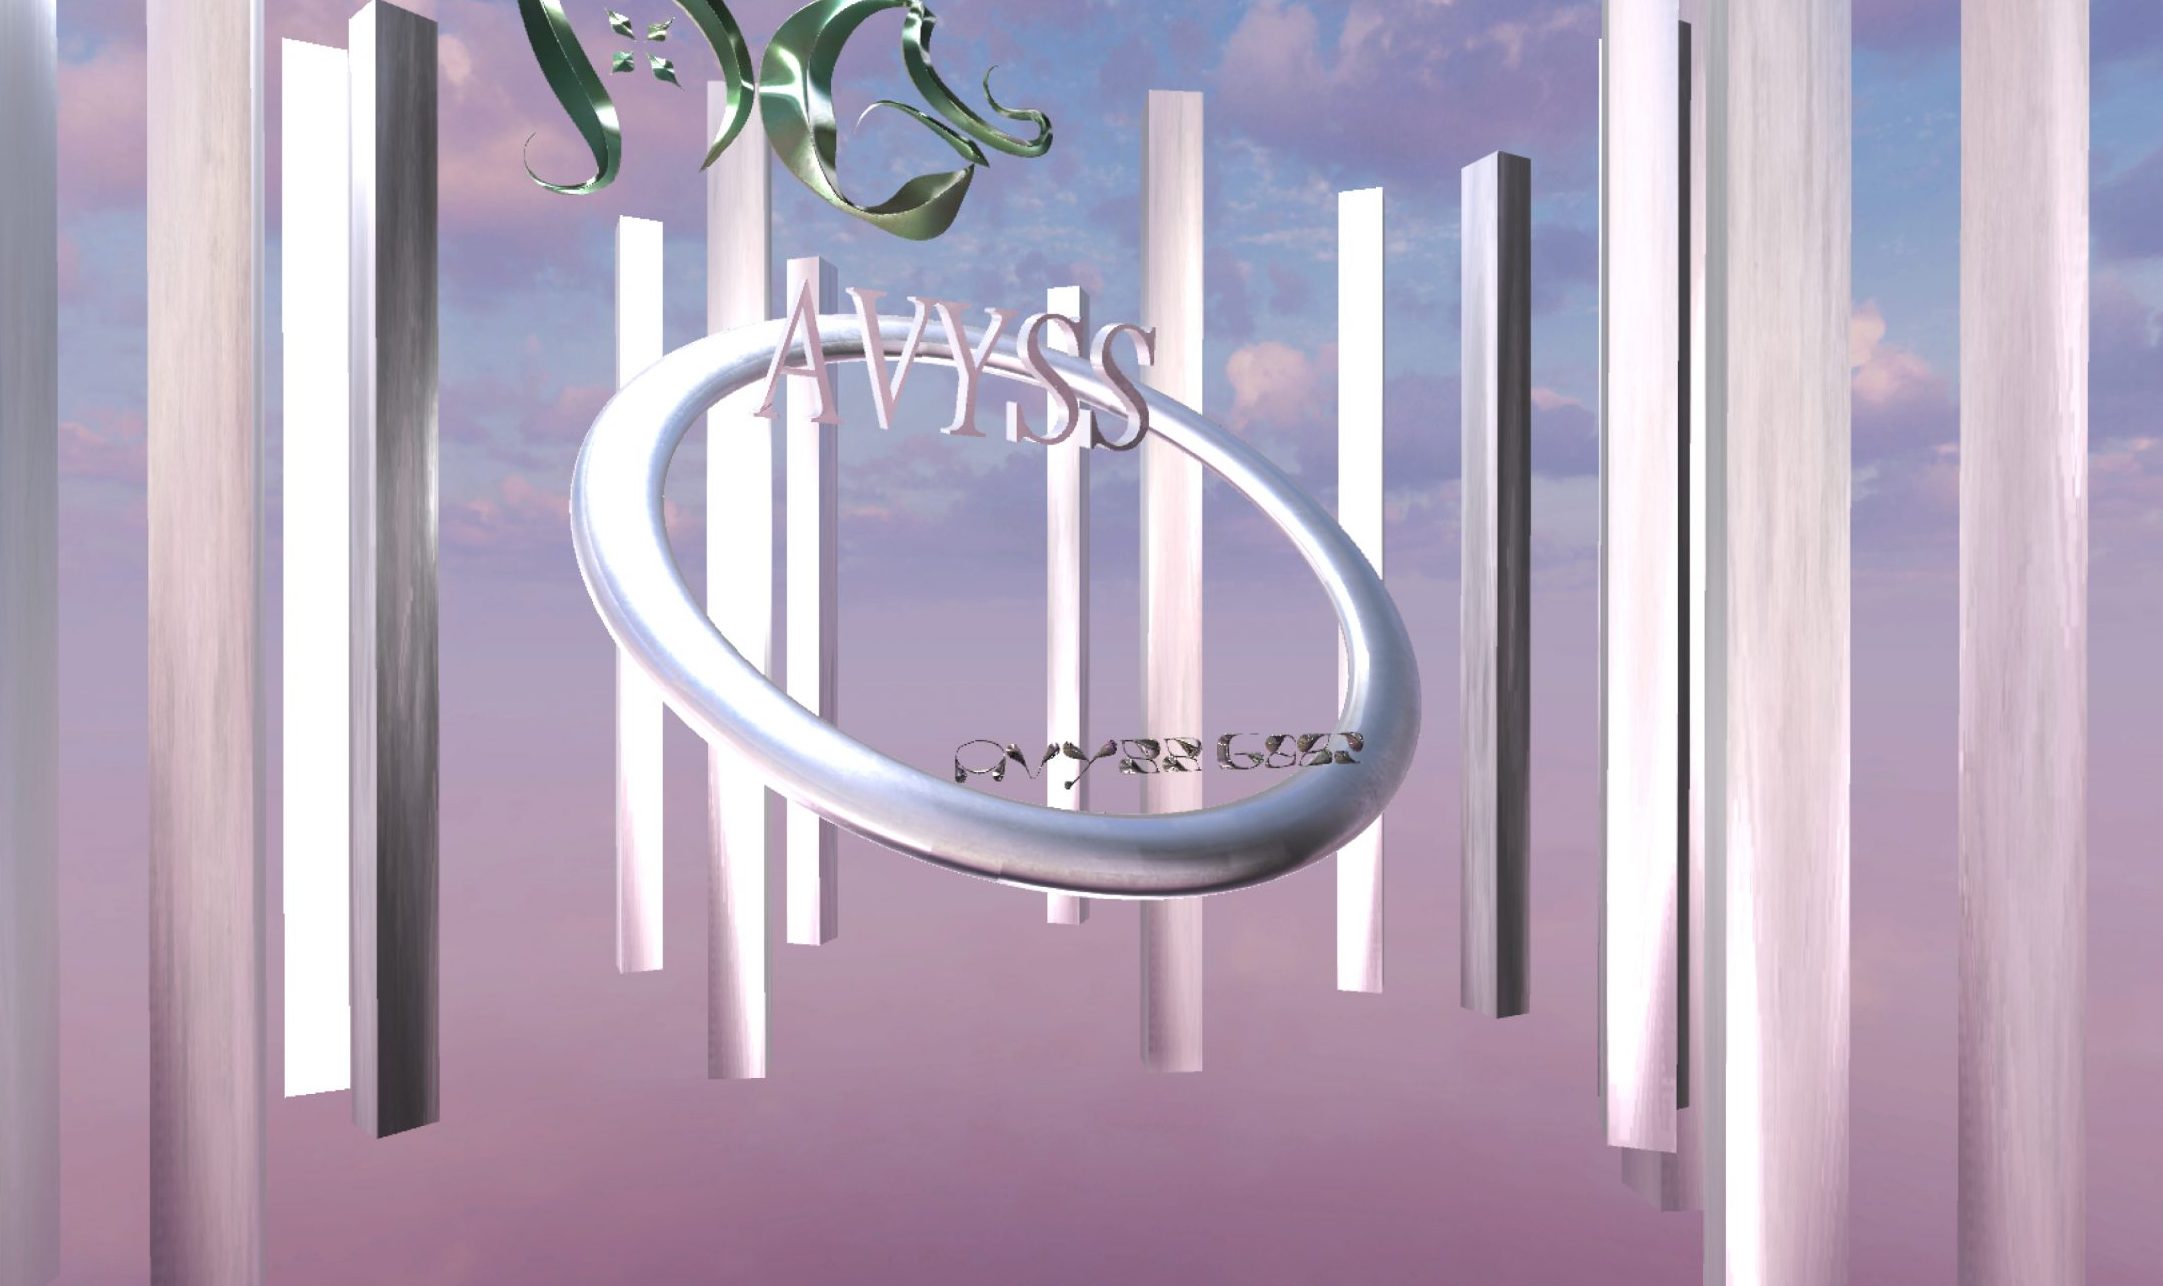
The upper photo shows the scene without Reflection Probe, and the lower photo shows the scene with it.
As can be seen in the photos, there is no reflection and everything is darkened without Reflection Probe functioning.
However, when the Reflection Probe is set, the color in the space is reflected and beautifully expressed.
Let’s actually set up a Reflection Probe and learn how to use it!
Preparation
Click here to check which Unity versions are compatible with STYLY.
https://document.styly.cc/doc/docs/en-US/creator/creator_plugin_intro/#about-the-corresponding-unity-version
This time, we’ll download and use the assets from the Unity Asset Store.
Let’s launch the Unity Asset Store.
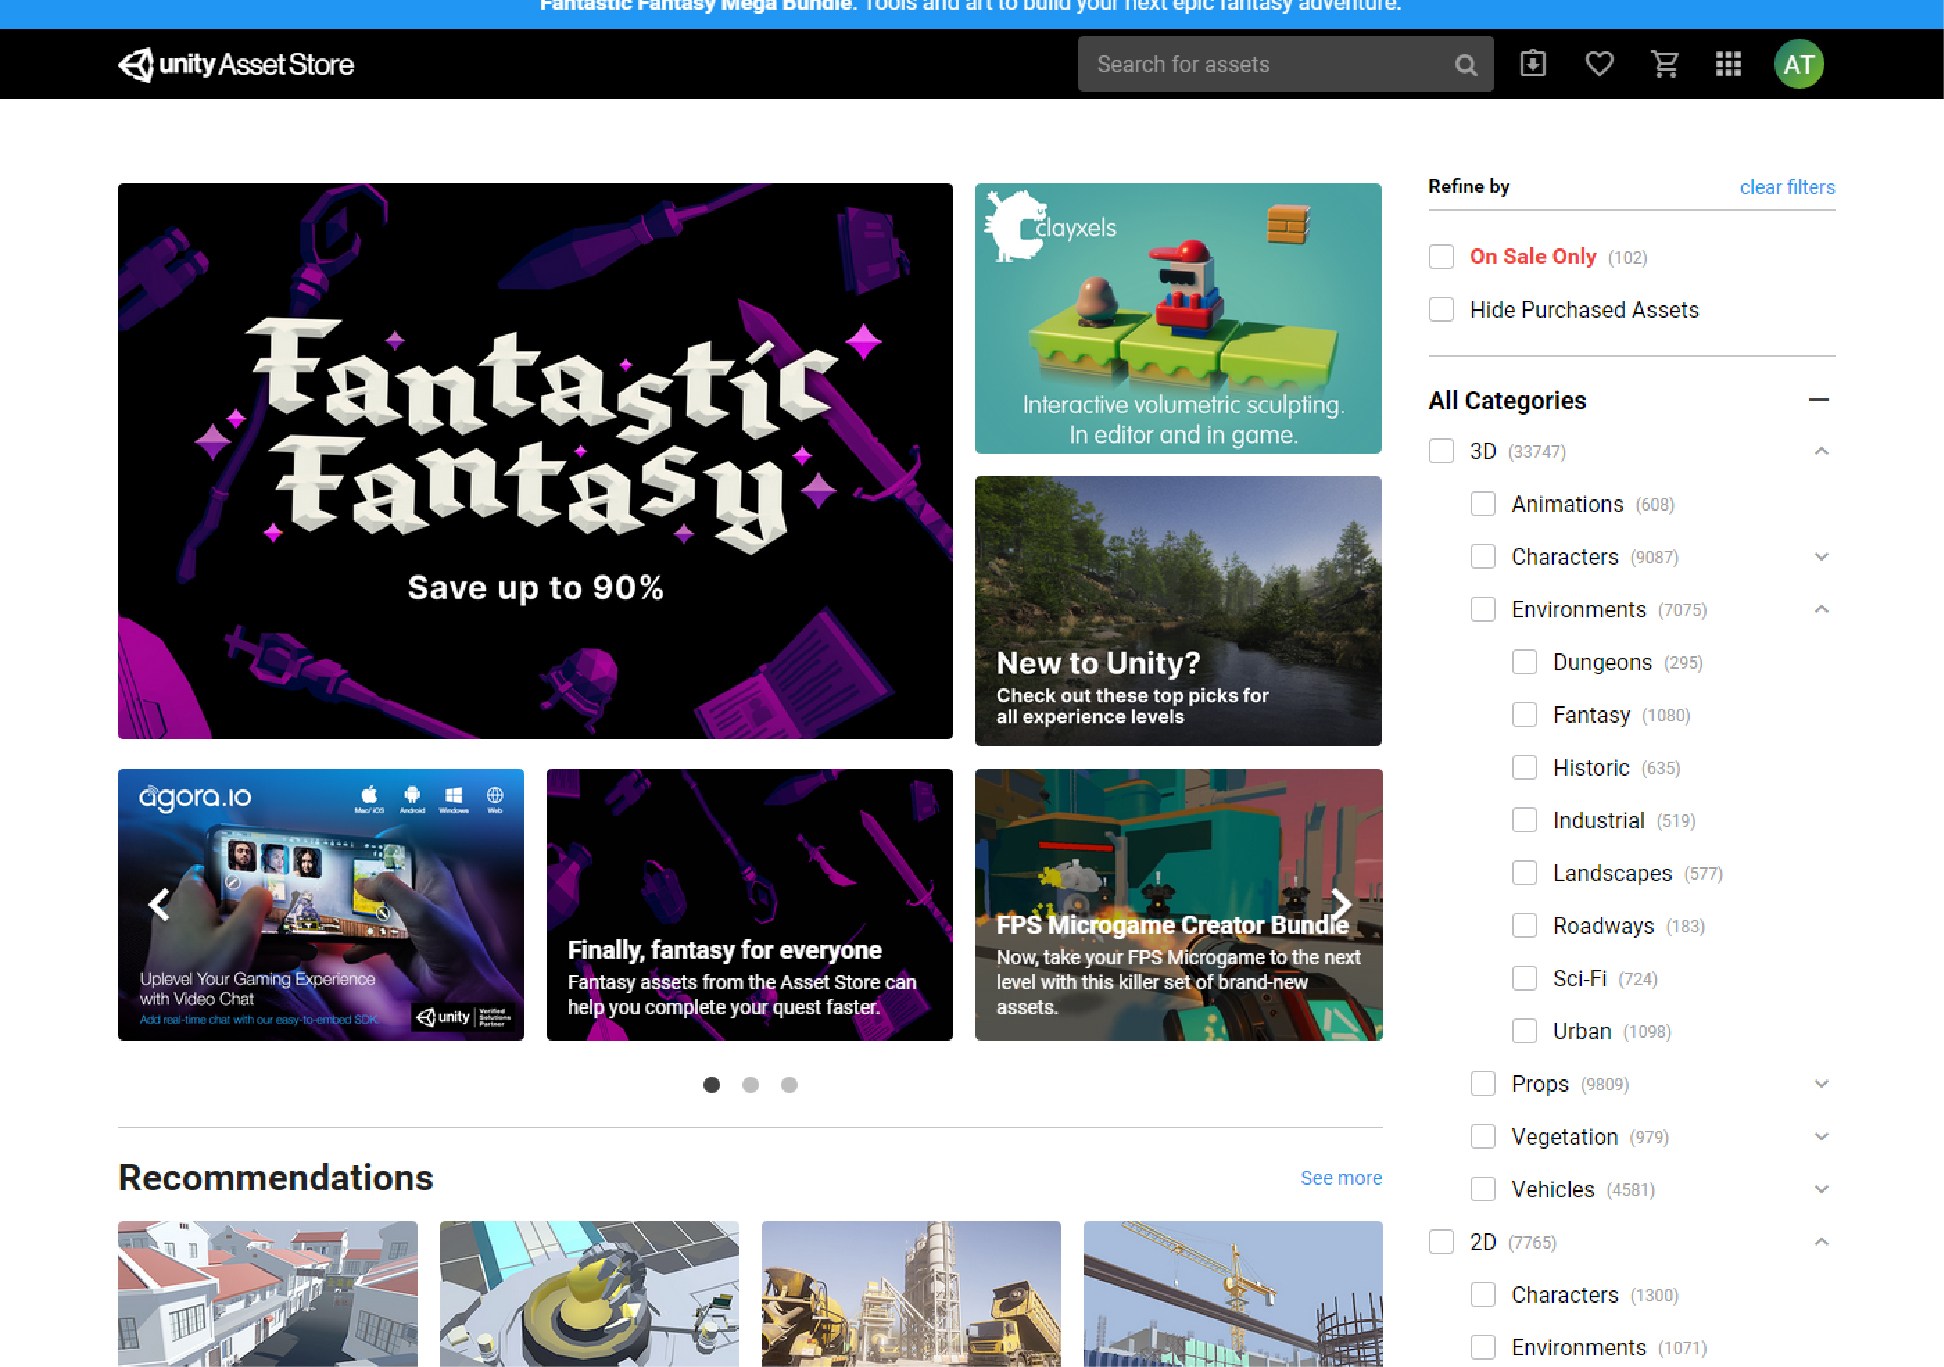
Launching the Asset Store
Let’s search for “Glowing Forest” in the “Search for assets” at the top, and have it display the “Glowing Forest” asset.
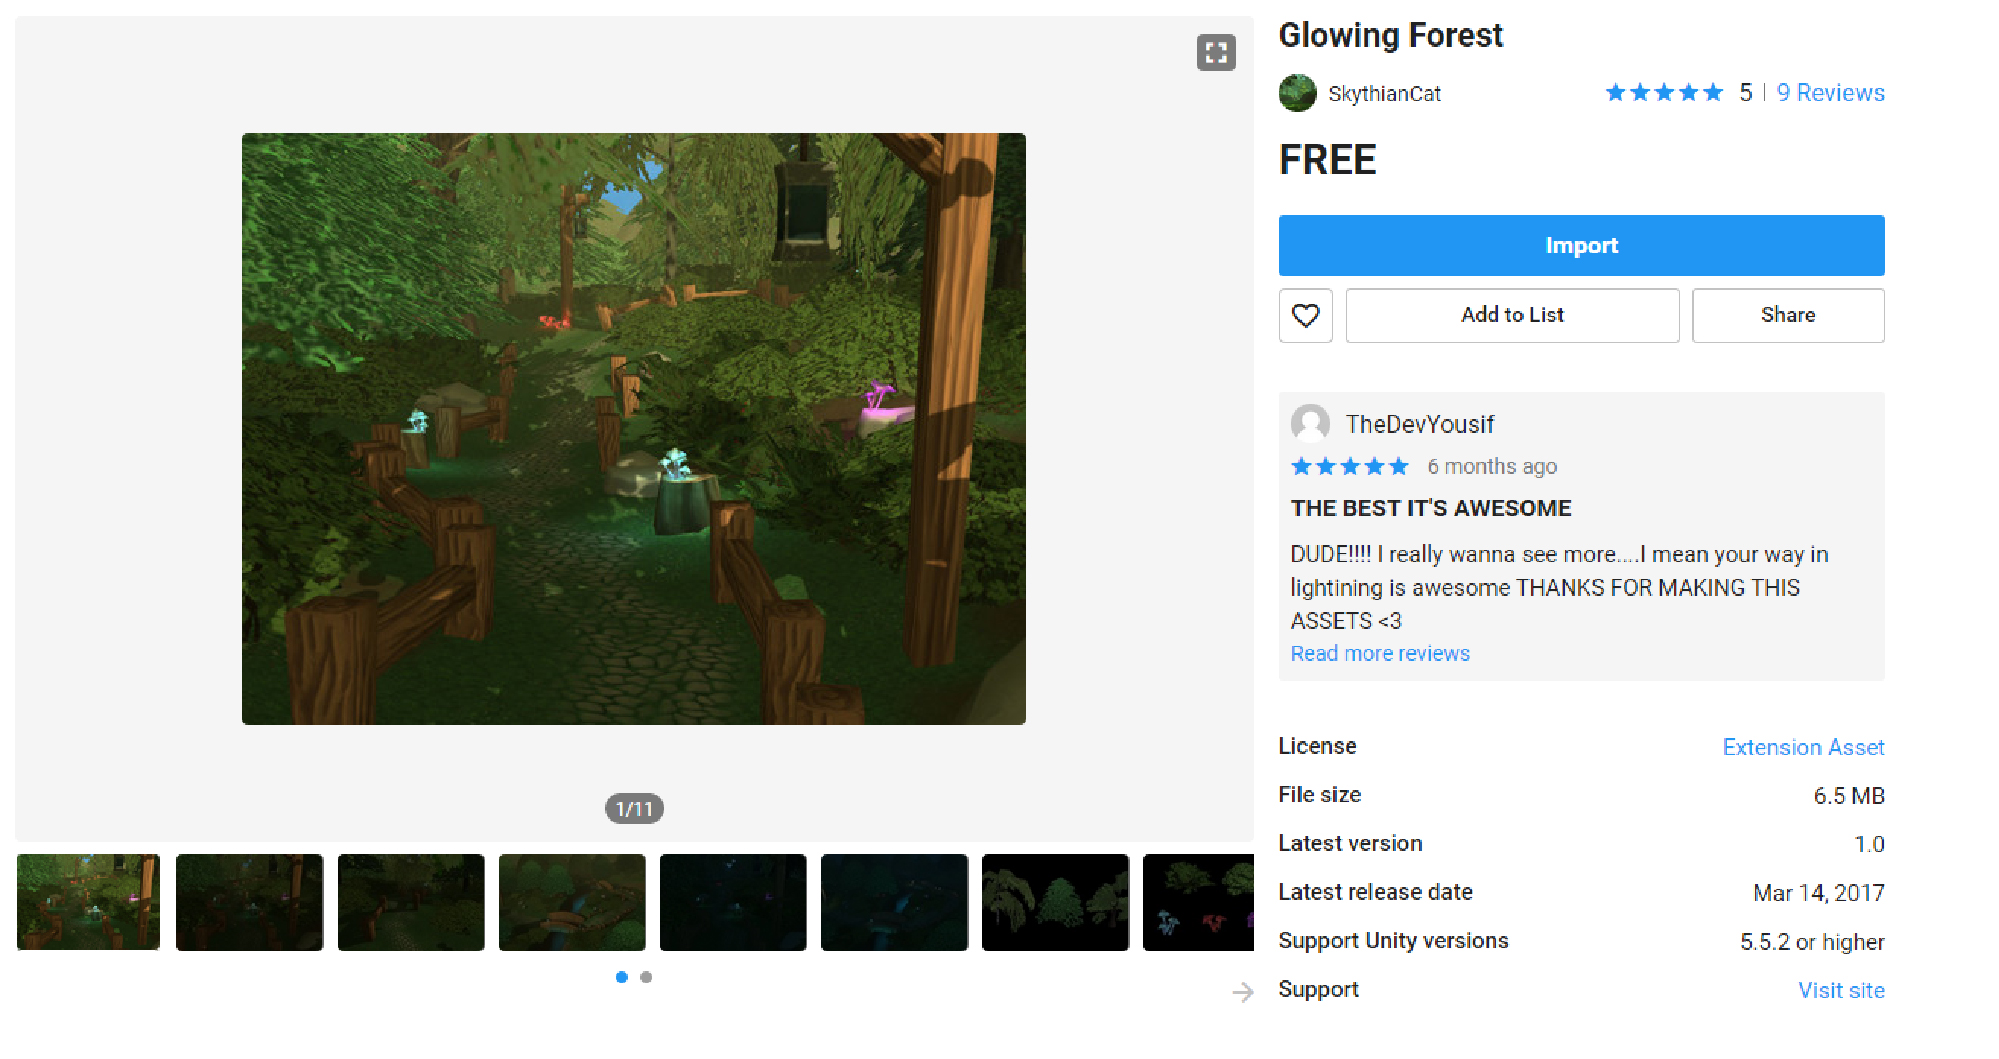
Let’s download and import it, and save it in the project.
After saving it in the project, let’s start up the demo scene in the Glowing Forest file.
Go to Glowing Forest > DEMO > Demo_scene01 and select the demo scene file.
When the scene is launched as follows, it’s ready.

Booting up a scene
We will use the Reflection Probe on this scene. This time we will duplicate this scene in order to make a scene for using the Reflection Probe.
Select File in the upper left corner menu and save the scene from the Save As… to create a copy of the scene. Save the scene to a location of your choice, and we are done with duplicating the scene.

The preparation is now complete. From here, let’s proceed with setting up the Reflection Probe.
Adding and Setting Up a Reflection Probe
Addition of a Reflection Probe
Let’s add a Reflection Probe to the scene.
Right-click on the Hierarchy window (hereafter referred to as the Hierarchy) and select Light > Reflection Probe.

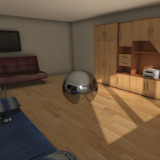
An object surrounded by gray and yellow lines appear in the scene. This object is a Reflection Probe.
Since the Reflection Probe itself is a configuration object, it is not displayed in the game window.
In the next example, let’s set up the reflections of the Reflection Probe to make a Sphere object have metallic reflections.
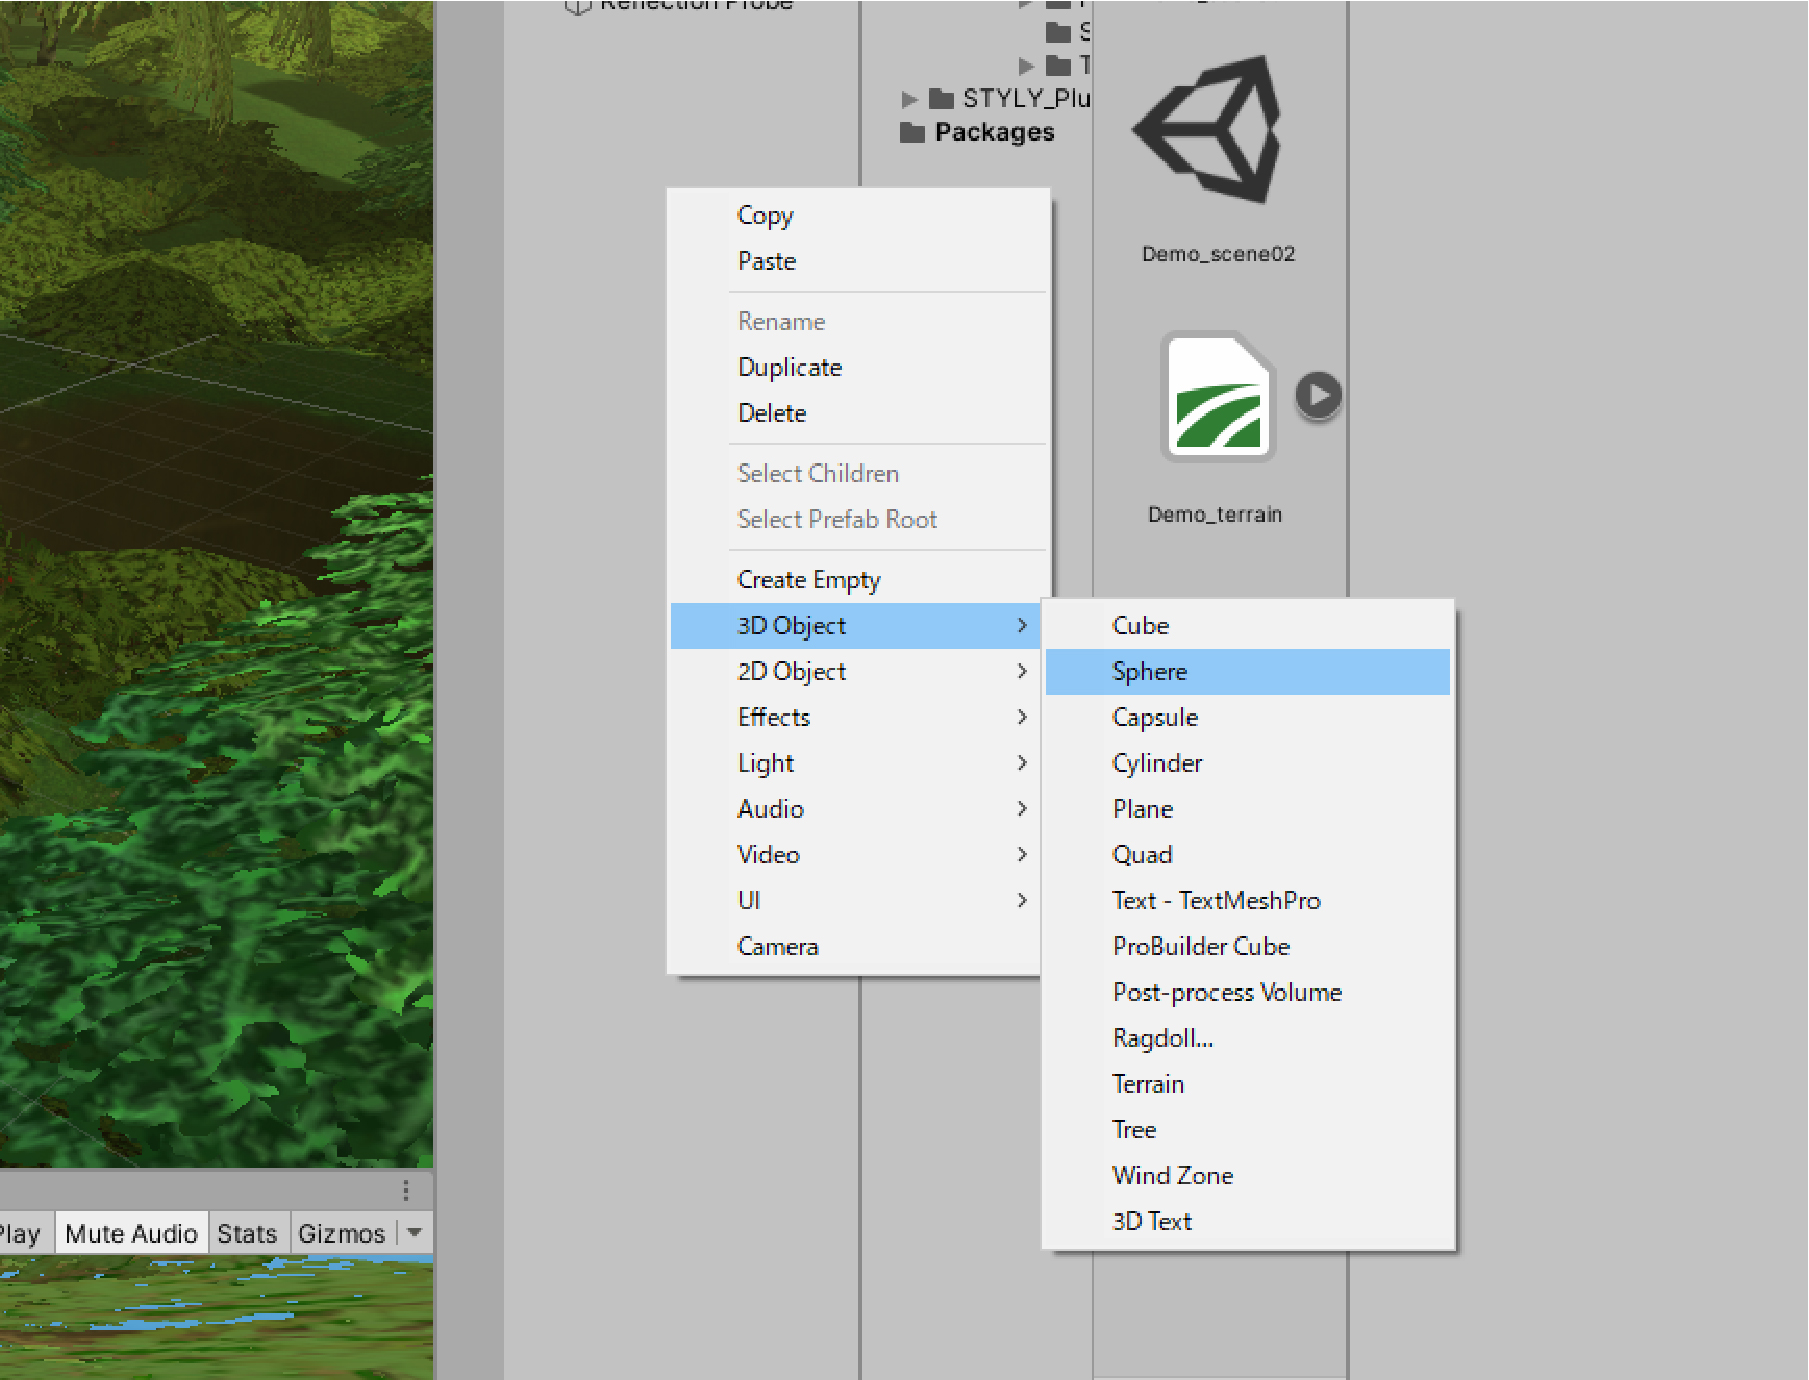
Add a Sphere
Right-click on the hierarchy and select Create > 3D Object > Sphere.
Once the Sphere object is added, place it in the same position as the Reflection Probe.
Select the Reflection Probe and copy the numeric value of the “Transform” component of the Inspector window (hereafter referred to as the Inspector).
Right-click on Transform and select “Copy Component”.

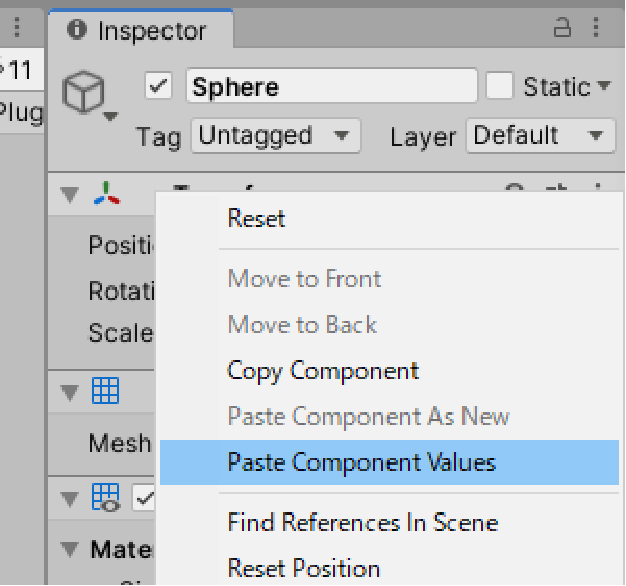
Paste the component you just copied into the Transform of the Sphere.
Select the Sphere, right click on the Transform in the Inspector and select “Paste Component Values”.
We’re done when the Reflection Probe and Sphere are placed in the same location.
We will explain why this step is necessary later.
Next, we will apply the material to the Sphere.
Right click in the project window and select Create > Material to create a new material.
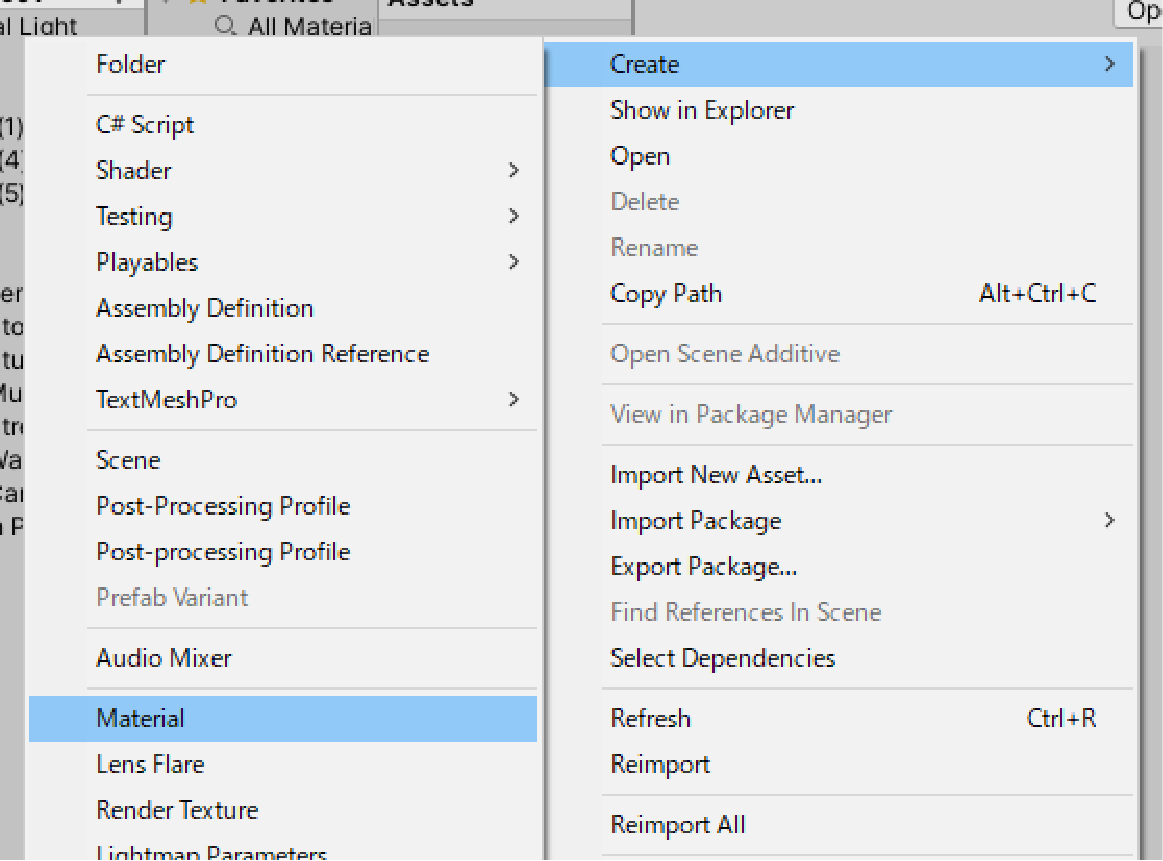
We will adjust the settings in the Inspector for the material.
Select the material we just created and make the inspector appear.
Set the Metallic and Smoothness values to “1” to make it reflective.

Let’s apply this material to the Sphere by dragging and dropping it onto the Sphere.
This will cause it to be completely black. It’s OK that it’s in this state for now.

By setting up the Reflection Probe from this state, reflections will be expressed.
Reflection Probe Settings
In this article, we will introduce the simplest settings for representing reflections.
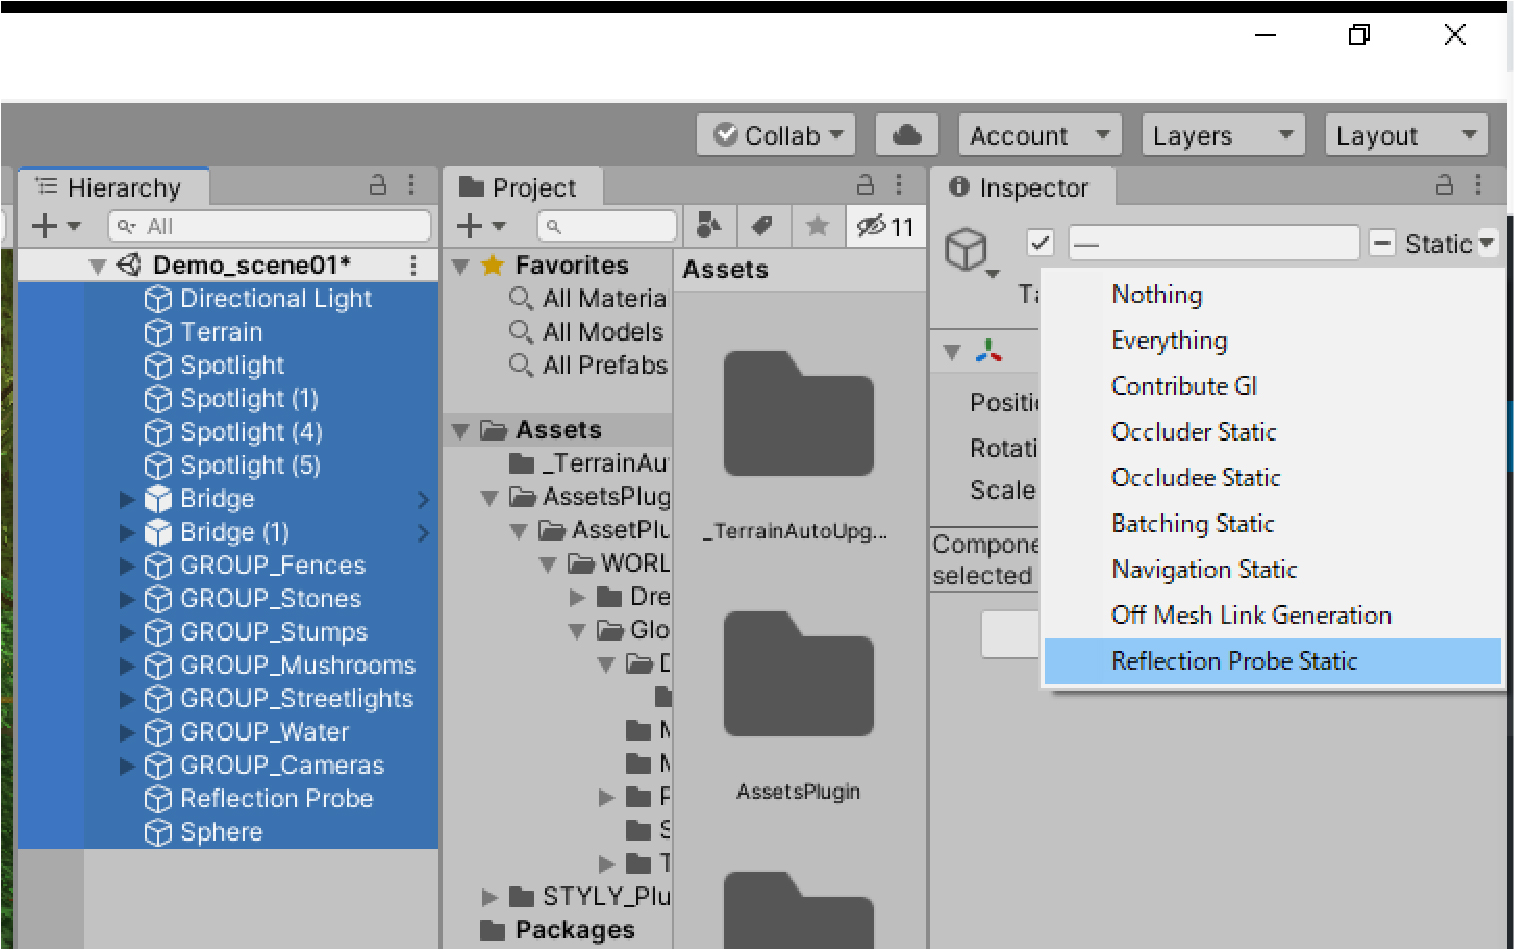
First, in order to create a reflection representation in Reflection Probe, you must set all objects in that space to Reflection Probe Static.
Select all objects on the Hierarchy and select the triangle (▼) next to the Static in the Inspector and select Reflection Probe Static.
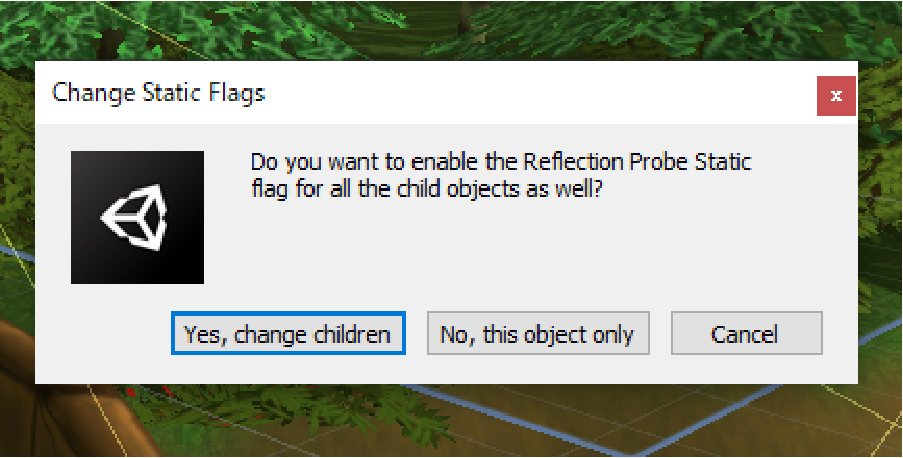
In the following window, select “Yes, change children”.
Next, select the Reflection Probe and display the Inspector.
When you look at the Reflection Probe component, you will see “Type” as a property.

These are the types of the Reflection Probe. If you display the menu, you will see “Baked”, “Custom”, and “Realtime”.
As a prerequisite, only “Baked” can be used in STYLY.
Baked is set to reflect only static objects with the Reflection Probe Static selected earlier.
In addition, only the image data in the baked area is displayed on the reflection. Note that moving the object will not change the reflection displayed.
Note that Realtime and Custom allow you to make dynamic objects reflective, but we are not able to use them with STYLY.
This time we will proceed with using Baked.
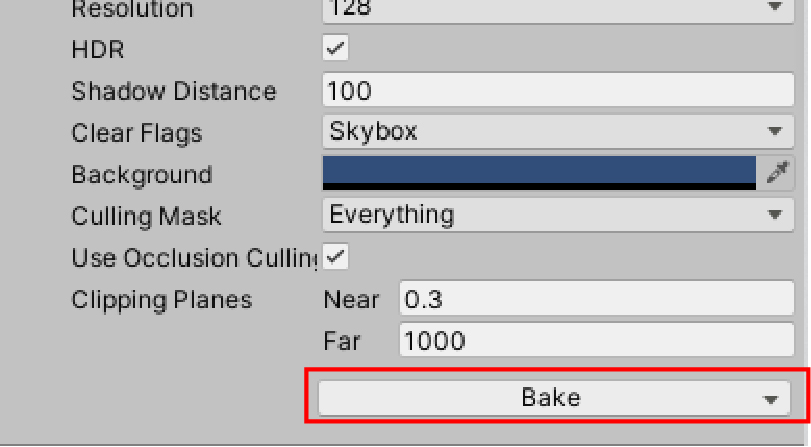
Select Baked and bake the Reflection Probe without changing any other options.
Select Bake at the bottom of the component.
After a short period of time, the Reflection Probe is applied and the reflection is expressed in the black Sphere.
This completes the basic settings of Reflection Probe. Let’s proceed to more detailed settings.
Detailed Settings
Property Settings
We will set up the properties that are frequently used in the Reflection Probe component.
Box Size: Reflection Probe application range. It is displayed by the yellow lines in the scene. Reflection Probe does not work for objects that are out of the applicable range.

Let’s move the Sphere.
As shown, if it is out of the Box Size range, the material will return to the original state.
This time, I will make the Reflection Probe apply anywhere in the Glowing Forest. Set the Box Size (X, Y, Z) to be (250, 50, 250).
When you want to adjust the position of the Box itself, adjust the Box Offset at the bottom to set it to a good position.
If you set the entire world as the applicable range, Reflection Probe can be applied to any location.
Resolution: Resolution of the image displayed by Reflection Probe’s reflection.
The current resolution is 128.
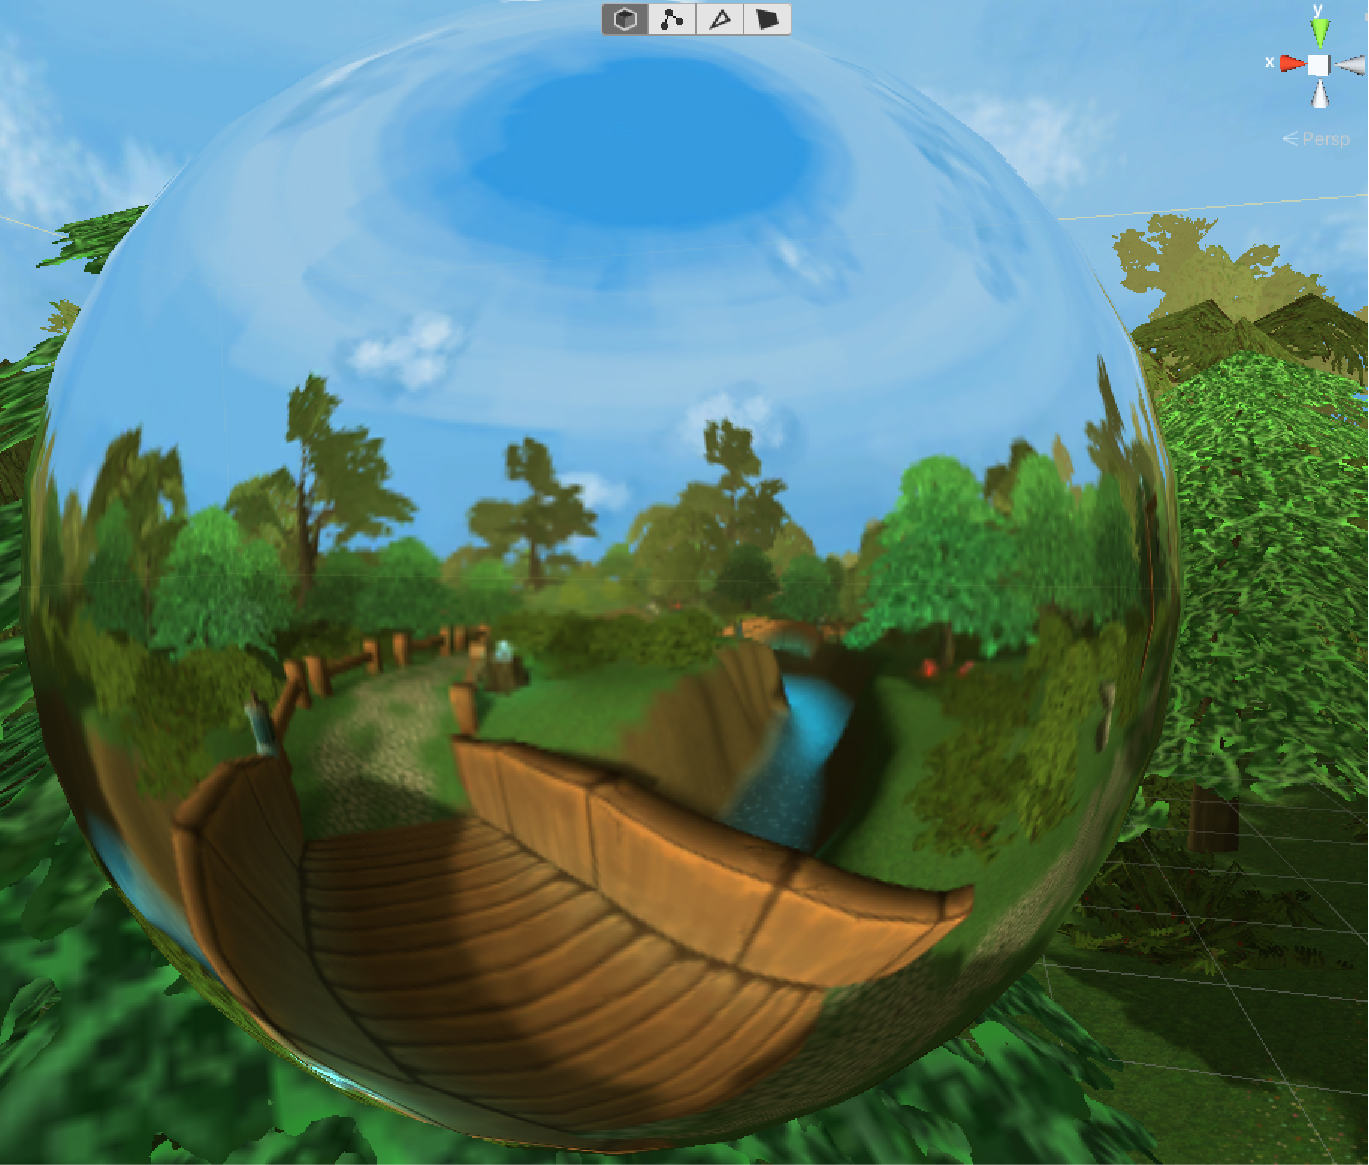
Let’s change the resolution to 1024 and bake again. Then, the resolution is increased and the image is reflected beautifully.
These are the main properties to set up. You can also adjust various other properties to create a unique expression. Let’s try various things out.
Adjusting the Material
Adjusting the smoothness of a material can result in a dull metallic look.

Reflection Probe directly affects the expression of the material.
You can adjust them both as you wish to achieve your desired look.
Upload to STYLY
Finally, let’s upload to STYLY. When you upload to STYLY, we recommend that you upload the entire scene.
How to upload a Unity scene to STYLY
Upload your 3D model to STYLY.
How to create a STYLY account

How to upload a prefab from Unity to STYLY
