This article will show you how to apply a post effect to the camera in your STYLY Mobile AR scene.
The effect can be used by using the “Set Image Effect” custom action in Unity’s PlayMaker.
By setting the effects appropriately, you can create the impression you want to give.
Install STYLY Mobile
You will need STYLY Mobile to experience your uploaded work.
Sample scene
This is a sample scene created to reflect the contents of this article.
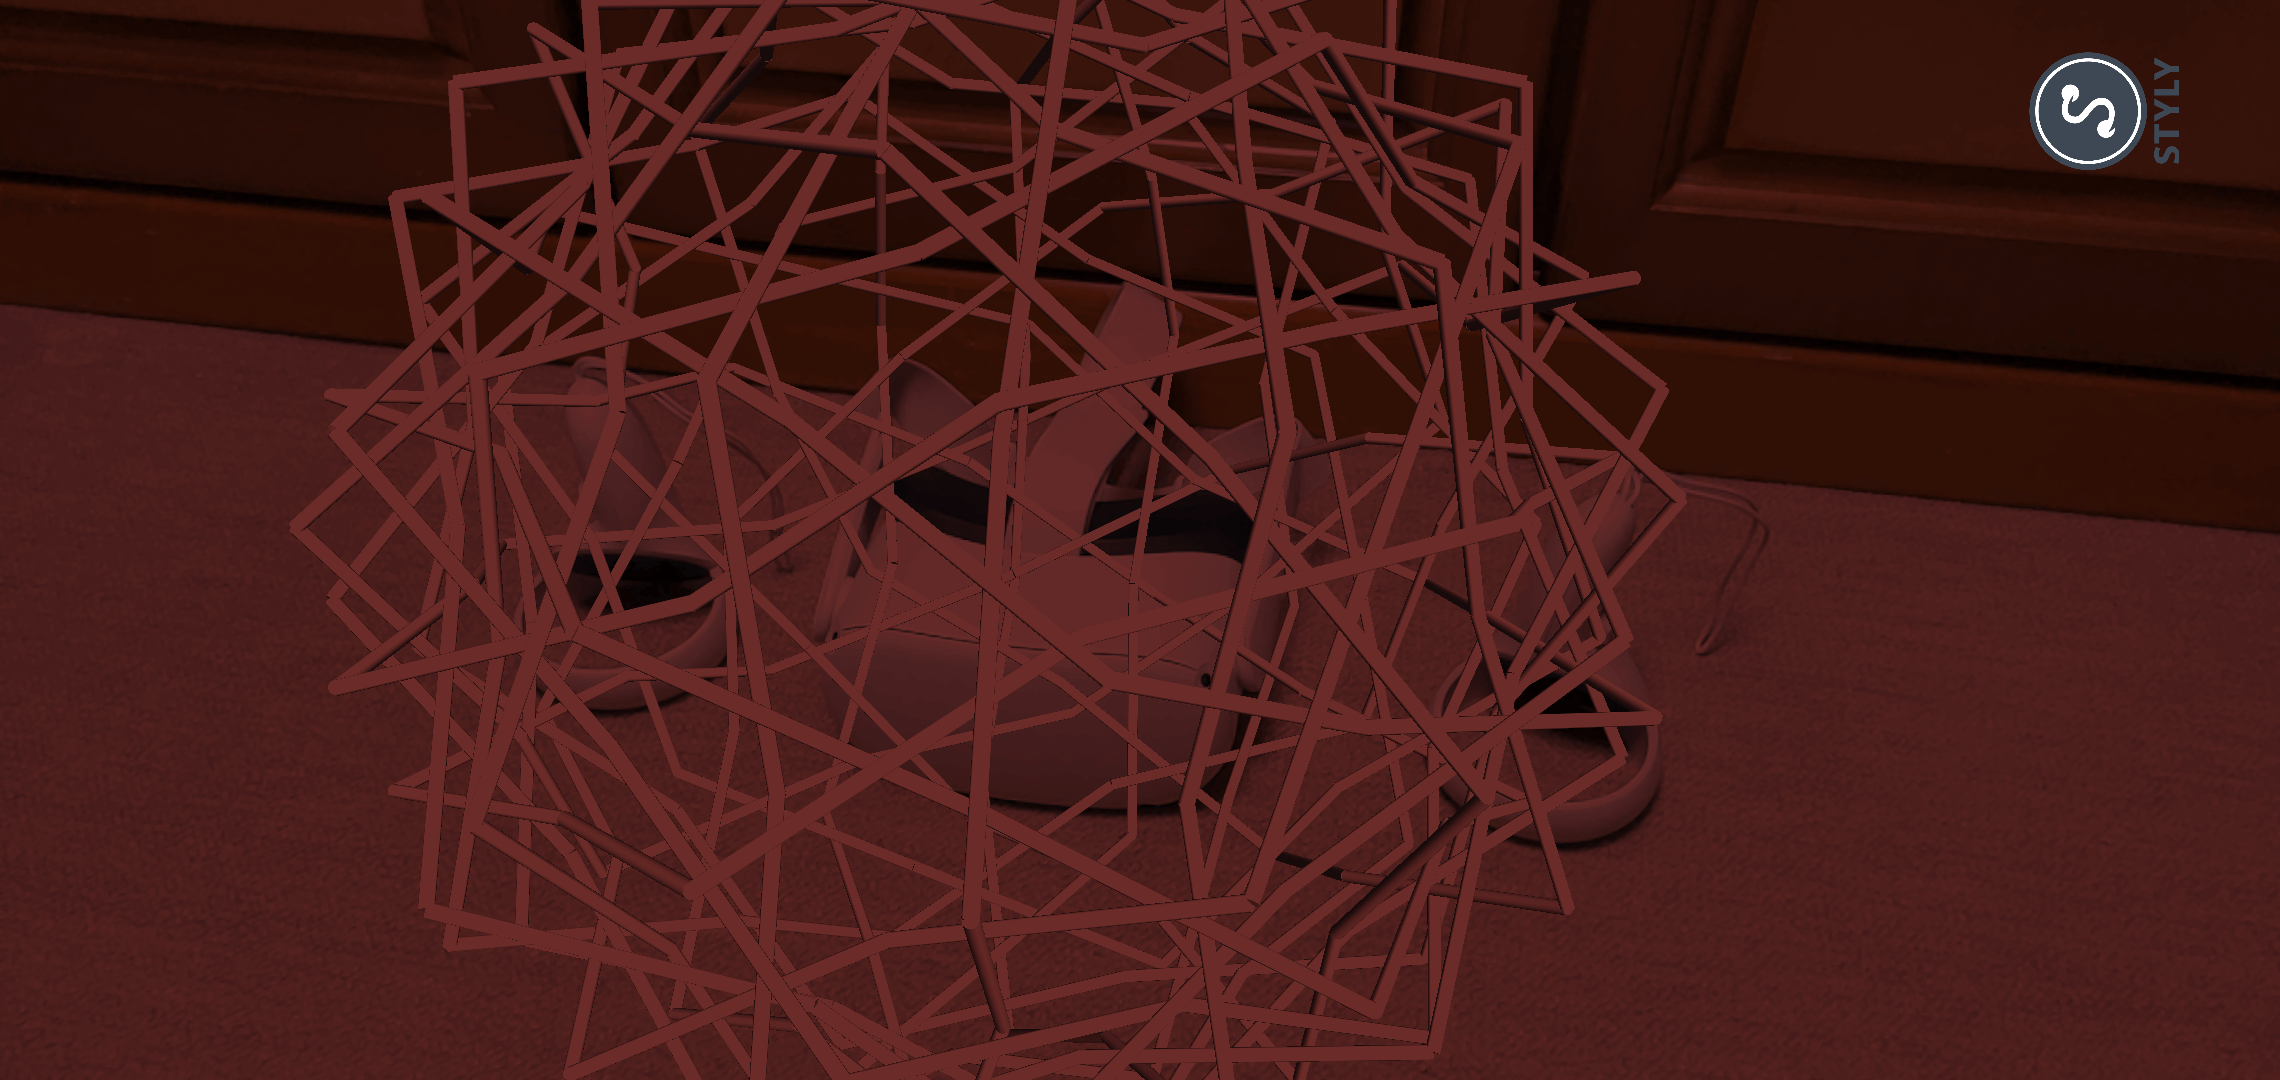
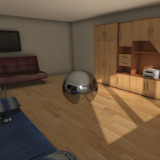
How the effects are applied

STYLY Mobile App Marker after the scene was published
Click here to see the sample scene
*Please check it on STYLY Mobile using your smartphone.
Operating Platforms
Set Image Effect” only works on STYLY Mobile.
| Platform | Operation |
| VR | × |
| Web | × |
| Mobile | 〇 |
Preparing to use custom actions
In order to use Set Image Effect, you need to use Unity’s PlayMaker.
![[Unity] Starting Playmaker from Scratch](https://styly.cc/wp-content/uploads/2019/09/PlaymaerCoreConcept-160x160.png)
Use “Set Image Effect”, which is a PlayMaker custom action stored in the Unity Plugin for STYLY. If you haven’t downloaded it, do so beforehand.

About Set Image Effect
The custom action is stored in the “STYLY” column of PlayMaker’s Action window.
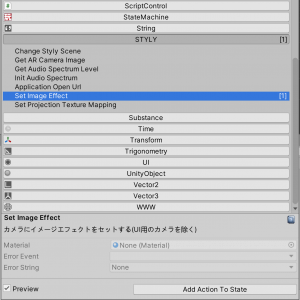
PlayMaker’s Action window
This action applies a post effect to the camera in STYLY Mobile.
The shaders of the material set for this action will be applied.
Creating a Camera Effect
Creating a Material
Create a new material by right-clicking on the Project window and selecting “Create > Material”.

Creating a new Material
Select the Material you have just created in the Project window. Then, click on the UI to the right of where it says Albedo in InspectorWindows and set the color. In this example, we will set the color to red (R:255,G:0,B:0).
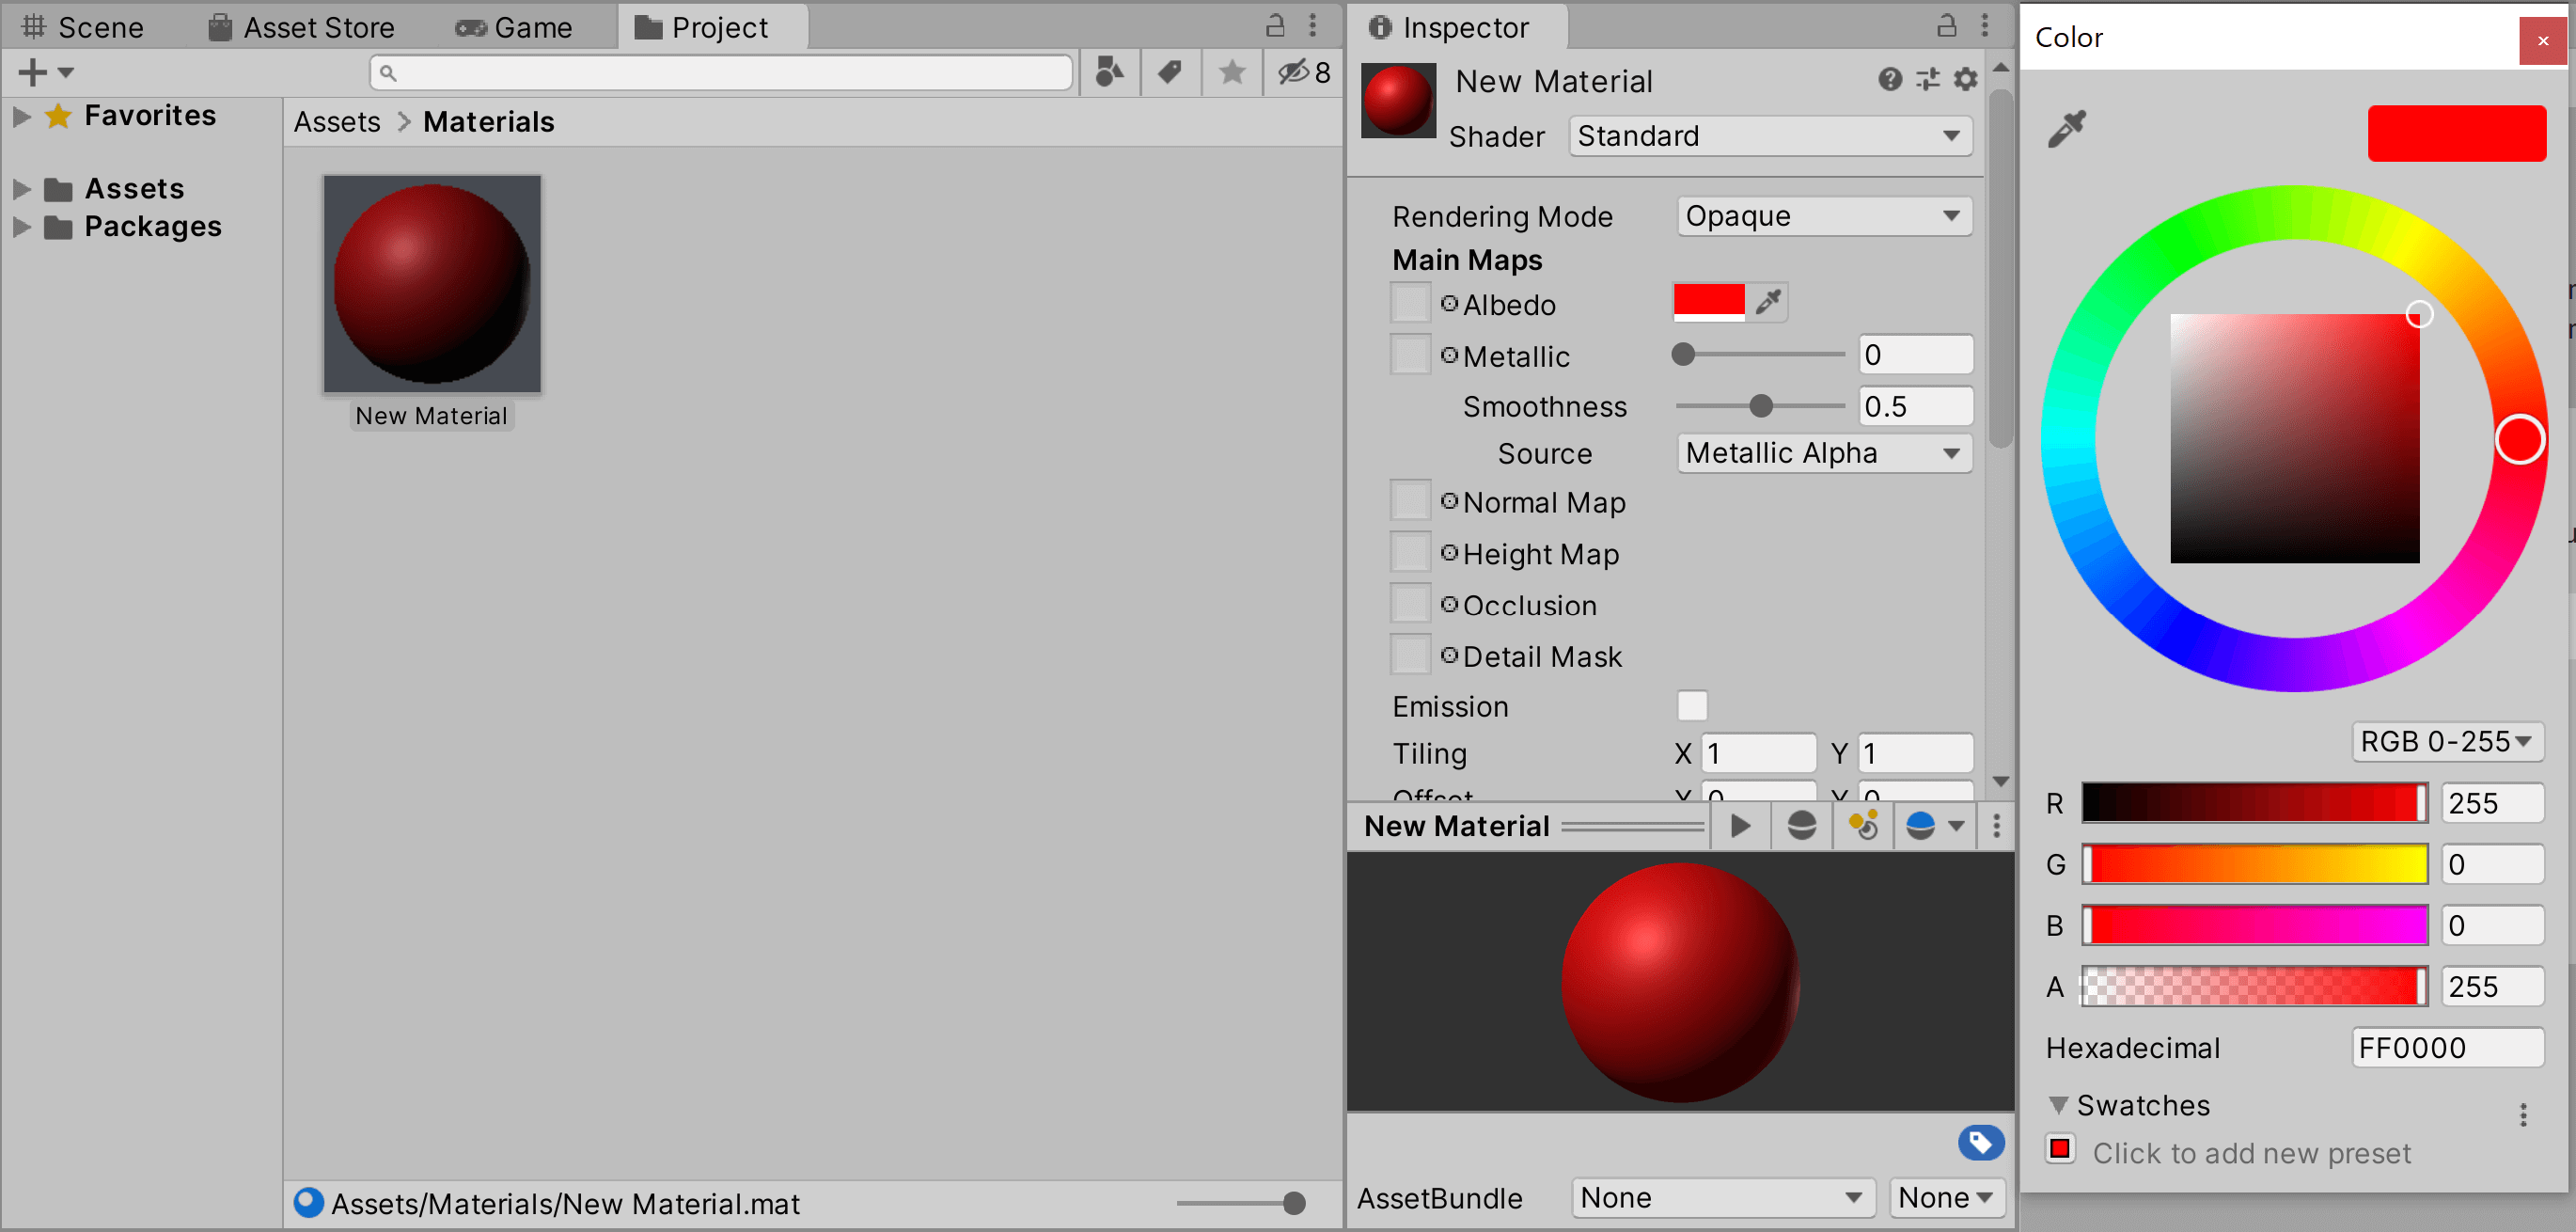
Set Albedo to Red (R:255,G:0,B:0)
Prepare the GameObject
On the HierarchyWindow, right-click and select “Create Empty” to create a GameObject.
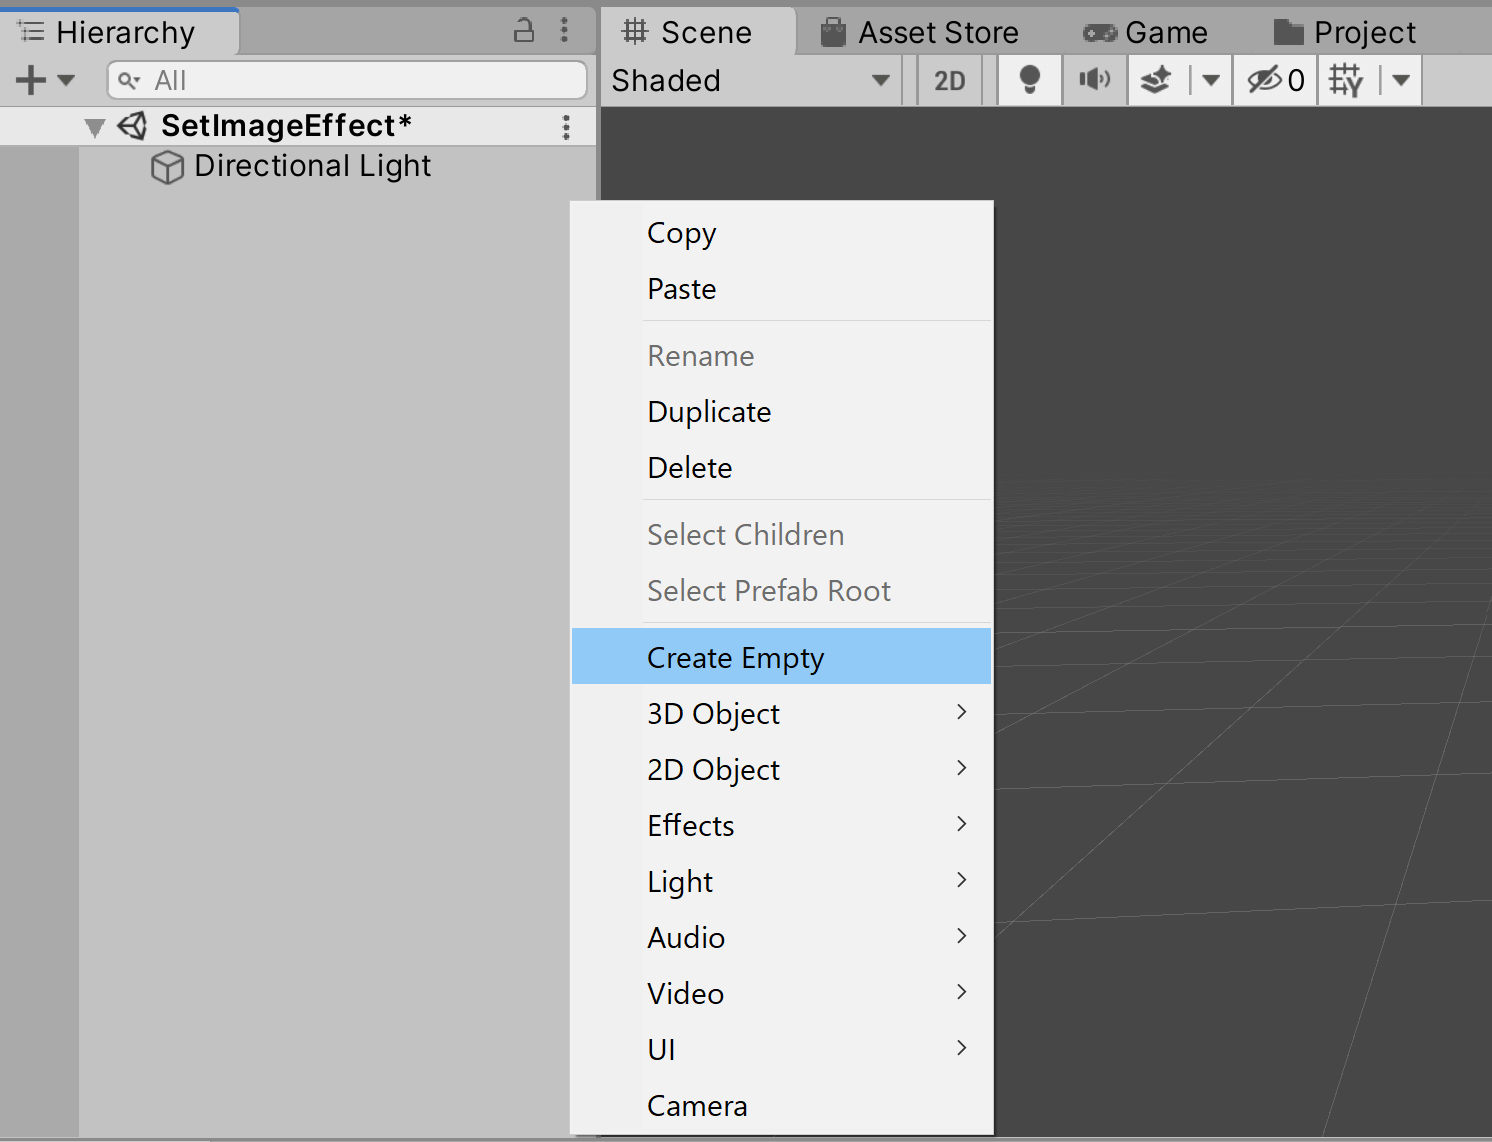
Creating a GameObject
Set up PlayMaker
Select the GameObject from the HierarchyWindow. Next, right-click on the PlayMakerWindow and select Add FSM.
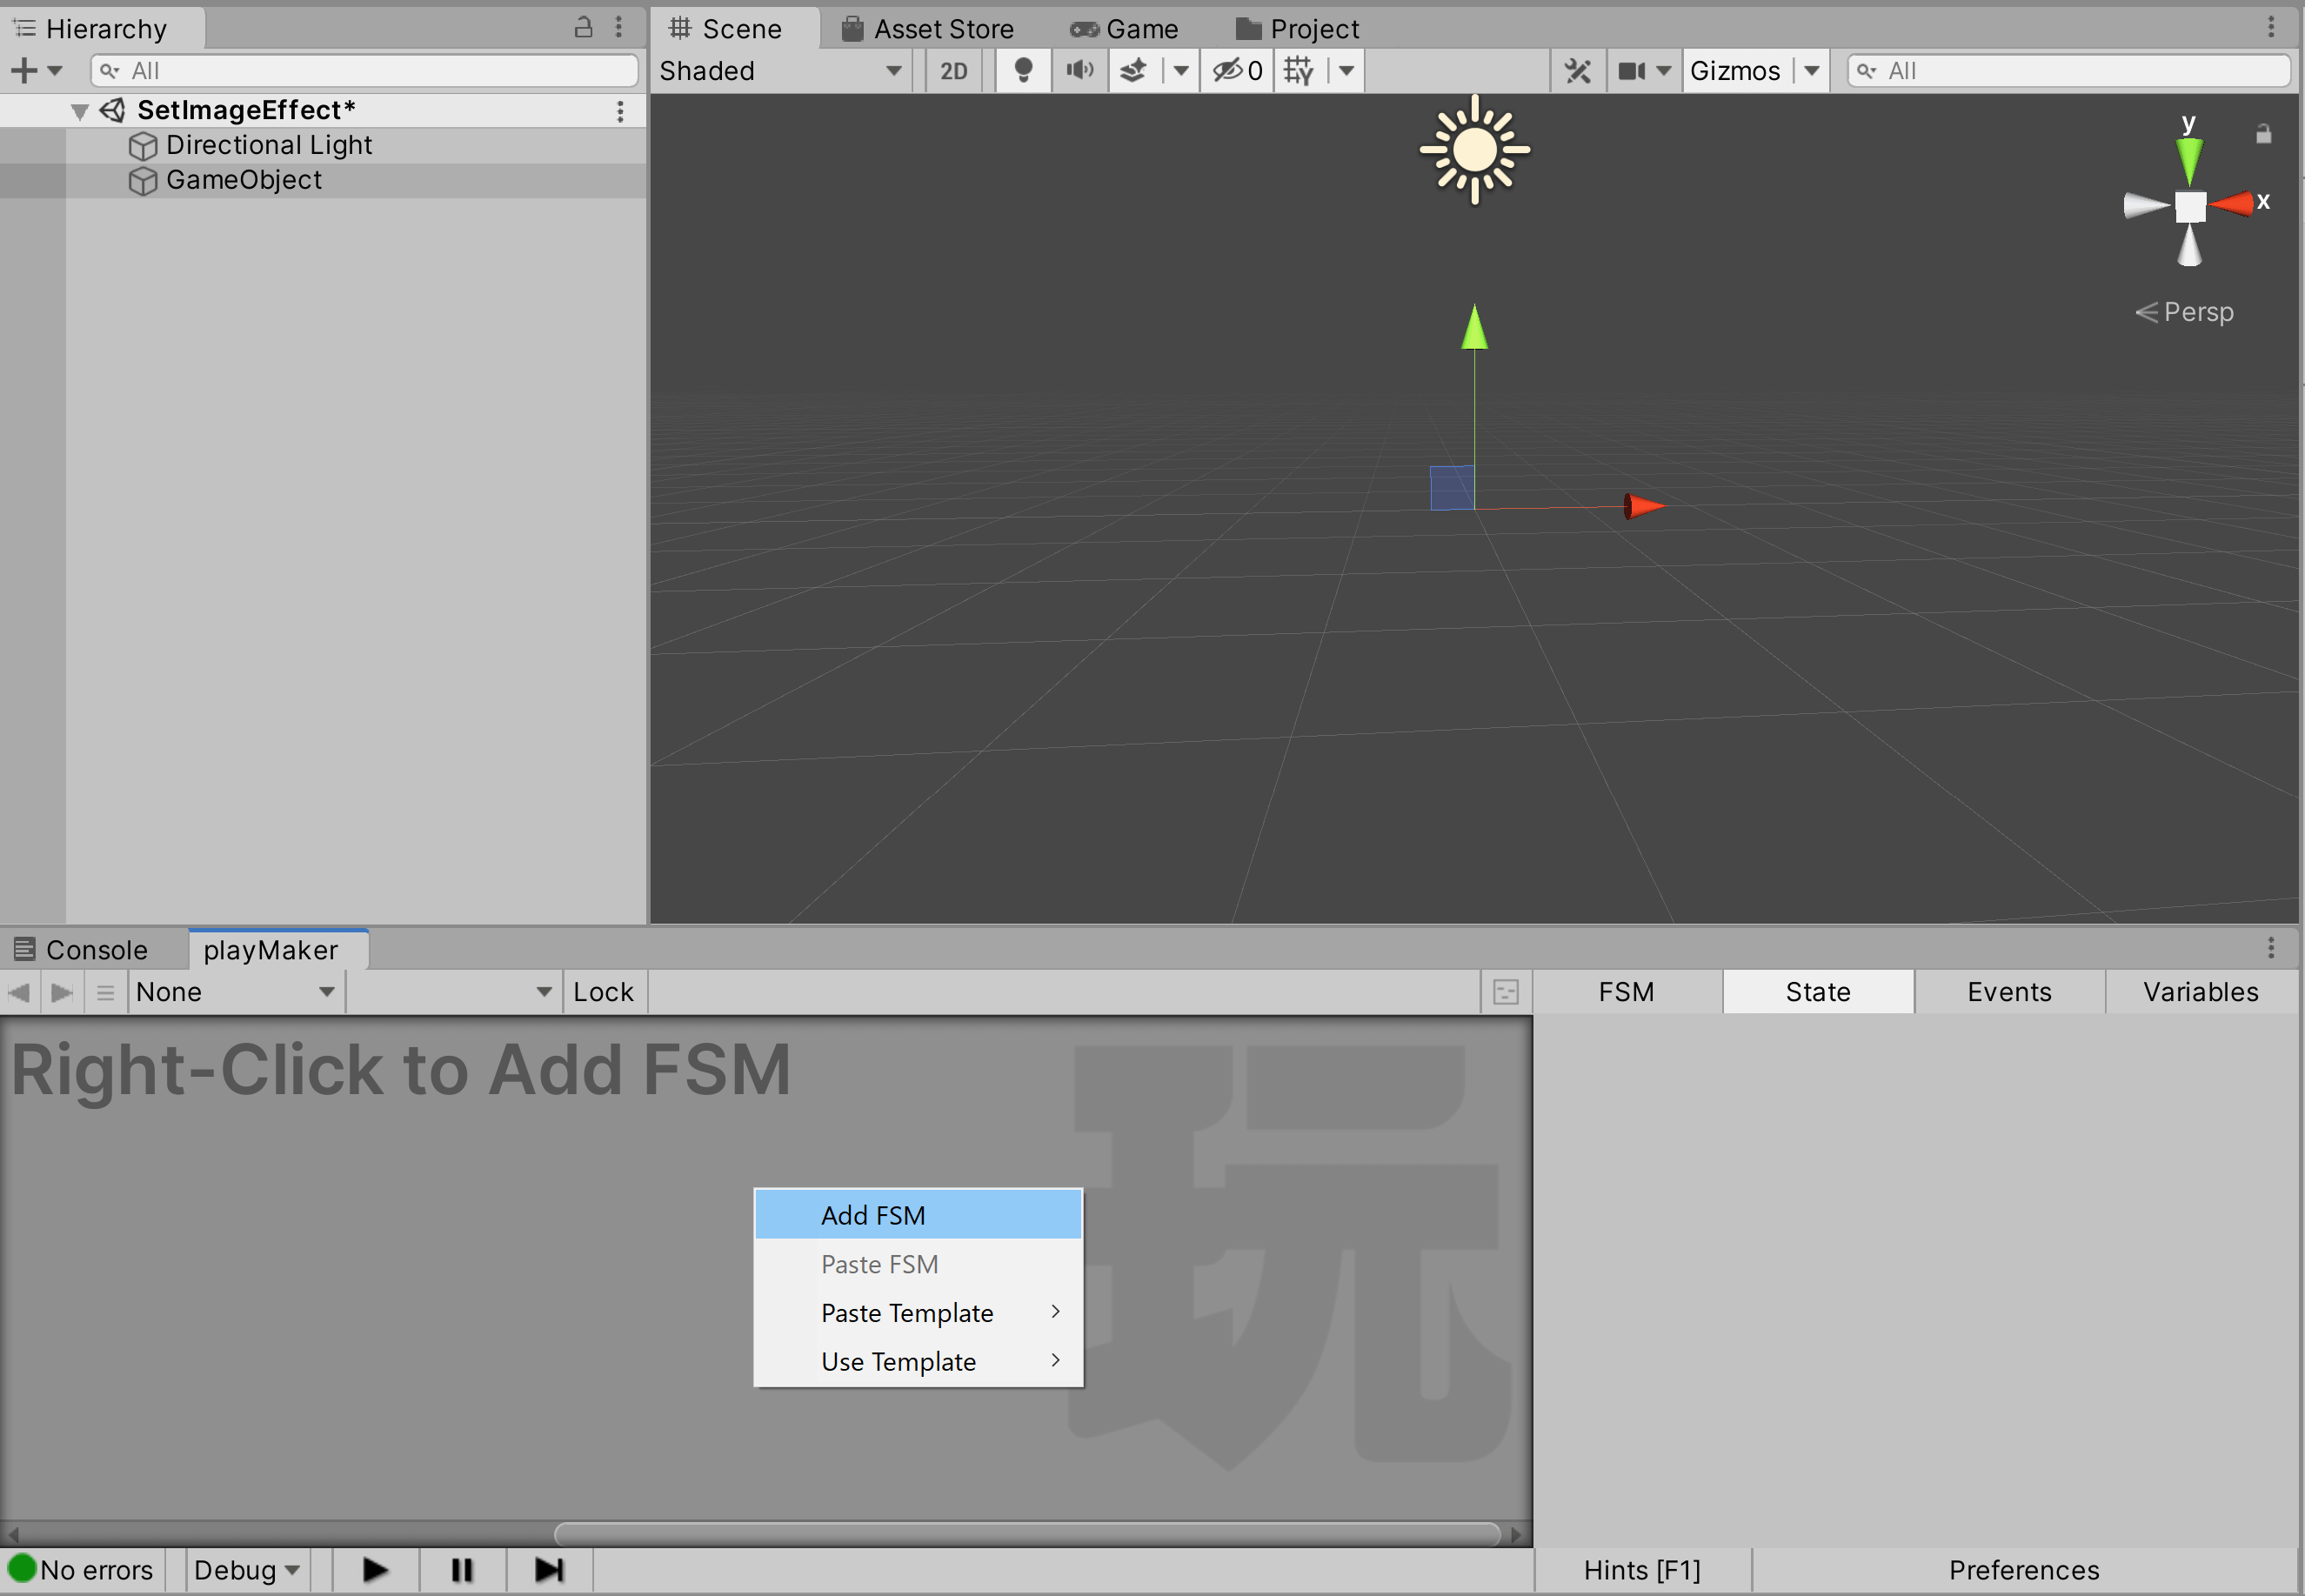
Add FSM
Set the action
Find “Set Image Effect” in the Action Browser and add it to the State. Then, set the Material attribute to the Material you just created.
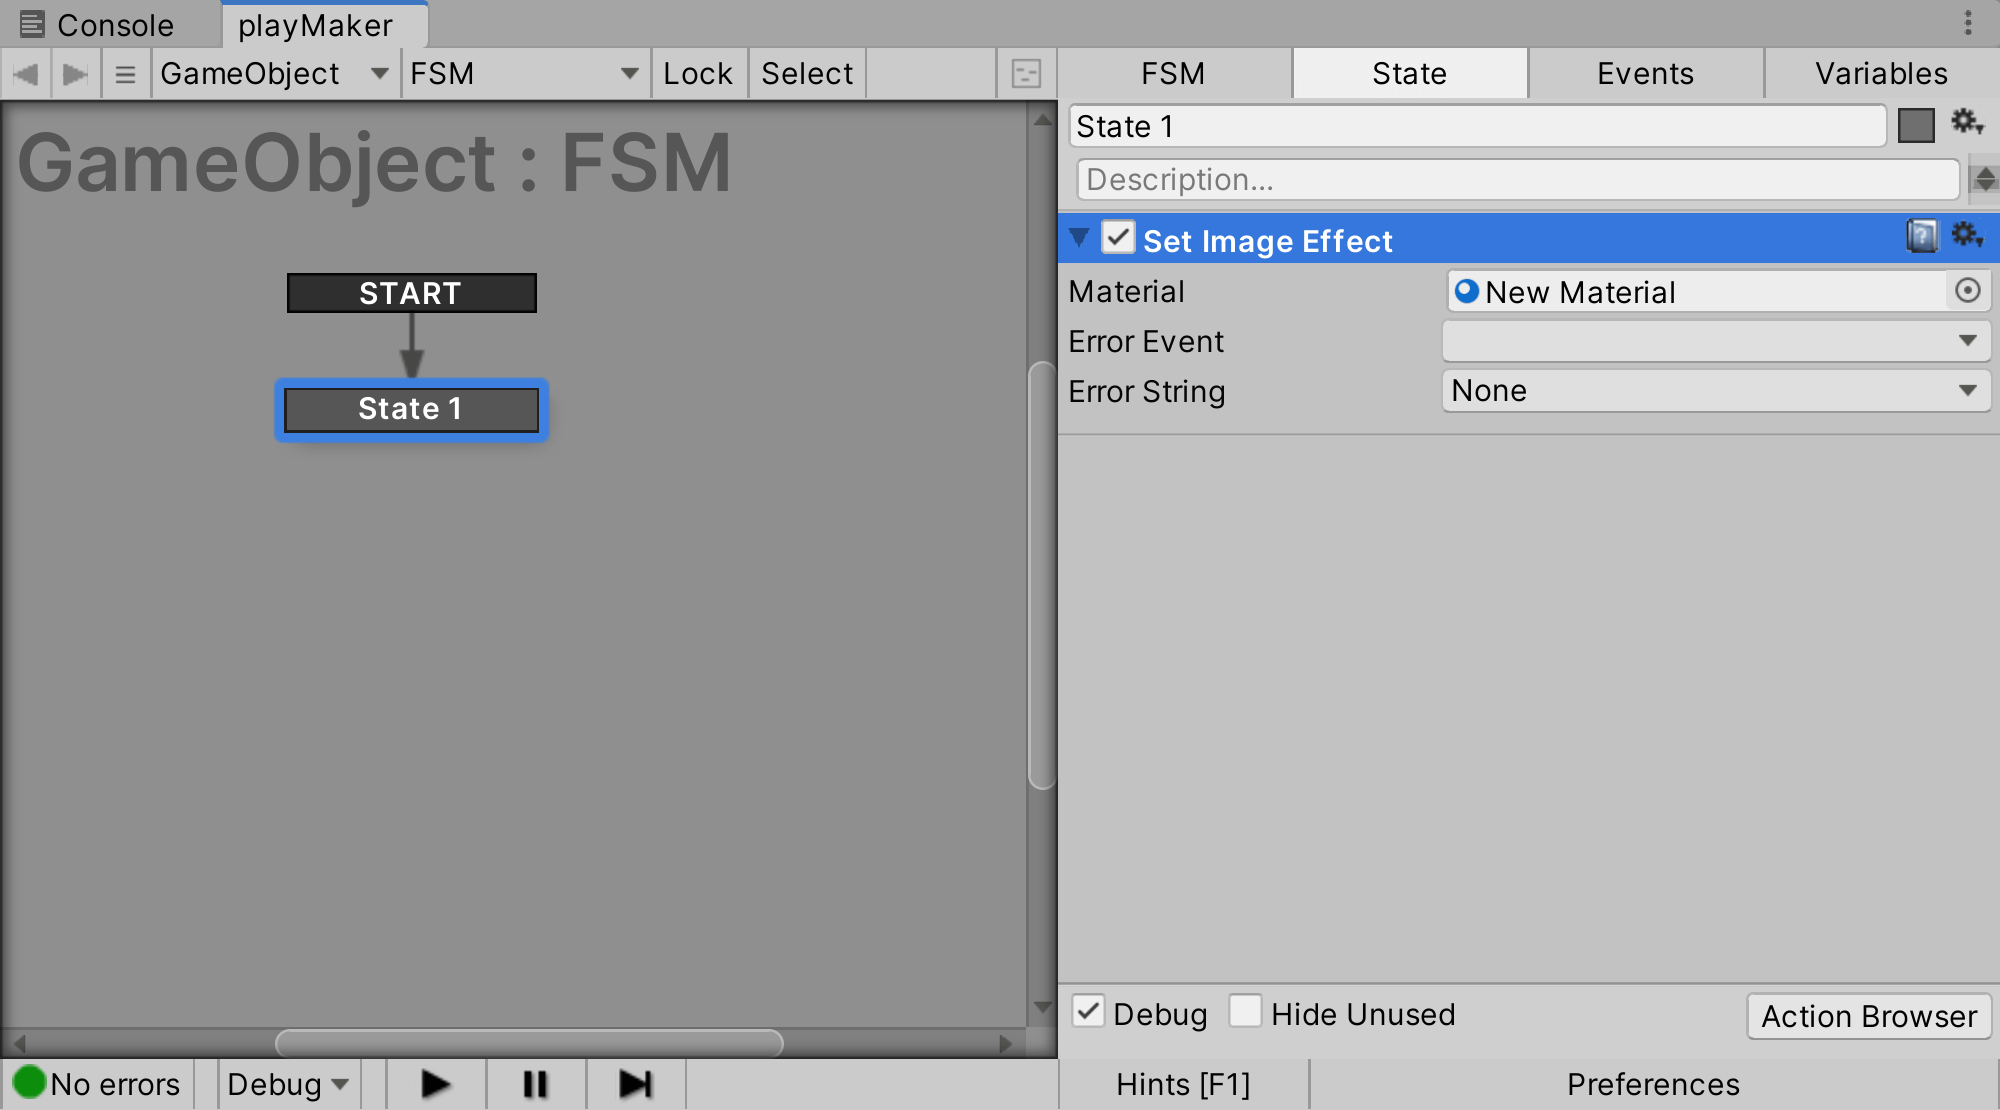
Set Material
Now you have a post effect where the screen turns red as shown in the sample.
Conclusion
In this article, we have explained the custom action of Set Image Effect.
As shown above, you can apply post-effects to the camera of your STYLY Mobile AR scene.
This time, the sample was just a simple color change, but by writing your own shaders or combining them with existing distributed shaders, you can expand the range of expression.
Uploading to STYLY
Let’s actually upload it to STYLY and use it.
This time, we will upload the Unity scene directly to STYLY, so please refer to this page.
*It is important to note that if you place Skybox in a scene, you will not be able to see the real scenery. Please remove the Skybox in Unity before uploading.
How to create a STYLY account
