VRシューティングゲームの作り方では、UnityとPlaymakerを使ってVRシューティングゲームを作り、STYLYにアップロードして公開するまでをレクチャーします。
今回は、本記事がチュートリアルの最後となります。
ステージ制作と左手のコントローラの設定を行いゲームを完成させましょう。
その後、作ったゲームをSTYLYエクスポート、VRで楽しむ方法までを紹介します。
- 事前準備
- 銃コントローラ設定
- 弾丸の設定
- 敵キャラクター発生方法
- 敵キャラクターの設定
- BGMとSEの設定
- STYLYにアップロードする方法

前回の記事ではゲーム中に音楽やSEを設定し、コントローラ操作でテレポーテーションを行えるようにしました。
ステージの作成
このゲームでは空に浮いている円形のステージを使います。
まず、myUnityAssetsフォルダにあるfloor_segmentを見つけ、それをPlayMaker Tutorial Gameオブジェクトにドラッグし子要素として設定します。
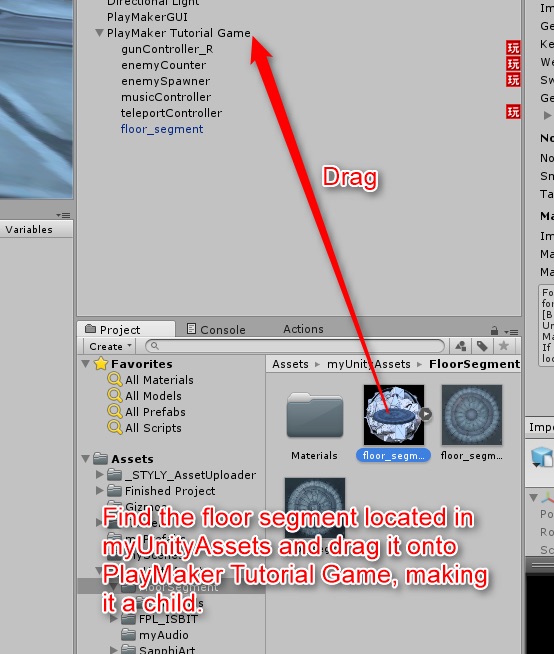
floor_segmentを追加
次に、floor_segmentをクリックし、Inspectorウィンドウに移動します。
ここではUse Gravityのチェックをオフにし、KinematicのチェックをオンにしてRigidbodyコンポーネントを追加する必要があります。
これで ステージを空中に浮かせたままにして、弾丸との衝突時に力の影響を受けないようにしますが、ゲーム中のオブジェクトとの衝突を記録して、それらを跳ね返させることができます。
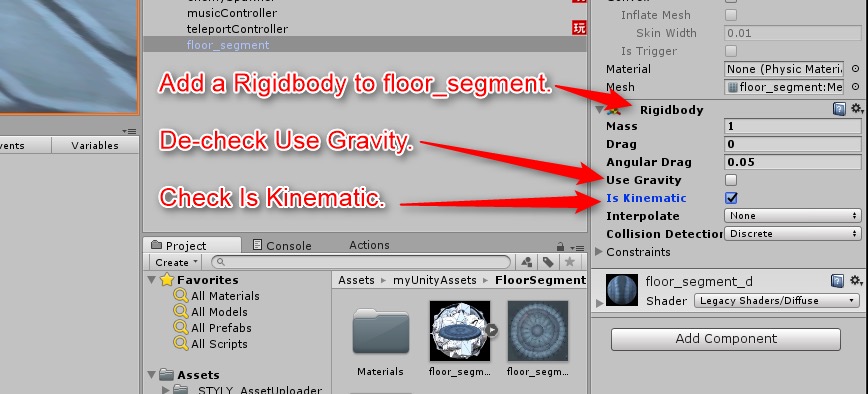
Rigidbodyの設定
floor_segmentのScaleを10, 10, 10に設定します。
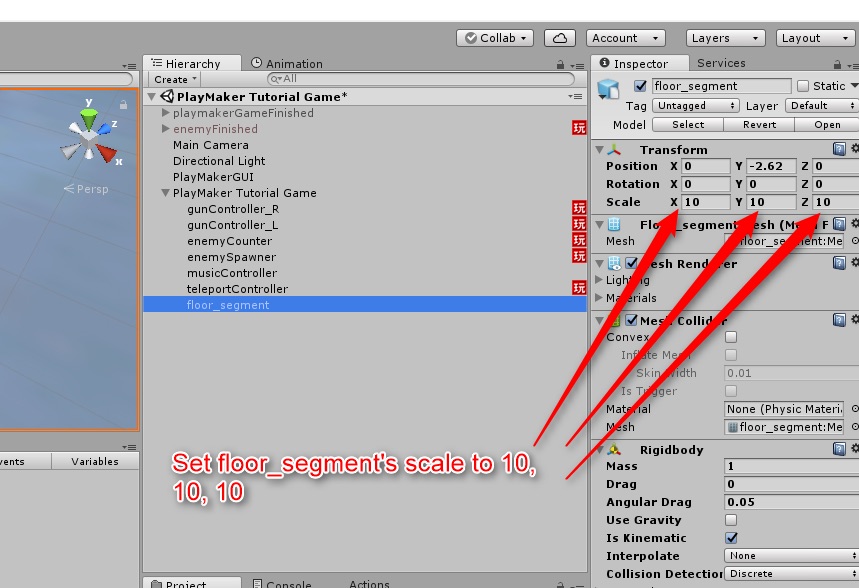
floor_segmentのScale設定
最後に、floor_segmentのPositionのYを-2.62に設定してください。
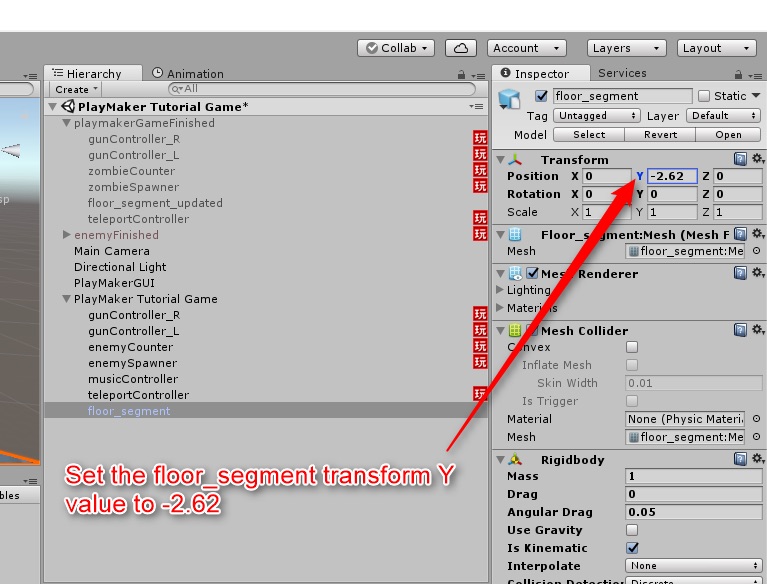
floor_segmentのPosition設定
これはVR内に入った人の頭の位置を調節するためで、ステージに立っているように見せることができます。
これでチュートリアルの全ての工程が終わり、VRシューティングゲームが完成しました。
STYLYにアップロードする方法
STYLYにアップロードする方法についてはこちらに詳しく書かれています。
アカウント作成方法

STYLYにアップロードする方法

UnityからSTYLYにアップロードする方法

それでは、STYLYにアップロードする前に、アップロード時間を改善するためにまずローカルキャッシュサーバーを設定します。
Macユーザーの場合:上部メニューバーの「Unity」タブに移動し、「Preferences」をクリックします。
Windowsユーザーの場合:上部メニューバーの「Edit」タブに移動し、「Preferences」をクリックします。
どちらも次の図の画面が現れるはずです。
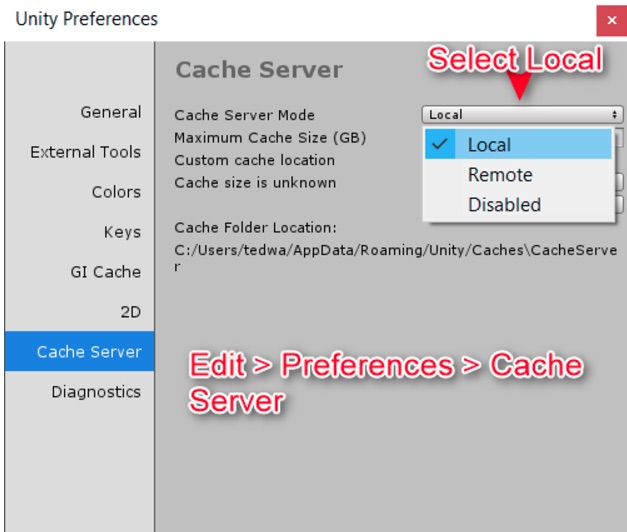
Preferences設定
Cache Server画面のドロップダウンメニューからLocalを選択します。
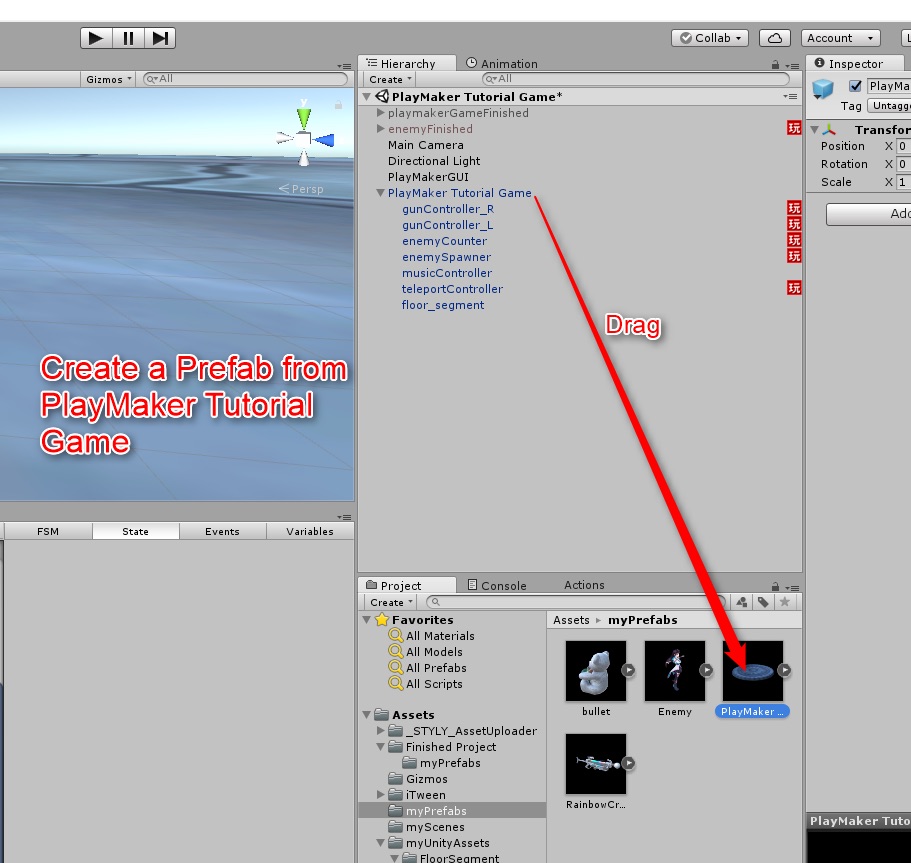
PlayMaker Tutorial Gameをプレハブ化
次に、PlayMaker Tutorial Gameの全てのオブジェクトをmyPrefabsフォルダにドラッグし、PlayMaker Tutorial Gameからプレハブを作ります。
プレハブを右クリックしてSTYLYメニューボタンをドロップダウンメニューの下部から見つけます。
STYLYメニューからBuild And Upload Prefab Assetをクリックします。
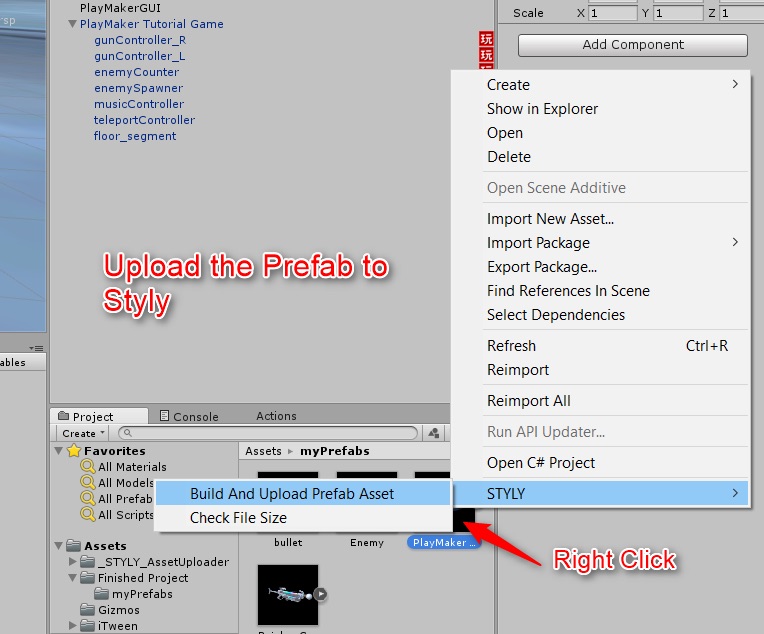
Build And Upload Prefab Assetを選択
これでSTYLYにアップロードがはじまります!
このプロセスは少し時間がかかるので、キャンセルをせずに待機していてください。
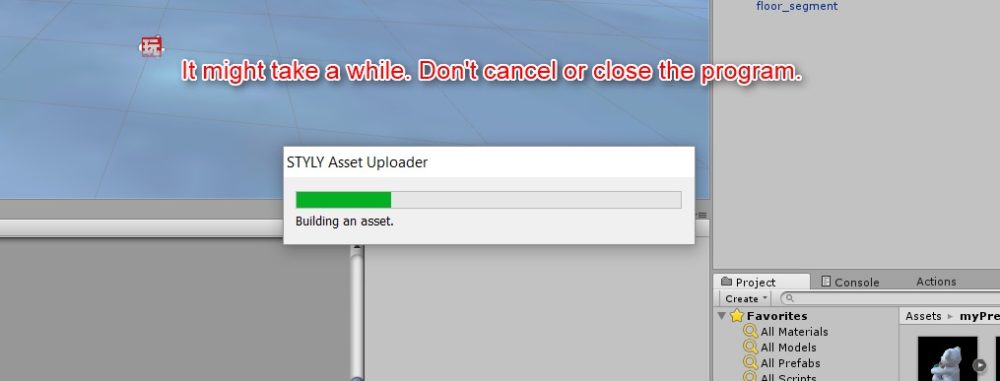
アップロード完了までは時間がかかります
最終調整をしてVRで楽しもう!
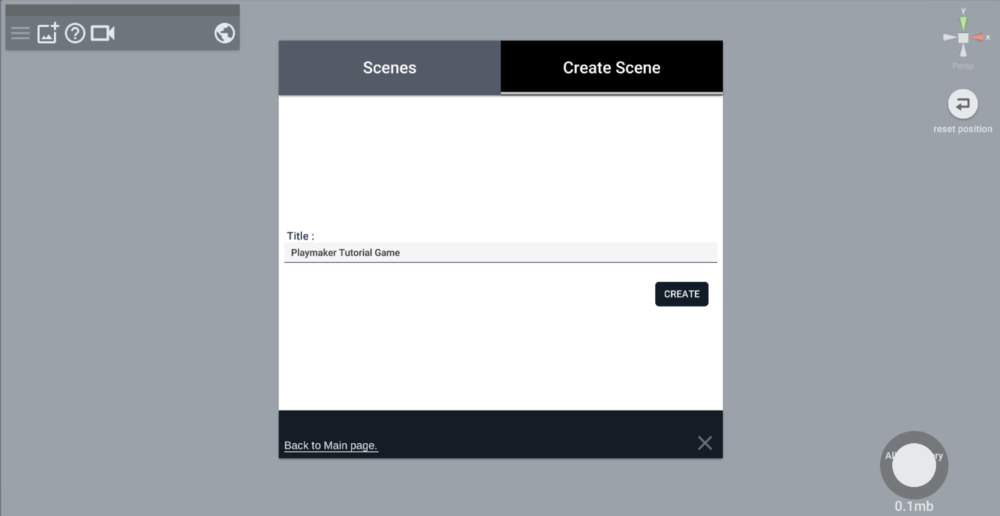
STYLYを開き、Create Sceneを選択してタイトルを付けます。
画面左上のAssetsメニューから3D Modelsを選択し、MyModelタブへと進みます。
そこに先ほどアップロードしたPlayMaker Tutorial Gameがあると思います。
これを選択するとシーンに追加できます。

PlayMaker Tutorial Gameを選択
続いて、3D ModelsのリストからskyBoxを選択してゲーム中の空の様子を変更します。
今回はEpic BigCloudsSoftを選択します。
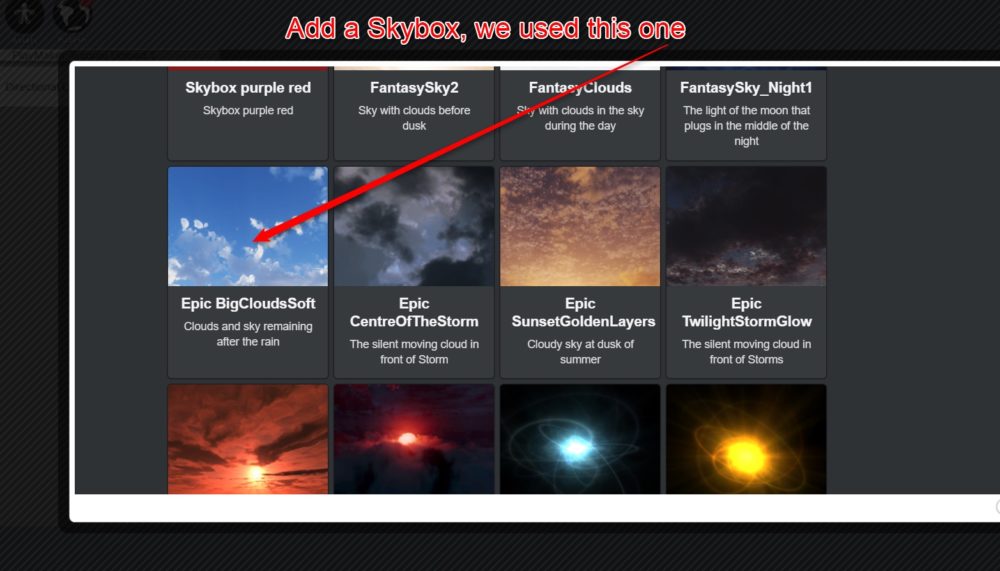
Epic BigCloudsSoftを選択
以上でSTYLY Studioへの挿入がすべて完了しました!
STYLYのMy Sceneからシーンを起動させるとゲームができます。
Part1から7まで長かったですが、これで終了です。お疲れ様でした!