In this series, I will explain the workflow to create a VR space.
The theme is ‘Treasure Hunter’.
It sounds too common in the gaming world. Even so, you used to dream of treasure hunting in your childhood, didn’ you?
I want to create such a VR scene that excites your adventure spirit.
The concept
The story is about an adventure to an ancient ruin for a treasure hunt.
You will find an open space when you go deep into the ruin. Then, you get to a floating island in the middle of that space, which has a casket with treasure in it.
I plan to create a lot of islands floating around it.
Make the whole image
Let’s model a rough image to see the overall scale and what assets are required.
Model stones
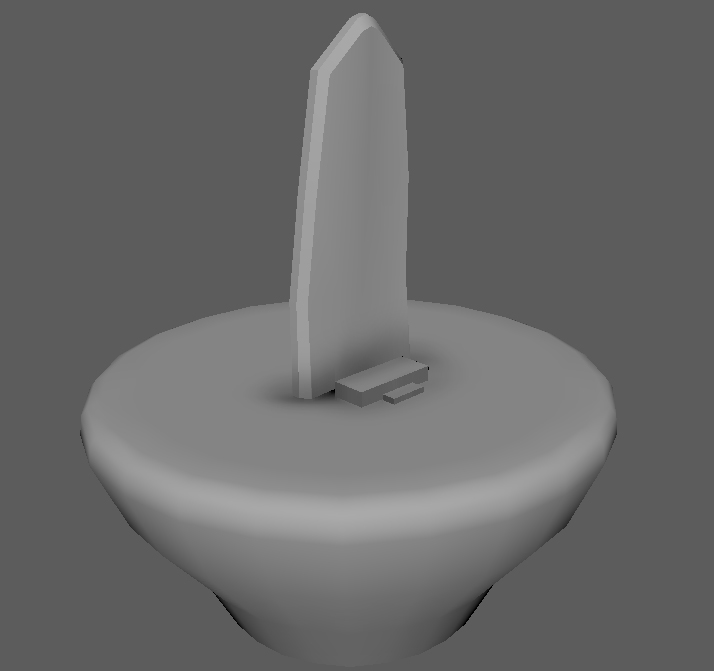
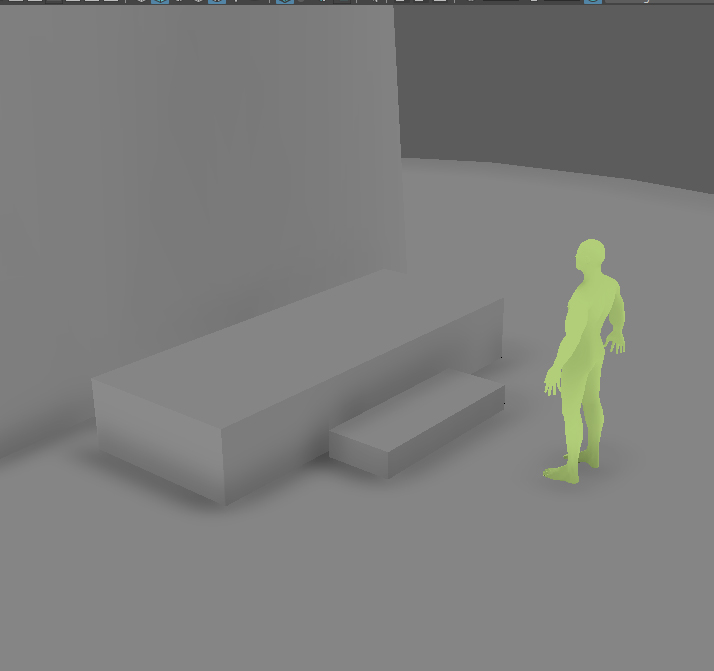
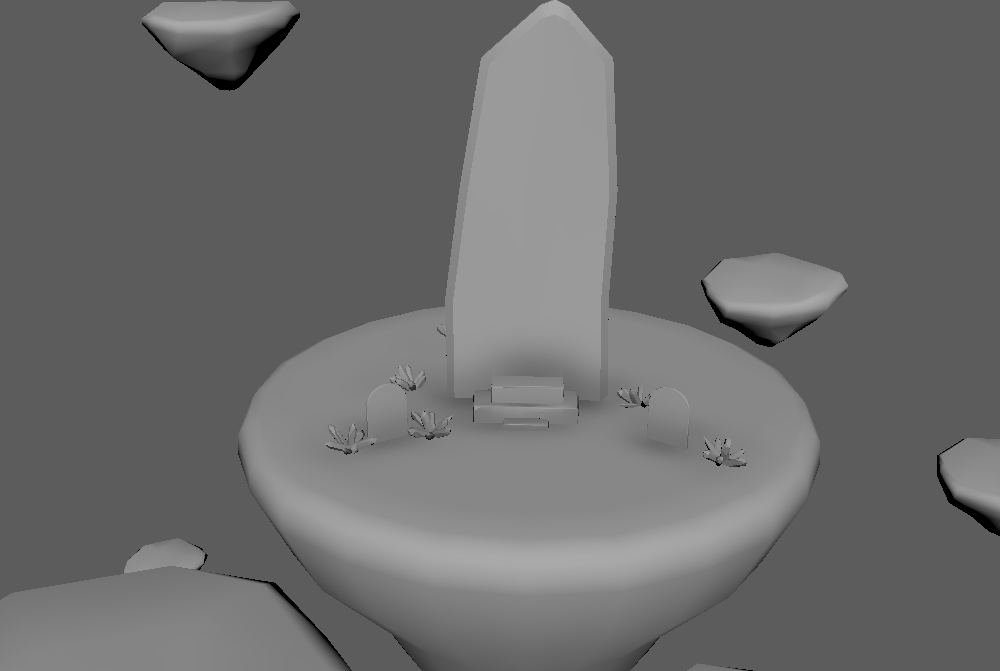
Model a large stone where the coffin is placed.
Firstly, place a human model to check and correct the scale.
Adjust the scale of simple cubes, which represent stones, to keep the overall balance.
Adjusting the balance before adding details makes the following works easier.
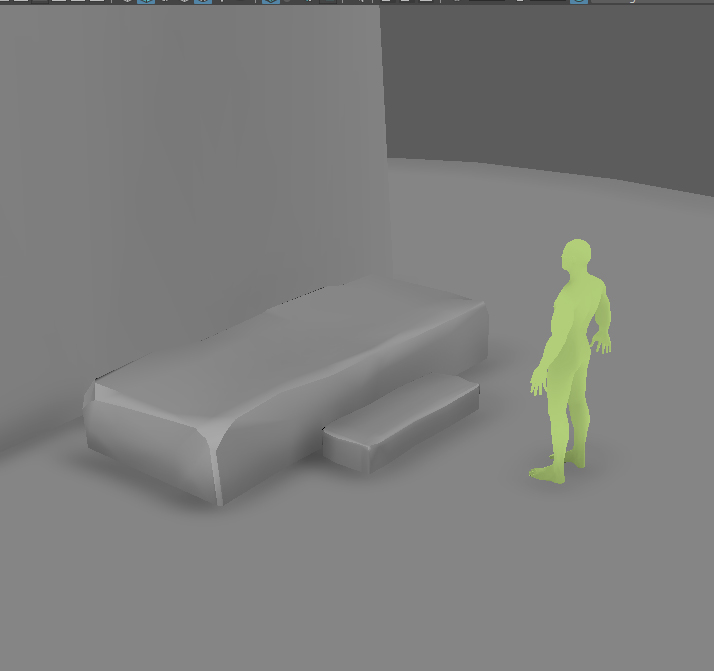
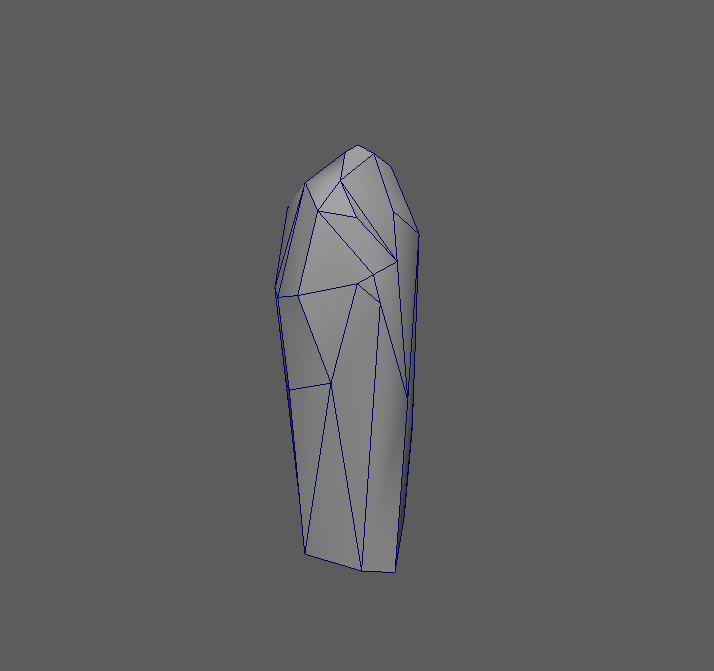
We model the large stone with rough cracks in some places.
Form the shapes by beveling the edges and moving the vertices
At the initial stage, I recommend moving edges and vertices with a larger step to see the result clearly rather than moving them with a finer step.
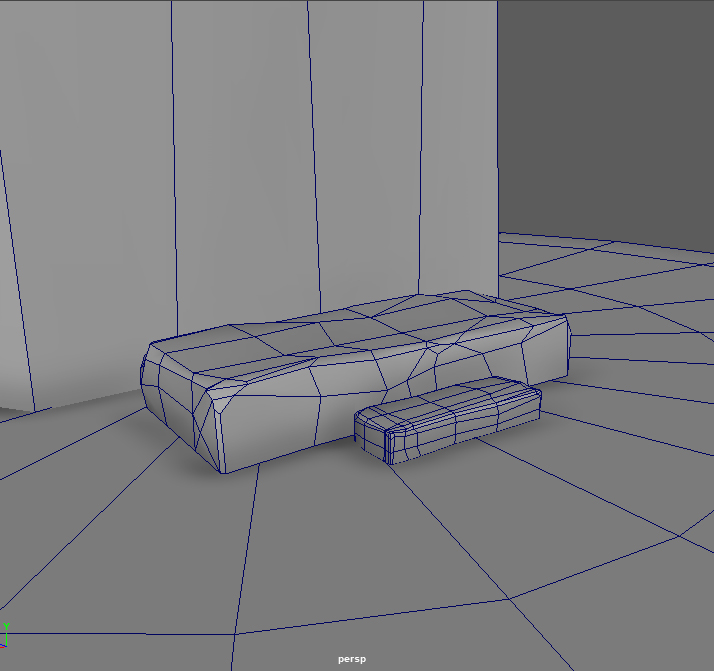
Wireframe view
Since we make the details on ZBrush, let’s stop the task on Maya here.
Model a casket
Model a casket that contains treasure.
The base shape is a simple box.
We still need to add the details, but let’s stop the task on Maya here as we do it on Zbrush.
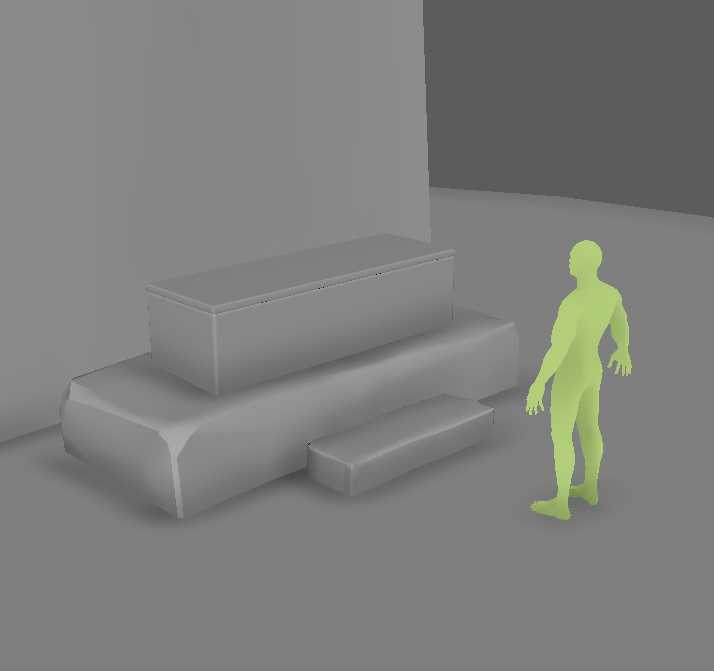
Place two monument-like boards at both sides of the coffin.
For a high-poly model, I recommend planning in advance how far you model it on Maya and what tasks you want to leave to ZBrush.
It’s also important to plan clearly which details are modelled and which details are expressed by textures.
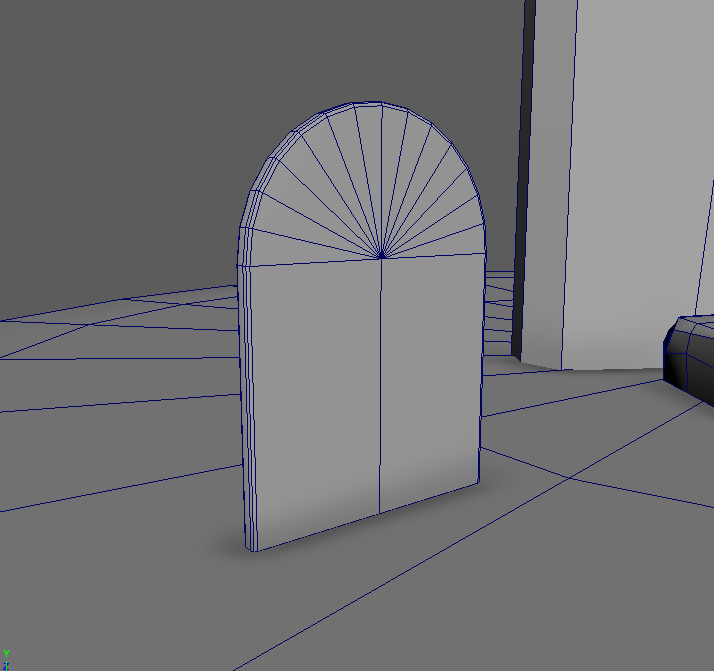
Those ‘monuments’ are still left simple at this moment.
Check the overall balance by placing all objects.
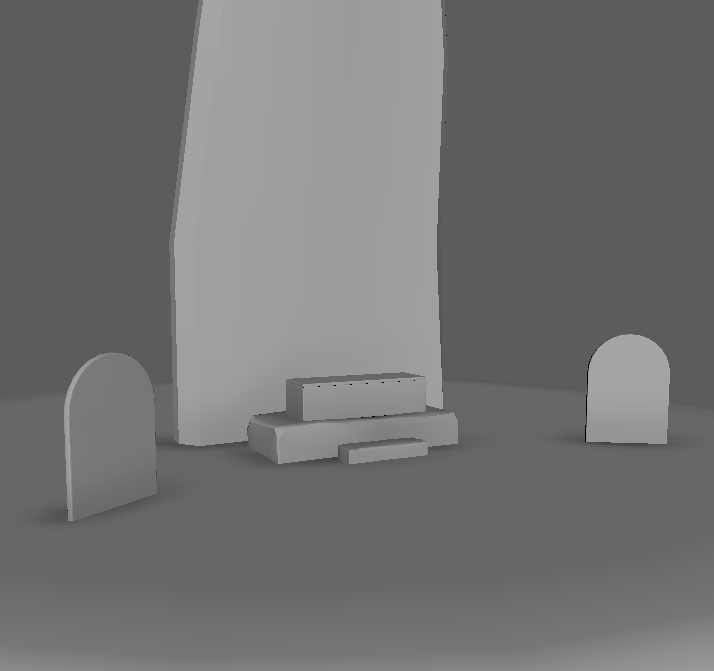
Adjust the objects here if you have something to correct for the scales and etc.
Model crystals
In my plan, those floating islands have a lot of crystals growing.
Let’s model them now.
Firstly, make some crystals and then combine them to have some clusters.
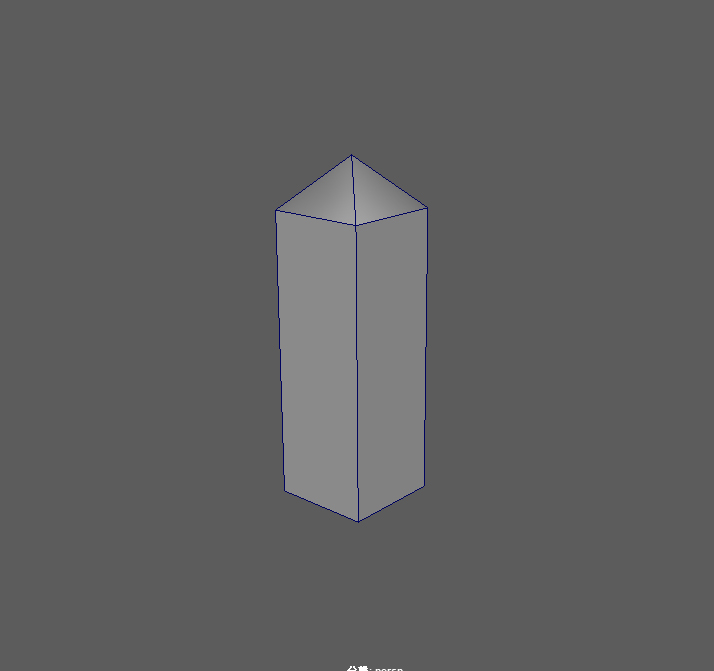
Make a simple one as a base shape.
Add a lot of edges and vertices.
Bevel the edges and the vertices to add crystal-like open sections.
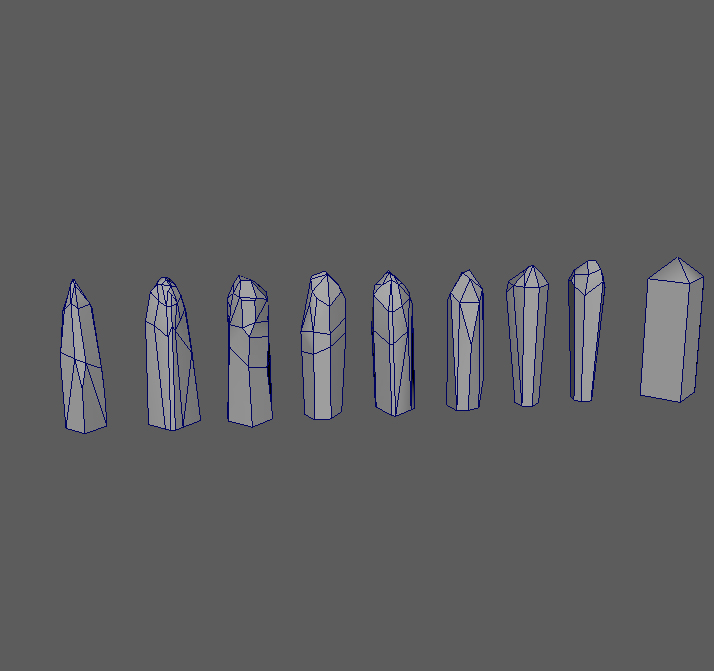
I made some patterns here.
Make a set of crystals by combining them.
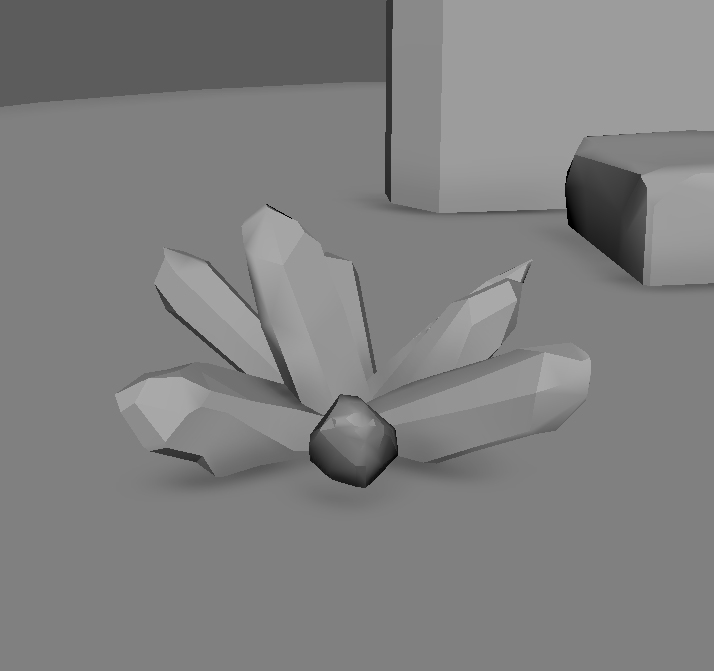
The complete shape is shown above.
Check the whole model
Place the crystals to check the overall balance.
Since we precisely place the objects at the final stage on Unity, just keeping the approximate balance is OK for now.
When you finished the modelling on Maya, complete all UV layout too.
That’s all preparations before sending the model to ZBrush.
In this article, I explained a low-poly modelling task on Maya.
It’s also the preparation to make a high-poly model for baking on ZBrush.
After this, we export each object as a separate obj file and move over to ZBrush.