In this article, I explain how to use the Materials created in Substance Designer in Substance Painter and export the textures for Unity.
Substance Painter is very useful to export various kinds of maps as it has the templates for Game Engines and Renderers by default.
Export sbsar file from Substance Designer
Now, I make the material of the main monument usable in Substance Painter.
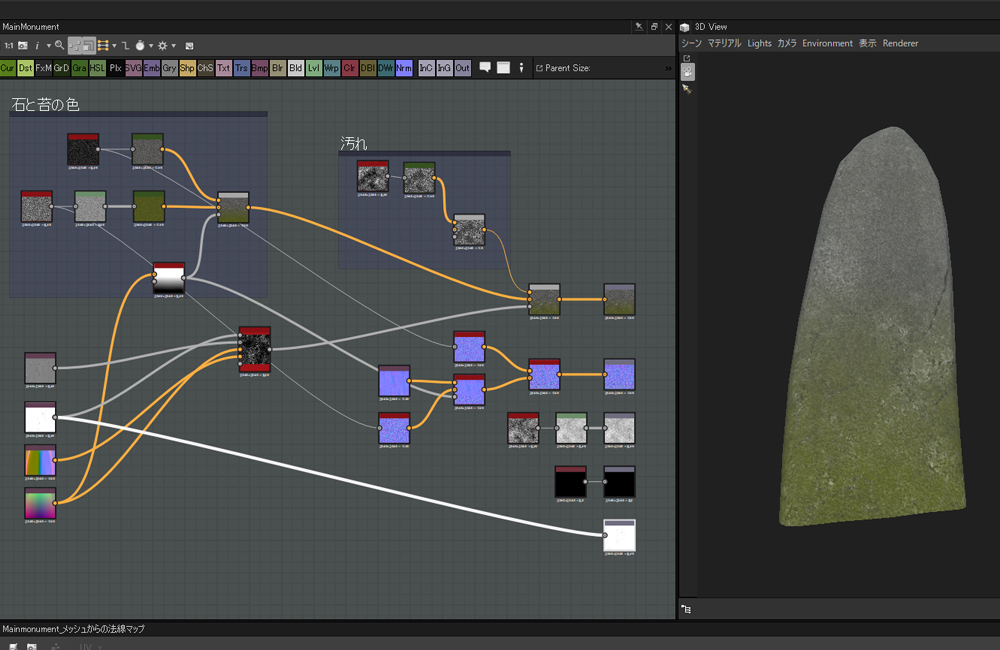
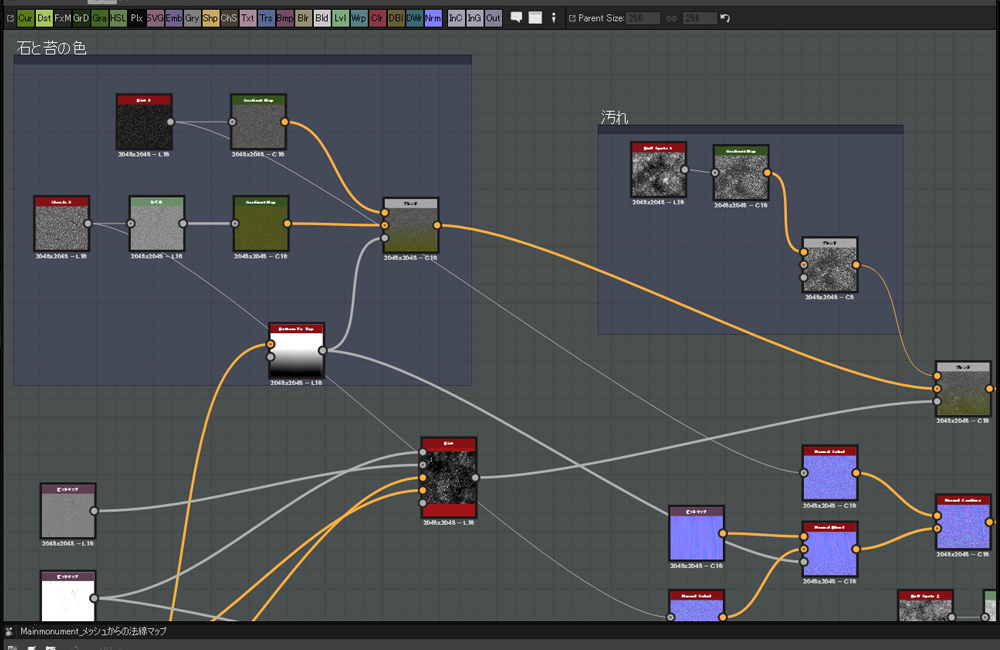
The whole node layout is shown above.
Like other objects, it has the pattern made by blending stone, moss and mask generator.
I blended stone and moss by ‘Bottom To Top’ and then add dirt all over them by ‘Dirt’.

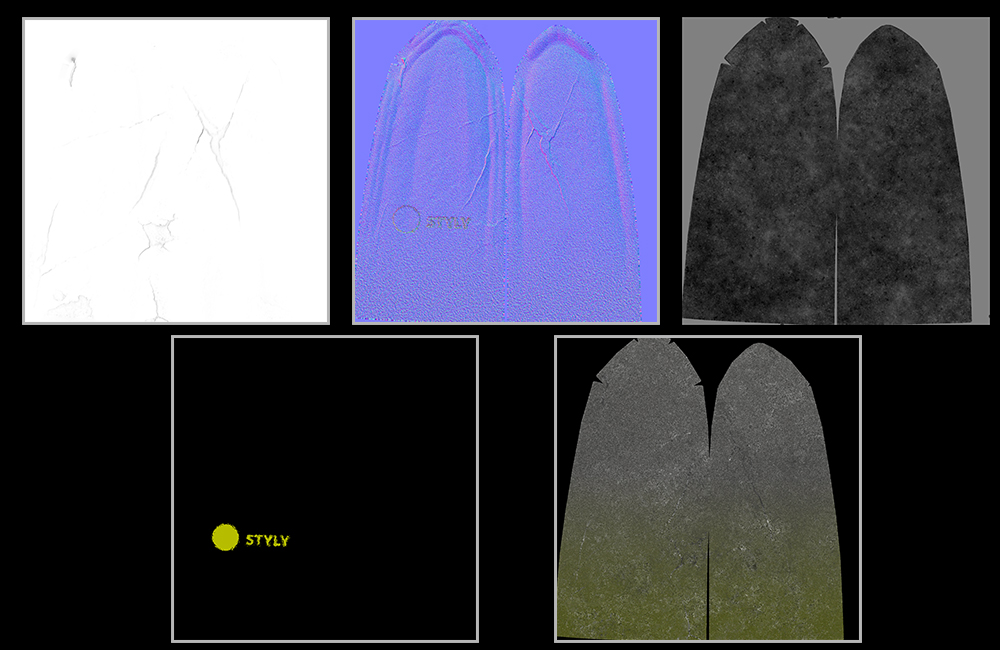
With regard to normal map, I blended the normal map generated by Baking and moss’s normal map, and then, blended it with the Height that has the finer overall details after applying ‘Normal Sobel’.
Export those as one Material.
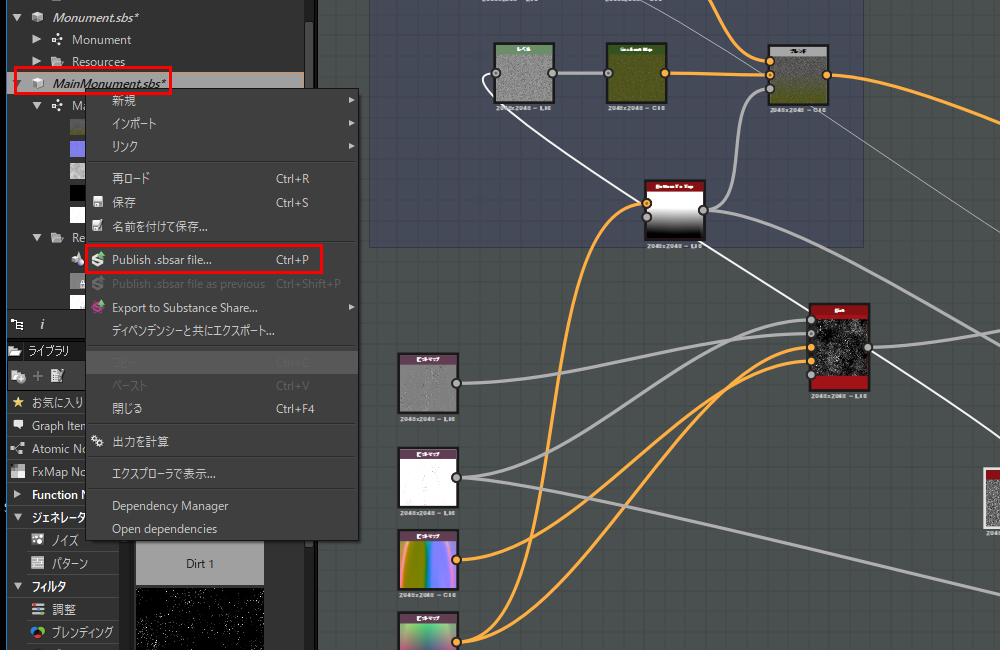
Right-click the sbs file and select ‘Publish .sbsar file…’.
It creates a sbsar file. Import it to Substance Painter and use it.
Use sbsar file in Substance Painter
Firstly, create a new project.
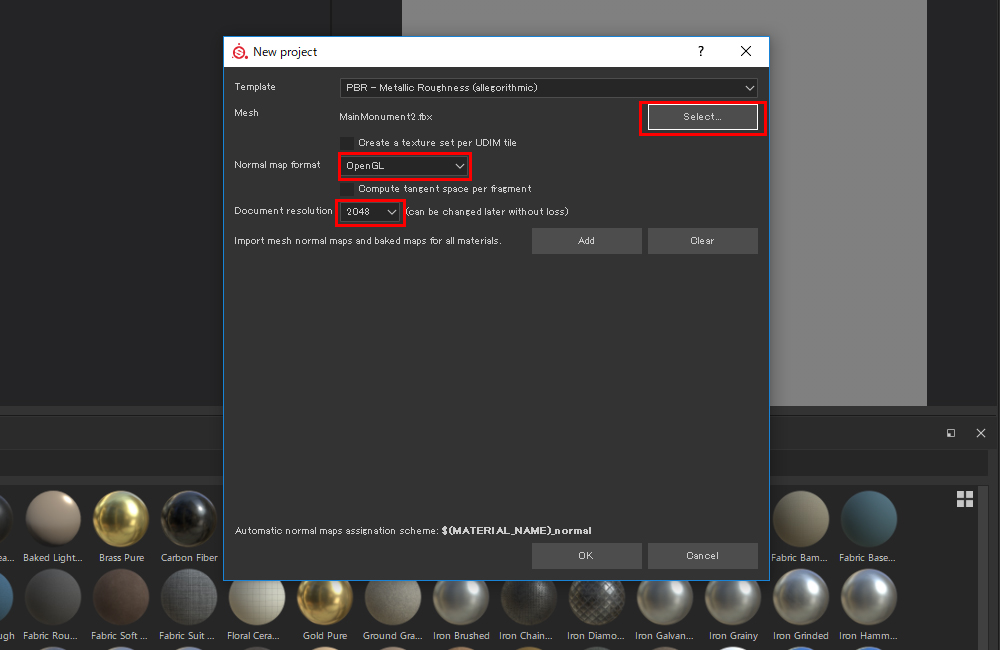
Specify the fbx file for ‘Mesh’. Set ‘Normal map format’ to OpenGL, and ‘Document resolution’ to 2048.
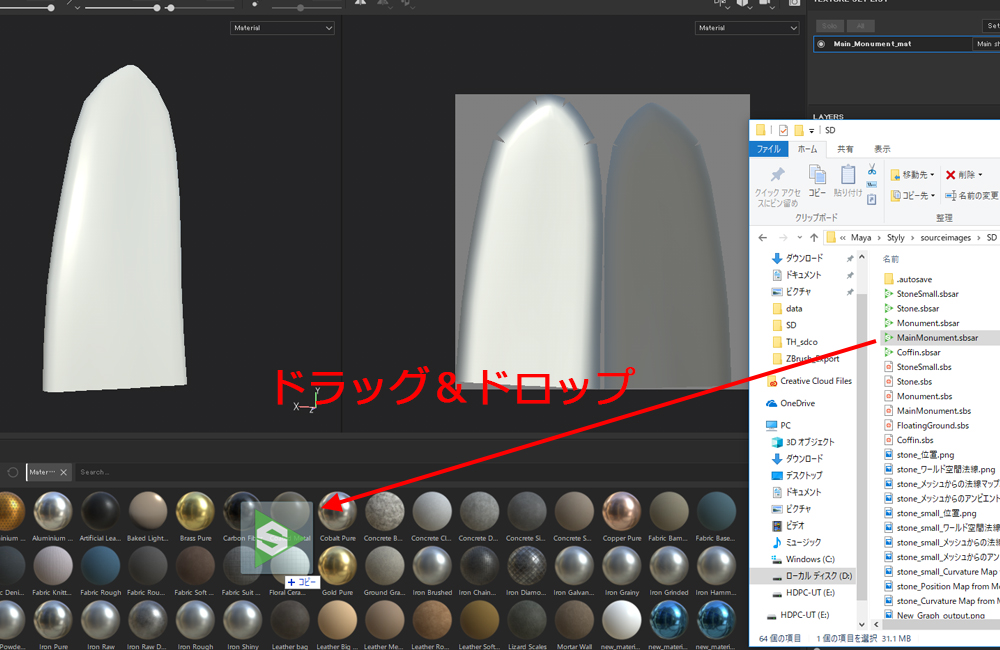
Drag the sbsar file exported earlier onto the Shelf.
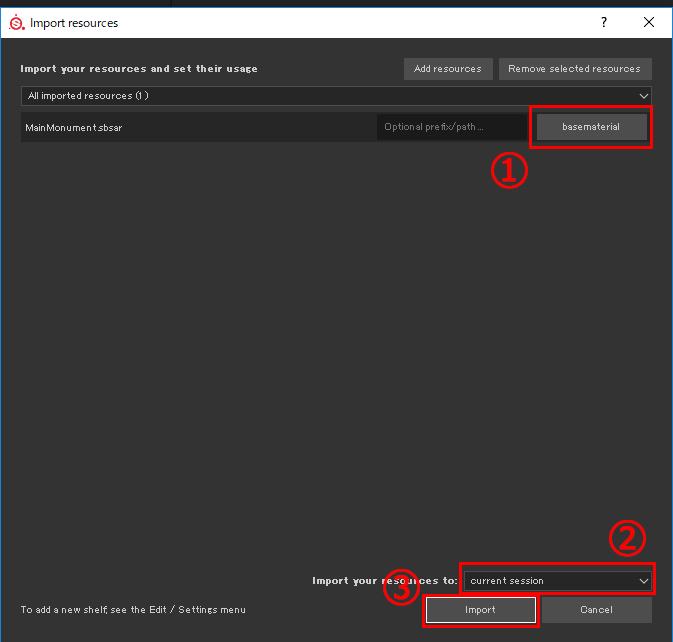
It brings up the window shown above. Since the file is used as Material this time, set ‘MainMonumentsbar'(①) to ‘basematerial’. Set ‘Import your resources to'(②) to ‘current session’ as it’s used for this project only.
Then, press the Import button(③).
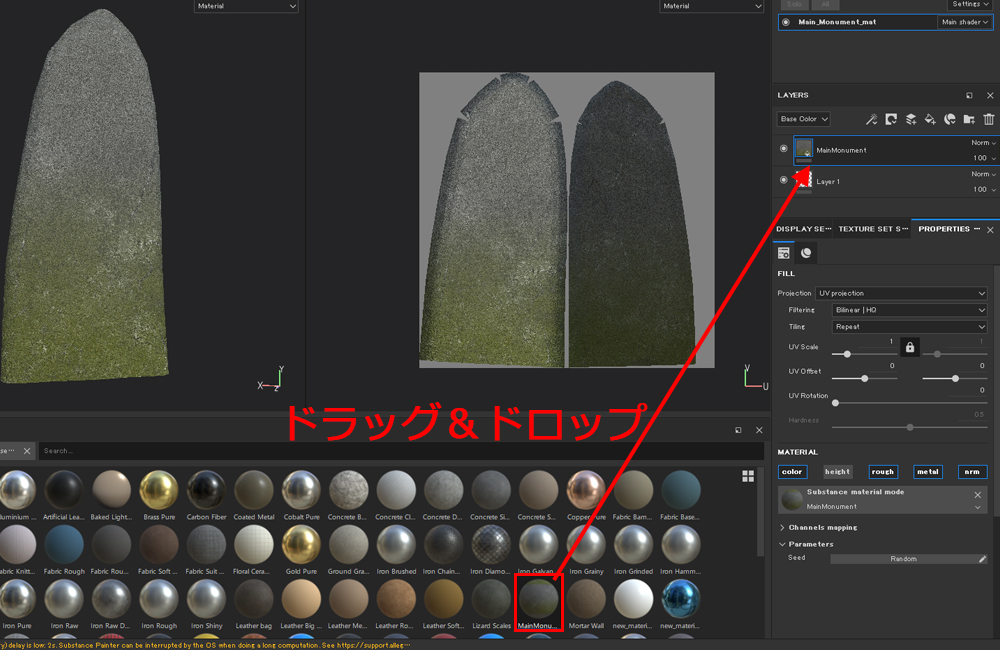
Then, it imports the Material you made to the Shelf. To use it, drag it onto the layer.
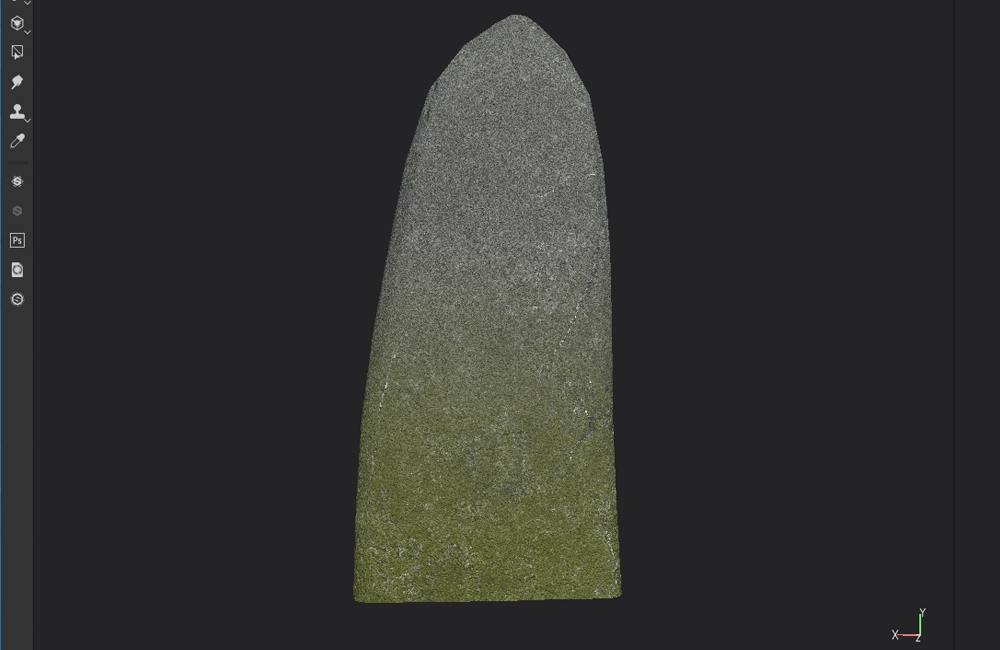
The Material has been applied and now looks the same as the one in Substance Designer.
Use Alpha you made in Substance Painter
To add STYLY’s logo to the centre of the monument, import the image of the logo as Alpha.

The shown above is the logo I use this time.
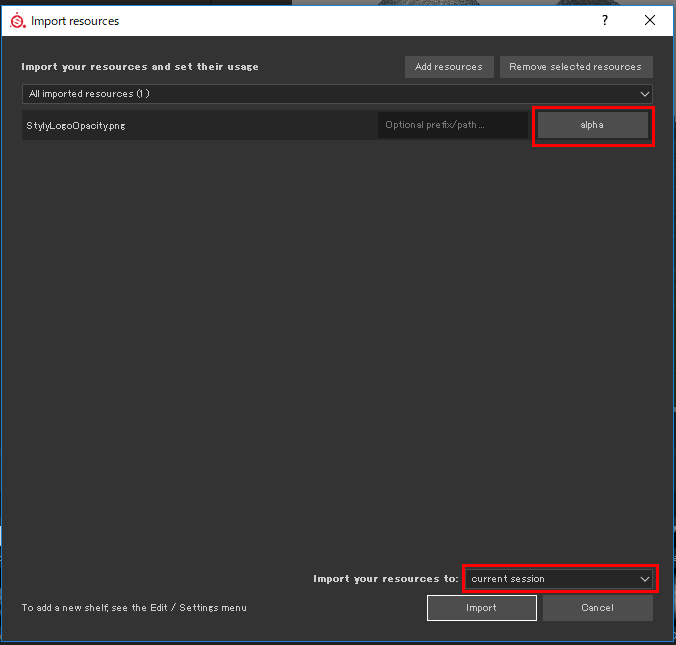
As seen when you imported a sbsar file earlier, drag it onto the Shelf to open the window.
Select ‘alpha’ as it will be used as Alpha.
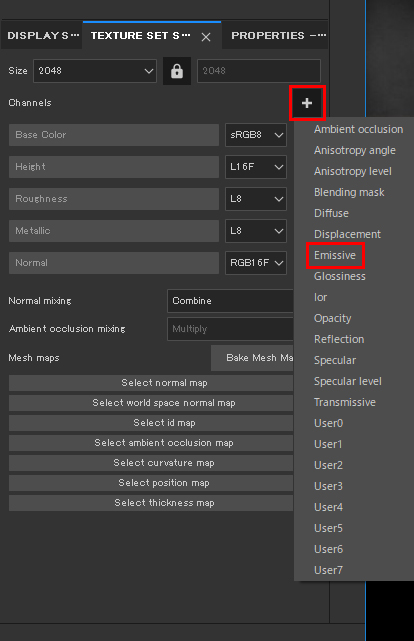
To make the logo emit light, add the ‘Emissive’ channel.
Set the brush’s alpha to the logo imported earlier, and reduced the height to add an engraving effect.
I set the Emissive colour to yellow.
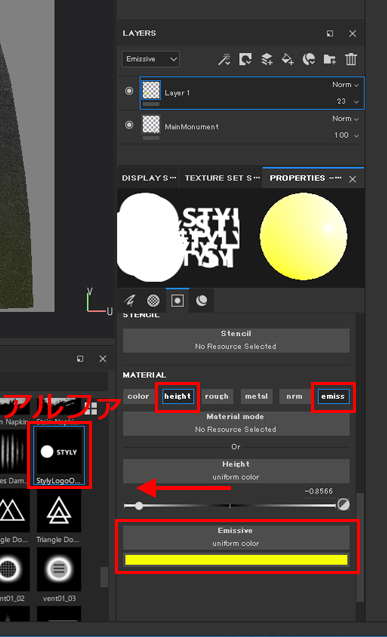
The settings are shown above.
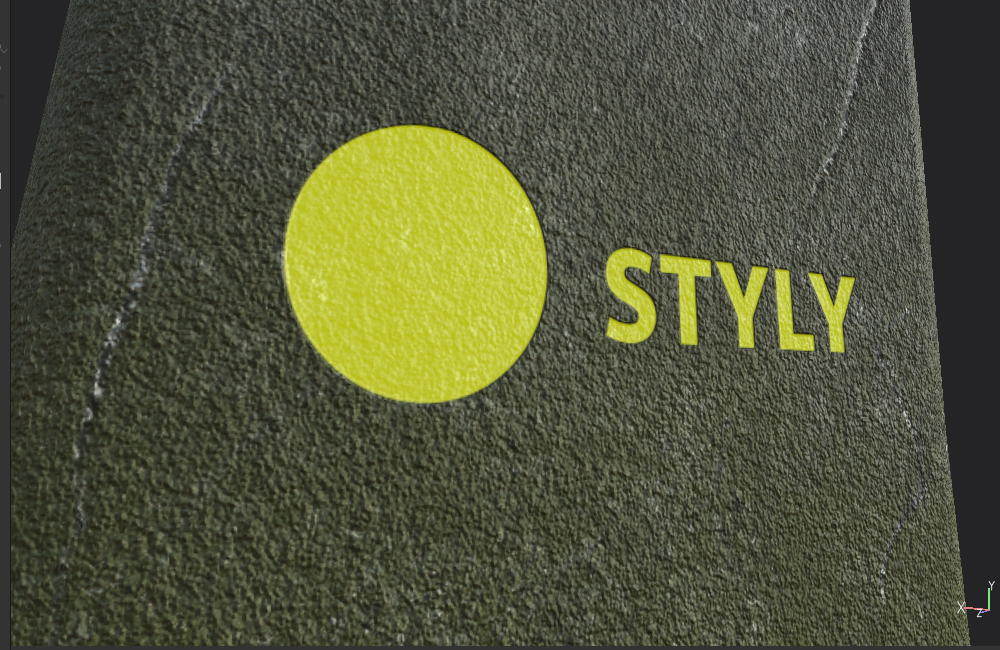
As a result, you can now see an engraving effect on the logo with the yellow Emissive colour.
Add an effect on a layer
As it looks too clean, transform the shape by Filter.
There are some Filters in Substance Painter, which are similar to what is available in Photoshop.
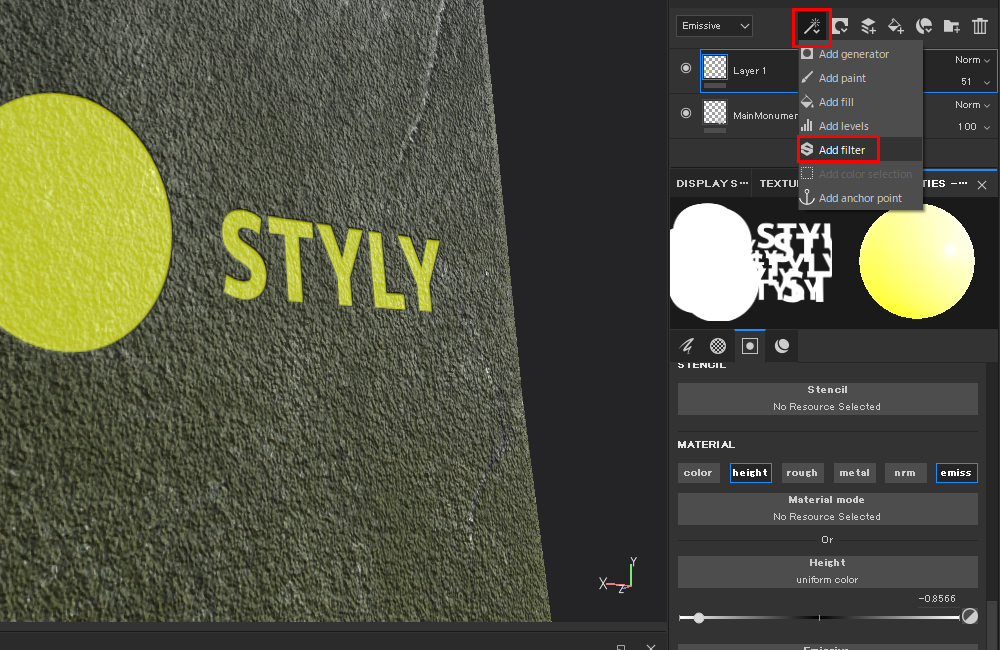
Select ‘Add filter’ from the icons above the Layer list.
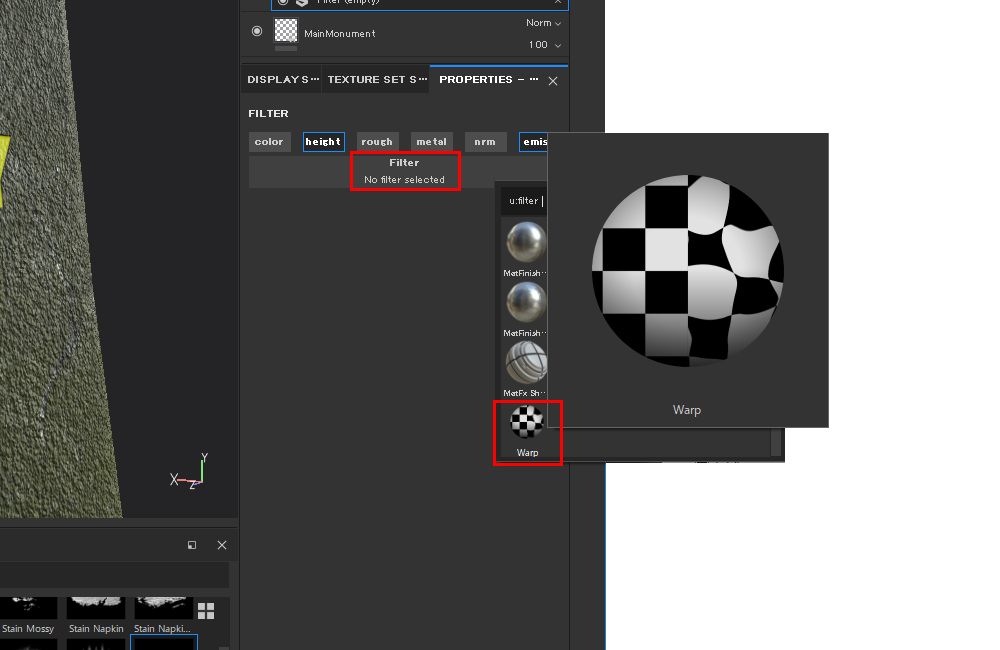
Click ‘Filter’ to display various Filters available.
Use ‘Warp’ here.
When you applied the Filter, you can adjust the parameters in the property window.
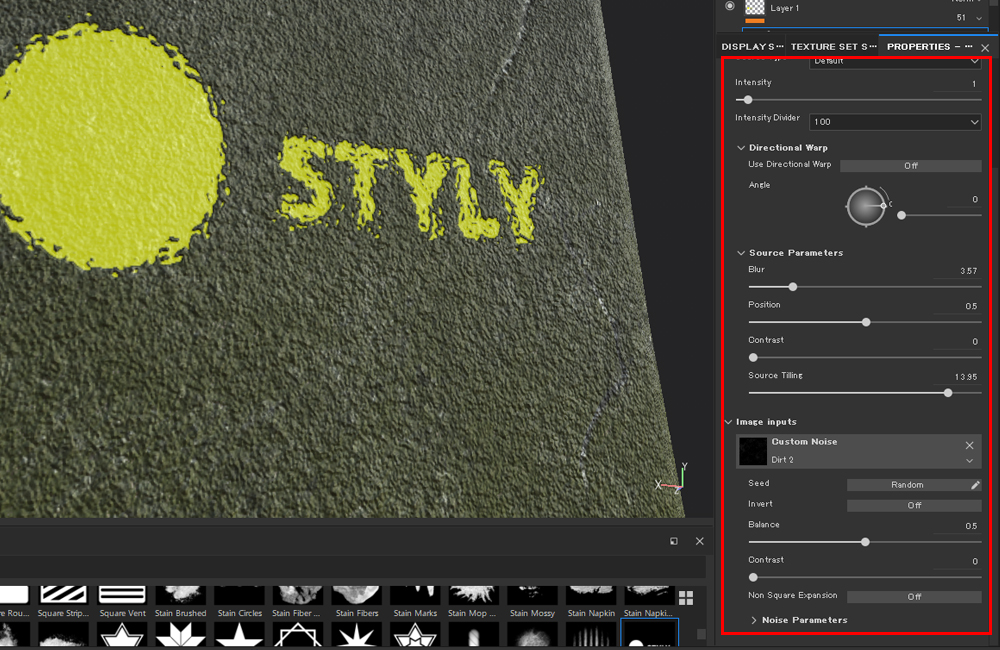
I add an effect that moss twines over the logo.
Export Texture to use in Unity
Export the Texture to use in Unity.
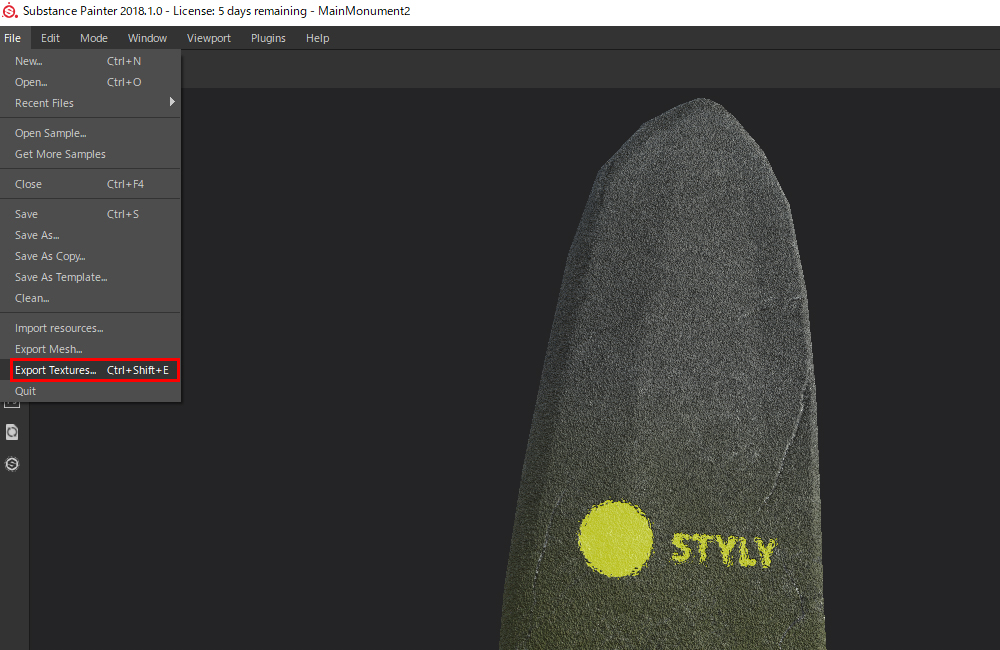
Select File > Export textures.
It brings up the Export menu.
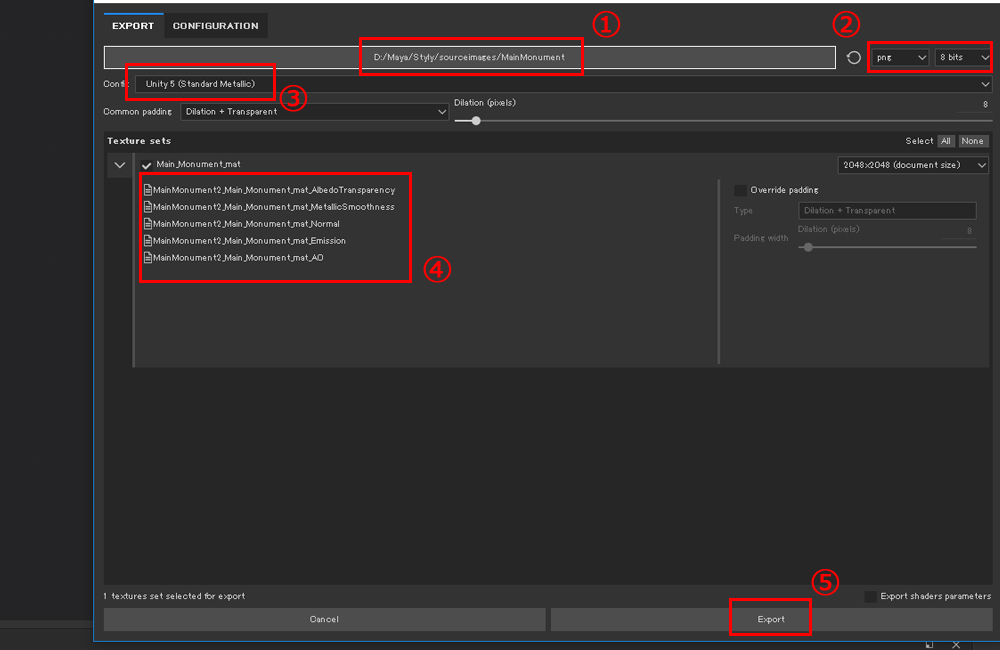
① Enter where to save the texture.
② Select the file type to save.
③Select the template. We use ‘Unity5(Standard Metallic)’ here.
④ It shows the textures that will be exported.
⑤ Press it to export all textures shown.
The textures have been exported.
What is made in Substance Designer can be used in Substance Painter as a Material.
Substance Painter is good for finer adjustment. In addition, it would be easy to use for the people who are familiar with Photoshop as it has similar Layer structure and Filters.
Another strong point is that it has the templates for Renders and Game Engines such as Unity, Unreal Engine, Vray, etc.
You can access the VR space created in this article >> TreasureHunter