BLENDER SWAP
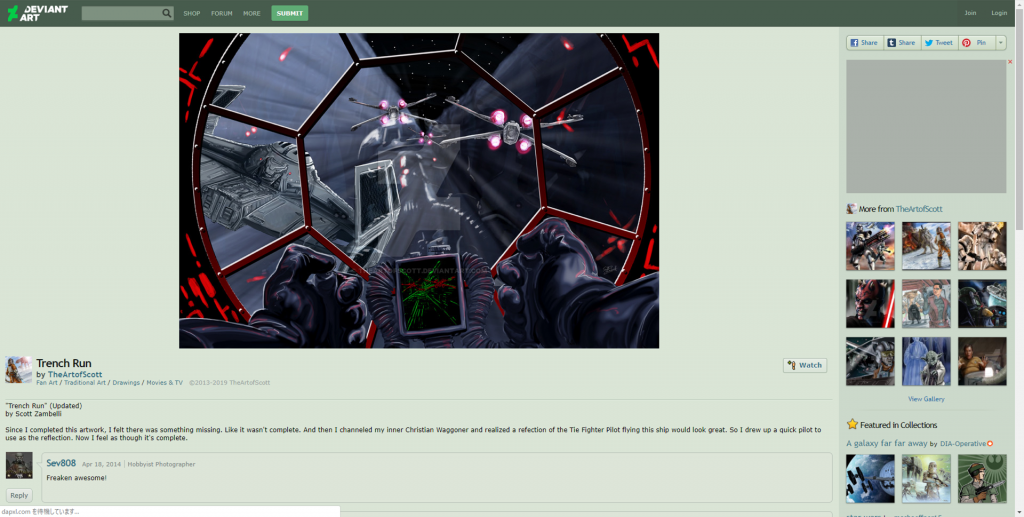
“Trench Run” by TheArtofScott
Sample
You can try out the sample scene at the STYLY GALLERY.
http://gallery.styly.cc/soichirooooo5/6f0c038b-21f4-11e9-b34d-4783bb2170d0
Downloading a 3D Model
First, sign up for a member at BLEND SWAP, and download a 3D model.
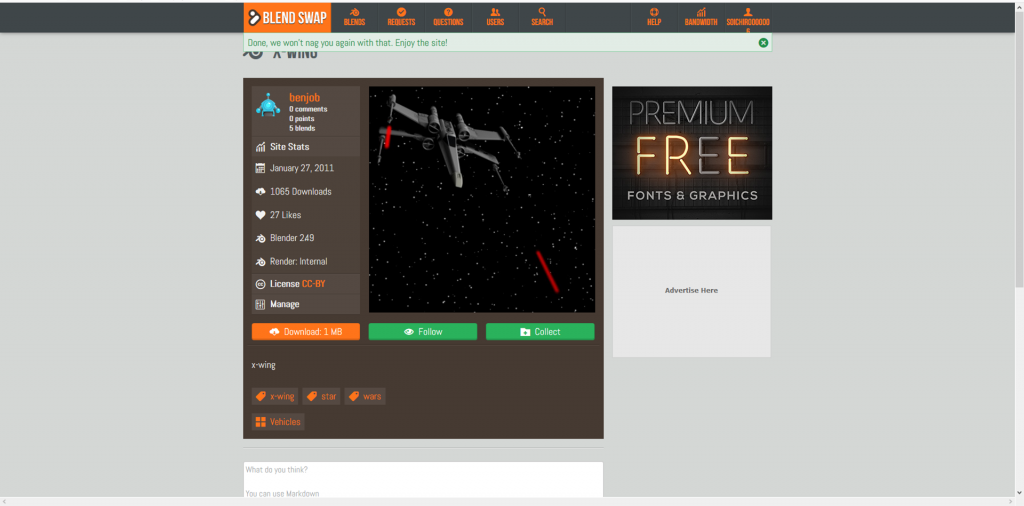
“X-Wing” by benjob
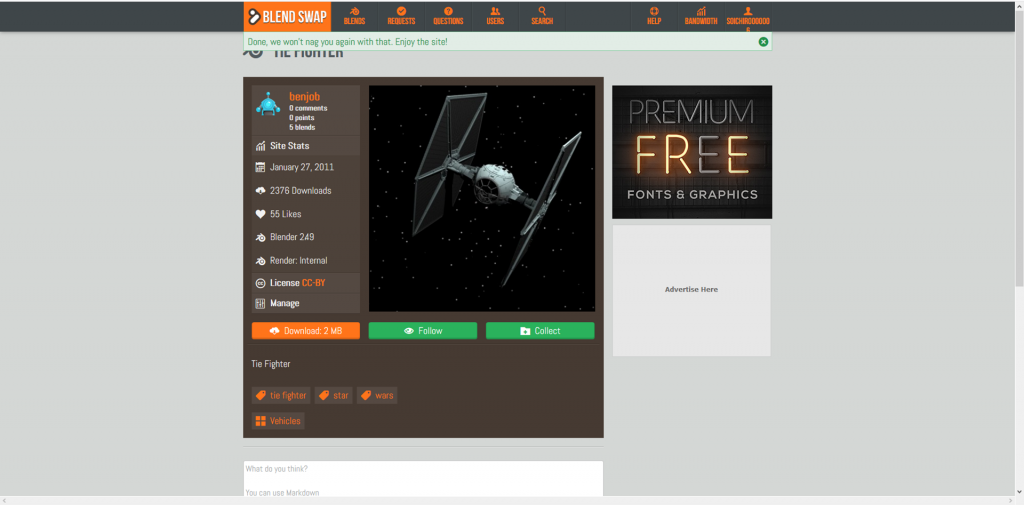
“Tie Fighter” by benjob
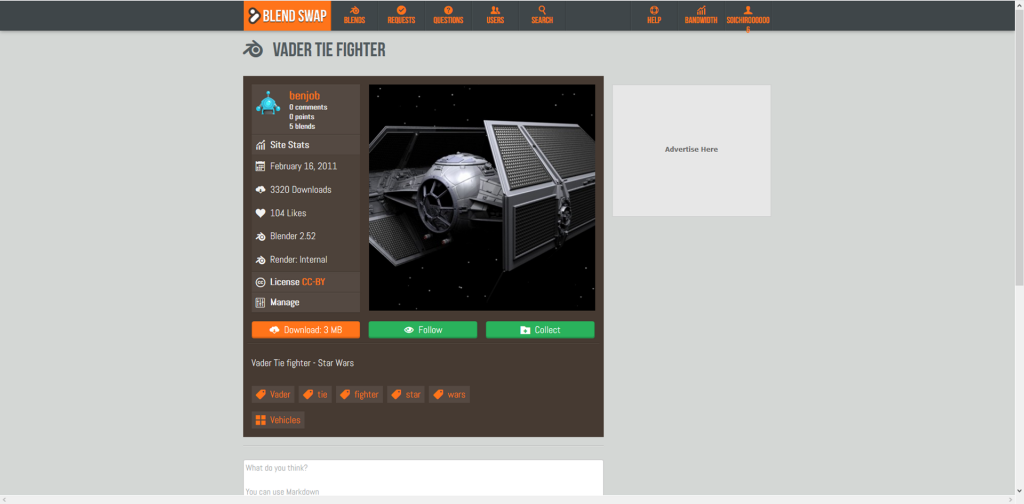
“Vader Tie Fighter” by benjob
Let’s download a skyscape with stars too.

“Starry Sky” by Francesco Ungaro
Importing to Unity
The .blend file you downloaded is accessible from [My Models & Upload].
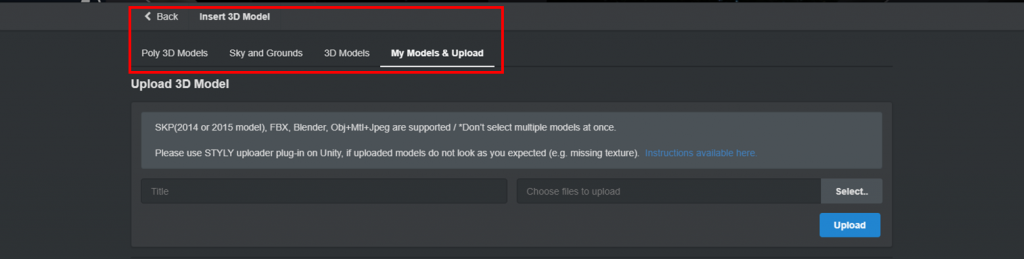
Upload a BLEND file from the STYLY editor
I uploaded all three models.
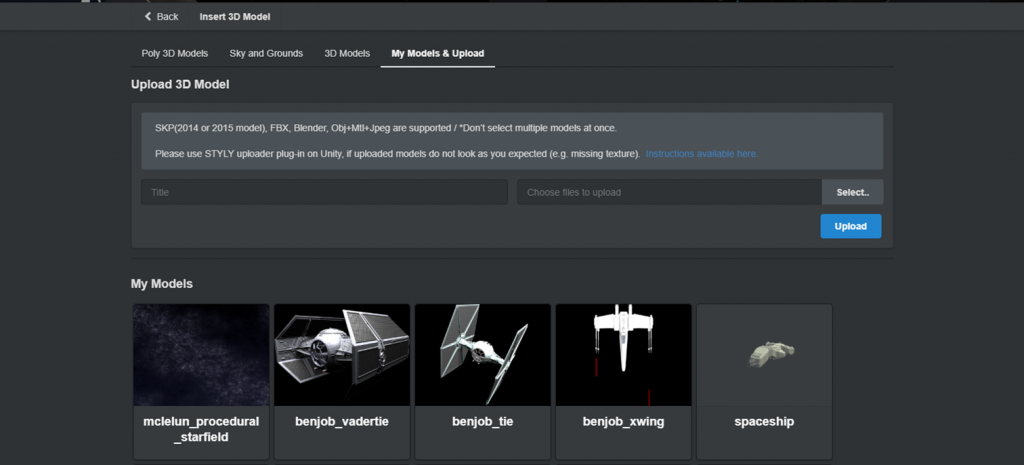
All files imported
Building up the scene
Next, I will explain the steps I took to create the scene.
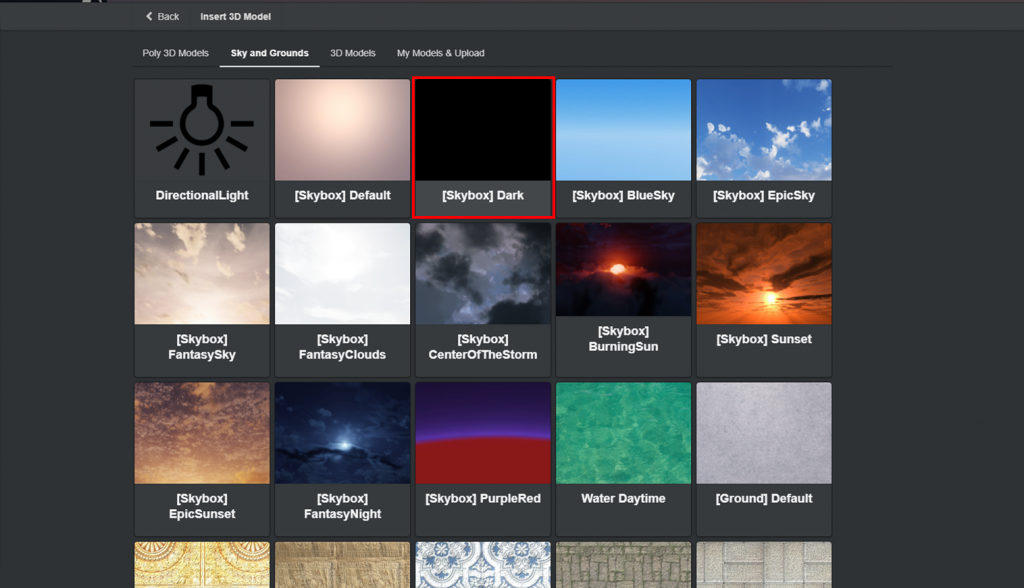
Change the Skybox to Dark
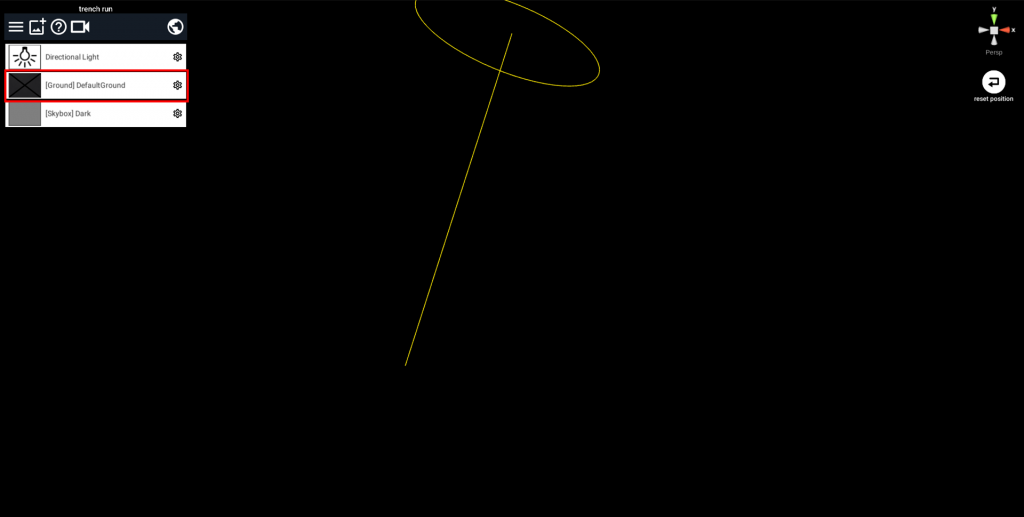
Change Ground to Off
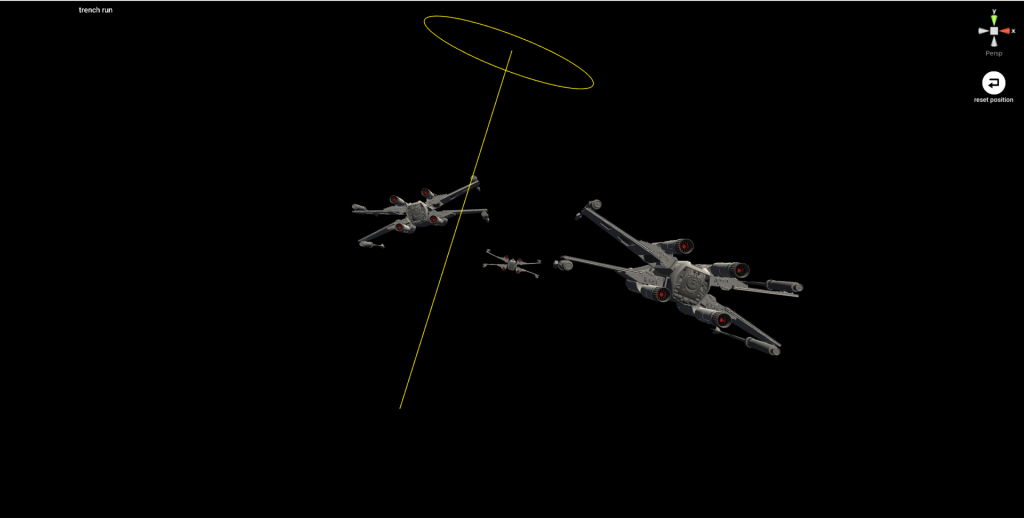
Place the x-wing model
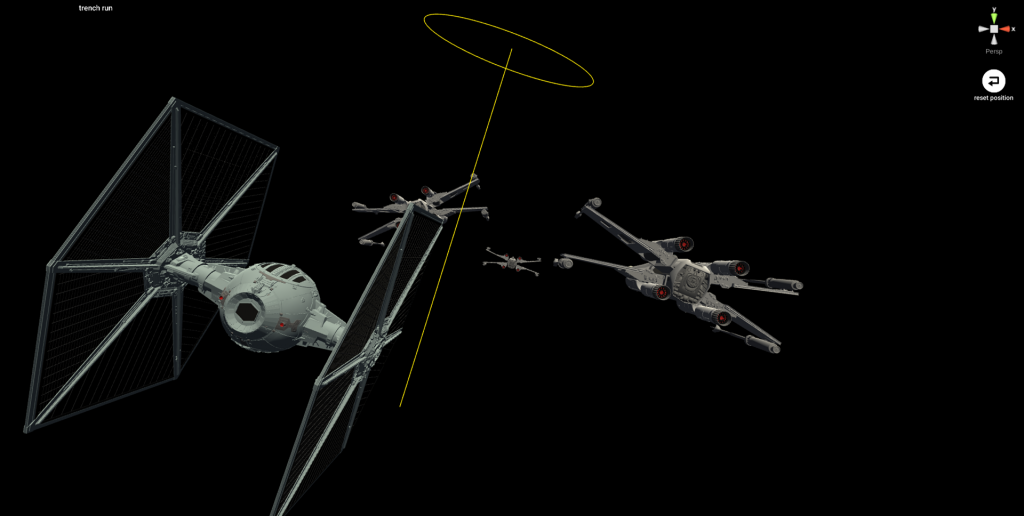
Add the Tie Fighter model
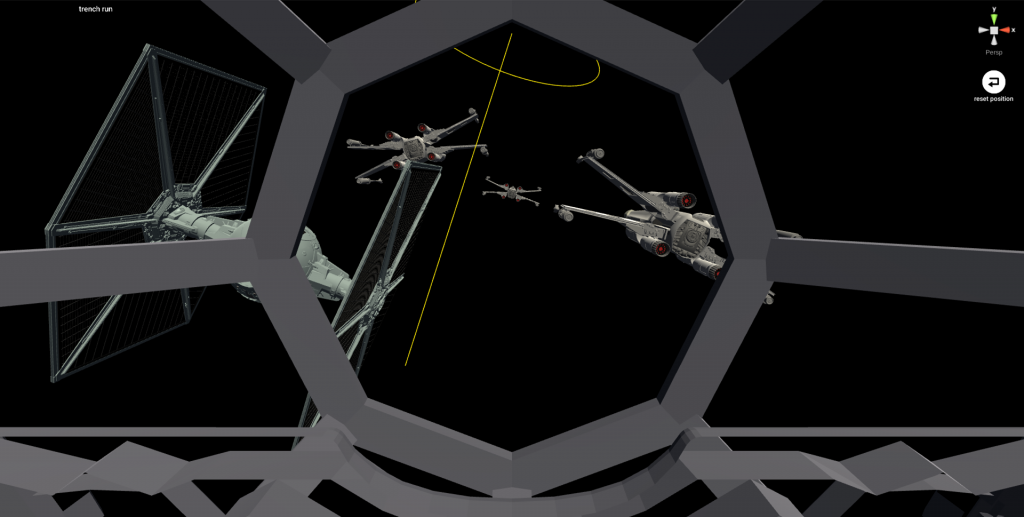
Place the Vader Tie Fighter so that you can see the cockpit
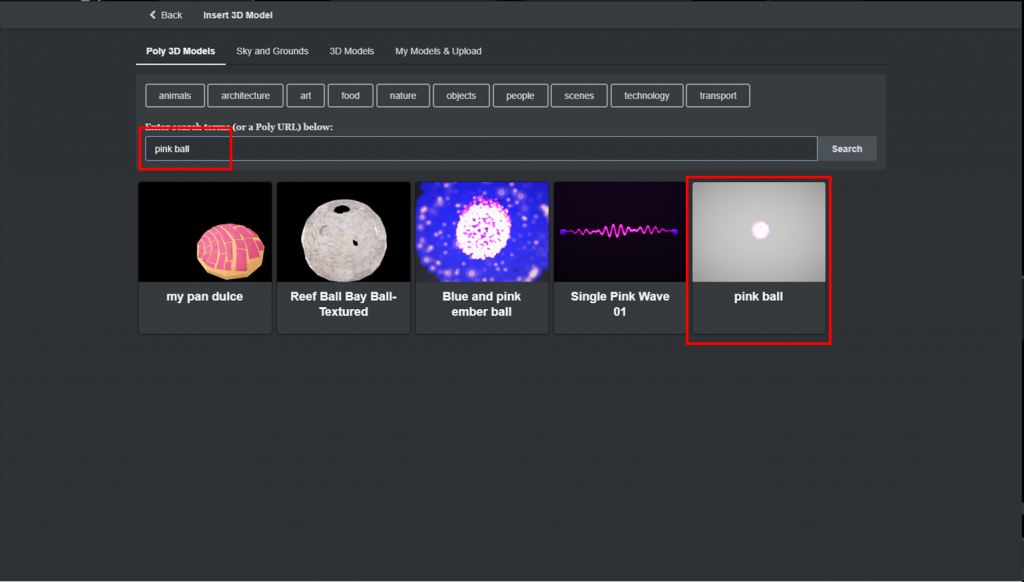
Add pink ball from Poly
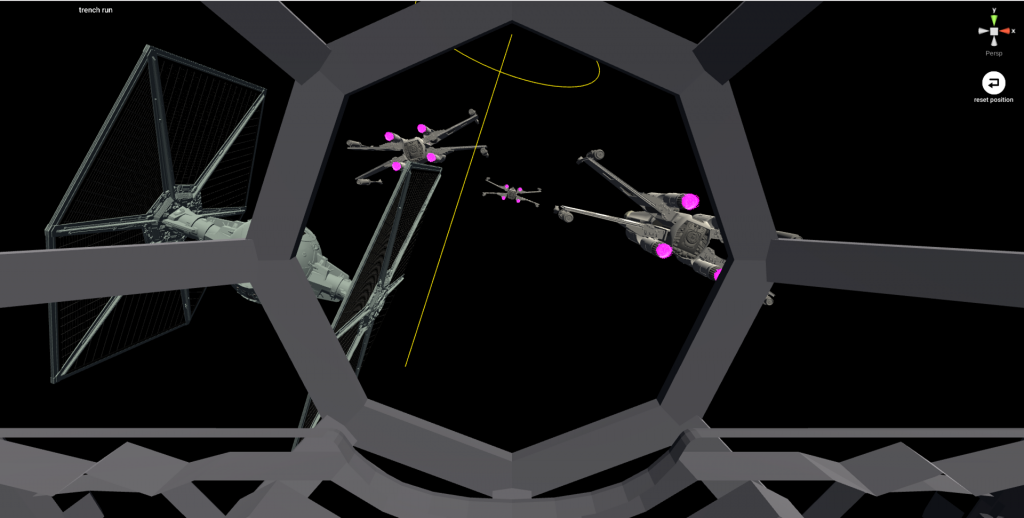
Place the pink ball as after fires
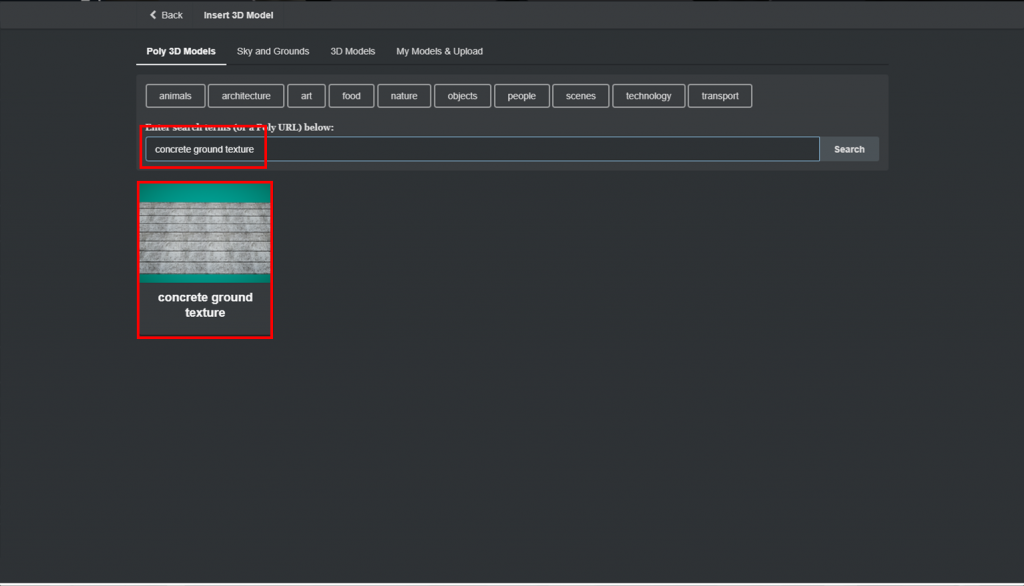
Add concrete ground texture from Poly
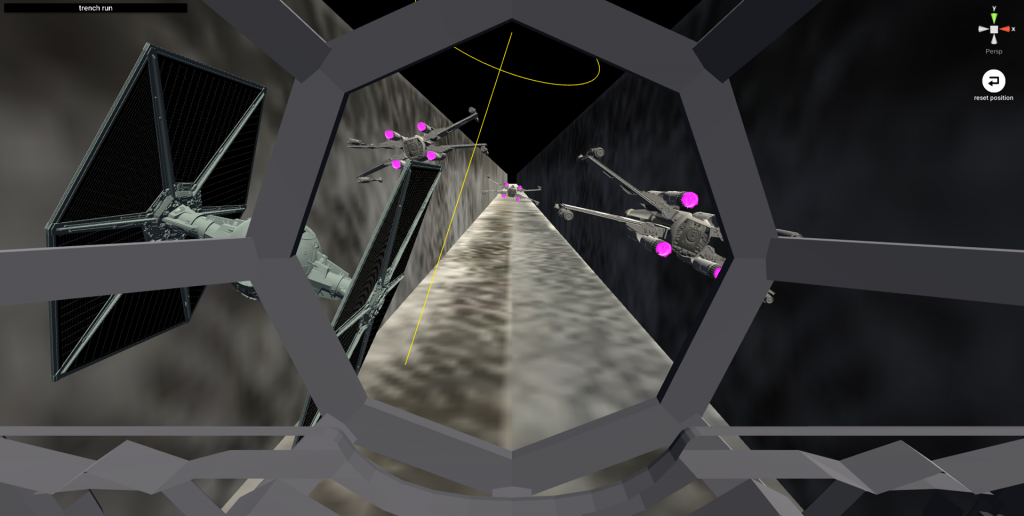
Place concrete ground texture as a wall
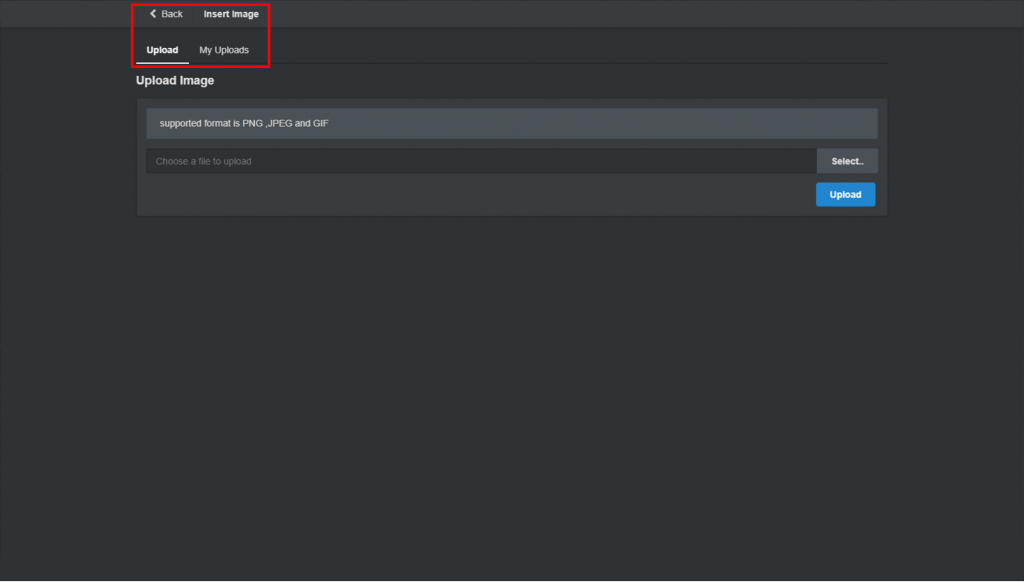
Open the upload window for images
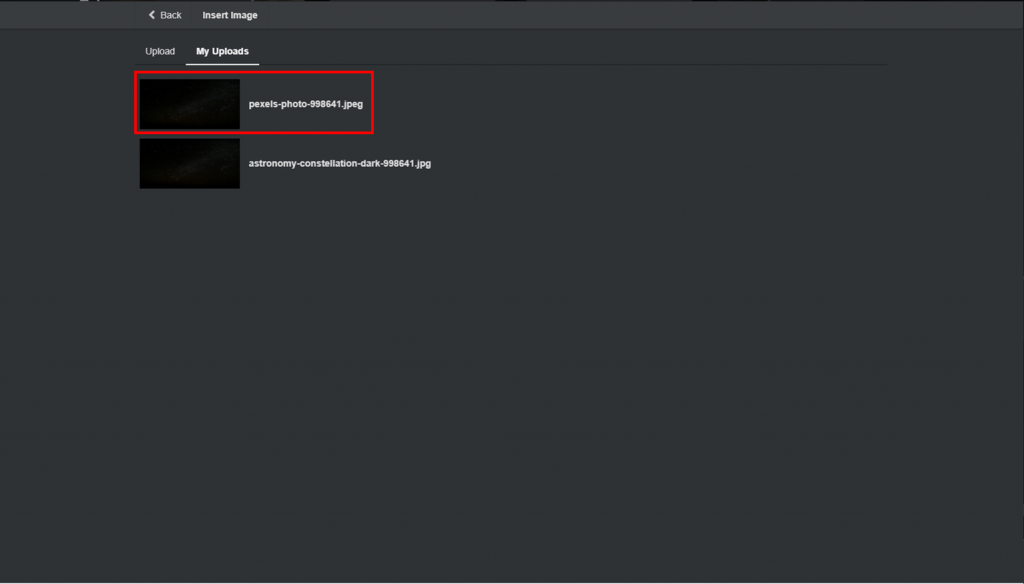
Upload a skyscape image
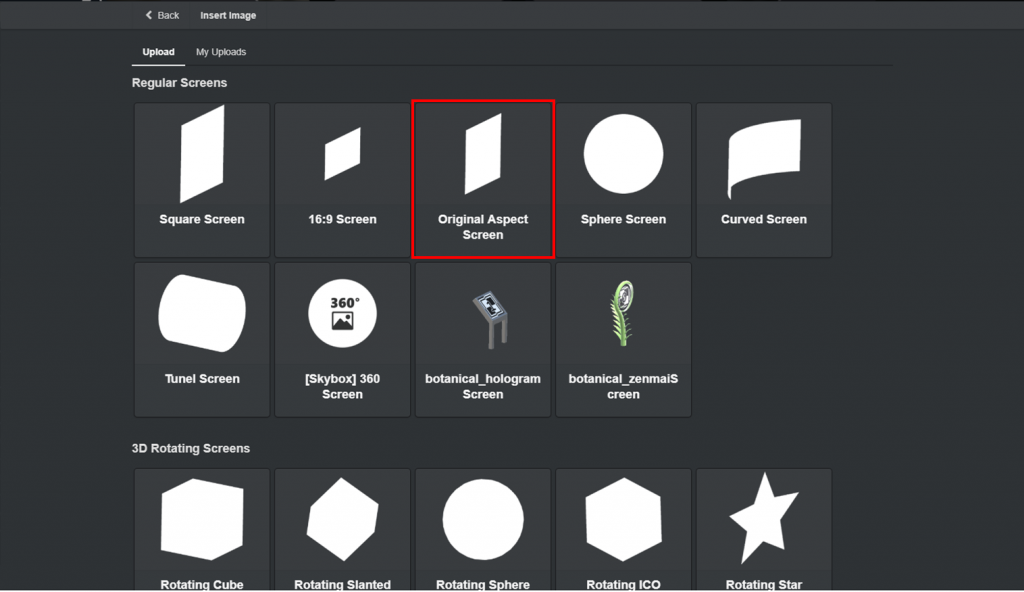
Choose to import using the original aspects

Place the sky image so that the player can see it on his or her front
The cockpit is a bit poor in details, but that is it for this article.
Trying to create a VR scene from scratch is very hard if you have not decided on what you want to create.
But if you first try to create a scene from your favorite movie or manga, it’s not that hard, and is very fun!
I hope you try out creating your favourite scene with STYLY!