When creating a Scene, the geographical features such as the ground, sea, and mountains are essential.
You can get them from Asset Store, but you can also create your own world by using a function called ‘Terrain Engine’ which is available in Unity.
In this article, I will explain how to create terrain with ‘Terrain Engine’.
Create Terrain
In the menu bar, select ‘GameObject > 3D Object > Terrain’.
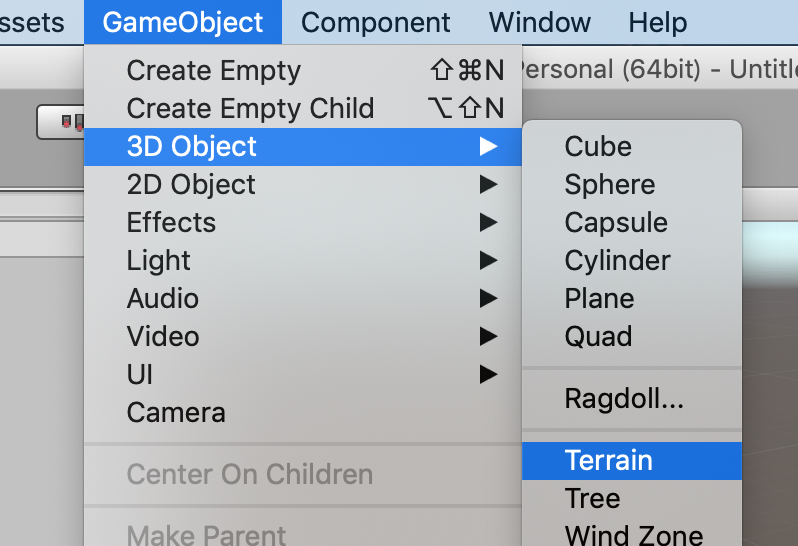
Select ‘Terrain’
Now, a ‘planar’ terrain model has been created.
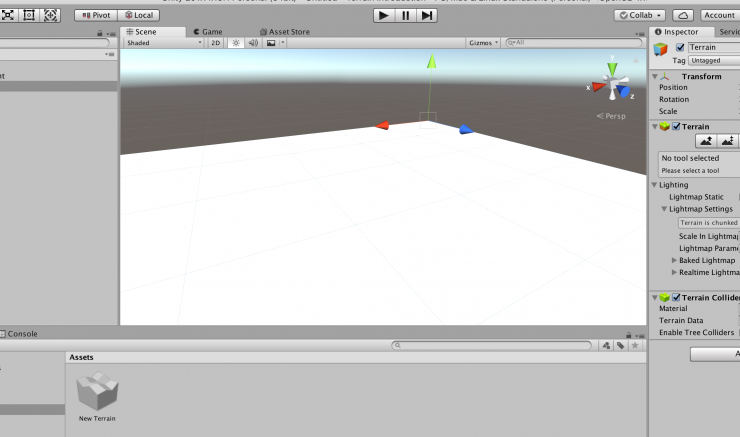
A terrain model has been created
Now we need to make it look more realistic.
Create Upheavals and Depressions
Since the created terrain is flat, we need to add realistic upheavals and depressions.
In the Inspector window of ‘Terrain’, there is a group of icons (tool buttons).
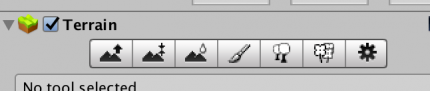
The tool buttons in the Inspector
These are the tools to edit terrain.
Select the leftmost tool button ‘Raise/Lower Terrain’ to display the items for editing, at the bottom of the window.
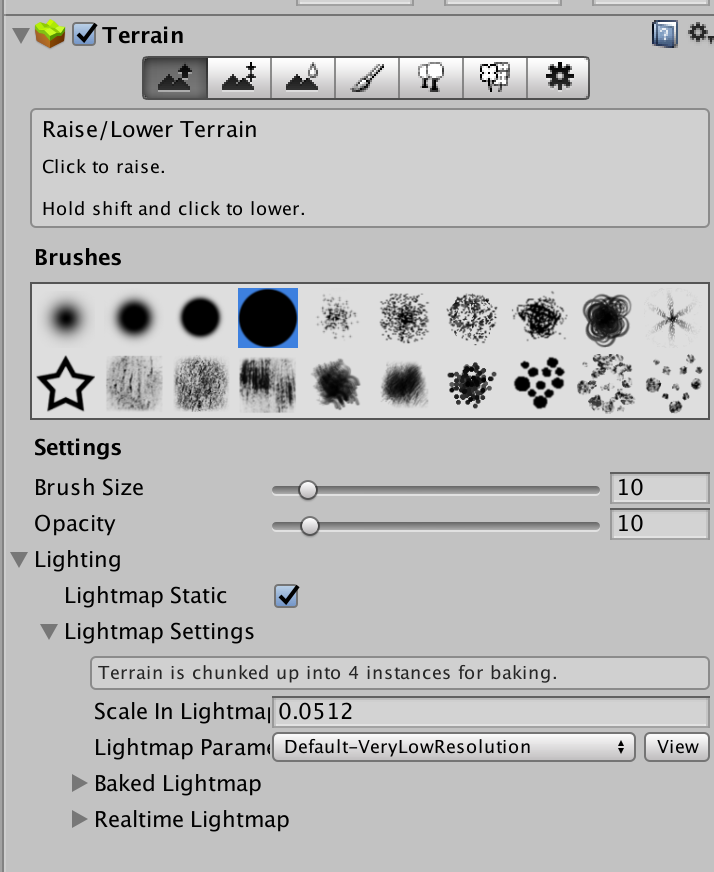
Select ‘Raise/Lower Terrain’
With a brush in the ‘Brushes’ palette selected, click or drag the mouse to add irregularities to the terrain.
When moving the mouse pointer in the Scene window it changes into a blue shadow-like pointer. Using your mouse place the brush where you want to add irregularities and click and drag the mouse to add them.
Create upheavals and depressions with a brush
In ‘Settings’, ‘Brush Size’ defines the size of the brush and ‘Opacity’ defines ‘variation width’.
The word ‘variation width’ might not describe how ‘Opacity’ works very well, so let’s compare the actual results with Opacity set to 10 and 100. In both cases, I draw in the same way with the same settings except Opacity is adjusted.
Drawing with Opacity set to 10
Drawing with Opacity set to 100
The above animations should give you an idea of what ‘variation width’ is.
Create Plateaus
Next, let’s try to create plateaus.
Click the second tool button ‘Paint Height’ to display the settings below.
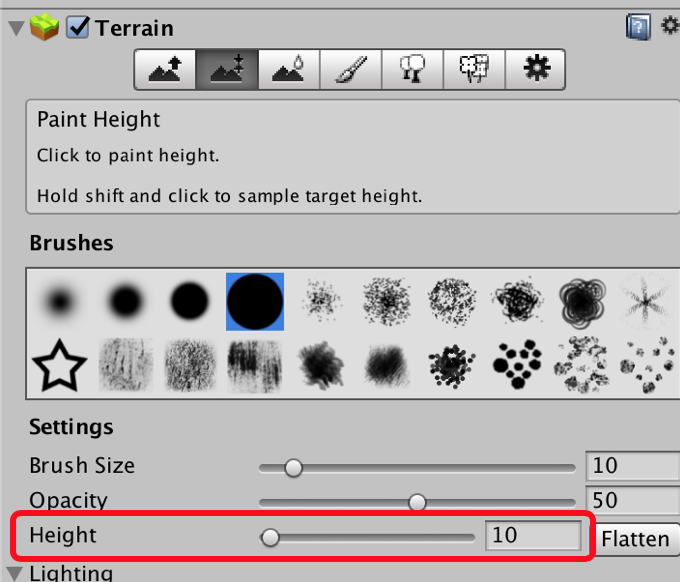
The setting for ‘Height’
‘Brush Size’ and ‘Height’ works in the same way as those for ‘Raise/Lower Terrain’.
By setting the ‘Height’ value, you can create the plateaus with a specified height.
In the Scene window, draw in the same way as ‘Raise/Lower Terrain’ to create plateaus.
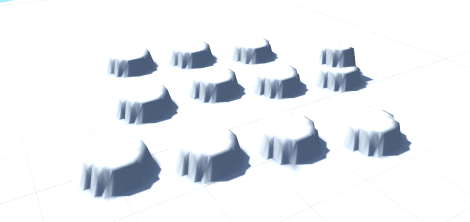
Create plateaus
Now, you have successfully added plateaus.
Set Up Textures
Next, apply textures to the terrain.
Prepare the Materials for Texture
First, import a free texture asset for the terrain.
Download and import the ‘Terrain Textures Pack Free’ asset from the Asset Store.
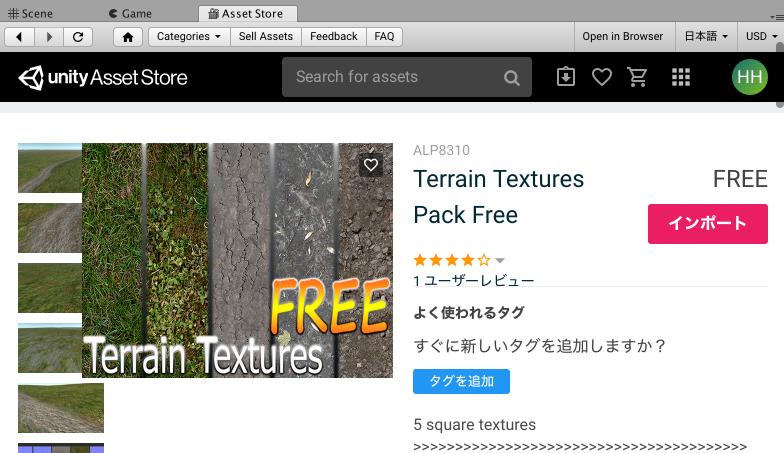
Terrain Textures Pack Free
Add Texture to Terrain
Select the ‘Paint Texture’ tool button and press the ‘Edit Texture’ button to attach a texture to the Terrain.
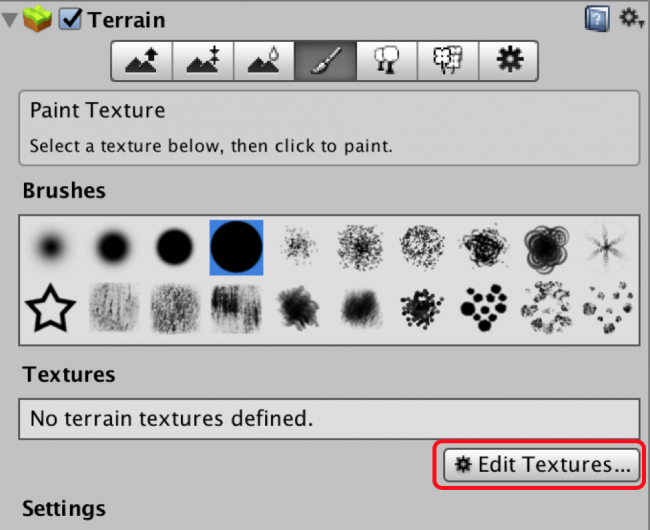
Apply texture #1
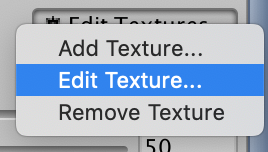
A pop-up window will appear. Select ‘Add Texture’.
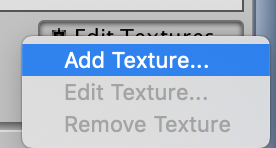
Apply texture #2
The ‘Add Terrain Texture’ window will appear, click ‘select’ in the ‘Non (Texture 2D)’ box on the left.
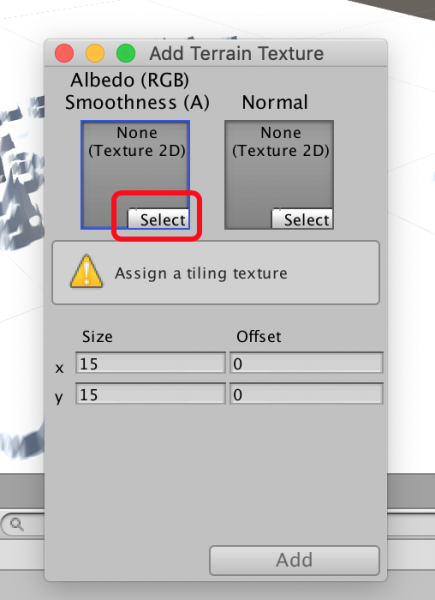
Add texture
This will bring up a list of textures. You can choose any texture you want, but let’s select ‘GrassUV01’ for this example.
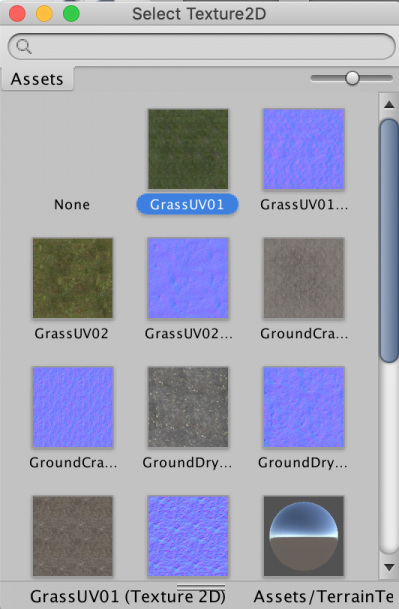
The list of textures
Close the window and click ‘Add’.
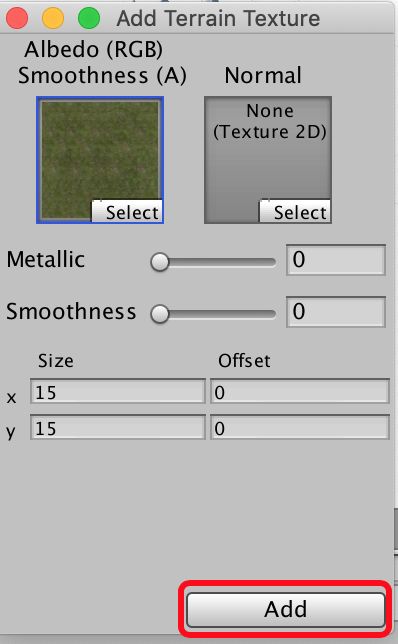
Now, grass-like texture has been applied to the terrain.
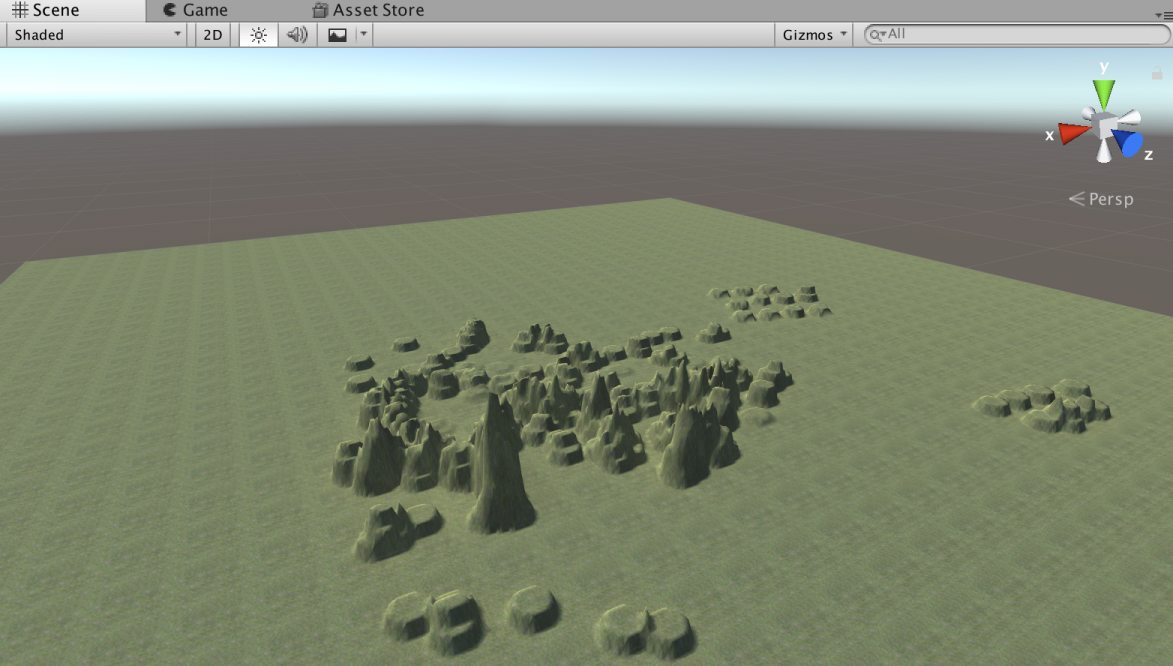
Check the appearance in the Scene window
Add the Second Texture
Currently, the whole terrain has a single texture, so it’s not suitable for a world with multiple color tones such as grass and rocks.
Therefore, in addition to the grass-like texture above, we can add wasteland-like texture to the terrain.
As with the first texture, select ‘Edit Textures > Add Textures’.
It brings up the window to select texture again, so select a texture with gray-ish color.

Add the second texture.
Close the window. Now, you can paint the terrain with the specified texture by clicking and dragging the mouse.
Paint the terrain with the second texture
You can change the texture by using ‘Edit Texture’.
Change the texture
Create Forest
Next, plant trees on the terrain to create woods or forests.
Prepare the Material for Forest
First, import a free asset of trees from the Asset Store. Download and import the ‘Free Trees’ asset as shown below.
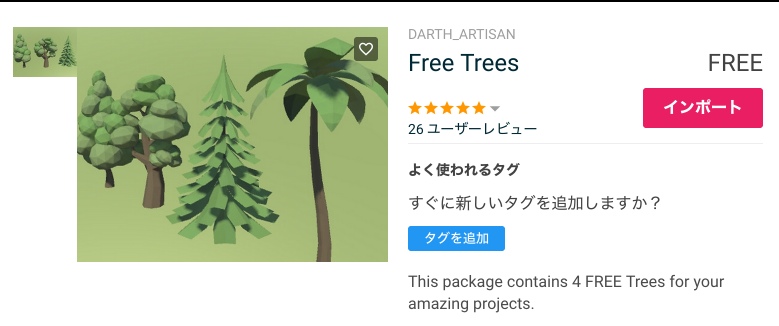
‘Free Trees’ asset
Add Trees to the Scene
Click the ‘Paint Trees’ tool button and select ‘Edit Trees > Add Trees’.
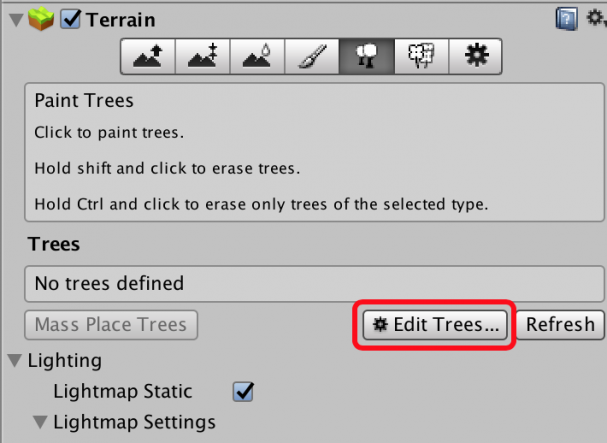
Select ‘Edit Trees’
The following window will appear, click the button on the right.
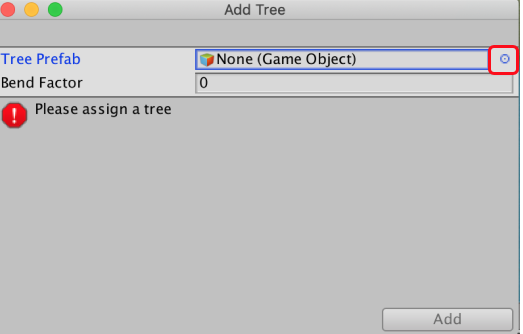
Click the small button on the right
This will bring up a list of the imported trees, select your favorite one.
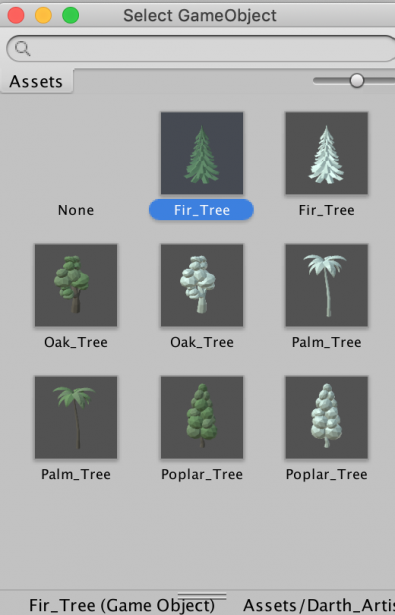
The list of tree assets
With a tree selected, move the mouse on to the Scene window. Then the pointer will change into a light-blue marker. Click the mouse to place trees.
Place trees by clicking the mouse
Trees are added automatically by dragging the mouse.
Add trees by dragging the mouse
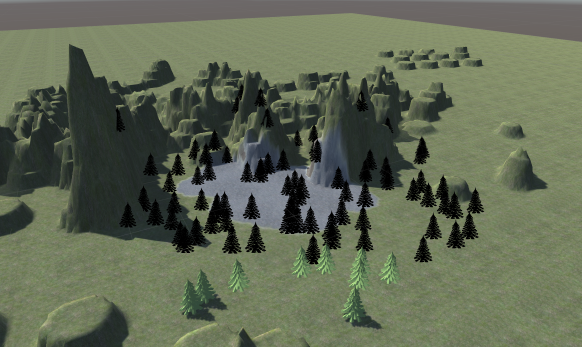
Place trees in the Scene
Create a Lake
Next, create a geographical feature like a pond or lake on the terrain.
Unity doesn’t have a pond or lake-like feature by default, so make a basin on the terrain and pour water into it to make a similar feature.
Import the ‘Water’ Material
Let’s import the ‘water’ material first.
In the menu bar, select ‘Assets > Import Package > Environment’.
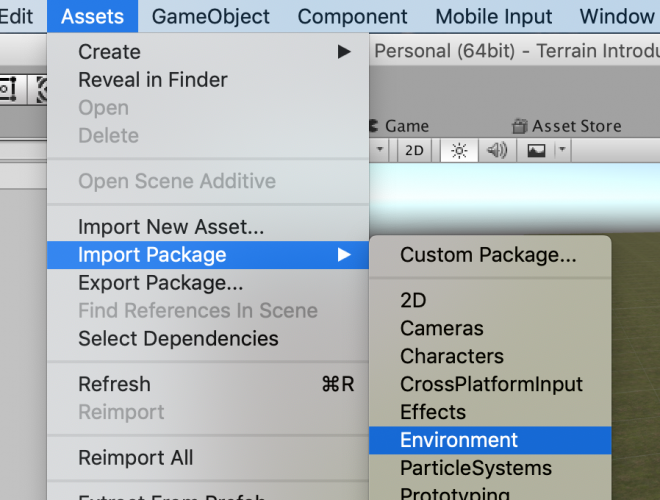
Import the ‘Environment’ package
This will bring up a window to import packages, press ‘Import’ with all the packages selected.
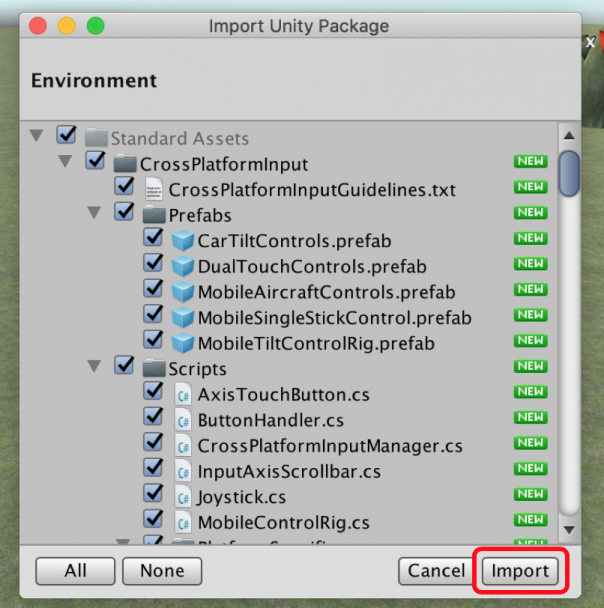
Import all the packages
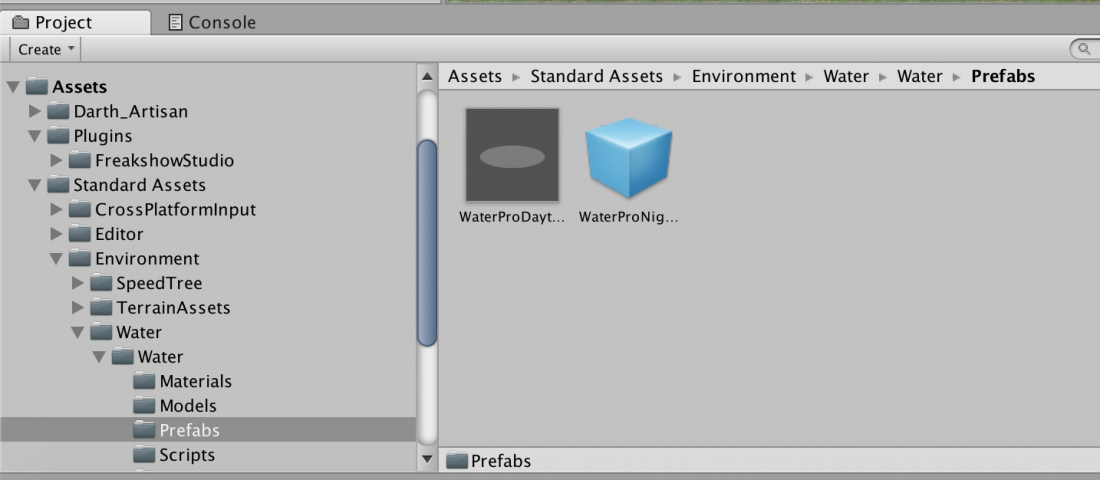
After importing the packages, in the Project view check if there is ‘WaterProDaytime’ in Assets / Standard Assets / Environment / Water / Water.
This will be the water material that we will use this time. By the way, ‘WaterProNight’ is the water meant for a night scene, as the name suggests.
Select the Water Prefab
Make a Basin
Next, let’s make a basin on the terrain.
In the Inspector for Terrain, set up the parameters for ‘Paint Height’ as follows.
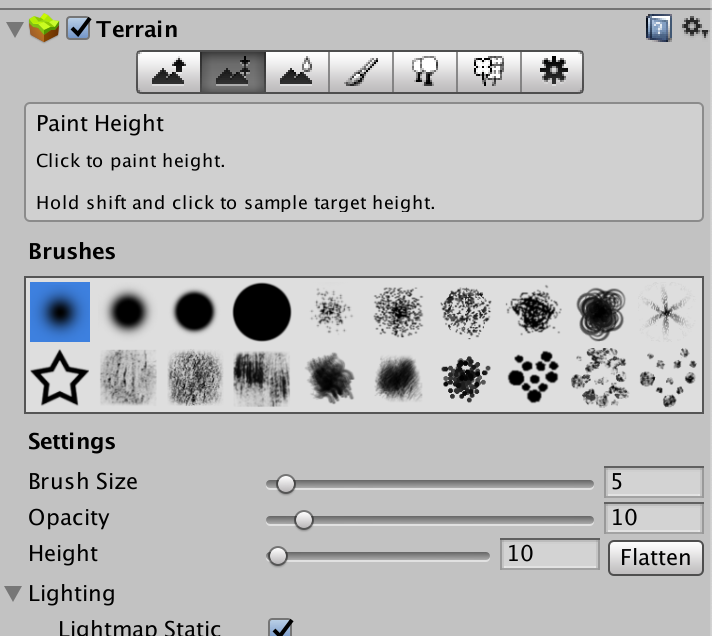
The setting for ‘Paint Height’
Draw a circle with upheavals by dragging the mouse in the Scene to shape a basin.
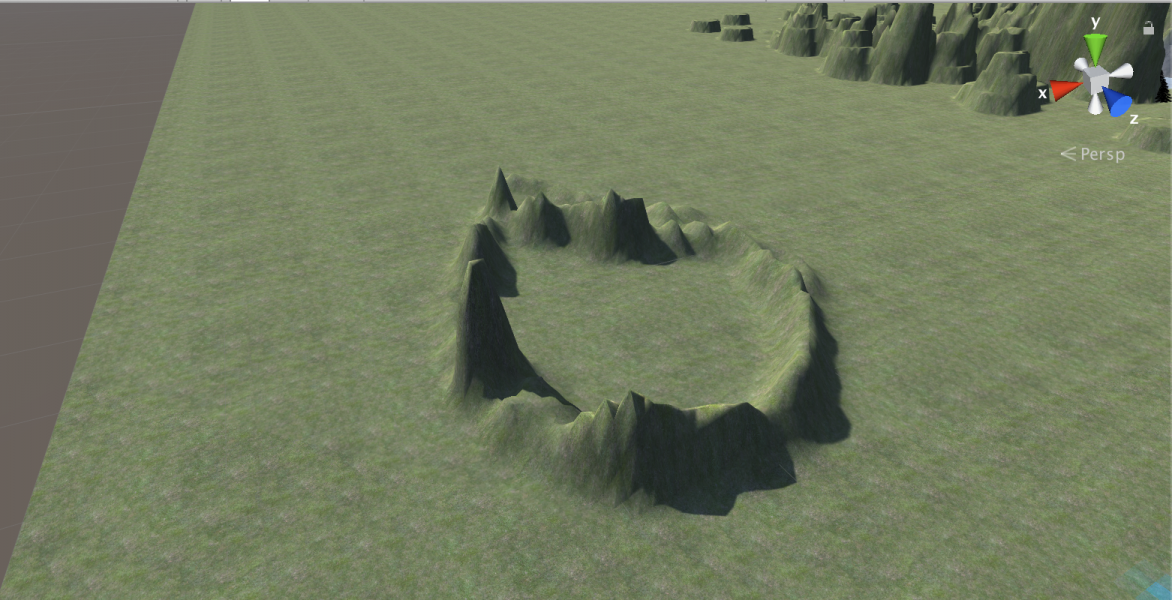
Create a basin
Place ‘WaterProDaytime’ in the Scene
Drag ‘WaterProDaytime’ from the Project view and place it so that it fits into the basin on the Scene.
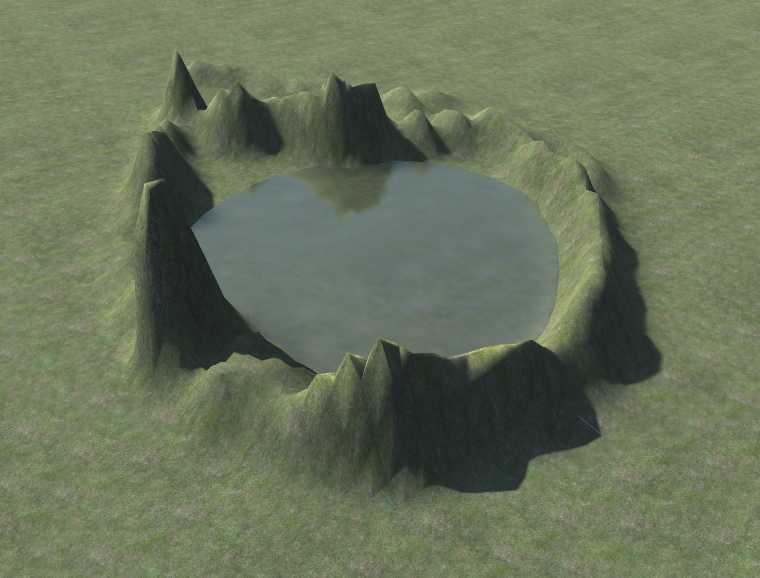
Place ‘WaterProDaytime’
If the size doesn’t fit, adjust the ‘WaterProDaytime’ by scaling and moving it.
Upload the Terrain to STYLY
You can also upload the created terrain to STYLY.
However, if you upload the terrain created with Unity to STYLY as it is, it will cause some problems. For example, you won’t be able to scale or rotate it. In the worst case, you can’t upload it due to the file size. So, please refer to the following two methods to upload a terrain to STYLY.
The first one can be used for free, but it has drawbacks; only one main texture can be applied and trees cannot be reproduced, requiring another method to place trees in a STYLY scene.
![[Unity] How to Convert Terrain Into an OBJ file (Resizable)](https://styly.cc/wp-content/uploads/2019/05/スクリーンショット-2019-05-14-2.03.08-160x160.png)
The second one can’t be used for free, but you can apply multiple textures and it can reproduce trees.
![[Unity] Separate Terrain into Mesh and Texture with ‘Terrain To Mesh’](https://styly.cc/wp-content/uploads/2019/05/スクリーンショット-2019-05-27-1.22.18-160x160.png)
Congratulations. This concludes the tutorial on creating terrains using Terrain Engine.
Creating terrains will help to enhance your world. If you can become skillful at creating terrains you will be able to create diverse VR spaces.