Overview
In this article, I will introduce how to blur out an image using Unity. By adding a mosaic effect over images, you can gain an interesting effect. First, I will explain about the mosaic effect, then introduce the steps how to implement a blur out effect.
Overview of the mosaic effect
Sample
STYLY Sample
GitHub Sample Project
https://github.com/styly-dev/STYLY-Unity-Examples/tree/master/Assets/STYLY_Examples/MosaicTexture_Sample
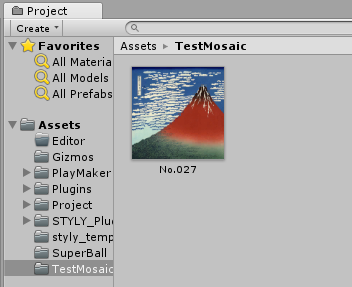
The image used in this article
In this article, I borrowed and used an image named 凱風快晴 from the Public Domain Museum.
http://www.bestweb-link.net/PD-Museum-of-Art/ukiyoe/ukiyoe/fugaku36/No.027.jpg
In this tutorial, we will use 凱風快晴, so please download it and add it to the Unity Project.
Texture Position
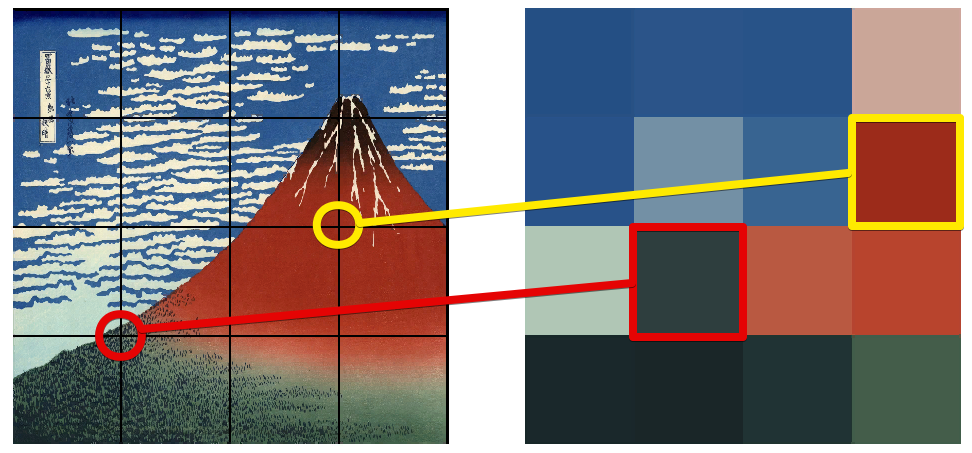
The mechanism of a mosaic effect
I will explain how to create a mosaic effect. By dividing the image into square blocks, and filling each square with the color of the lower left square, the image will become like a mosaic.
The color pattern of a mosaic
For example, the red square range at the lower left would be filled with the color from the red circle area.
The color pattern of the lower left square
For the square above it, do the same with process, moving the red circle position the same amount.

The color pattern of the lower left square
By repeating the process for each square area of the image, the whole picture will become blurred out with a mosaic pattern.

A 4×4 mosaic pattern
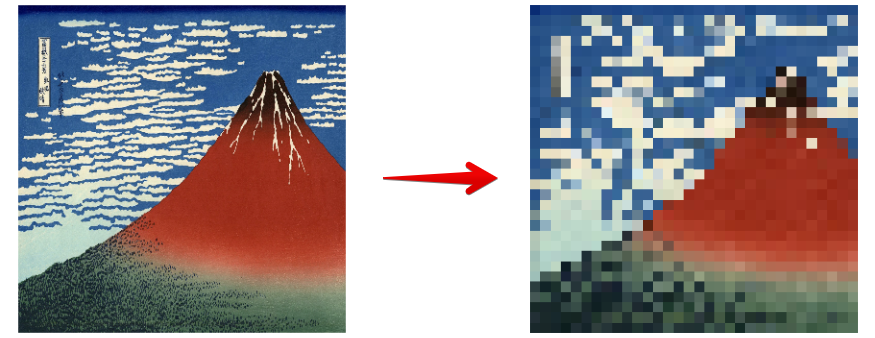
By changing the number of squares (resolution), an interesting effect can be gained.
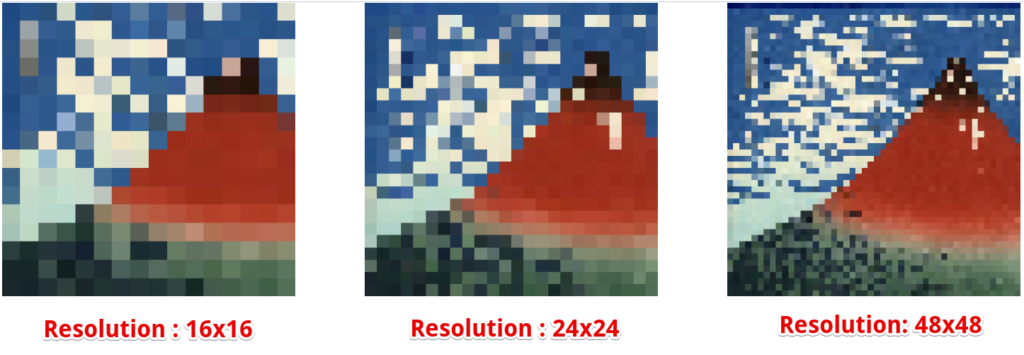
Comparing different resolutions
Implementation with Unity
We can create a mosaic effect using Unity materials.
The object we are going to create
Creating a Shader
Creating a Shader file
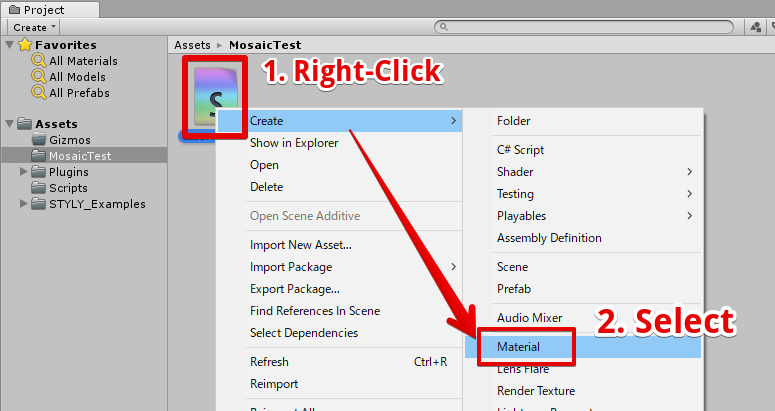
First, create a Shader file, which we are going to use for creating a material.

The Shader file we are going to create
Right click in the Project window, and create a Shader file. Name the Shader file Mosaic.shader.
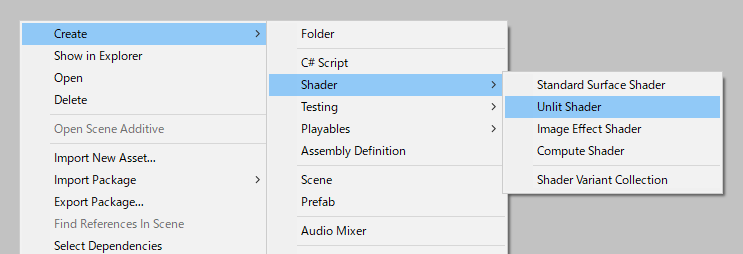
Creating the Shader file
Editing the Shader file
Open the Mosaic.shader and paste the code below.
Shader "STYLY/Examples/Mosaic" {
	Properties{
		_MainTex("Texture", 2D) = "white" {}
		[Space]
		_Color("Main Color", Color) = (1,1,1,1)
		[HDR]_EmissionColor("Emission Color", Color) = (0,0,0,1)
		_MosaicResolution("Mosaic Resolution", Range(2, 64)) = 32
		_MosaicResolutionX("X Mosaic Resolution", Range(1, 4)) = 1
		_MosaicResolutionY("Y Mosaic Resolution", Range(1, 4)) = 1

		[Space]
		_Glossiness("Smoothness", Range(0,1)) = 0
		_Metallic("Metallic", Range(0,1)) = 0
	}
	SubShader{
		Tags { "RenderType" = "Opaque" }
		LOD 200

		CGPROGRAM
		#pragma surface surf Standard fullforwardshadows
		#pragma target 3.0

		sampler2D _MainTex;

		struct Input {
			float2 uv_MainTex;
		};

		half4 _Color;
		half4 _EmissionColor;

		half _Glossiness;
		half _Metallic;
		int _MosaicResolution;
		int _MosaicResolutionX;
		int _MosaicResolutionY;

#define MOSAIC (_MosaicResolution * float2(_MosaicResolutionX, _MosaicResolutionY))

		// Surface Shader
		void surf(Input IN, inout SurfaceOutputStandard o) {
			float2 uv = IN.uv_MainTex;
			uv = floor(uv * MOSAIC) / MOSAIC;

			fixed4 c = tex2D(_MainTex, uv);
			o.Albedo = c.rgb * _Color;
			o.Emission = c.rgb * _EmissionColor;
			o.Metallic = _Metallic;
			o.Smoothness = _Glossiness;
			o.Alpha = 1.0;
		}
		ENDCG
	}
	FallBack "Diffuse"
}
Creating the Material
Next, lets create the Material.
The Material we are going to create
Creating the Material
。 Right click the Mosaic.shader, and select Create > Material.
Adding a texture to the Material
Select the Material, and drag and drop the texture to the Inspector window to add the Texture to the Material.

Drag and drop the Texture
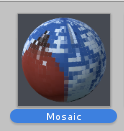
Check the Material
If the Material becomes like the image below, you’re done!
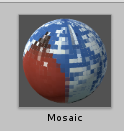
The Material we created
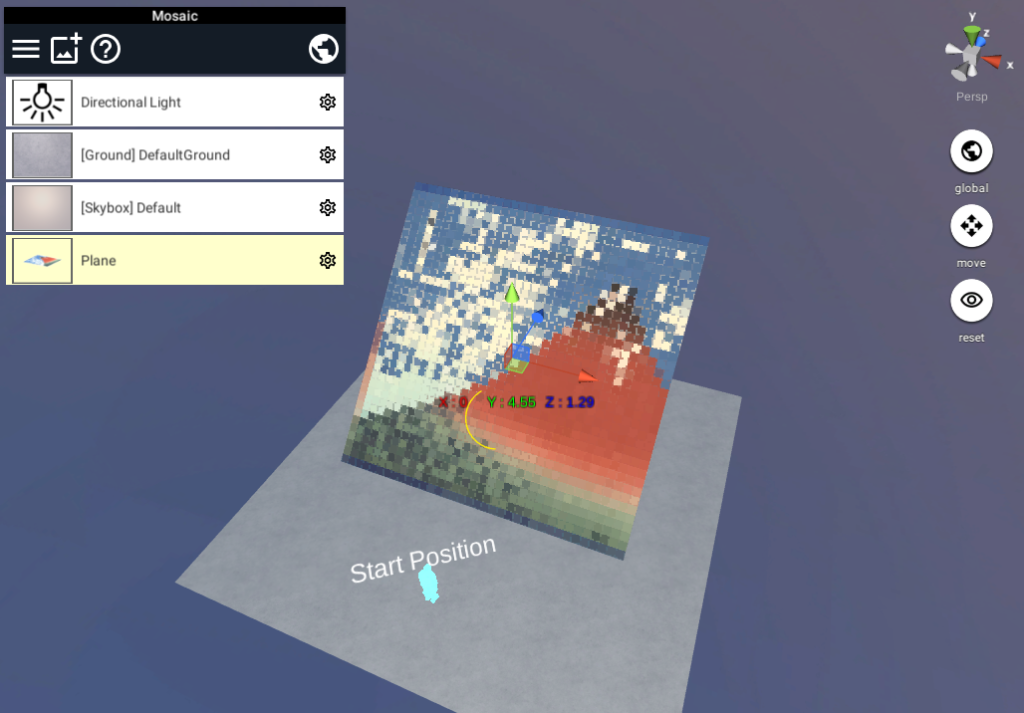
Creating a plane with texture
Next, we will create a plane with texture on it, just like the one in the image below.
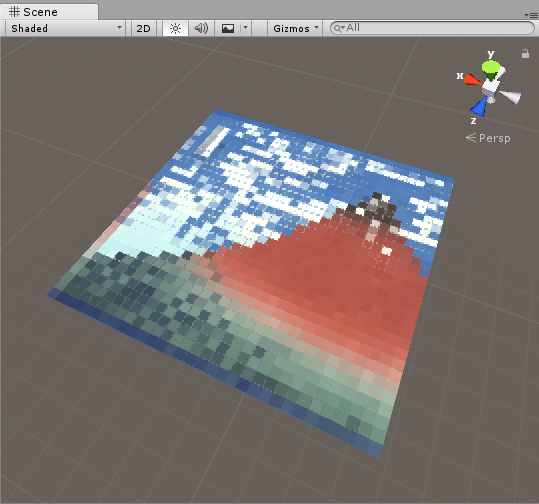
The plane object we are going to create
Creating the plane object
Click the Create button in the Hierarchy window, and create a new Plane object.
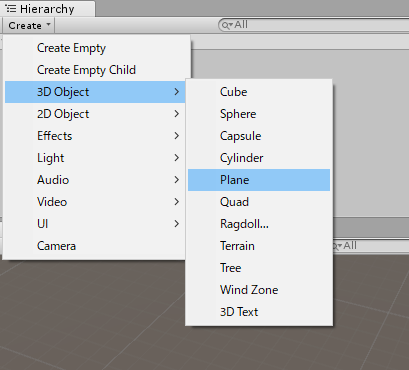
Creating a Plane object
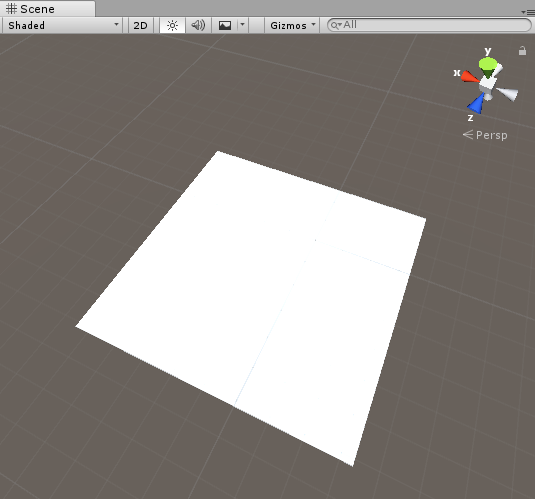
The plane object we created
Adding a Material to the Plane object
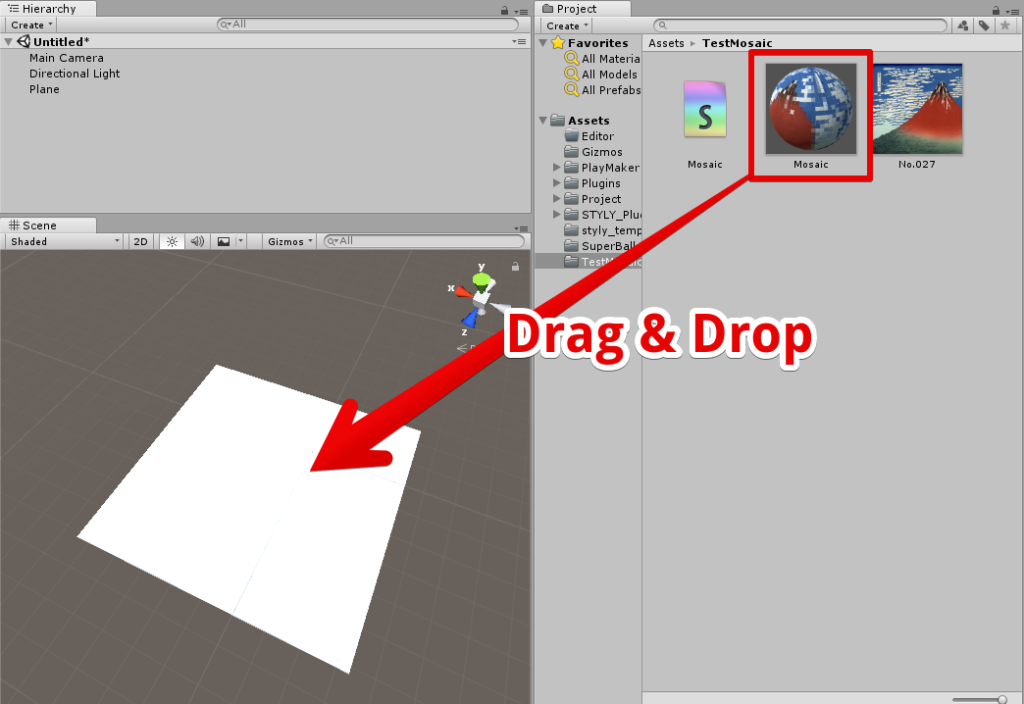
Drag and drop a Material onto the Plane object
Checking the Plane object
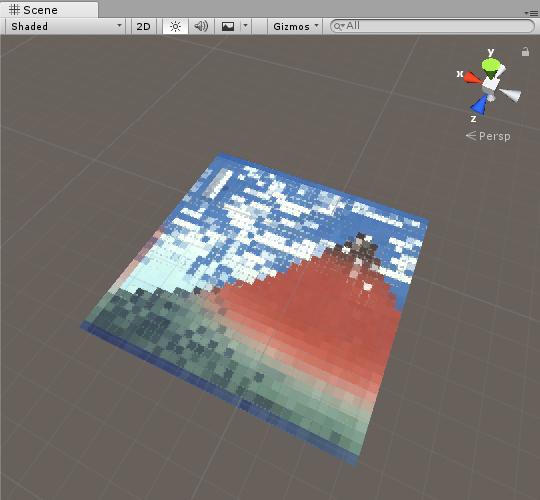
The Plane object with texture we created
Now, we’re done with the Plane object!
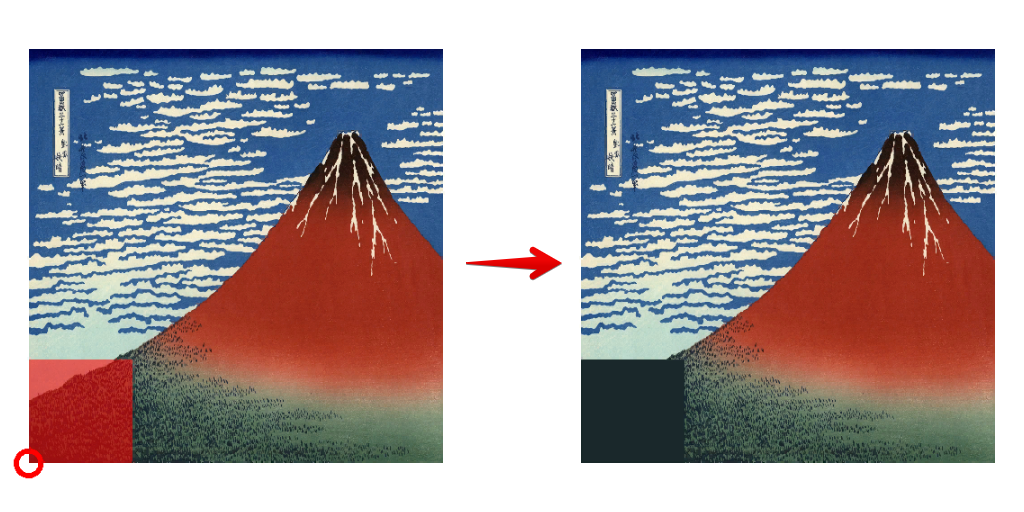
Changing the resolution of the Mosaic
Let’s change the resolution of the Mosaic as we wish. The Mosaic Resolution of the Mosaic Material is the value of the resolution. By changing the value of it, we can change the resolution of the Mosaic pattern.

The Mosaic Resolution variable
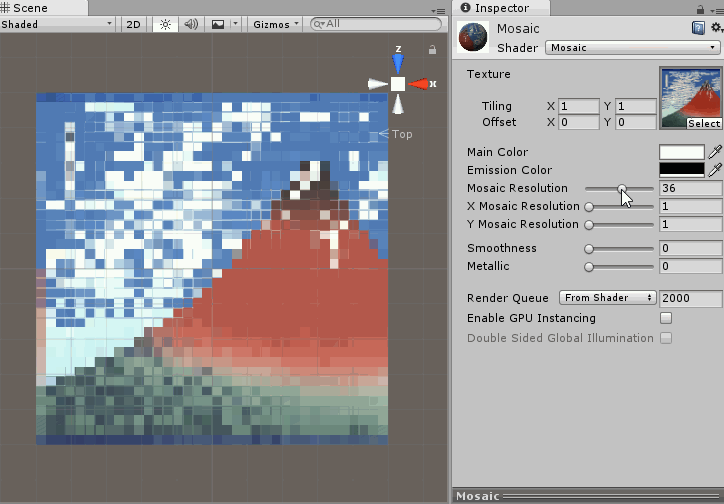
Changing the Mosaic Resolution
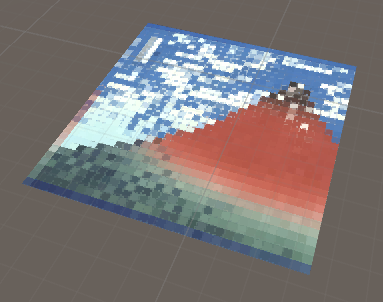
How it looks in the STYLY Editor
In the STYLY Editor, the object will show up like this.
Checking the object from the STYLY Editor
Uploading to STYLY
To learn how to upload object from STYLY to Unity, please refer to this article. https://styly.cc/ja/manual/unity-asset-uploader/