In this article, I will introduce ‘TURBOSQUID’, a 3D model site. I will explain how to create an account and download a model from the site. Then, I will show you how to import the downloaded model to STYLY at the end of this tutorial.
What is TURBOSQUID?
TURBOSQUID is a 3D model site where you can download free and paid assets.
It’s an advanced model site for professionals. There is a wide variety of 3D models. They are classified into a lot of categories and you can filter them by file format when downloading, so the models are ready for use in various fields.
You can access the Japanese website here.
Japanese website for TURBOSQUID: https://www.turbosquid.com/ja/
About the TURBOSQUID Website
Create Your Account
By creating your TURBOSQUID account, you can check your download history for 3D models and purchase history for paid assets. Additionally, you can register as a 3D modeller with TURBOSQUID and sell your created models on TURBOSQUID.
First, click the ‘LOGIN/JOIN‘ button in the top right corner of the screen.
This will bring up the registration form. Fill in the required fields and click ‘Create Account‘.
You will receive a registration confirmation e-mail at the address you entered. Once you receive this email your account will be officially registered with TURBOSQUID.
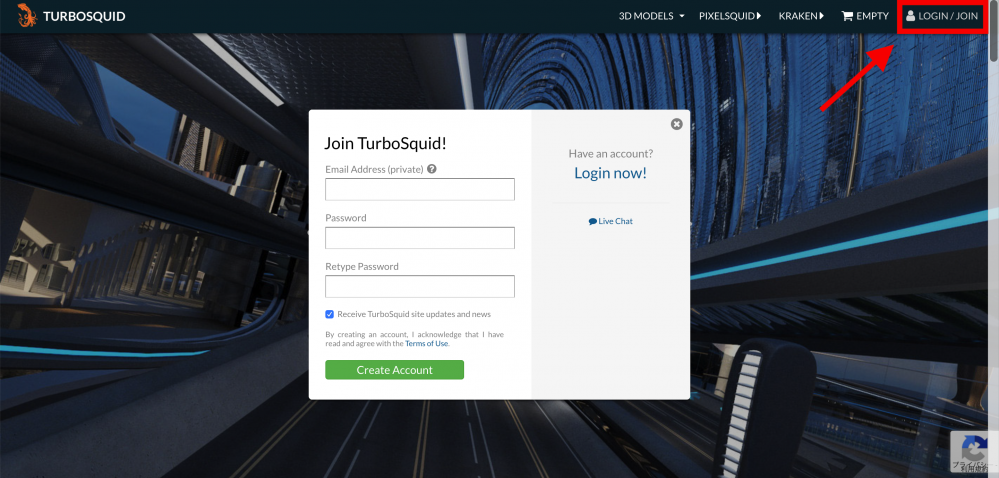
Login & account registration window
Once you create your account, the ACCOUNT tab will change into the one for the user logging in, as shown below.
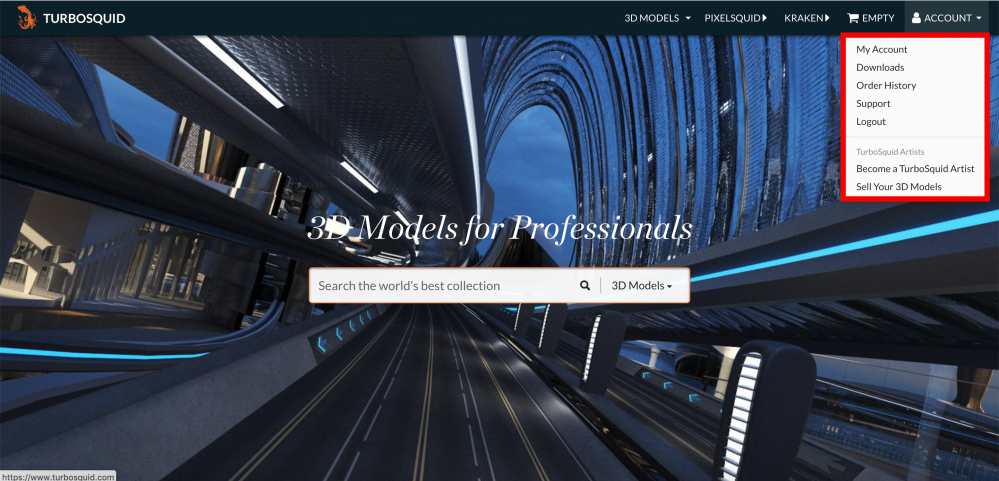
TURBOSQUID’s screen – after logging in
About the TURBOSQUID Website
When opening the top page of the TURBOSQUID official site, you will find a menu at the top of the screen.
I will introduce some functions below.
3D MODELS Tab
In order to find and download a 3D model, you can access the target category from the 3D MODELS tab in the top menu or find a model by using keywords typed into the search box at the center of the screen.
The list in the dark background on the left shows the top 3D model categories. The list in the grey background on the right shows data and file types to filter and find models.
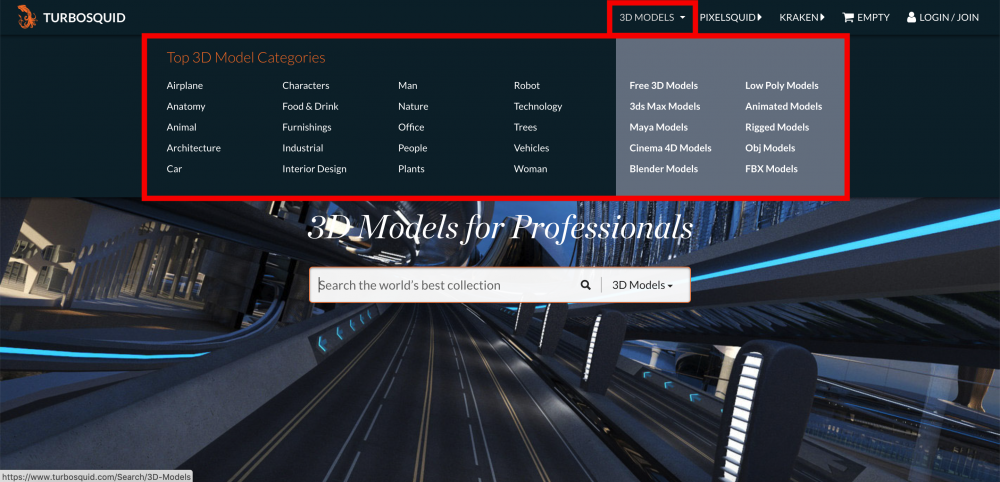
3DMODELS tab
PIXELSQUID Tab
Next, I will explain the PIXELSQUID tab.
It has a lot of rendered 2D images generated from 3D models, so hopefully you will be able to find the right image you need for your scene.
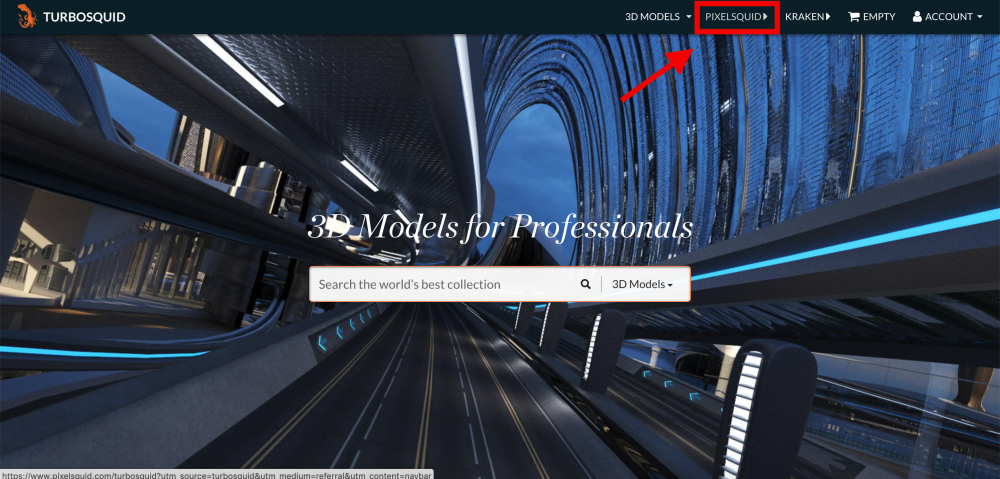
PIXELSQUID tab
In the PNG CATEGORIES tab highlighted in the red box below, there are a lot of categories available. As in TURBOSQUID, you can find images by category or with the search box in the top left corner of the screen.
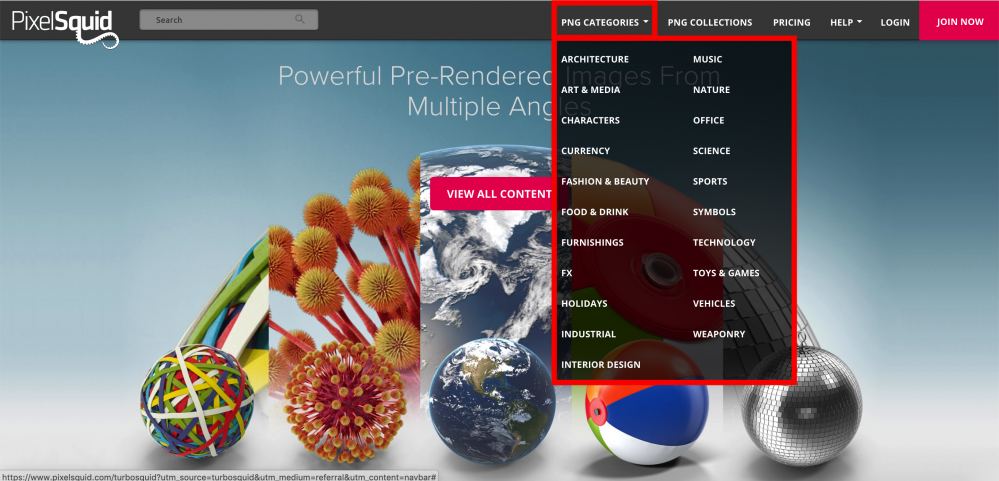
PIXELSQUID – PNG CATEGORIES
This time I searched for models by the category ‘ART & MEDIA’ and found the images as shown in the following screenshot. They are 2D images generated from 3D models.
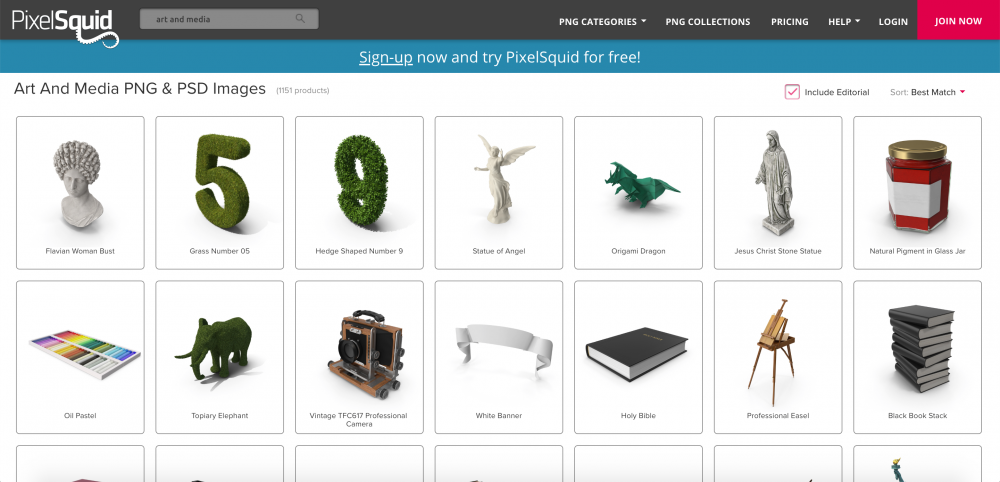
PIXELSQUID – PNG CATEGORIES ‘ART/MEDIA’ #1
Click on an image. You can rotate it in any direction by dragging the image with your mouse. Once you decide the position of the object, press the ‘PNG‘ or ‘PSD‘ button, which are highlighted in the red box below, to save the data.
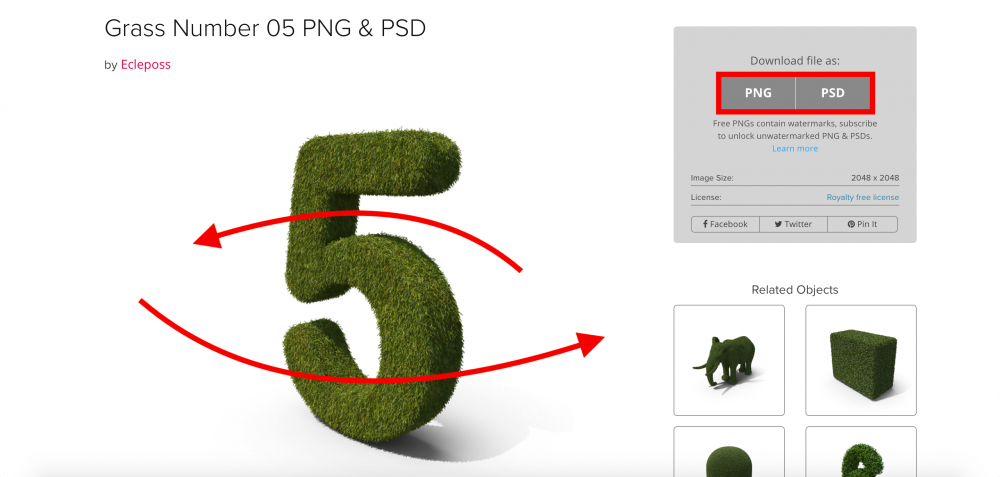
PIXELSQUID – PNG CATEGORIES ‘ART/MEDIA’ #2
In some cases, a download screen will appear as shown below.
Free option
> You can download a watermarked PNG data
Paid option
> Purchase all object angles
> Unlimited access to the entire library by monthly subscription
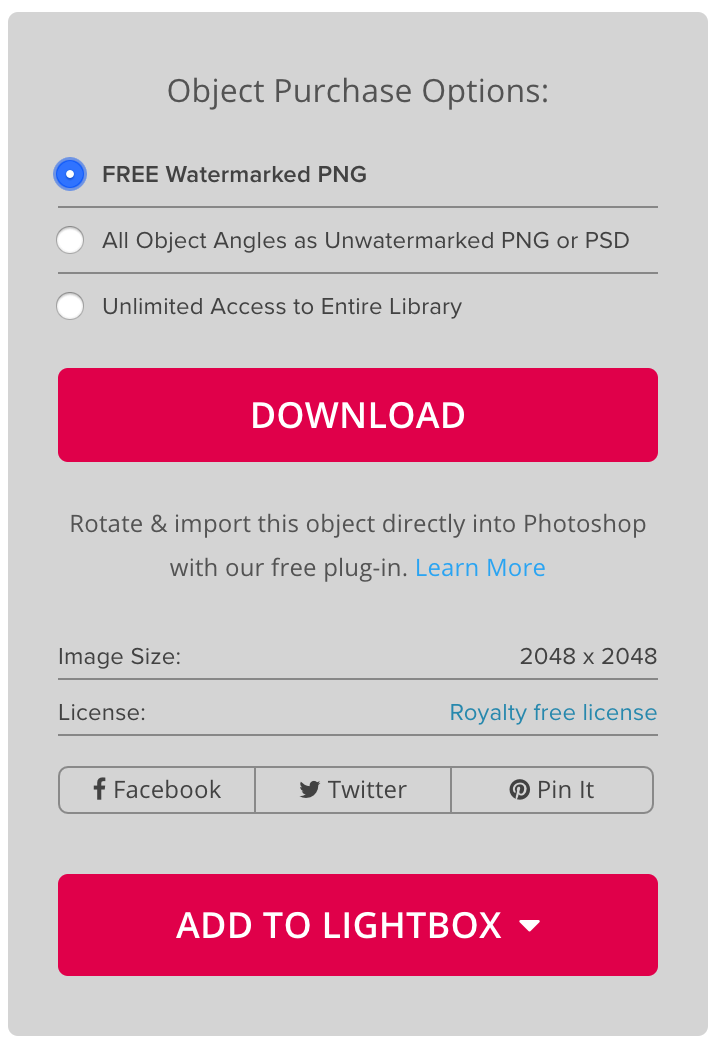
PIXELSQUID – the download screen
The monthly subscription costs are as follows.
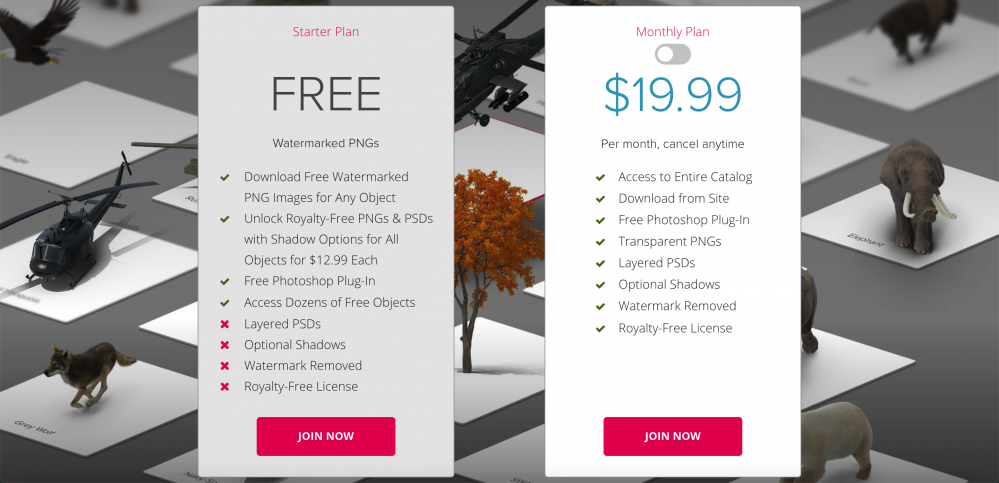
PIXELSQUID – The price for a monthly subscription
By the way, even if you have registered your account with TURBOSQUID, you will be prompted to create a PIXELSQUID account in the case you don’t have one.
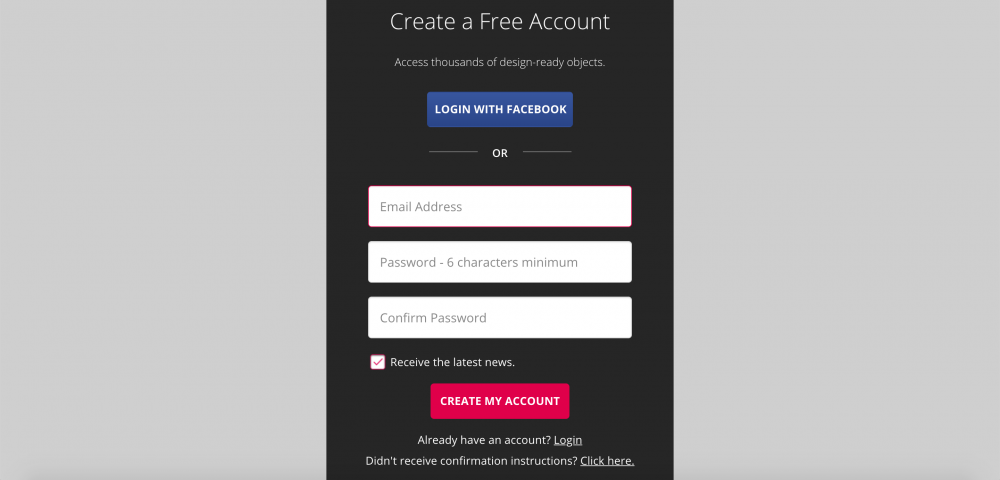
PIXELSQUID – The account registration screen
Download a Model From TURBOSQUID
Once you create your TURBOSQUID account, let’s try to download a model.
First, click ‘3D MODELS’ to open the category window. Click ‘Free 3D Models‘ in the top left corner of the list on the grey background.
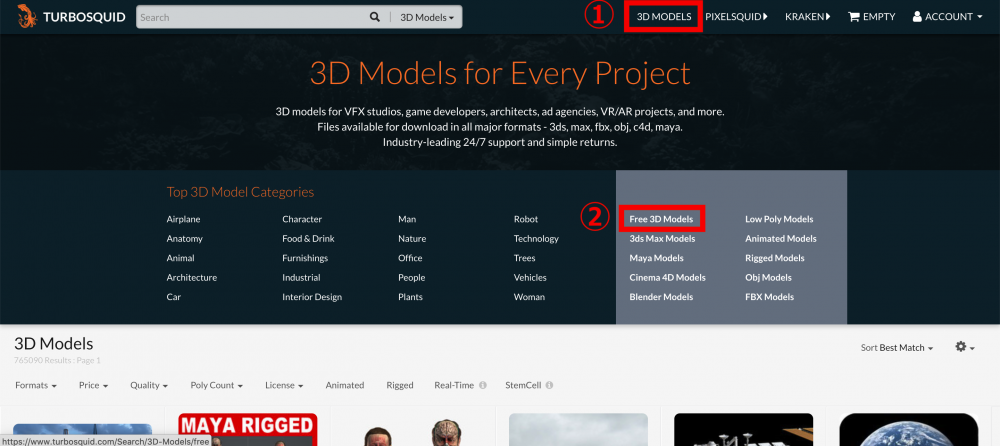
Find a model
Download a 3D-model asset. Click the search result to open the download screen.
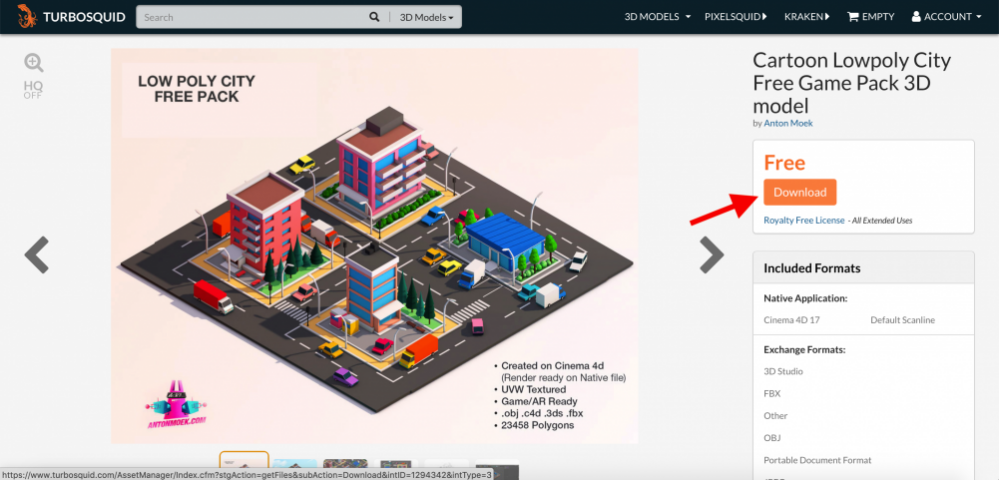
Download 3D model #1
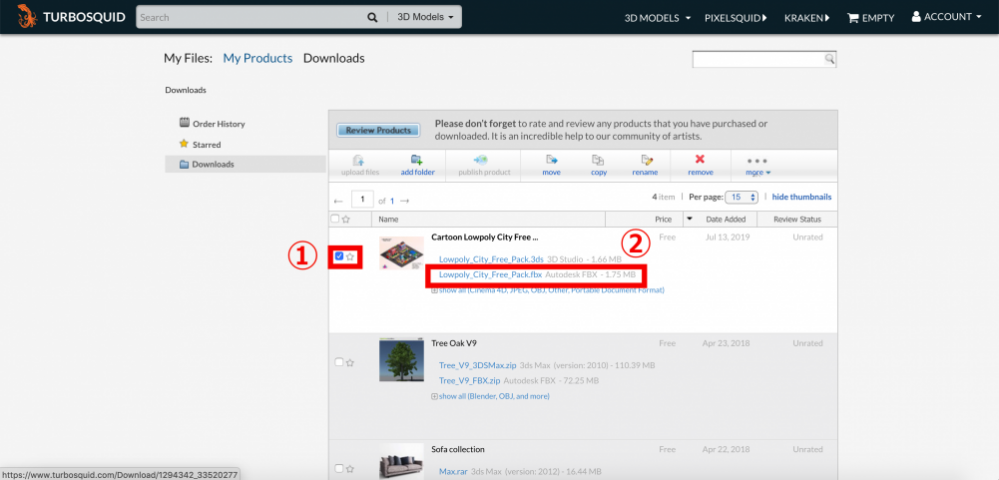
Check the asset to download (①). Then, select the file type to download (②). This time we will download a model in fbx format.
After clicking the file type (②), the download will start.
Download 3D model #2
How to Download a Paid Asset
This is an additional explanation on how to download a paid asset.
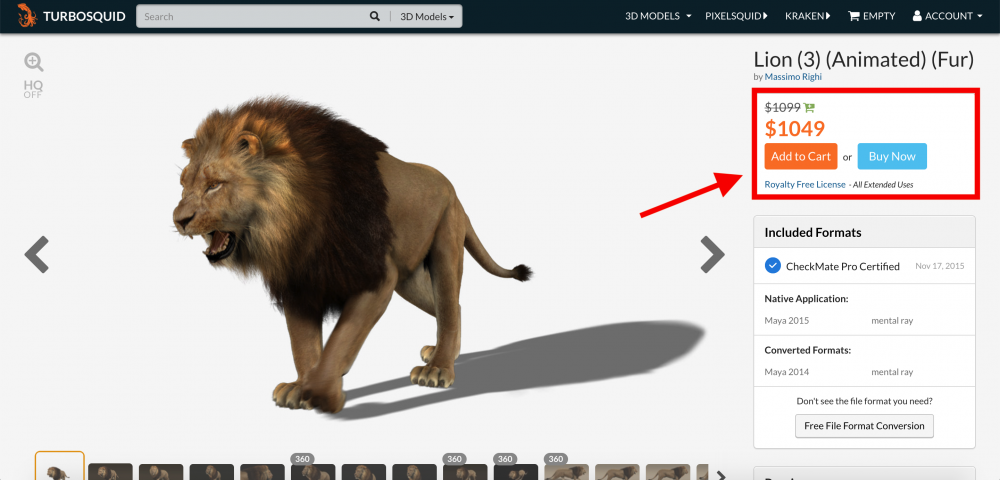
The download screen for a paid asset is shown below:
Add to Cart > You can put a 3D model in a cart and pay for it later.
Buy Now > If you select this option, you will be prompted to enter your credit card information and then you will be able to purchase and download the model.
How to download a paid asset
Import the Downloaded Model to STYLY
After you get a 3D model prepared, we can then check the final state of the model by importing it to STYLY.
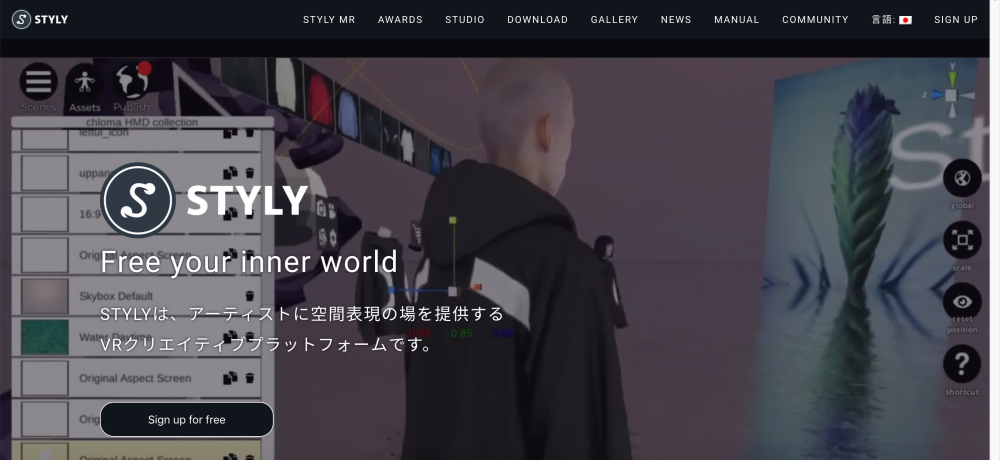
Log in to STYLY and create a VR space. The following article explains how to create a STYLY account.
STYLY – top page
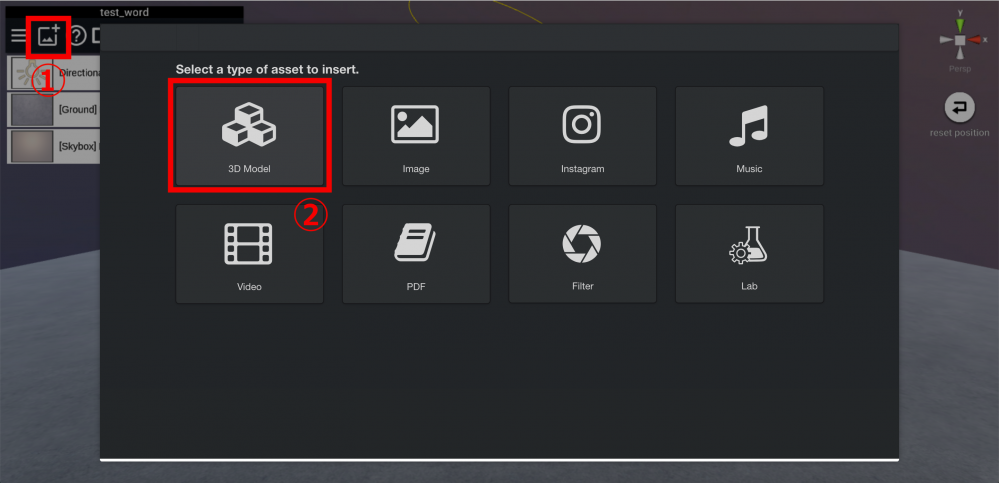
Progress to the import screen by pressing the asset icon (①) and then ‘3D MODEL’ (②).
Once the model is uploaded, click on the model added in ‘My Models’.
STYLY – 3D model import screen
If the model remains colored properly and has no defects in the polygons, then the importing was successful.
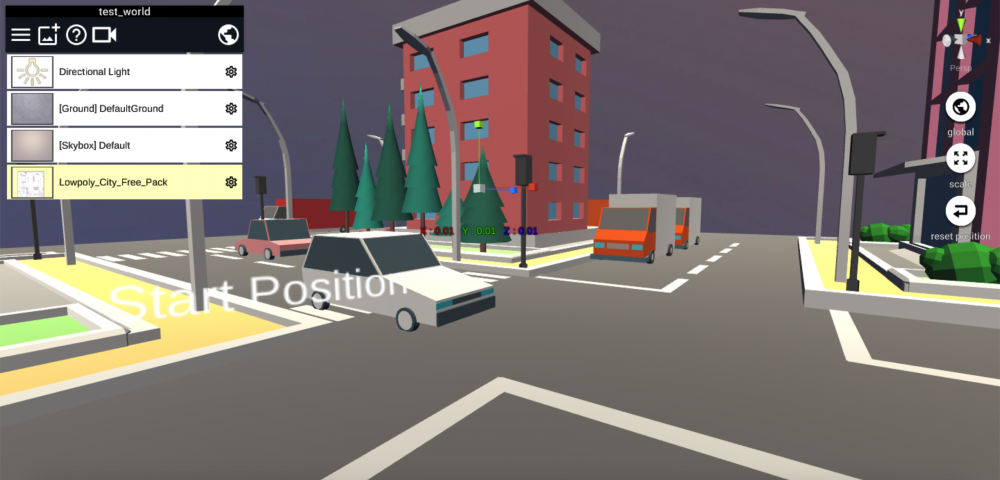
The uploaded model #1
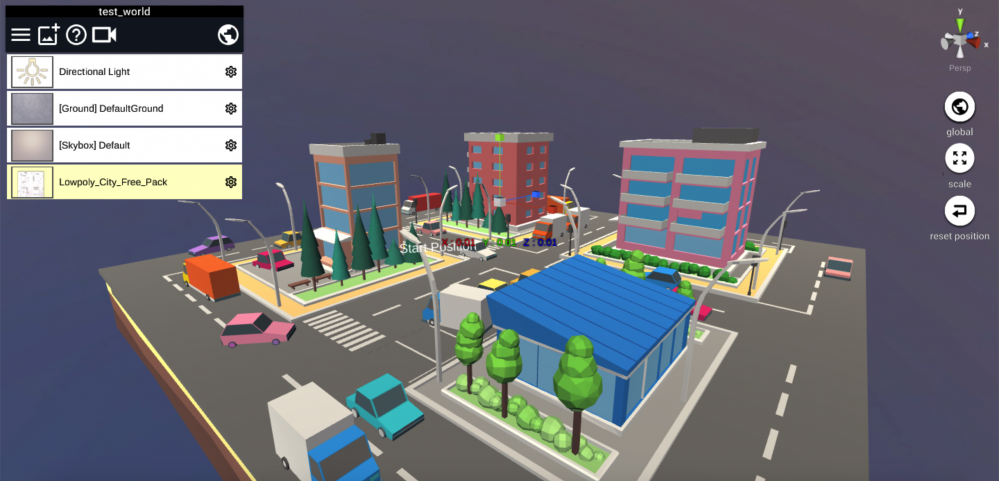
The uploaded model #2
How did you like this tutorial?
TURBOSQUID is an advanced model site for professionals, so this guarantees consistent quality for most models available on their site. The models are classified by data types, which makes it easy to find what I need quickly. This site is also great for 2D materials.
