In this article, I will introduce how to export a 3D model created by CLO, a 3DCAD tool for the apparel business. I will also explain how to upload it to STYLY.
CLO to STYLY
The Model Used in This Tutorial
In this article, I will use the model I created in this previous article.
![[CLO] Dressing Up an Avatar ① [For Beginners]](https://styly.cc/wp-content/uploads/2019/08/回転p-1-160x160.gif)
Export from CLO
I will export a t-shirt and an avatar 3D model from CLO.
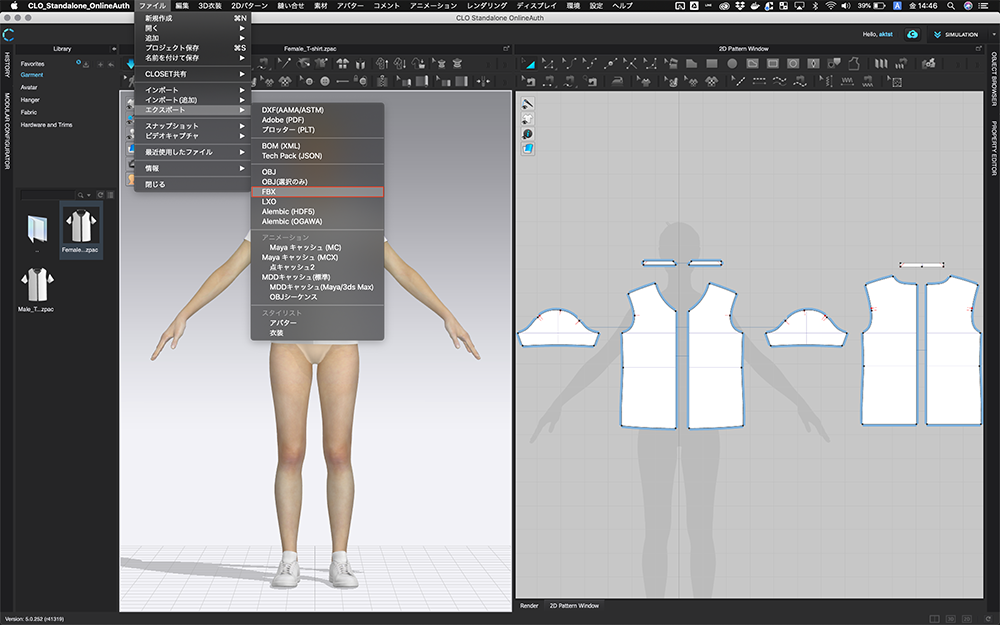
Export ①
Select [File] > [Export] > [FBX].
FBX is a format for 3D models. It is used mainly in the CG industry. For this tutorial, we will upload an FBX file to STYLY Studio, it will be easier to work with.
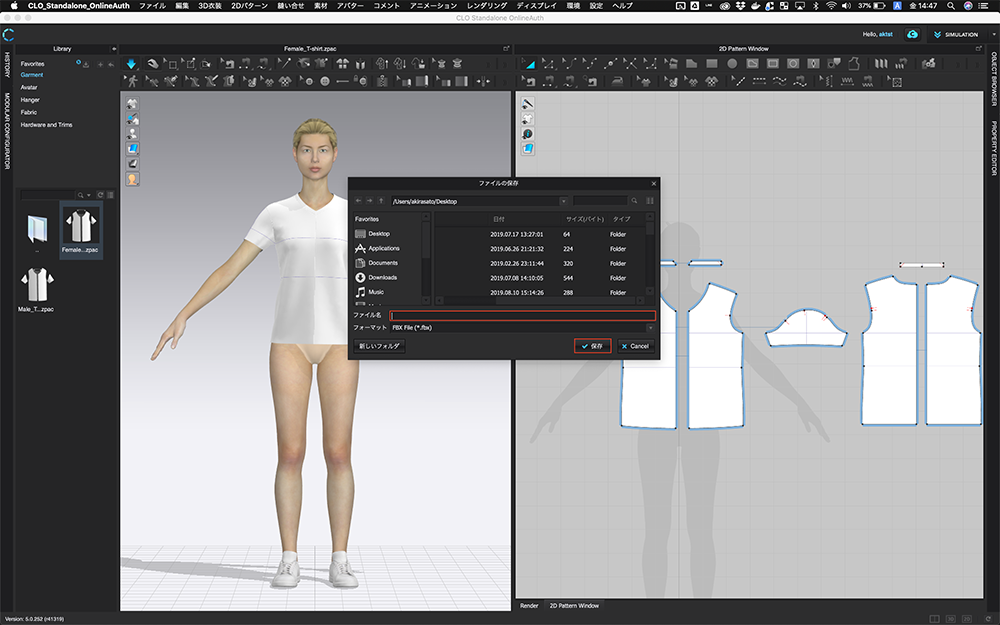
Export ②
A window like the image above will appear. Choose a file name and destination, then click [Save].
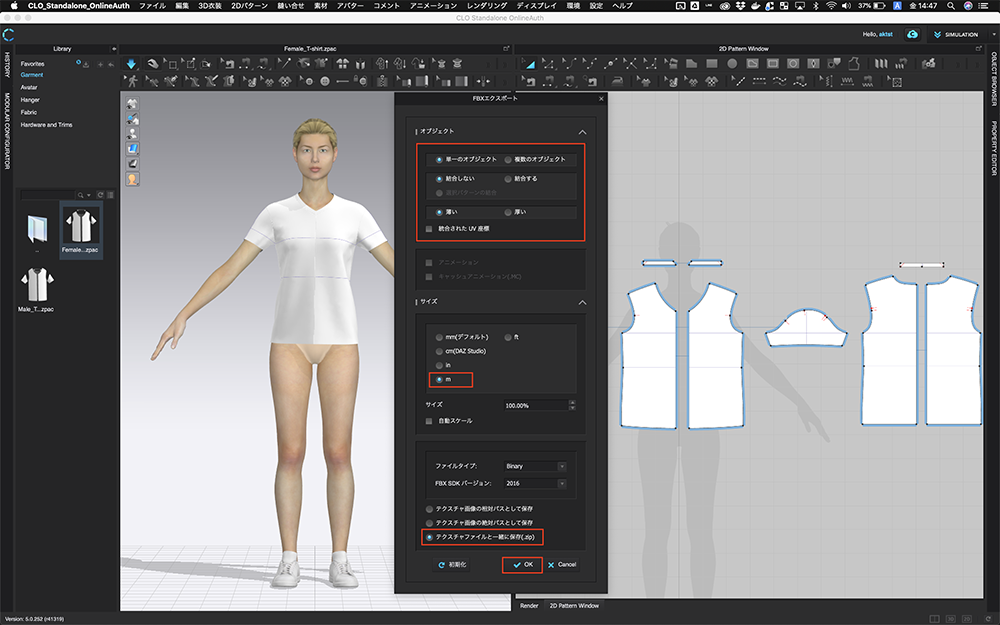
Export ③
After you save the file, you can choose to [Export as FBX].
First, I will introduce the [Object] setting area at the top. You can select settings for the model mesh and UV here.
For this tutorial, I will export with the default settings. Please check that the settings match with those below.
- Single Object
- Do not combine
- Thin
- Combined UV position: Unchecked
Next, I will introduce the [Size] setting area in the middle. You can change settings for the model size here.
I want to set the size so it will match a human’s size in a STYLY VR scene.
Lastly, I will introduce the FBX save settings at the bottom. You can change the FBX export settings here.
To make it easy to upload and put together the files into one, please save it as shown below.
- Save with the texture file(.zip)
Once you have checked each setting, click [OK] and save the file. After the export is complete, CLO will return to the normal workspace.
After you’ve saved the project, please close the CLO application.
Uploading to STYLY
I will introduce how to upload the exported model to STYLY.
How to Create a STYLY Account
If you do not have a STYLY account, please read this article to learn how to create one.

Launch STYLY Studio
Access STYLY Studio here.
If you are already logged in, you will see a screen like this. If you are not logged in, please log in.
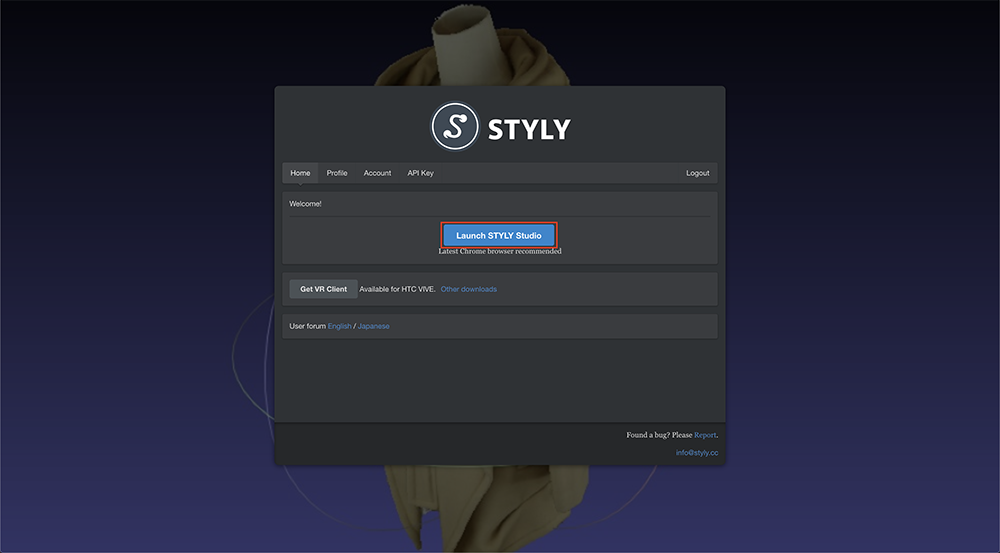
STYLY Studio
Click [Launch STYLY Studio] to launch STYLY Studio.
Create scene ①
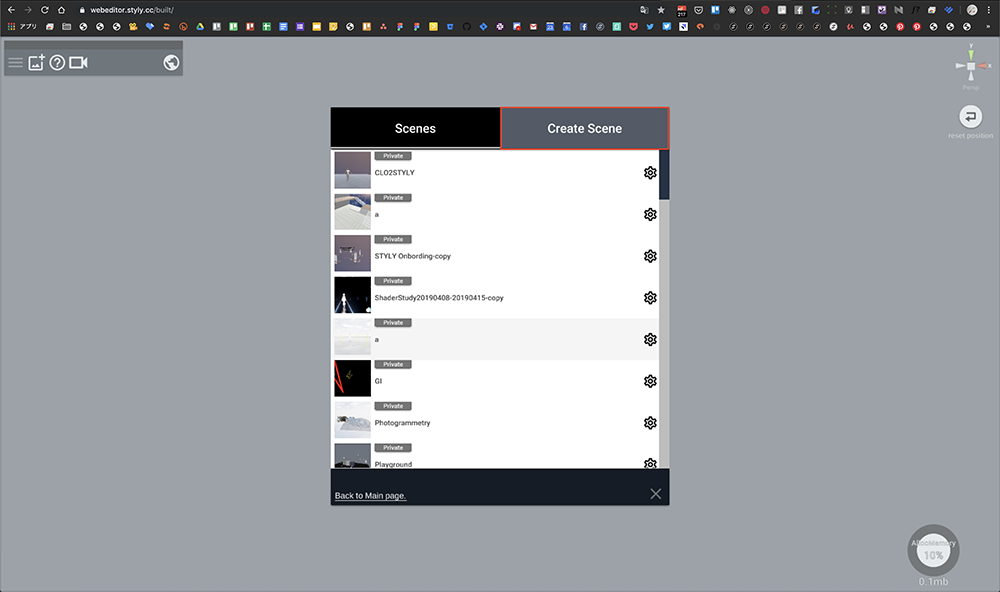
Once STYLY Studio launches, your scene list will appear.
I want to create a new scene for this tutorial, so click on the [Create Scene] tab.
Create scene ②
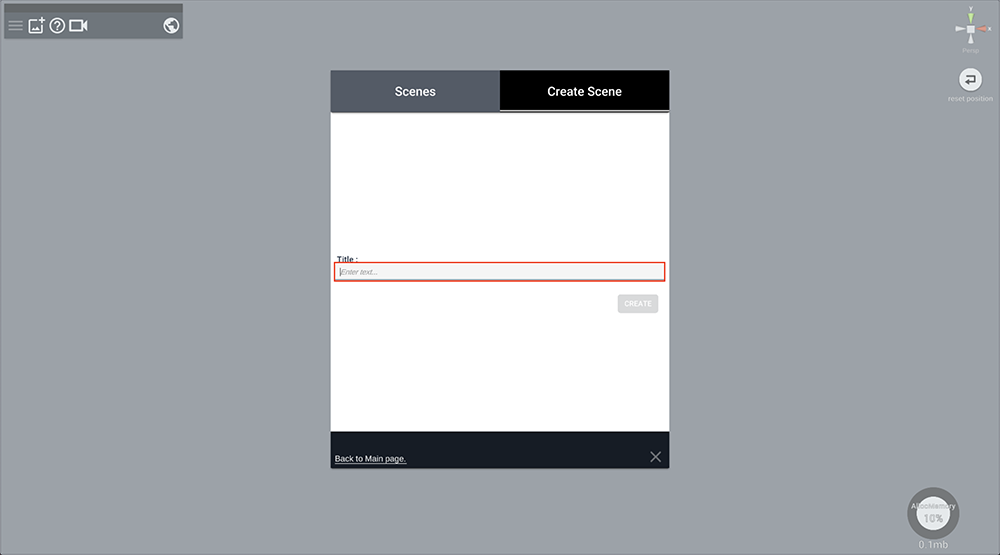
Name the scene you are going to create. You can change the title anytime before publishing it.
Create scene ③
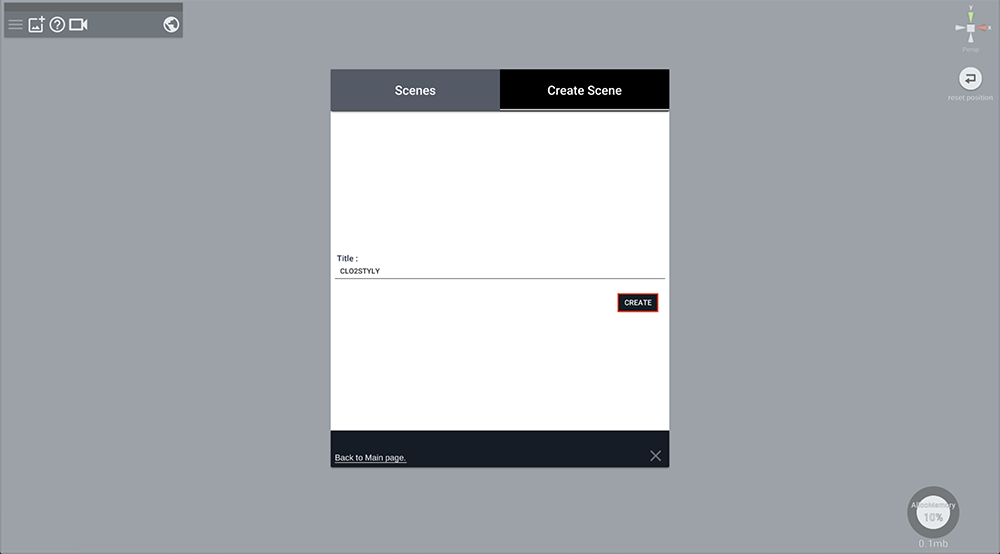
Once you name the scene, you will be able to click the [CREATE] button. Click the [CREATE] button.
Uploading the CLO 3D Model
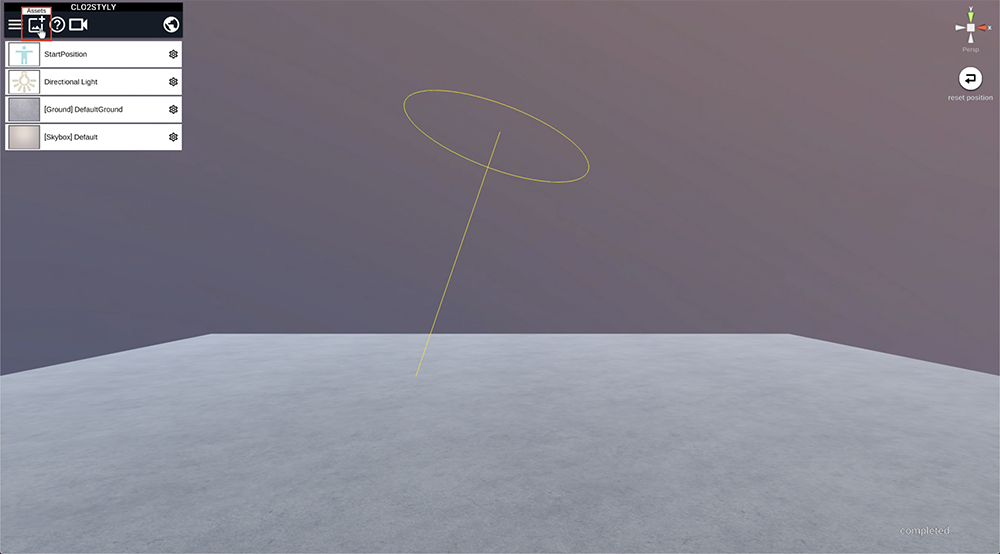
Upload ①
Once the scene is created, a screen like in the image above will appear. This is the STYLY default scene.
Click the [Assets] button in the upper left side of the screen to upload a model.
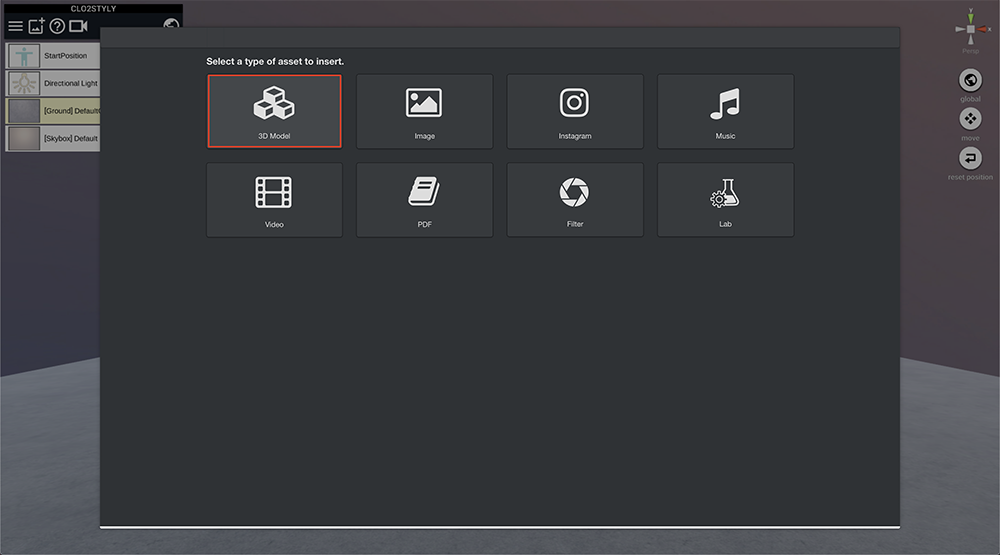
Upload ②
After you click [Assets], an assets window will appear. In the Assets window, you can select which assets to place in your scene. We want to upload the 3D model from CLO, so click on [3D Model].
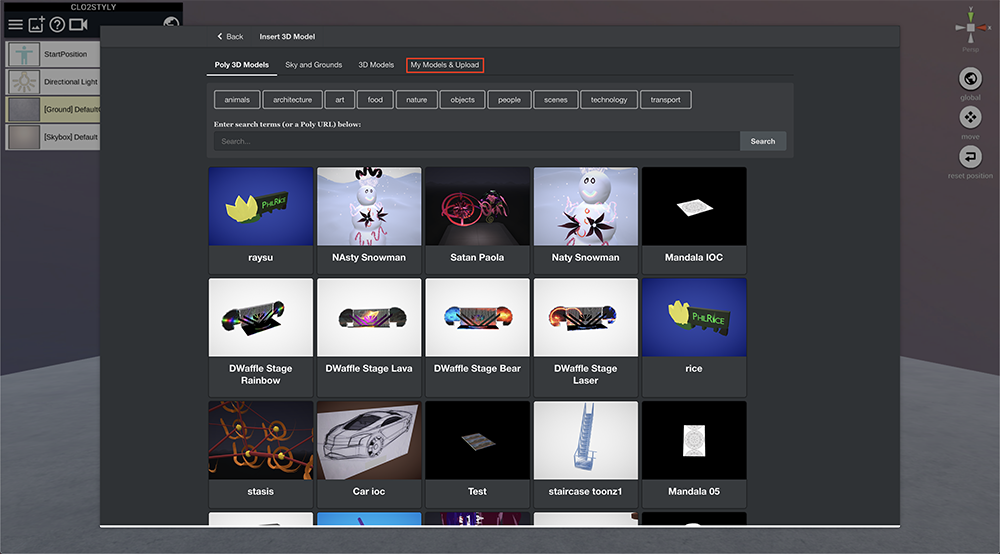
Upload ③
Once the 3D model upload screen appears, choose [My Models & Upload].

Upload ④
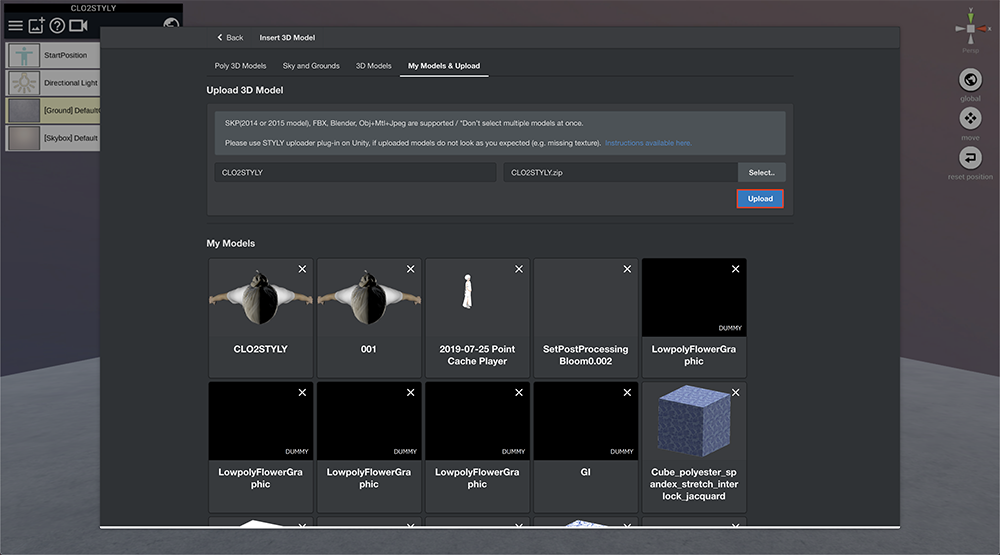
This is the 3D model upload window.
Click the Select button in the [Upload 3D Model] area.
(If you have already uploaded the model, then a list of your uploaded models will appear in the [My Models] area.)
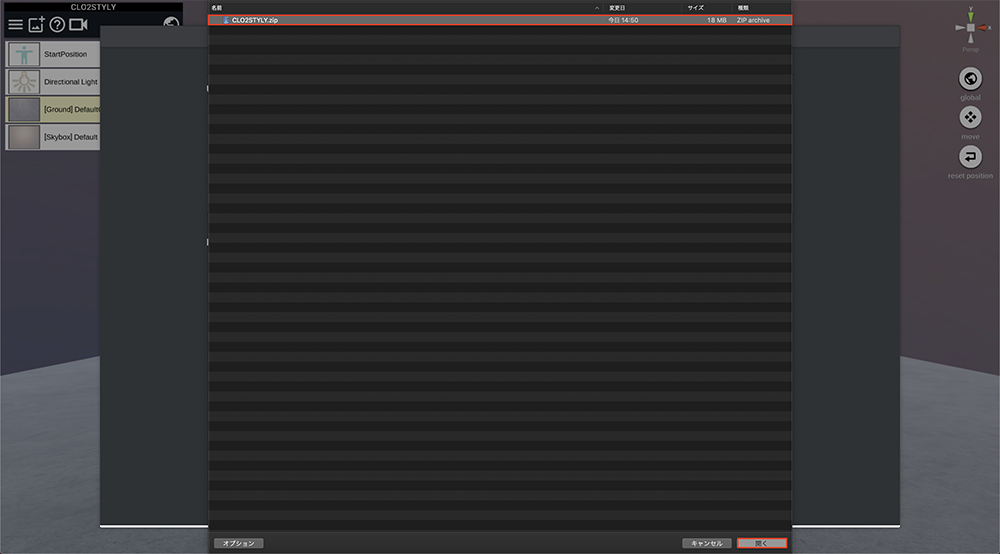
Upload ⑤
In the choose file window, a Finder (or Explorer if you are using Windows) will appear. Locate the zip file you exported from CLO, and click it.
Upload ⑥
The Title (the asset name after upload) and File name will be shown.
If you don’t need to change it, then you can proceed by clicking the [Upload] button.
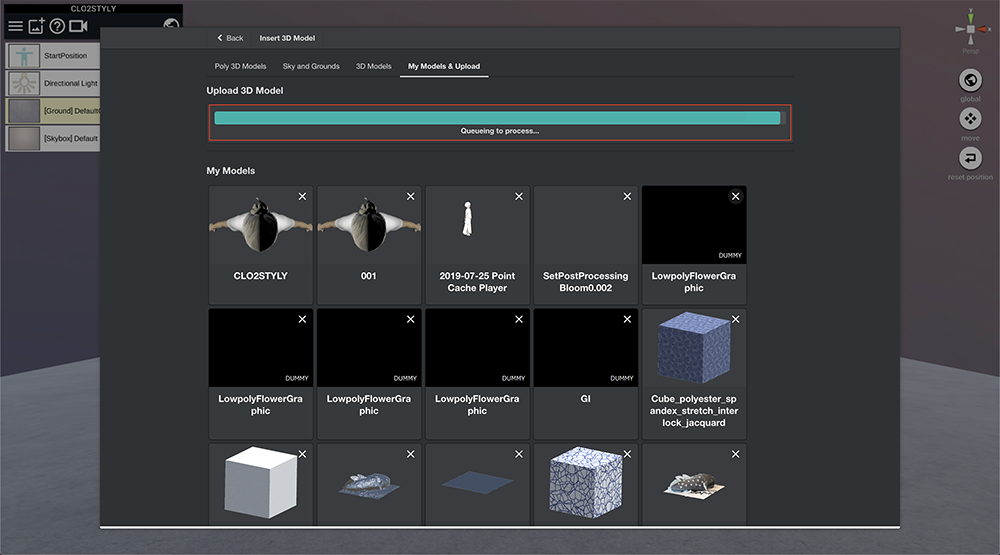
Upload ⑦
Once the Upload begins, a progress bar will appear as shown in the image above.
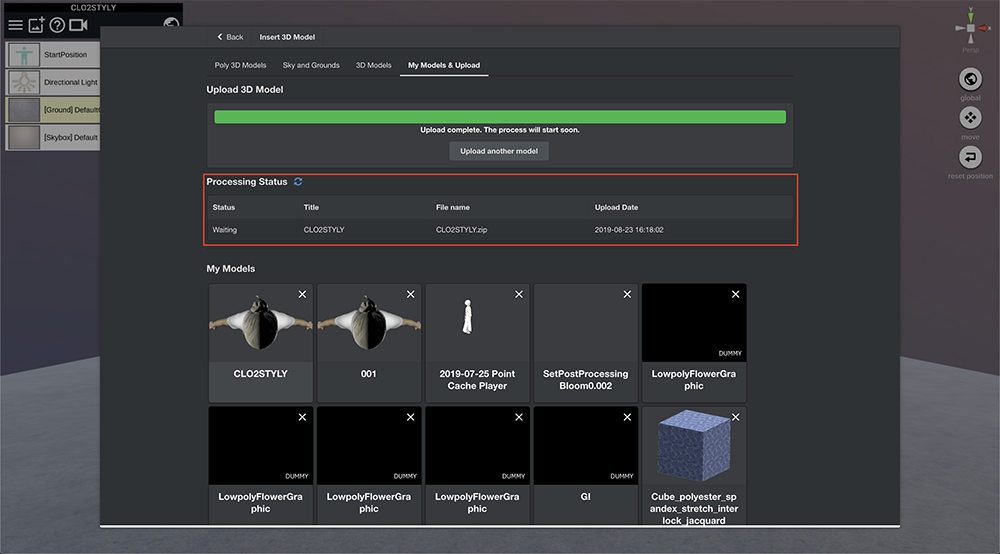
Upload ⑧
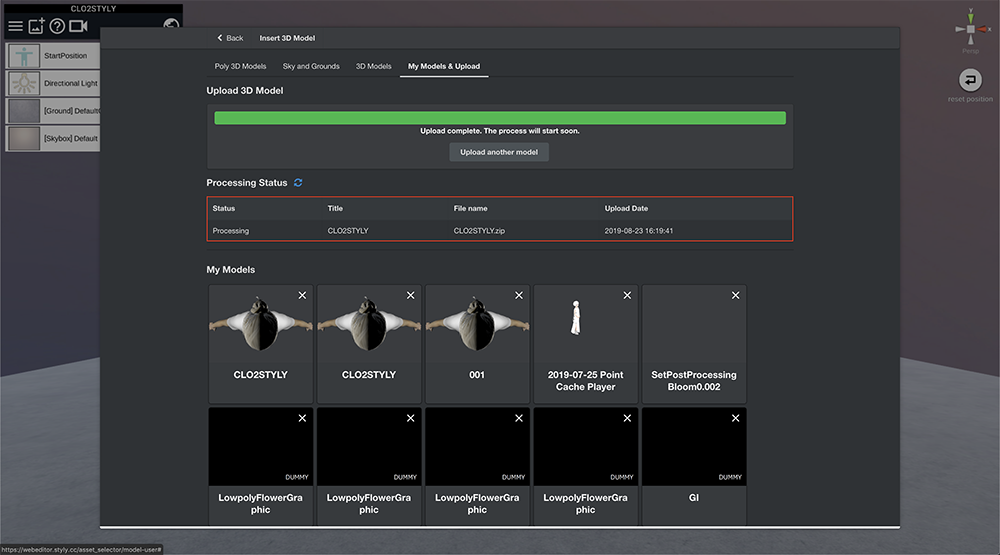
Once the Upload is complete, a [Processing Status] area will be displayed.
The first step will be ‘Waiting’. This means that the uploaded model is waiting for conversion so that it can be used in STYLY.
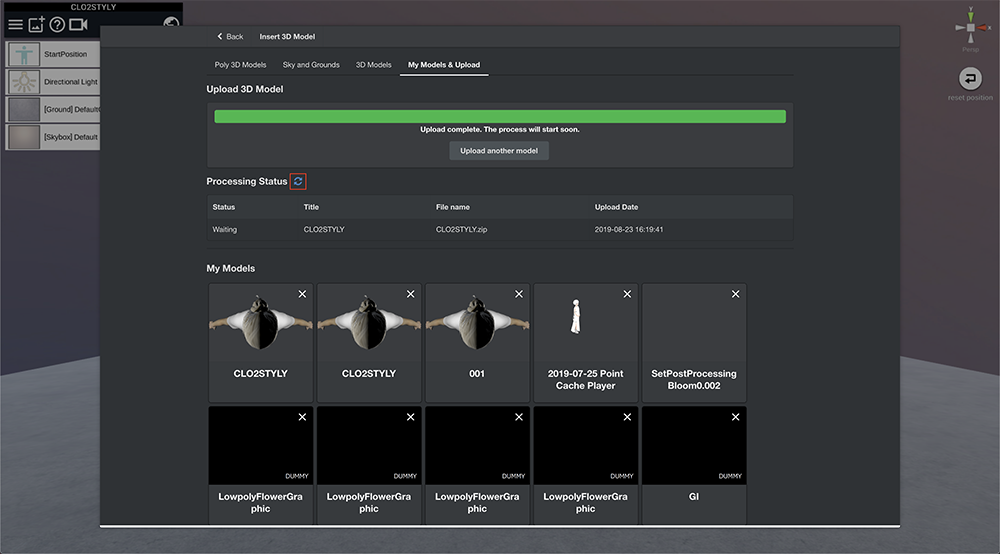
Upload ⑨
If you click the Refresh button in the [Processing Status] area (The button surrounded in red in the image above), then the status will be updated.
Upload ⑩
Periodically clicking the refresh button will eventually show a change in status from [Waiting] to [Processing].
Processing means the data is undergoing conversion. Normally, it takes around 5 to 10 minutes.
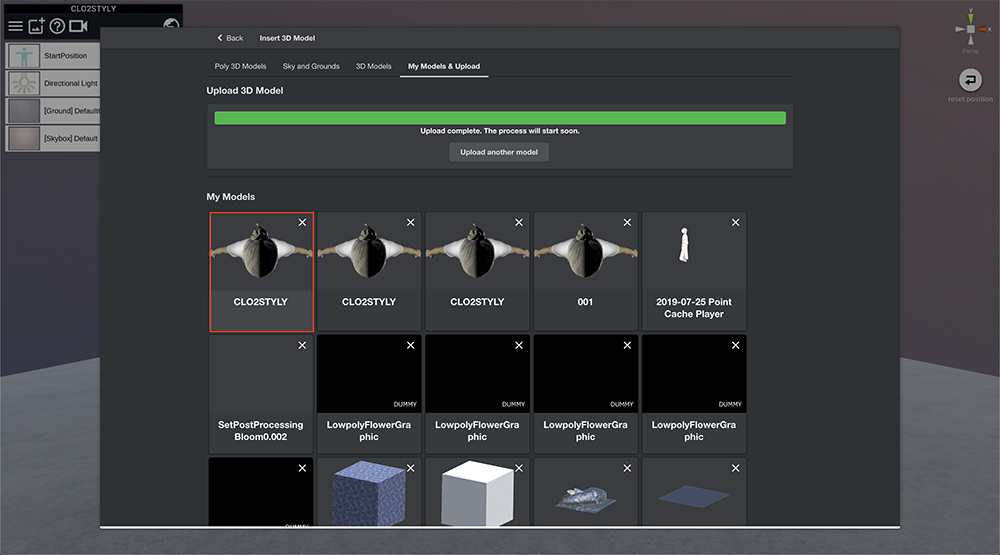
Upload ⑪
After the process is complete, a list of uploaded 3D models will be shown in the [My Models] area.
After the 3D model is displayed, click on the thumbnail of the model to make it appear within your scene.
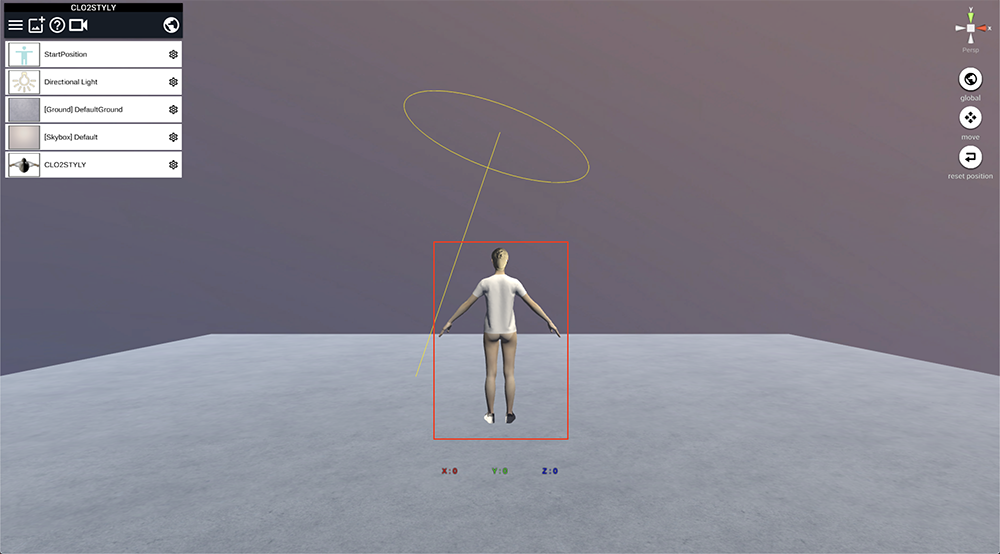
Operation ①
The 3D model should appear in your scene as shown in the image above. The default position is (0, 0, 0).
That’s all for uploading to STYLY and placing the model within your scene.
Rotating the 3D Model
In this last part of the tutorial, I will explain how to rotate the object so that it faces the start position in the scene.
Select the object from the list on the left.
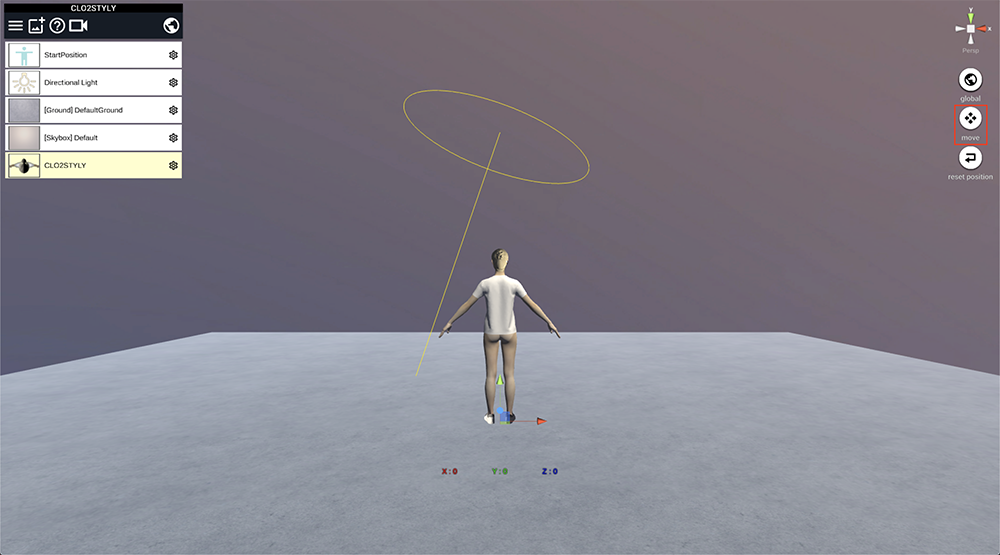
Operation ③
If the object is selected, then the object will be highlighted in yellow.
After you select the object, click the [move] button on the right side of the screen.
This is a button to move the object. You can also choose to [move], [rotate], or [scale].
Each button functions to:
- Move: Move the object
- Rotate: Rotate the object
- Scale: Change the object scale

Operation ④
After you click on the [move] button, the operation button will change to [rotate].
Operation ⑤
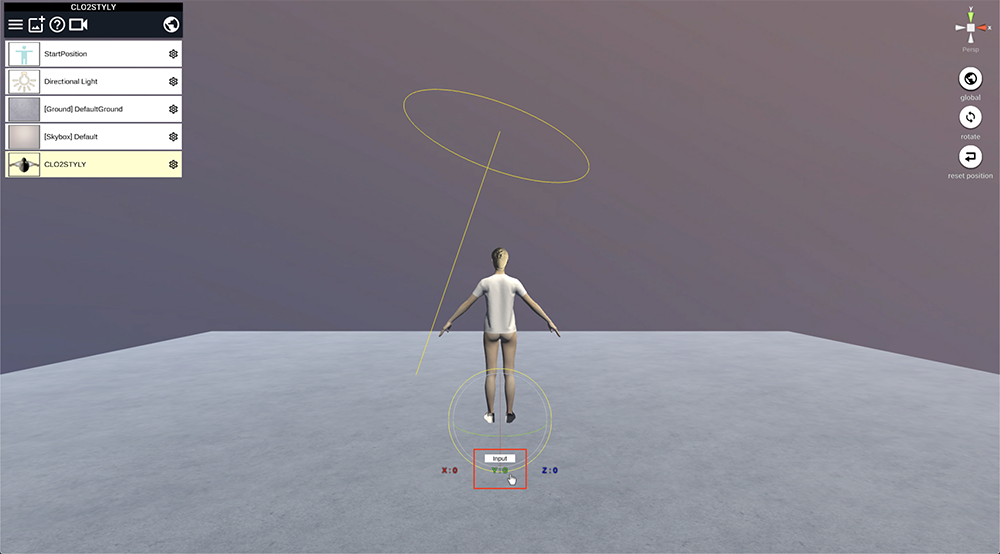
After confirming that the operation button has changed to [rotate], move your cursor to the position values shown above.
If you place your cursor over this area, a tool tip [Input] will appear. Click on this.

Operation ⑥
You will be able to type in a value. For this example, we want to rotate the object 180 degrees, so type in [180] and press [ENTER].
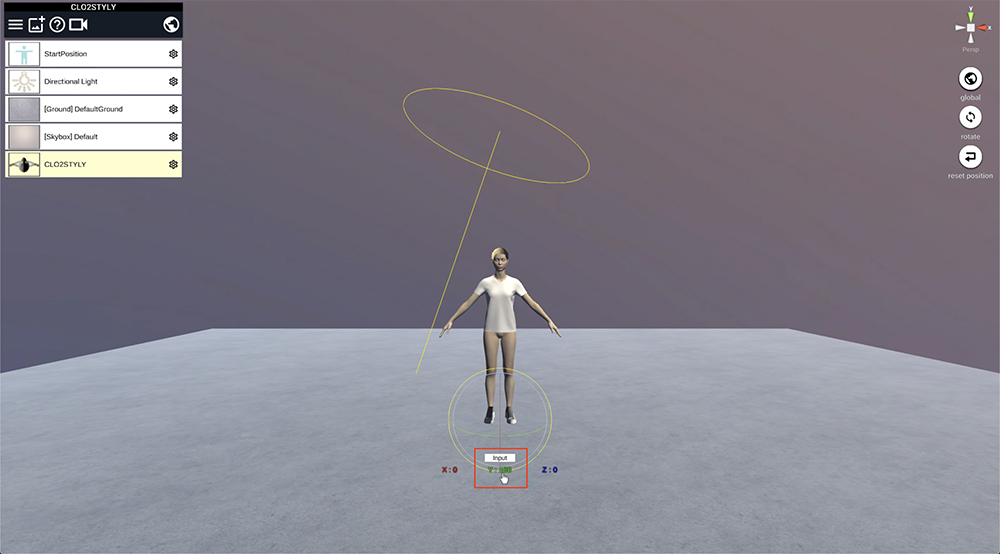
Operation ⑦
The object will be rotated to face the starting position in the scene.
That’s all for this tutorial.
I hope you get the chance to read other articles in the STYLY Magazine. The tutorials and articles in STYLY Magazine can help you to create an original scene using STYLY and CLO.