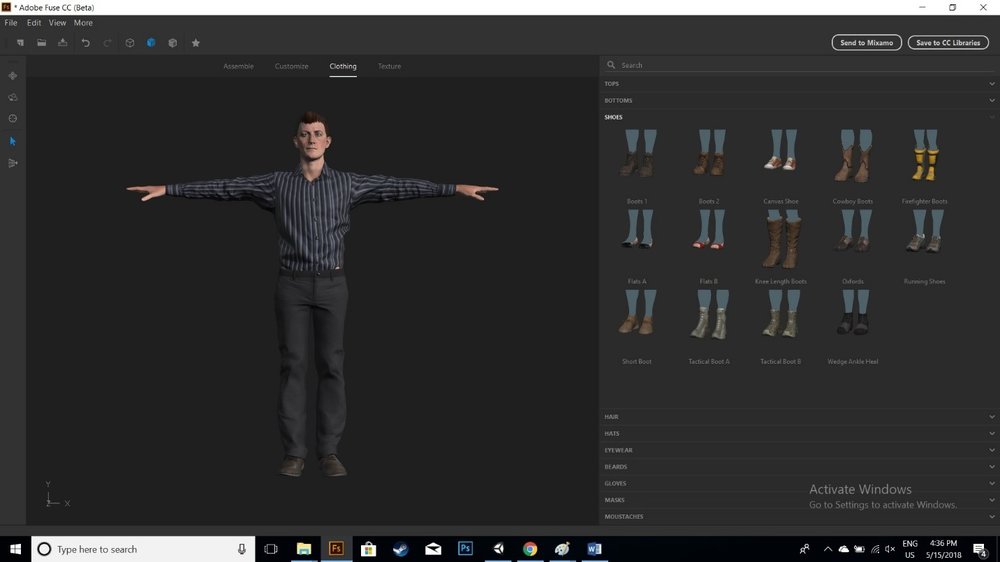
Hello Everyone! Today we will learn how to create humanoid characters in Adobe fuse CC and add animations to that model in Mixamo and upload it to STYLY via Unity. You can simply create your own characters. All you need to do is add body parts and set the character according to your likings. This is just like playing Sims.
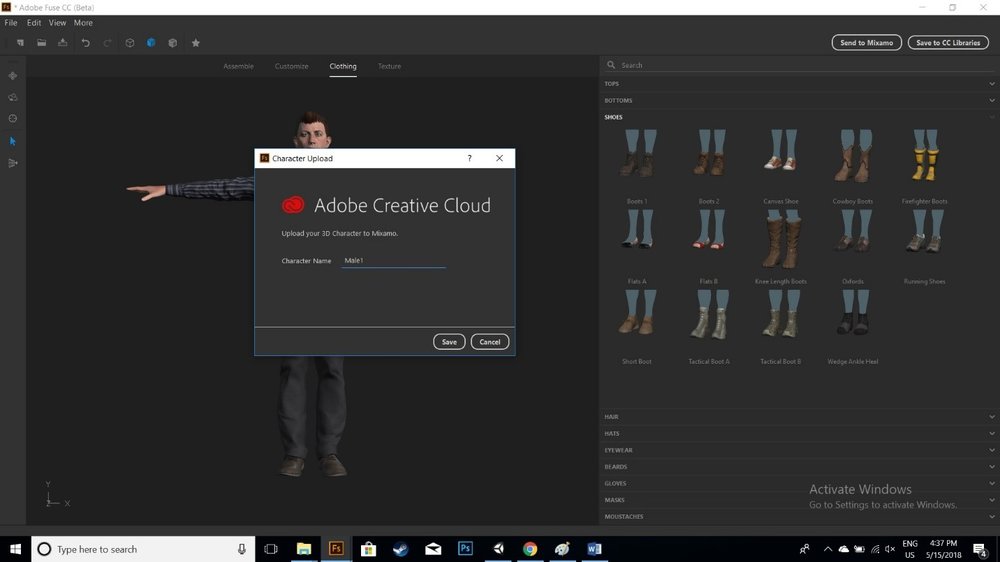
After creating your character, now press the “send to Mixamo” button on the top right side. Set the name of your character and save it. This will upload the character to Mixamo.
When the upload is complete, Mixamo website will open up showing your character.
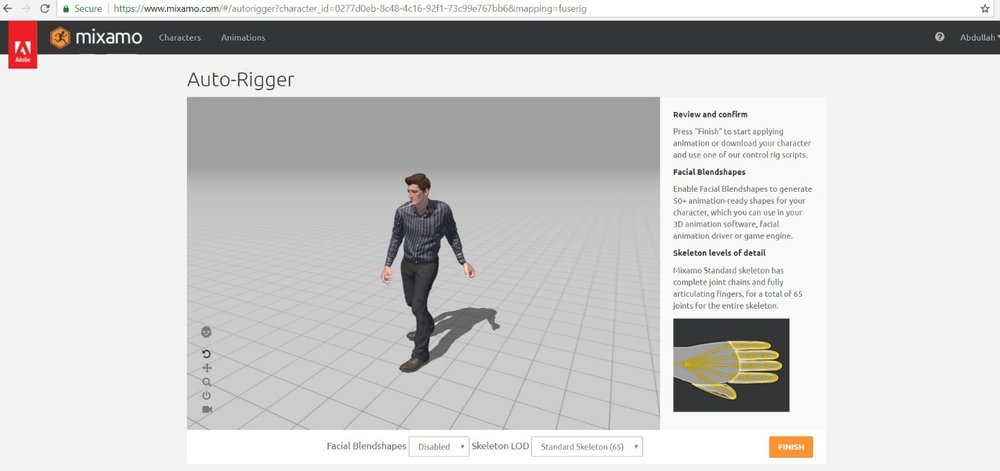
Click the finish button to prepare the character for animation rigging.
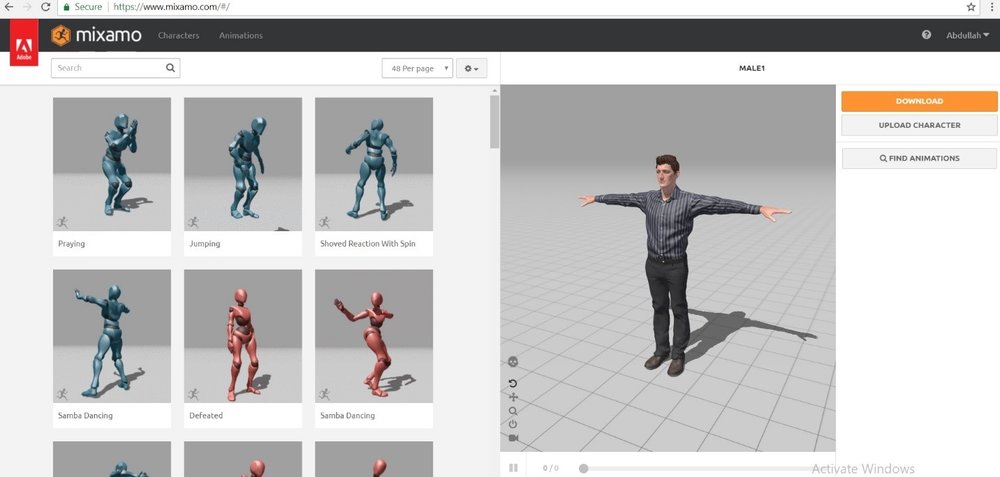
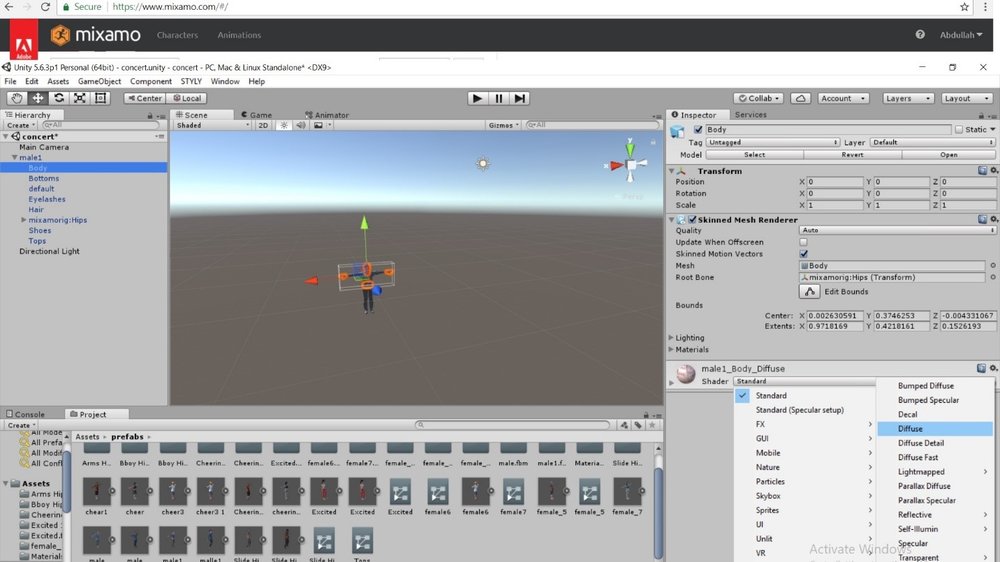
Click on an animation to rig the model. After applying an animation on the model, download the character with default settings. After downloading, load the model into Unity. Drag the model into the hierarchy. Go through the model hierarchy and set the shader on all parts of the character from “standard” to “Legacy shader” -> “diffuse”. This will remove any issues of the models textures. Also make sure to tick the animation loop time to repeat the model animation if you want to.
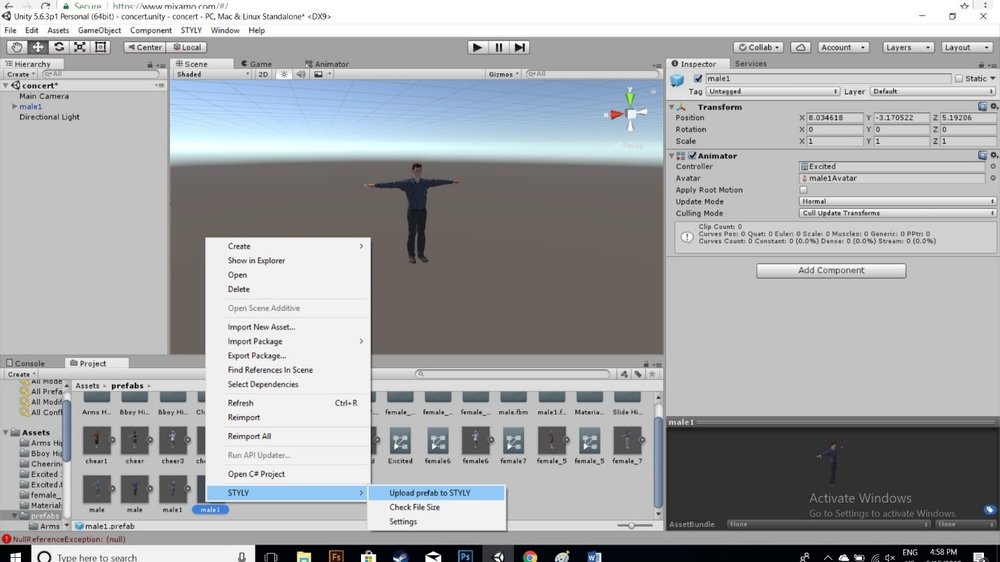
Once the shader has been applied, drag that object back into the Project to make it into a prefab. Previously, the model was just a 3D Model. Now, after dragging it back into the Project, it has become a Prefab. We need to follow this step as STYLY only supports prefabs. Once the prefab is ready, you will notice the prefab has no animation in it. Simply drag the animation from the model on to the prefab. This step will create a controller. Make sure the controller is added into the Animator component. Once done, simply upload the character using the STYLY Plugin.
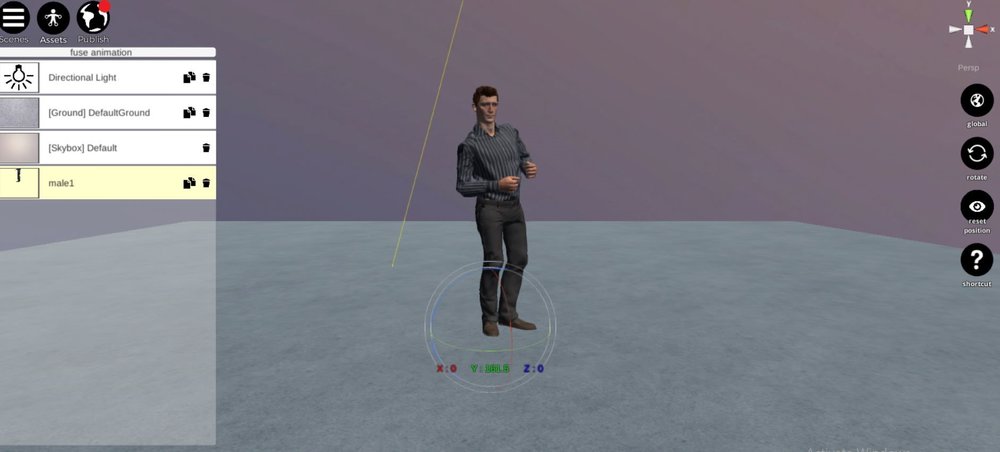
Here you can see It’s perfectly working in STYLY.
Here’s a video tutorial to help you understand the concept.
To watch this tutorial in URDU/HINDI, please click here.