In this article, we will learn how to create and use materials, which can be used to add colors, patterns, and surface textures to objects.
When you add a Cube or Sphere model in Unity, the color of the model is white.
To add colors and images to these models, we can use materials.
Materials are an important part of Unity, so let’s learn how to use them!
How to create a material
In the Project view, right-click in the Assets folder and select Create > Material.
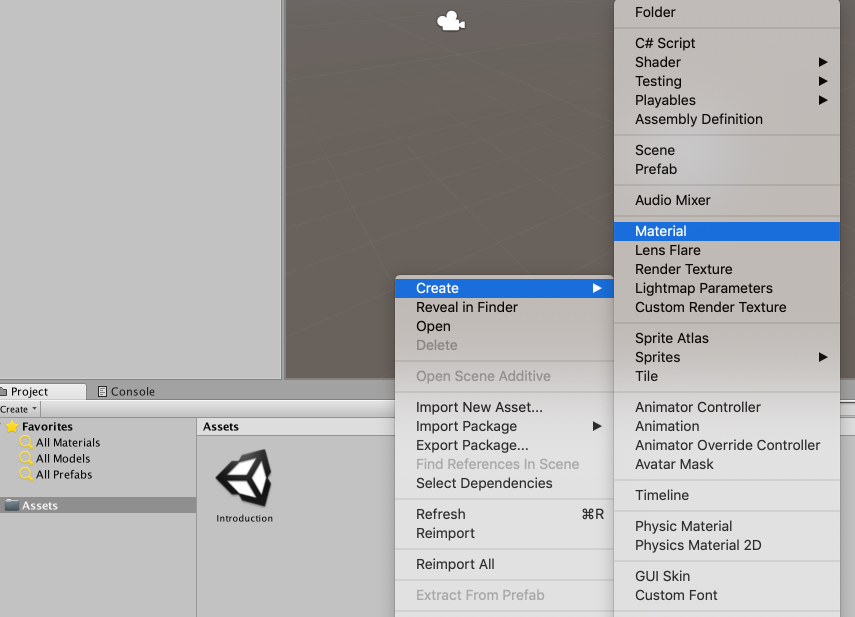
Create a Material
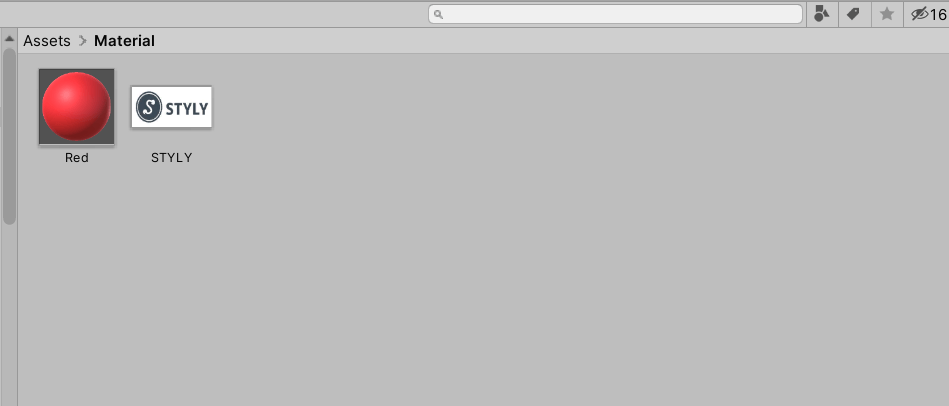
Create a material file and rename it.
In this case, we will use “Red” for the red material.
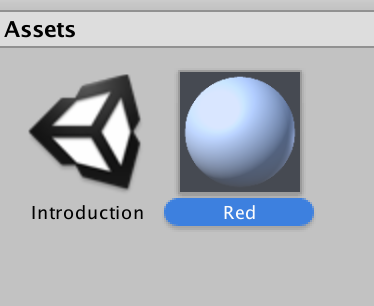
Rename the file
Change the color and texture of the material
Changing the color
When you select a material file, information about the material will be displayed in the Inspector window.
The item “Albedo” is where you can set the material’s color information.
Click on the white square.
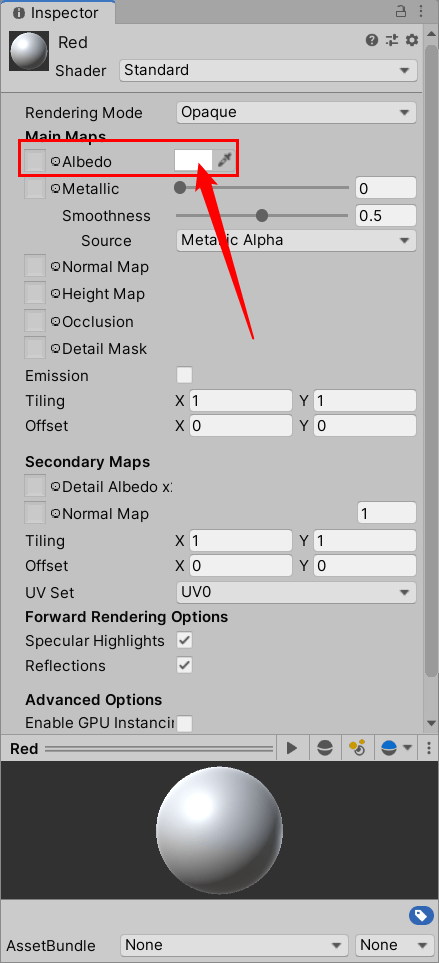
Click on the Albedo white square
A color picker is appeared, so select red. The material’s color information will change to red.
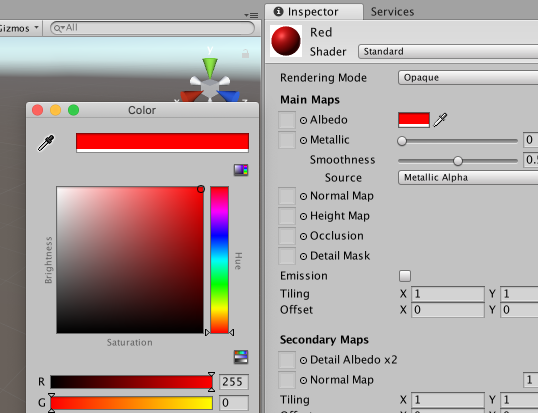
Change the color
Change the texture
In the Inspector window, under Albedo, there are two items: Metalic and Smoothness.
Metalic is a setting that makes the object reflect like metal. By moving the slider to the right, you can change the degree of reflection.
Smoothness is a setting that makes the reflection sharper, so that the surroundings appear more clearly.
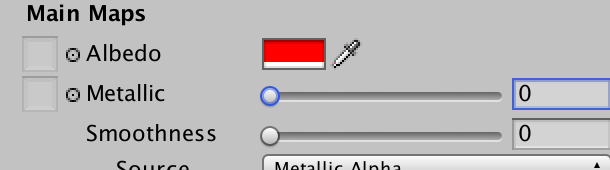
Metalic and Smoothness
A sphere that reflects Metalic and Smoothness will have a texture that reflects light, as shown in the image.
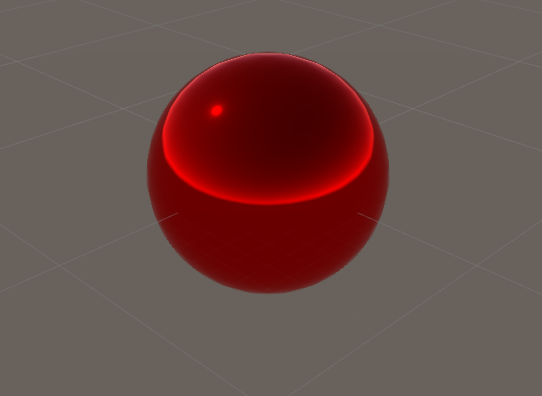
Sphere reflecting Metalic and Smoothness
Reflecting a material on an object
Let’s try to apply a material to an object.
There are two ways to do this.
By dragging and dropping the material onto the object
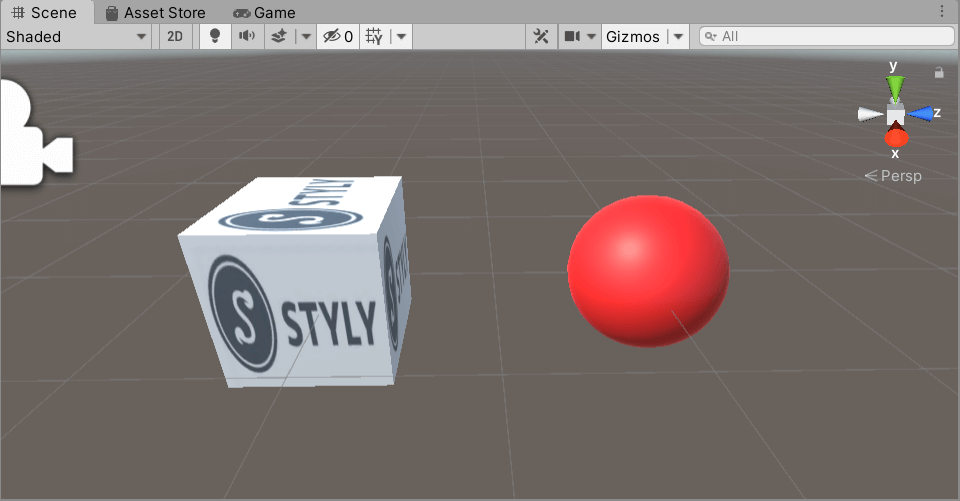
Drag and drop a material file onto an object in the Scene View.
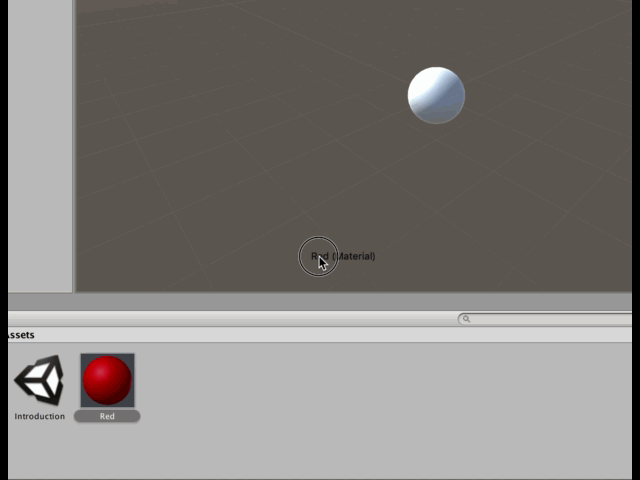
Reflecting a Material onto a Sphere
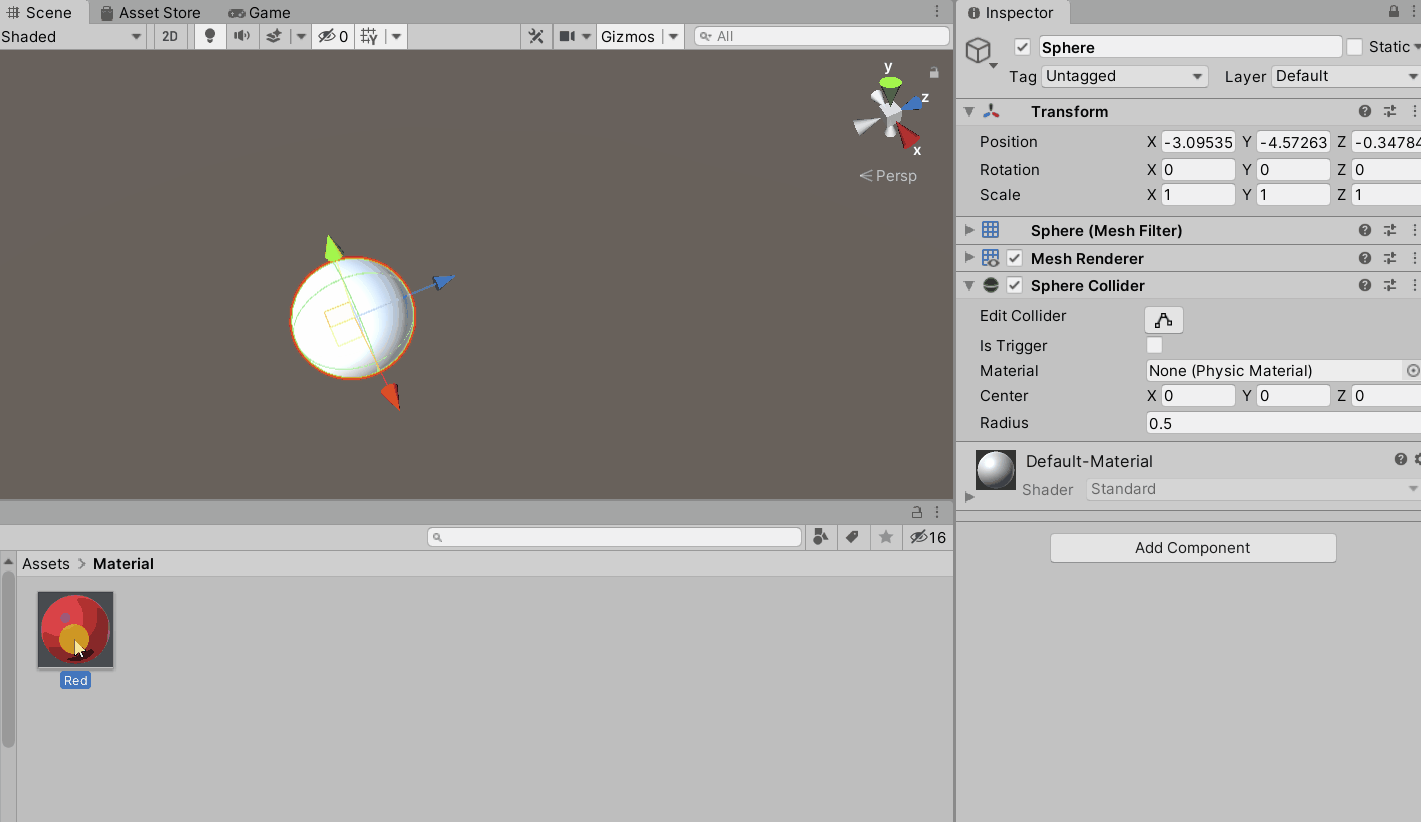
Dragging and dropping onto an Inspector
Drag and drop the material file onto the Add Component area of the object’s Inspector window.
How to turn an image (texture) into a material
You can also use an image or texture as a material.
Prepare an image of your choice and add it to the Project window.
Adding an image
Create a material file and open the Inspector window.
Drag and drop an image onto the square to the left of Albedo to make it a material.

Drag and drop on the square to the left of Albedo
When the material is applied to the object, it will look like the image below.
Reflecting a material
Now you can turn an image or texture into a material.
STYLY Magazine also has an article about recommended textures, so if you want to know more, please click here.

![[Free Texture Material Site] How to Use FreeStockTextures.com](https://styly.cc/wp-content/uploads/2019/09/admin-ajax-3-1-160x160.png)
What is shader?
Finally, I would like to introduce a little bit about shaders, which are closely related to materials.
A shader is a type of program that controls how a material is displayed.
If you look at the material’s Inspector, you will see an item called “Shader”.
The default setting is “Standard,” but by changing this setting, a variety of expressions become possible.
This may sound difficult, but STYLY Magazine has a lot of articles on shaders, so if you’re interested, please take a look here!
![[Unity]Introduction to Shaders](https://styly.cc/wp-content/uploads/2020/05/Screen-Shot-2020-05-24-at-16.36.19-160x160.png)
Introduction to NEWVIEW SCHOOL ONLINE
NEWVIEW SCHOOL ONLINE is now open! Learn the basics of Unity and PlayMaker, necessary for creating VR/AR content, and learn the process (and creation techniques) for developing attractive content available on STYLY.
Create VR/AR content without writing any programming code.
Professionally supervised Unity courses available.
Explore additional elements, such as photogrammetric production methods and content lightening.
Learn the concept of creating VR/AR content.
